Cooler Master Hyper N620 CPU Cooler
Installation
The Cooler Master Hyper N620 uses the same installation method as the last four or five Cooler Master coolers that I have used. The biggest boundary you’re going to hit will depend on the chassis you’re using. If your chassis does not have an access hole on the motherboard tray to allow the rear retaining bracket to be installed while the motherboard is installed. I would suggest taking a few minutes while the motherboard is removed to cut one if you change coolers often. If you only change coolers when you change hardware, then having the access hole really won’t matter that much. Most of the newer chassis coming out already have these access holes cut into them.
The first thing we need to do is remove the old cooler. Make sure you do this with care especially if you’re using an AMD processor that has the pins on the processor. I’ve seen to many users accidently bend a few of the pins due to the processor coming out when removing their coolers. The Intel users shouldn’t have a problem.
Next up you need to fix the appropriate bracket to the Hyper N620 and prep the processor for installation. Make sure to clean the old compound off before applying the new compound. Then simply follow the instructions for your correct CPU type.
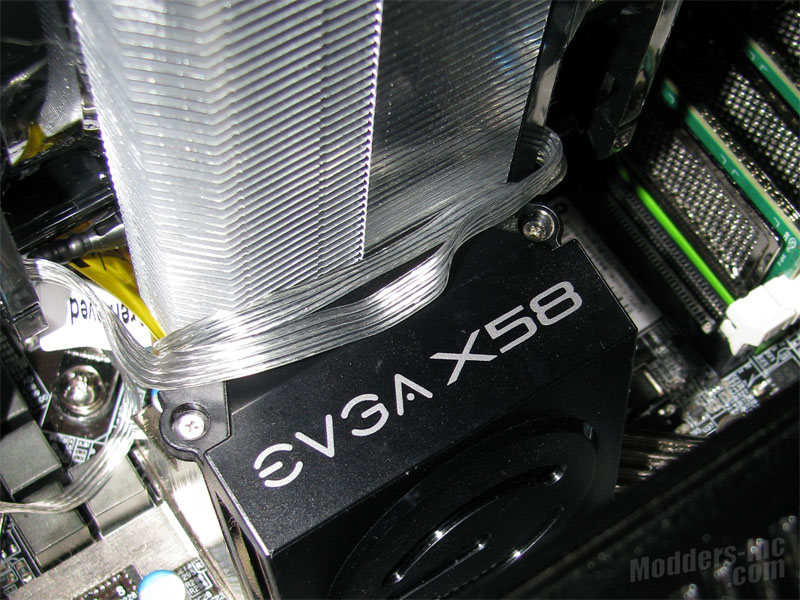
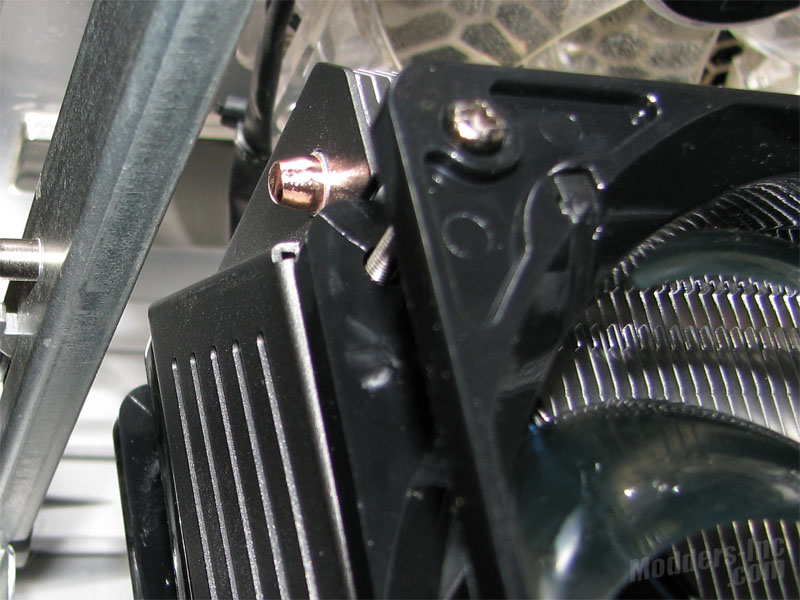
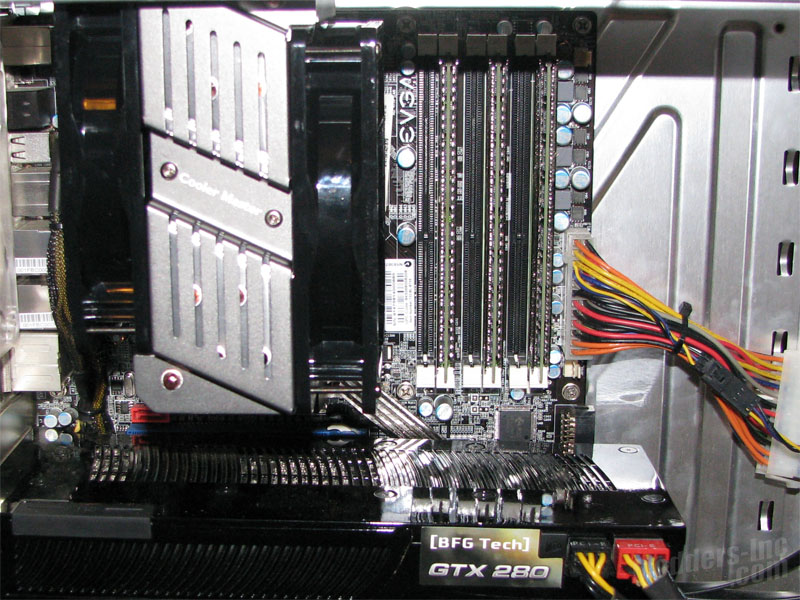
Above we can see just how much clearance I had between the upper side panel mount and the Hyper N620. For those using a Cosmos-S chassis, this might also be a issue with the side panel fan. I had previously removed my fan so I’m not sure just how much clearance there is.
