CPU Cooler
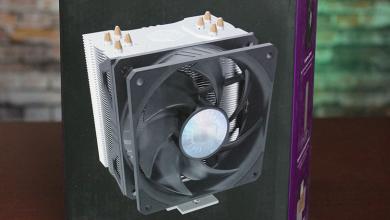
Cooler Master Hyper N520 CPU Cooler
« Page 2 | Page 4 »
Installation |
|
The installation process on the Cooler Master Hyper N520 is pretty straight forward. As I stated earlier, the mounting system used on the N520 is similar to several of the other coolers Cooler Master offers. After reading the instructions, you will want to lay out all the accessories that you’re going to be using as well as the tools needed to do the job.
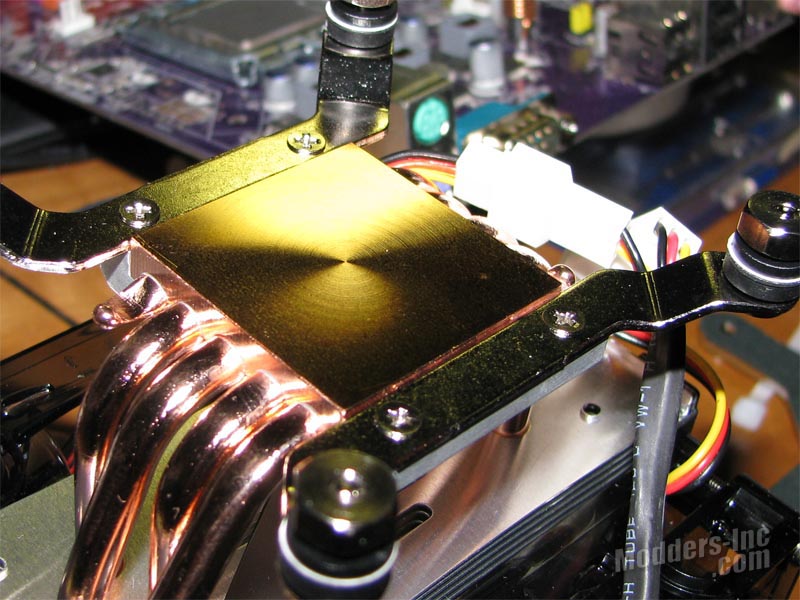
To start things off you will need to screw the studs into the correct mounting brackets (LGA 1366 shown already installed). With the studs secured you will want to mount the brackets to the cooler using the four small screws (supplied). As we can see in the above image, I have also slipped the appropriate washers and nuts in place prior to mounting the cooler. This was done to keep everything handy until I had the old cooler removed.
If your chassis is of an older variety, you will need to remove the motherboard to install the Hyper N520. On some of the newer chassis though, we are seeing access holes cut into the motherboard tray to allow access to the rear of the CPU area. This allows users to install cooler backing plates without actually having to remove the motherboard (which should be standard on all chassis).
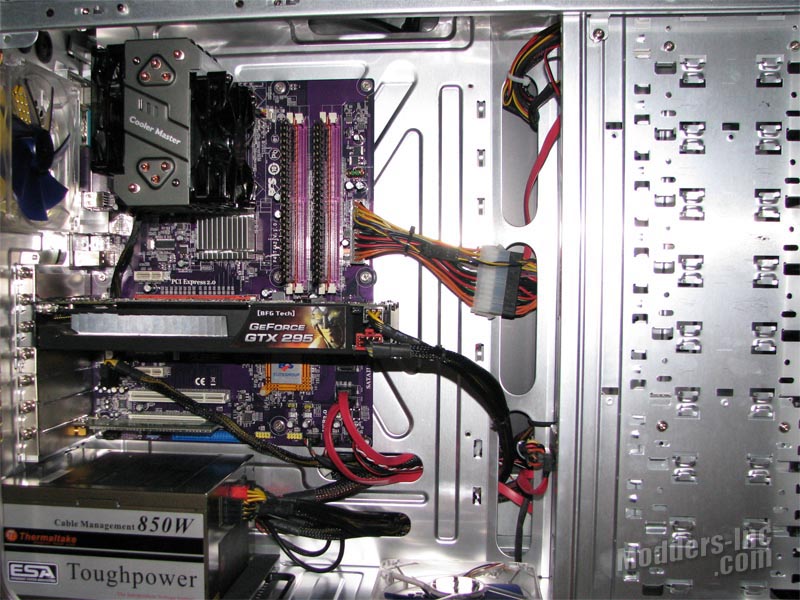
If you have to remove the motherboard for installation. I find it easiest to simply sit the cooler on its top with the base facing up from the work bench. I then put my thermal paste of choice (normally AS5) on the CPU and flip the motherboard over. Align your mounting studs, slip the backing plate in place and tighten the four nuts. The process takes roughly about 10 minutes. With everything installed and wired up, we are ready to fire up the beast and start in on some testing. |
