Cooler Master Hyper D92 CPU Cooler Review
Installation of the Cooler Master Hyper D92
Before proceeding with installation, lay out all accessories and cross reference the package content with the illustrated user’s guide.
AMD Installation
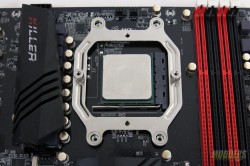
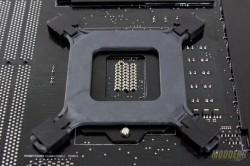
The Intel and AMD installation procedures are similar once the brackets have been installed but before that, there are two different sets of accessories with a few parts shared. For AMD installation, first remove the stock mounting hardware and place the provided Cooler Master Hyper D92 backplate on the back of the motherboard until the holes align.
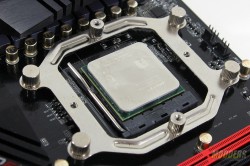
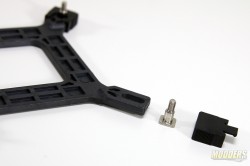
The next step involves assembling the bracket and placing it aligned on protruding backplate assembly. The screws used for standoffs on the AMD installation are actually the standoffs for the LGA2011 accessory pack and allows users to mount the Hyper D92 on both Type A and Type B mounting orientations on AMD systems.
Intel Installation
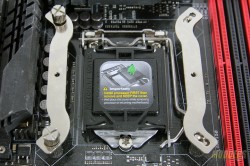
For Intel motherboards on the other hand, the backplate is a bit more complicated with a 3-piece design that can fit multiple Intel mounting hole standards. The post on the backplate are held in place by latching plastic locks so that it is easier to install.
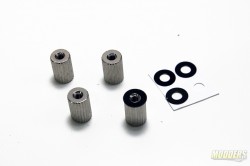
Place the backplate at the back of the motherboard and secure the other side with standoffs. Before doing that however, makes sure to place the adhesive backed washers on one side of the stand off so that your Intel motherboard does not get scratched when tightened.
Decide how you want the orientation of the heatsink to be. Unlike the AMD option where the bracket does not need to be disassembled to rotate the mounting, the Intel mounting bars have to be positioned first. For Type A or standard front intake rear exhaust setups, the mounting bars have to be positioned side by side vertically while for Type B or bottom intake top exhaust setup, the mounting bars are positioned horizontally parallel.
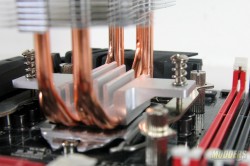
Make sure to apply thermal compound before securing, preferably using a line method in the middle of the base perpendicular to the heatipe direction. This is much more efficient than typical dot or pea-size methods as this ensures that all four heatpipe contact surfaces have thermal compound.
Once the heatsink is installed and screwed onto the brackets, the fans can now be re-attached and plugged in.
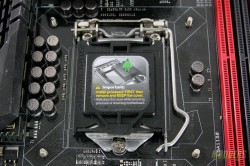
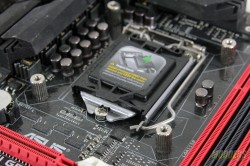
LGA2011 installation is fairly straight forward since it does not use backplates but just uses standoffs and is mounted in the same way as the LGA1150/LGA775 procedure.
Compatibility and Clearance Issues
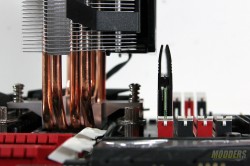
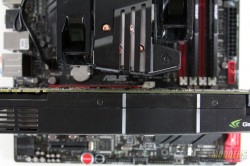
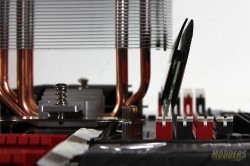
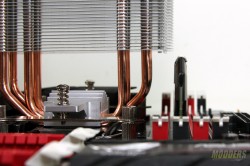
The test system motherboard is an ASUS Maximus VI Gene motherboard with a 28.5mm clearance between the CPU socket and the first DIMM slot and has a 45mm gap between the CPU socket and the topmost PCI-E x16 slot. Mounting the CM Hyper D92 in Type A or front intake/rear exhaust position provides the maximum clearance for RAM, able to comfortably populate the first DIMM slot even with a tall RAM modules. PCI-E clearance is also a non-issue on the Type A mounting.
For Type B mounting, RAM clearance is limited to 45mm on the first and part of the second DIMM slot. Type B mounting provides the most clearance for PCI-E however.


