PC Cases / AccessoriesPC Hardware Reviews
Cooler Master HAF XM Computer Case
« Page 5 | Page 7 »
Interior – Impressions on Hardware Installation etc
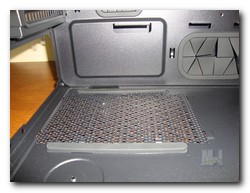 
With the exception of the PSU mounting area in the pic on the left and the motherboard etc, hardware installation is pretty much tool-less. The PSU mounting area has nice thick rubber pads for the PSU to sit on to cut down on vibration noise. It also has a dust screen that can be cleaned, just like every fan area on the chassis.
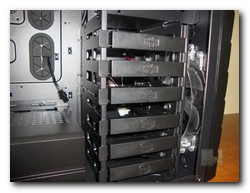
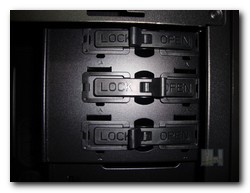
Looking to the 5.25″ optical bays, Cooler Master has made their installation tool-less with some pretty nifty locking mechanisms. Simply slide the drive in while the lock is in the open position and then push the lock to the Lock position to secure it. Now, if you just want to go to the trouble of adding screws to the drive, there are screw holes you can use on the opposite side of the drive bays.
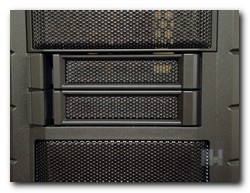
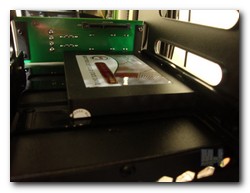
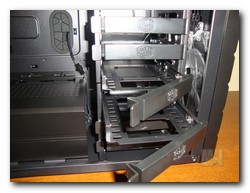
Now let’s take a look at how easy the X-Dock slots can be used. You simply slide the X-Dock tray out and attach the HDD or SSD of your choice to the tray. In this case I chose a SSD drive for the demonstration. Once attached to the tray slide the tray back in to the slot until you feel the SATA connections connect fully, like the pic on the right, then simply close the locking X-Dock cover. Now your in business and ready for either adding, viewing or transferring huge amounts data from your machine, all without having to shut down and restart your computer.
Here we have the six 3.5″ internal HDD or 2.5″ SSD drive cage. And with the exception of being hot swappable and sliding into a dock, the drives install almost the same as with the X-Dock above. You simply slide out one of the drive trays and mount your HDD/SSD to the tray and then slide it back in and lock the tray cover in place. Once you do this you an now connect either you SATA cables or IDE cables to the drive you have just installed in the slot. Pretty simple right.
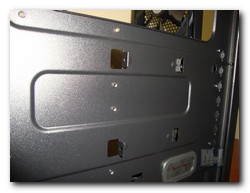 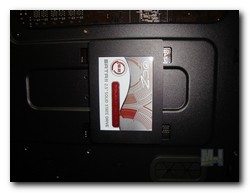
I bet you thought that was it for the HDD/SSD drives right? Nope, we have one more that Cooler Master added for those 2.5″ HDD/SSD drive junkies. It can be found behind the motherboard tray. Installation of this drive is simple as well and you can use any 2.5″ drive you like. So, that gives you nine drives total, I think that should be plenty.
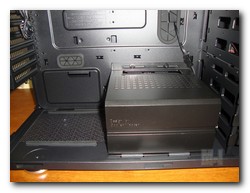 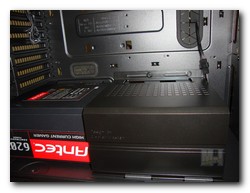
On the left we see that Cooler Master added a PSU cable cover to aide in the hiding of the glob of cables protruding from the PSU. The pic on the right shows just how well the cover works in hiding cables on a non-modular PSU. Seems to work very well.
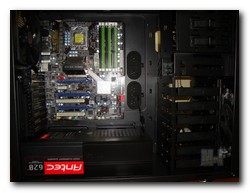
Finally we get down to the meat and potatoes of the install. On the left I installed a standard ATX motherboard with room to spare. The HAF XM will accommodate Micro-ATX, ATX, and E-ATX motherboards easily.
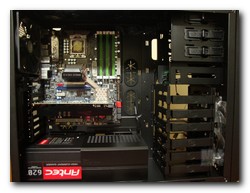
With the Cooler Master HAF XM accepting video cards up to 13.9″ in length, there’s more than enough room for most video cards in this case. In the right picture I have an AMD Radeon HD 6850 installed and had enough space room to add a much longer card. |
