Cooler Master HAF XM Computer Case
Interior – First Impressions continued
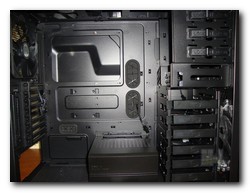 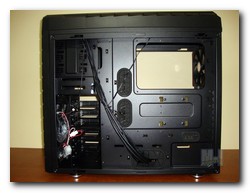
Looking at the inside of the HAF XM it is plain to see that there is a lot of room to play around with. Cooler Master added grommeted cable management holes in key locations to help route your PSU cables with ease. With the back side panel still on you can see that there is plenty of depth behind the motherboard tray for clusters of cables. We will discuss the HAF XM’s other components as we go along.
Moving to the rear of the chassis after removing the side panel we can see Cooler Master has added cable attachment points to help with tidy cable management. There is also a large rear opening to access the rear of your motherboard to aide in attaching your massive cpu coolers. 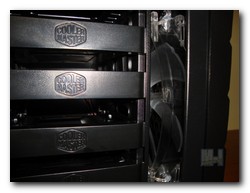 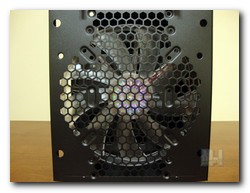 Looking to the front of the case we see the huge 200mm intake fan mounted between the HDD cage and the front of the chassis. This is however not the only option you have for intake fans. Looking at the picture on the right you can see various screw hole combinations, that will allow up to two 120mm fans or 140mm fan to be mounted up front in place of the 200mm fan as an option.
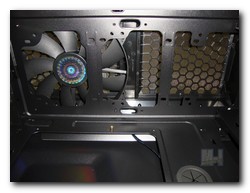 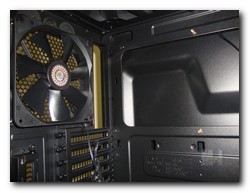
As we look to the top of the case we can see that Cooler Master has included one more 200mm fan. As I mentioned earlier Cooler Master has provided a spot open for an additional fan options and etc for the top. These multiple options include multiple up to two 200mm exhaust fans to dual 120mm or 140mm fans or even support for a 240mm or 280mm x 45mm radiator. These radiators can be installed either inside or outside the chassis, with the corresponding fans being on the opposite side of the radiator. Important note here: When installing a radiator on the top of the chassis that the radiator should be no thicker than 45mm, however if you install the radiator inside the chassis above the motherboard the radiator should be no thicker than 33.6mm in thickness.
Moving on to the rear fan area we see that Cooler Master has included a 140mm exhaust fan. The exhaust fan can be substituted with a 120mm fan or even a 140mm water cooling radiator. There are also three grommeted coolant line holes just above the fan. 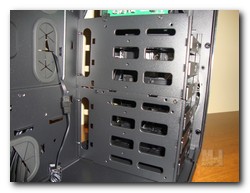
And just when you thought you had seen all the fan options for this case, Cooler Master added an option for up to two 120mm fans behind the HDD cage. Folks that makes for a ton of fan and radiator options! Honestly, I did not even try to count them all.
|
