Cooler Master HAF XM Computer Case
Interior – First Impressions
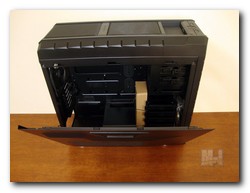
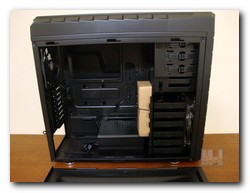
As mentioned earlier in the review, the motherboard side panel unlatches and lays outward, at which time all you have to do is lift the panel upwards to remove it. Once the panel is removed we get our first look of the inside of the Cooler Master HAF XM. Nice and black just like the rest of the case. Ah, here we can also see the accessory box tied to the HDD cage.
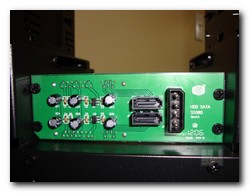
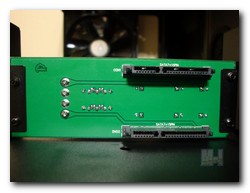
The first item inside the case we are going to look at is the X-Dock hot swappable unit. The circuit board is located just above the HDD cage. The pic on left shows the rear of the circuit board, with the SATA and 12v molex connectors that power the board and handles the data transfer.
The pic on the right shows the X-Dock from the front panel of the case. There are two slide out drive carriages that will hold 3.5″ or 2.5″ HDD or SSD drives. Simply attach the drive to the slides and and push them back in until the SATA connectors attach completely and your computer will detect the new drive just like a thumb drive and you can access the data on the drive. Makes life easy for data transfers and you have two here two play with.
