Cooler Master HAF XM Computer Case
Exterior – First Impressions Continued
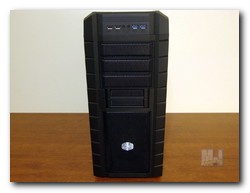 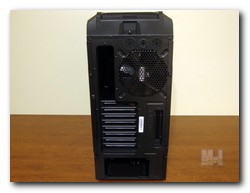 As we move on to the front of the case we are greeted with the Cooler Master logo on the lower mesh intake grille of the front panel. Behind this front panel is a huge 200mm Red LED intake fan to bring in cool air to the case. Just above the intake grille we find two X-Dock slots. Above the X-Dock slots are three 5.25″ drive bays, for optical drives and etc. Finally nested just above the 5.25″ drive bays we find the front I/O panel for USB and audio input/output. The rear of the case is setup with 8+1 expansion slots, a bottom mounting opening for the power supply and an included 140mm exhaust fan. The exhaust fan can be substituted with a 120mm fan or a 140mm water cooling radiator. There are also three grommeted coolant line holes just above the fan. Also, you will notice a thumb screw just above the coolant line holes that screws through the top panel. Remove this thumb screw to remove the top panel.
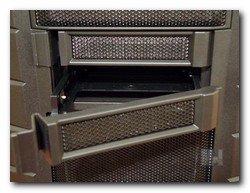 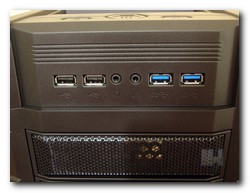 More about the Cooler Master X-Dock slots. The X-Dock slots can accommodate both 2.5″ and 3.5″ HDD/SSD drives and they indeed are hot swappable bays. This will make storing, carrying and transferring huge amount of data a breeze. This is a feature that I personally am a big fan of, especially when they are right in the front of the case. The front I/O panel contains from left to right; two USB 2.0 ports, a Headphone jack, Mic jack and two high speed 3.0 USB slots. All within easy reach from your chair, none of this having to get up just to plug in a thumb drive.
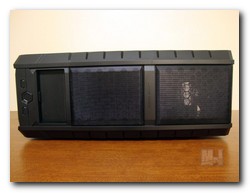 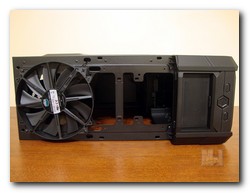 Moving along to the top of the case we can see the Power panel and a rubber lined storage tray. Next we see the two screens which cover the two huge 200mm fans, of which one is included and the other is optional. First let’s tackle the fan setup. Cooler Master has given multiple options here, from two 200mm exhaust fans to dual 120mm or 140mm fans or even support for a 240mm or 280mm x 45mm radiator. These radiators can be installed either inside or outside the chassis, with the corresponding fans being on the opposite side of the radiator. Important note here: When installing a radiator on the top of the chassis that the radiator should be no thicker than 45mm, however if you install the radiator inside the chassis above the motherboard the radiator should be no thicker than 33.6mm in thickness.
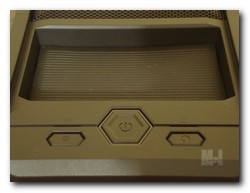 
Taking a slightly closer look at the power panel and storage area. From left to right we have the fan LED Light Switch with it’s indicator light above it. Next we have the large hexagon shaped Power Switch with it’s indicator light around it. Finally we have the Reset Switch and above it the HDD indicator light.
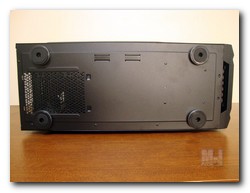
The rubber lined storage area is approximately 3″ x 5″ and only about 1/2″ deep. You may get a short ink pen in there if turned crossways, but at least you’ll have a placed to lay your loose change and perhaps your keys or wallet. The bottom of the case is fairly basic and straight forward. You have the mesh opening under the power supply area and 4 case feet. Speaking of the case feet, they are actually pretty nice with aluminum bands around them and a good rubber bottom on them to keep your desktop from sliding around. |
