Cooler Master HAF XB LAN Box Review

Installation
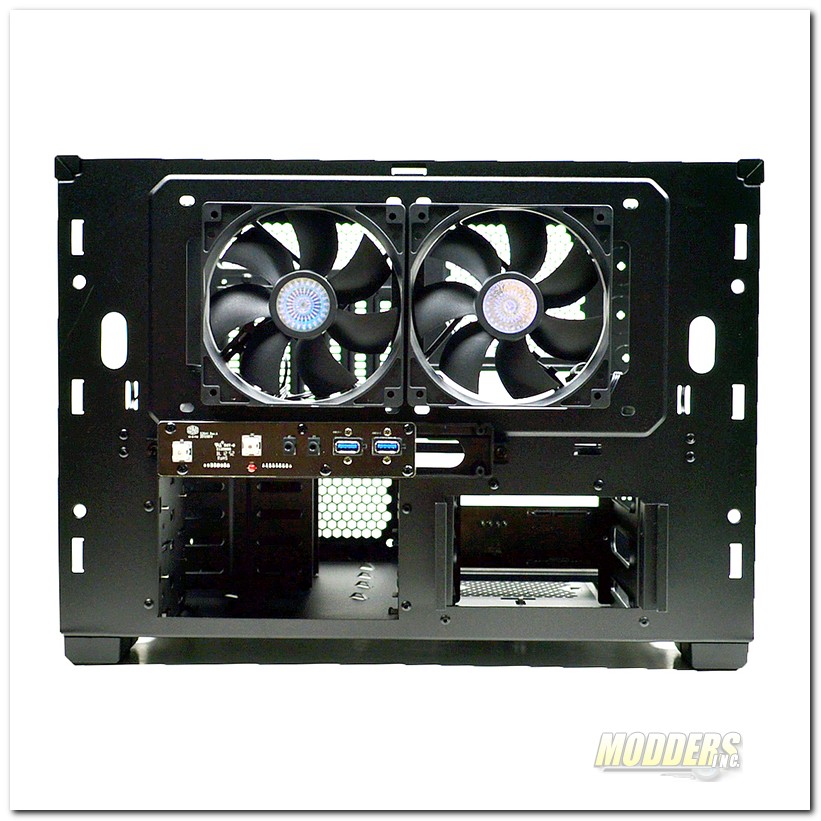
To get all the components installed in the Cooler Master HAF XB, the easiest thing to do is disassemble the whole case 1st. Take off the top and side panels and remove the motherboard tray then start the installation from the bottom of the case and work your way to the top. For my case reviews, I use an older non-modular Corsair TX 750 power supply. The reason that I chose to use this power supply is that it is not modular, meaning that none of the cables can be removed and the cables are long. This provides a challenge in cable management.
 |
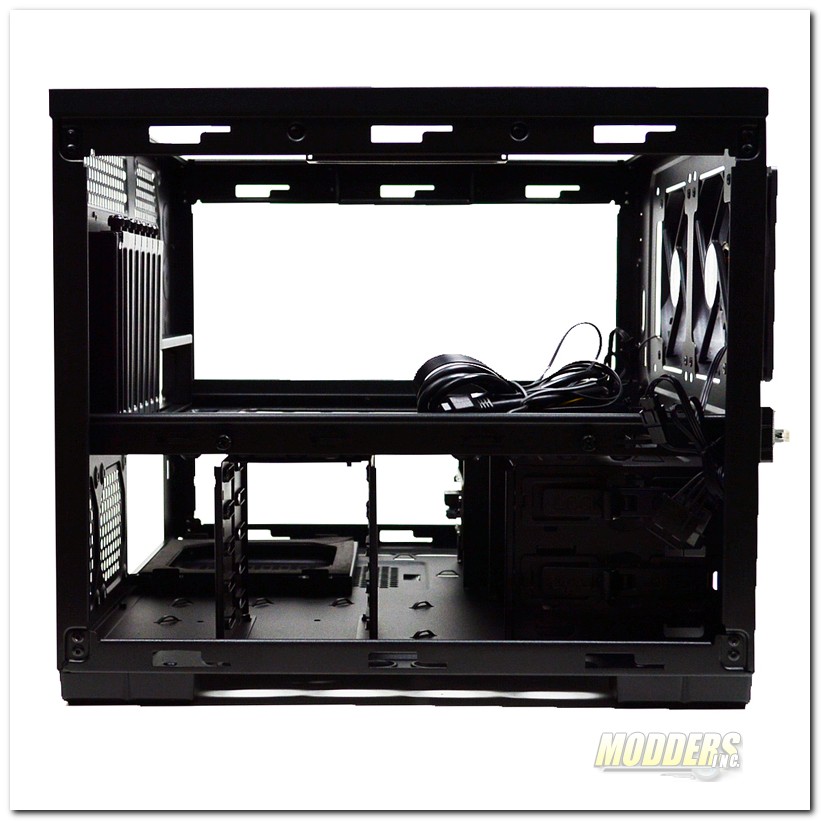 |
Fist I started the install by removing all the panels including the front plastic panel. This gives the most room inside of the case for installation.
 |
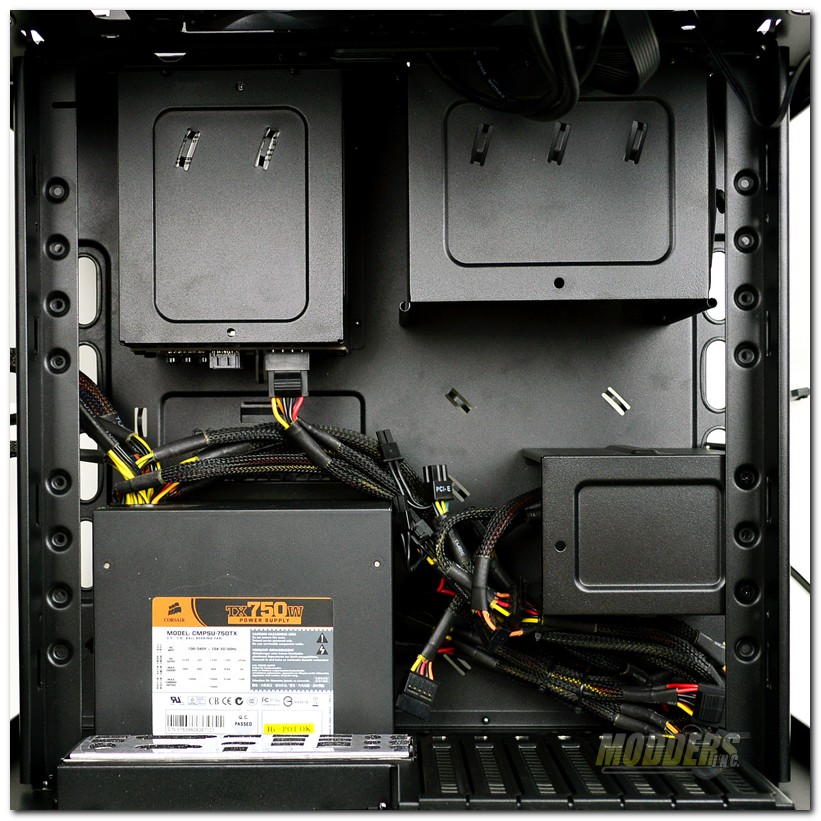 |
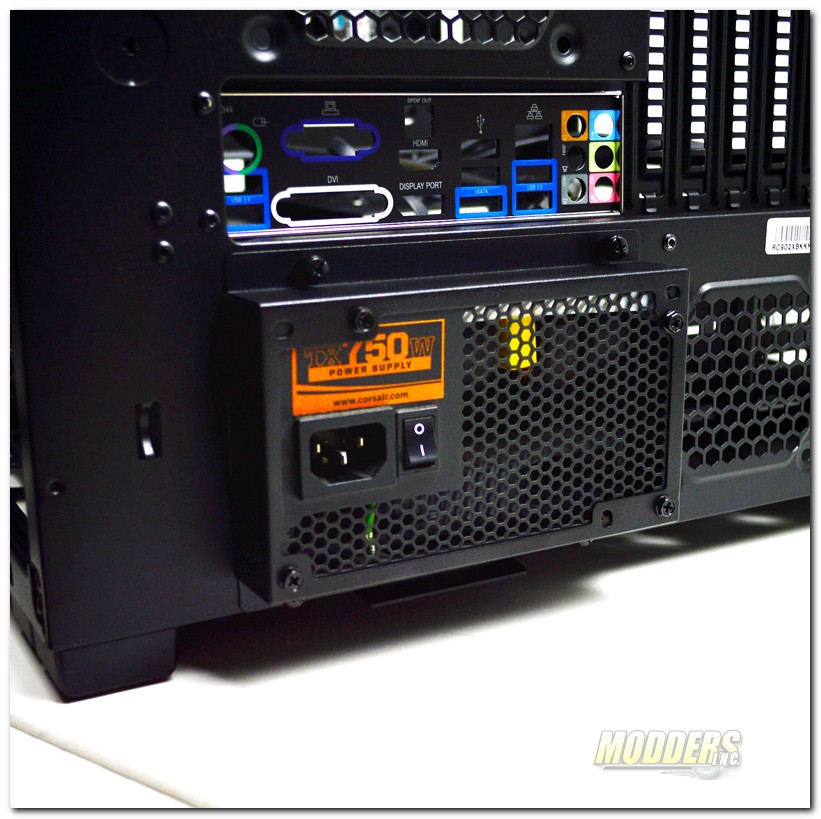
The next part of the installation was the power supply and lower compartment cable management. The power supply mount is secured by four thumbscrews. Remove the mount and slide the power supply in to the mount, screw the mount into the power supply and reattach the assembly using the previously removed thumbscrews. For cable management in the lower compartment there is plenty of zip-tie locations as well as channels to run the cables through. I even removed the 2.5″ internal drive bay as I was routing cable to make the installation easier. I chose to run the cables in this fashion which provides me the option to use 2.5″ drives at a later time.
 |
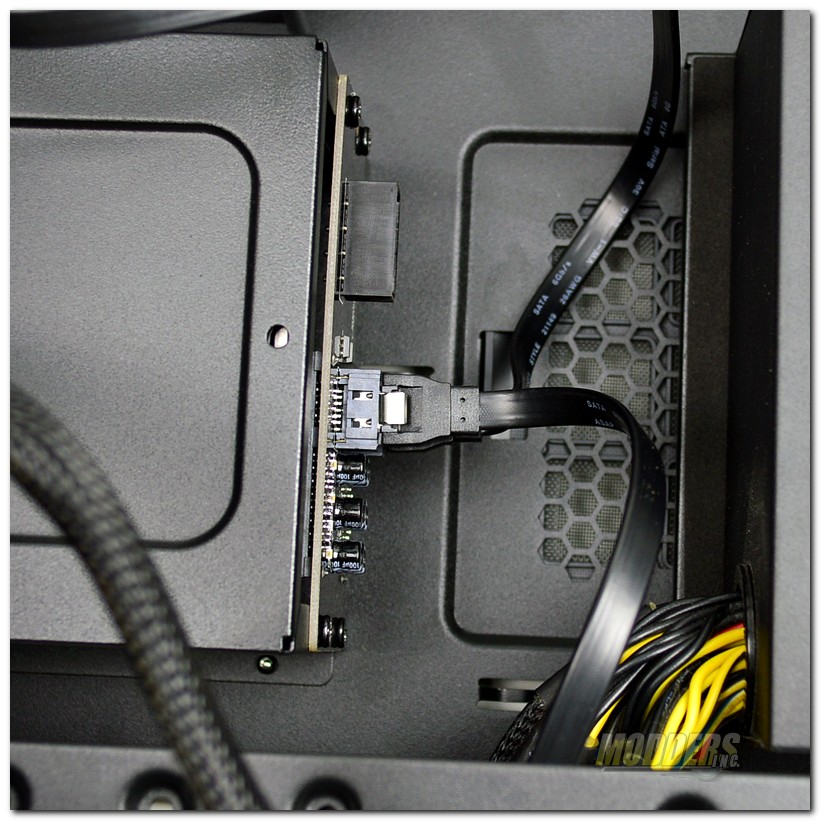 |
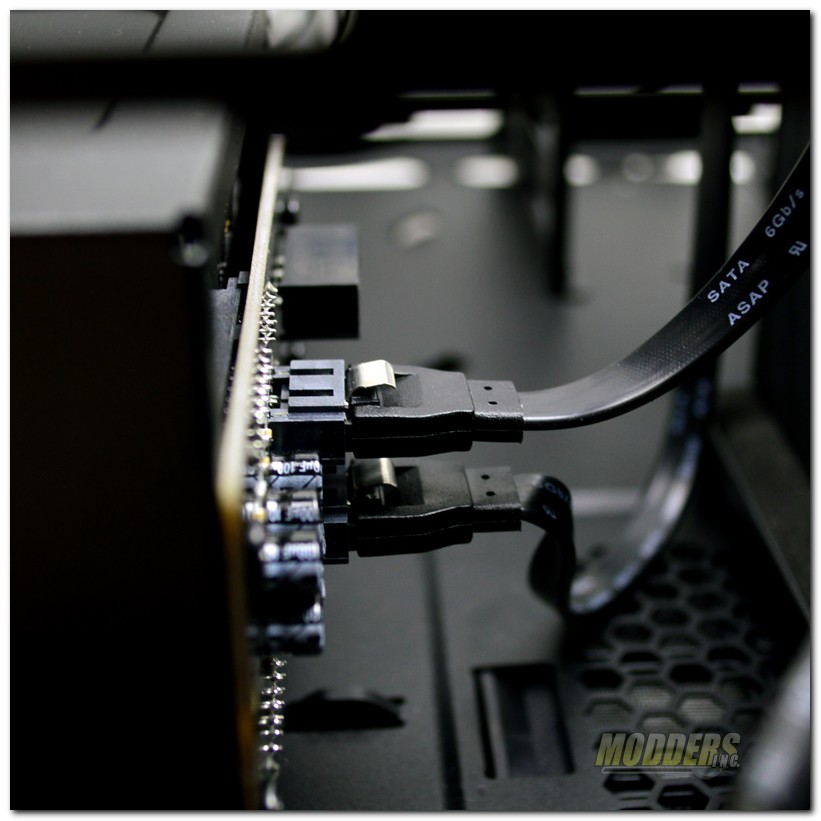
Next up was connecting the X-dock connectors to the SATA cables. This is where my major concern with the case was discovered. As you can see there isn’t room to use 90° SATA connectors. This leaves the X-dock connections vulnerable to damage if you happen to install a longer power supply. The clearance is pretty tight with the TX 750 that I used for the installation a longer power supply could slam into the connectors and potentially damage the X-dock IC board or the cables.
 |
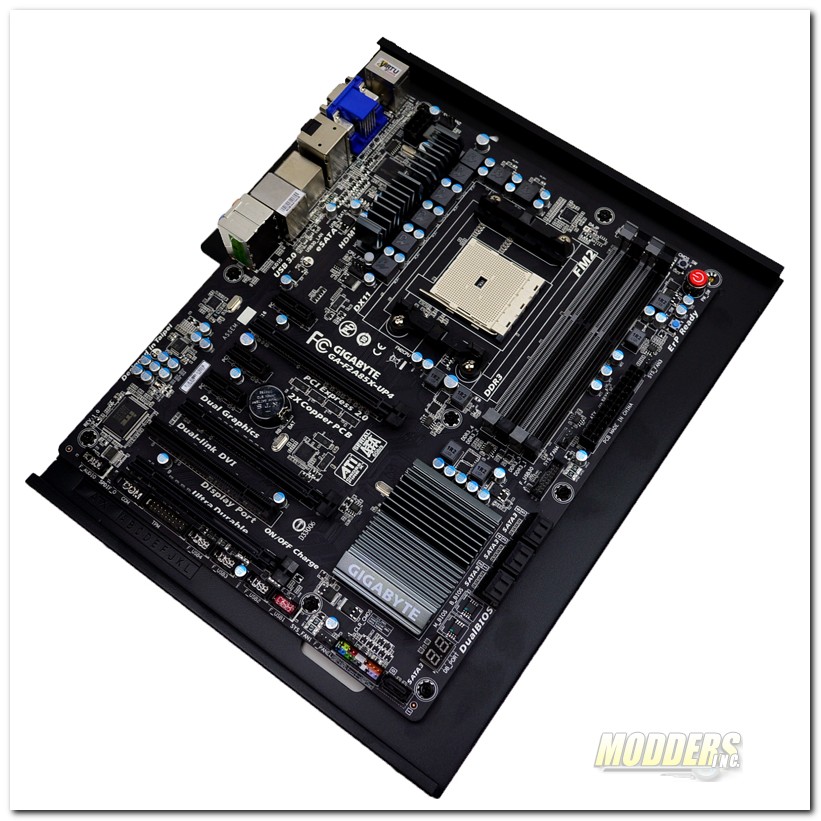 |
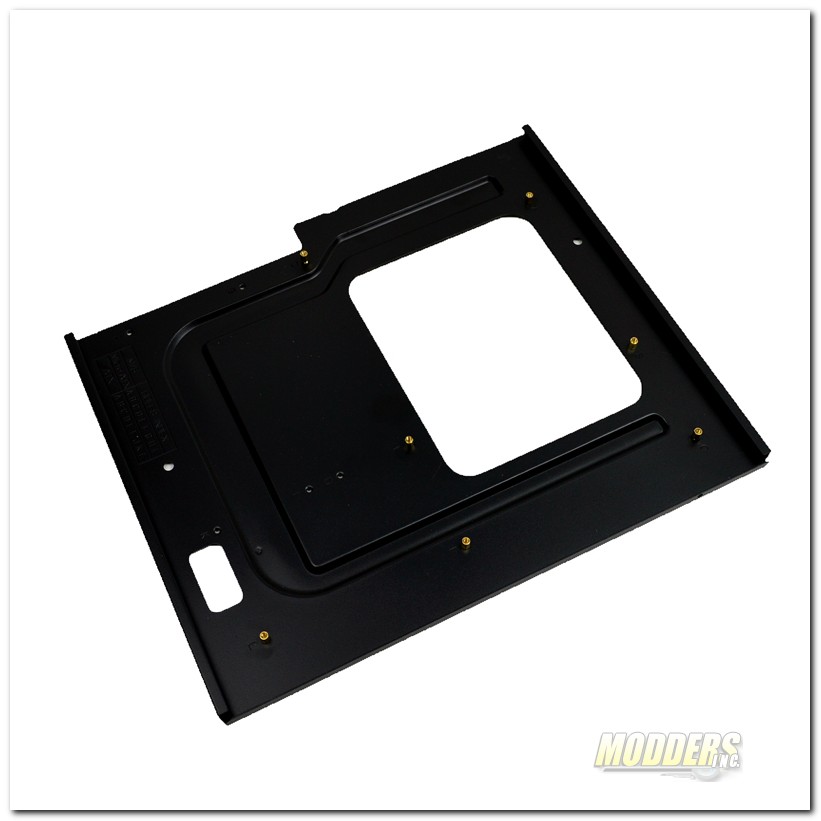
Installing the motherboard is easy after the motherboard tray has been removed. Cooler Master provided the correct amount of standoffs to mount the motherboard to the tray. The tray is held in place by four thumbscrews located on the rails on which the motherboard tray sits.
 |
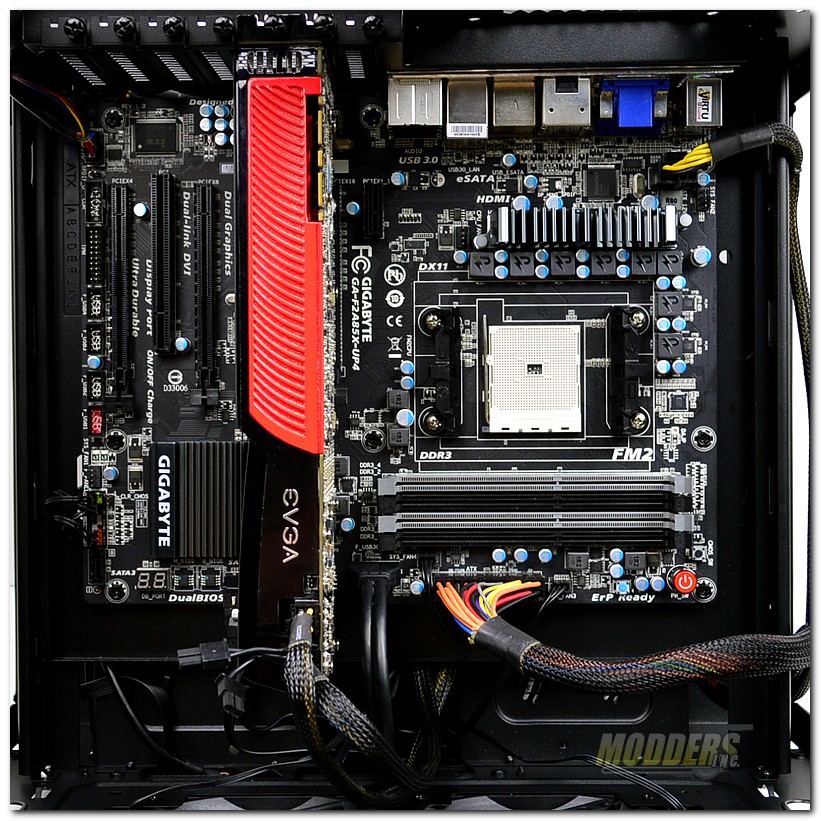 |
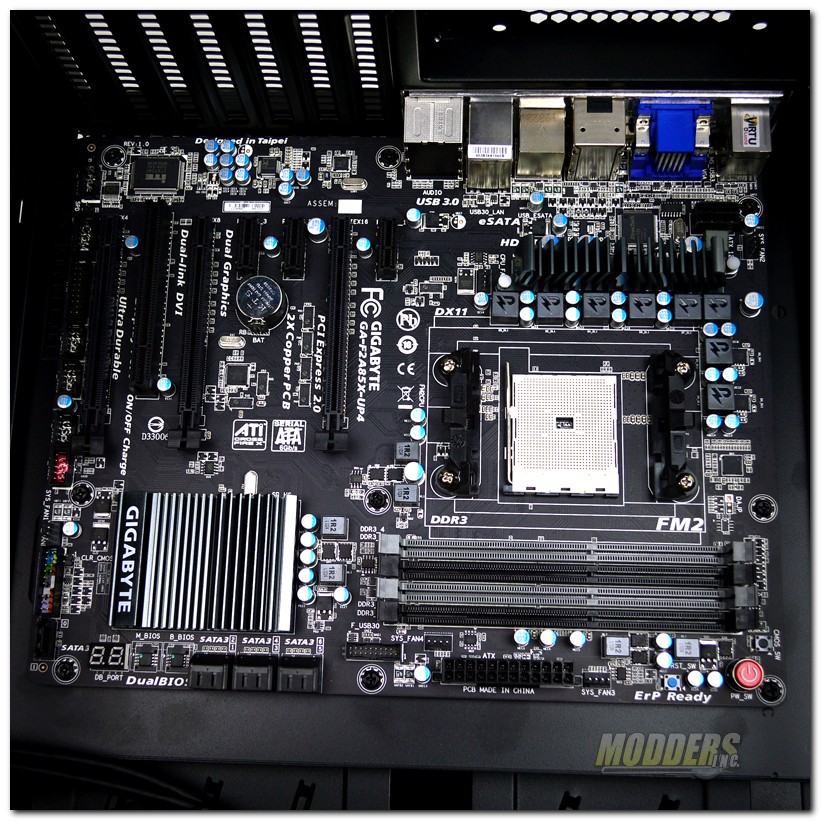
To finish up the installation of the motherboard, place the tray on the mounting rails and slide it towards the back of the case. Re-install the thumbscrews and the motherboard tray is secure. For cable management in the upper compartment I used some routing between the X-dock and the optical drive bays and routing cables up the side. With the case panels installed there is 1.5″ of clearance which is more than enough room for cables to run from the power supply to the motherboard.
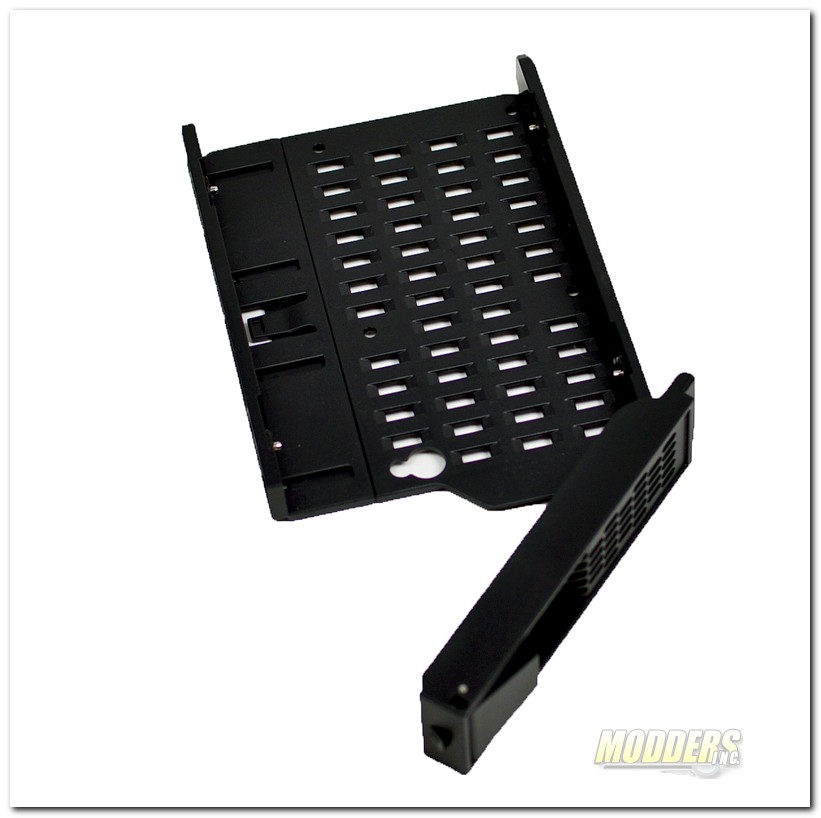 |
Installing a hard drive in the X-dock drive tray is a simple task. There is a tab that once released expands the width of the tray. Slide one side of the drive into the tray ensuring the pins align with the mounting holes on the drive. Set the drive down and slide the other side of the tray back into place. Mounting holes are also provided for 2.5″ drives.

