PC Cases / AccessoriesPC Hardware Reviews
Cooler Master HAF X Computer Case
Installation |
|
System installation in the Cooler Master HAF X I must say was perhaps the easiest and most trouble free installation I have done in some time and did not take very long at all. I installed a system in the case, which consisted of the below components:
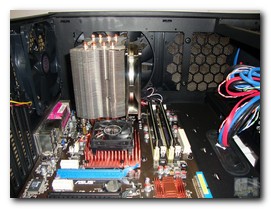
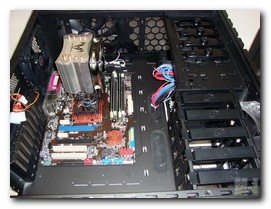
Using the supplied standoff tool I installed the standoffs and then installed my motherboard. As you can see by the pics above there was plenty of room in the case for my components, in fact even extended ATX boards should have plenty of room. The Titan FENRIR is not exactly a small CPUcooler and has plenty of space around it at the top of the case as well as between it and the side panel.
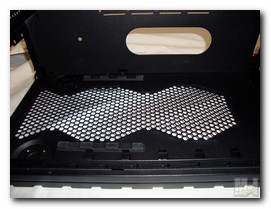
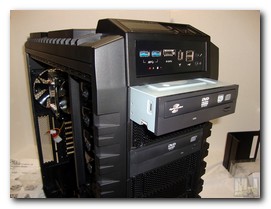
Note the thick rubber strips that the psu mounts on top of, these will aide in cutting down vibration and noise. The nice large hole beside this area will be great for routing the pus cable through and will aide in cable management. The tool-less optical drive bays made installation of the optical drives about a 5 second job. They locked the drives down nice and snug.
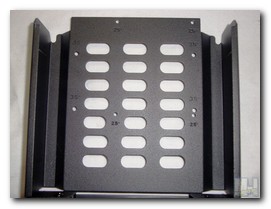
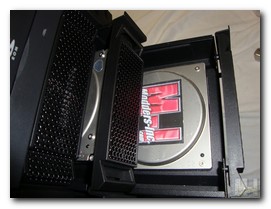
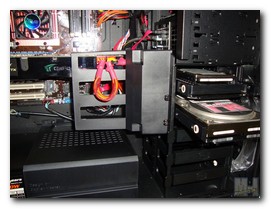
As I mentioned early on the bottom two 5.25″ bay covers are for the hot swap HDD/SSD drives. The first picture shows the location of the labeled (2.5″ / 3.5″) mounting holes for each corresponding drive type / size. Next we has a 2.5″ drive mounted in the top HDD/SSD bay and a 3.5″ HDD in the bottom bay. Folks I personally chose to use the hot swappable bays over the internal HDD bays for this build. It is just so much easier.
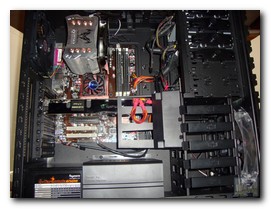
Here I have a couple final install pics. You can see that the PSU cover hides the PSU cables extremely well and leaves a clean look to the install. You can also see I chose to use the VGA air duct so that air will be directed better about the video card. A quick note here, a 120mm fan can be added to this air duct to add more air flow to the cards.
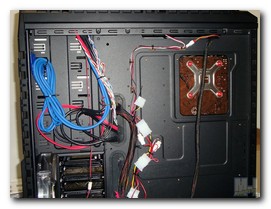
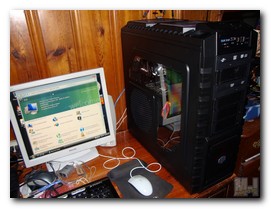
I was able to route most all of the cables to the back of the motherboard tray. Utilizing the pre-grommet cable management holes and the built in zip tie mounts I was able to effectively hide my cables with ease. Next we have the final picture of the build, which shows the case all buttoned up and system running. Not bad at all.
|
