Cooler Master Glacer 240L All In One Liquid CPU Cooler
Installation
Before we go over the installation, I want to say that installing the Cooler Master Glacer 240L CPU Cooler is not difficult. In its out of the box configuration it may not fit every scenario. Take your time and do it right; pay close attention to the directions. Do not rush or you will be sorry.
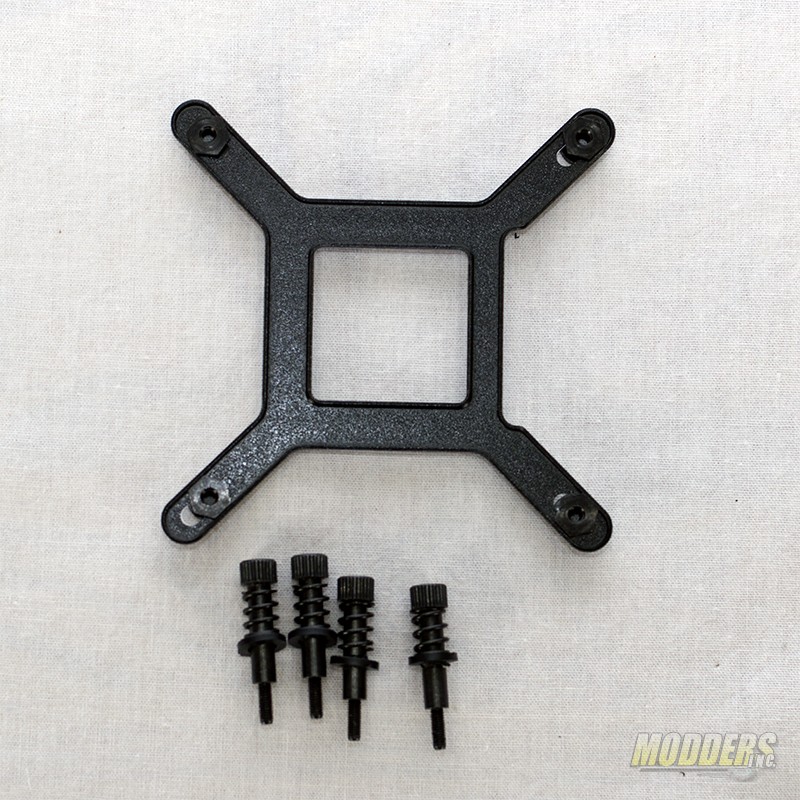 |
Since I will be installing the Cooler Master Glacer 240L CPU Cooler on a LGA 1150 motherboard, we will cover that method. The 1366 and AMD boards will be very similar. Just read the directions and pay attention. First off, we will need the backing plate and screws. These came pre-installed on the water block when it was unpacked and I removed them for clarity purposes.
 |
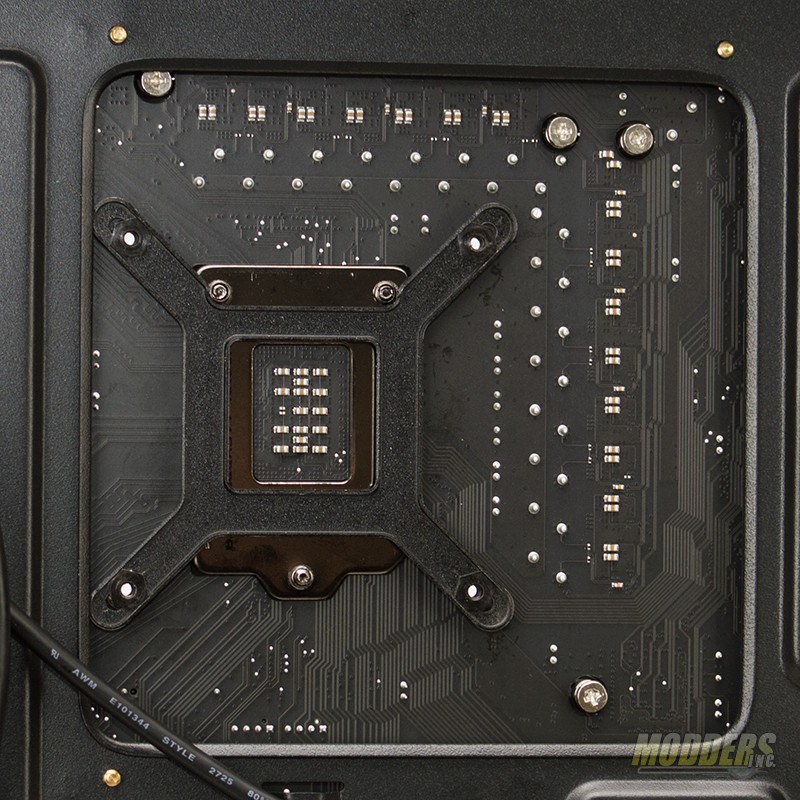 |
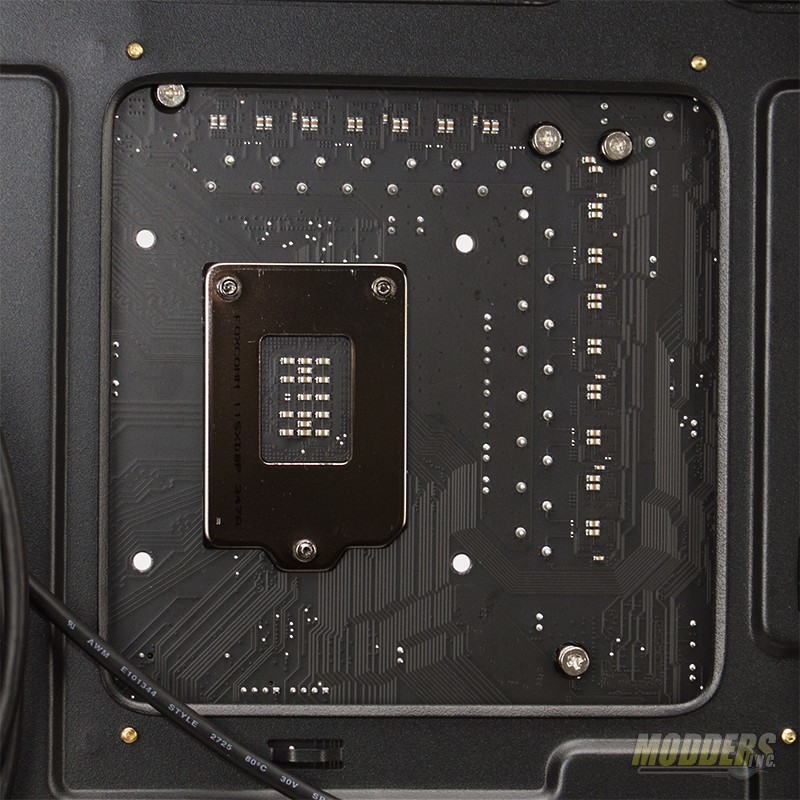
If you are using a modern case, produced in the last few years, it should allow access to the back of the motherboard behind the CPU socket. You will need to take and install the back plate. The mounting point slide up and down in a slot along each of the four corners to line up with the holes in the motherboard. There are four pads that have adhesive on them. Align the mounting points with the holes int he motherboard and peel off the end of the pad to expose the adhesive. Then sick the back plate to the motherboard. There are extra reliefs cut into the back plate to allow for the extra two screws at the top. Make sure you align these or else the back plate will not fit.
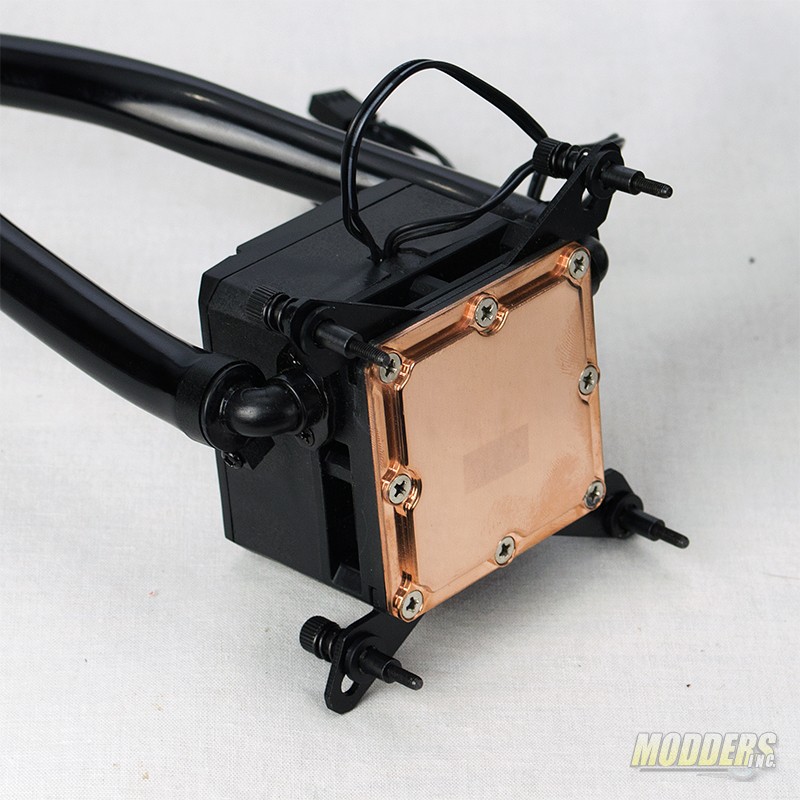 |
The next thing that needs to be done is to prep the waterblock for installation. If you’ve removed the screws from the mounts then you will need to reinstall them. Simply slide the screws through the the mount and on the bottom side attach with the plastic keeper. Installation should look very similar to the above picture.
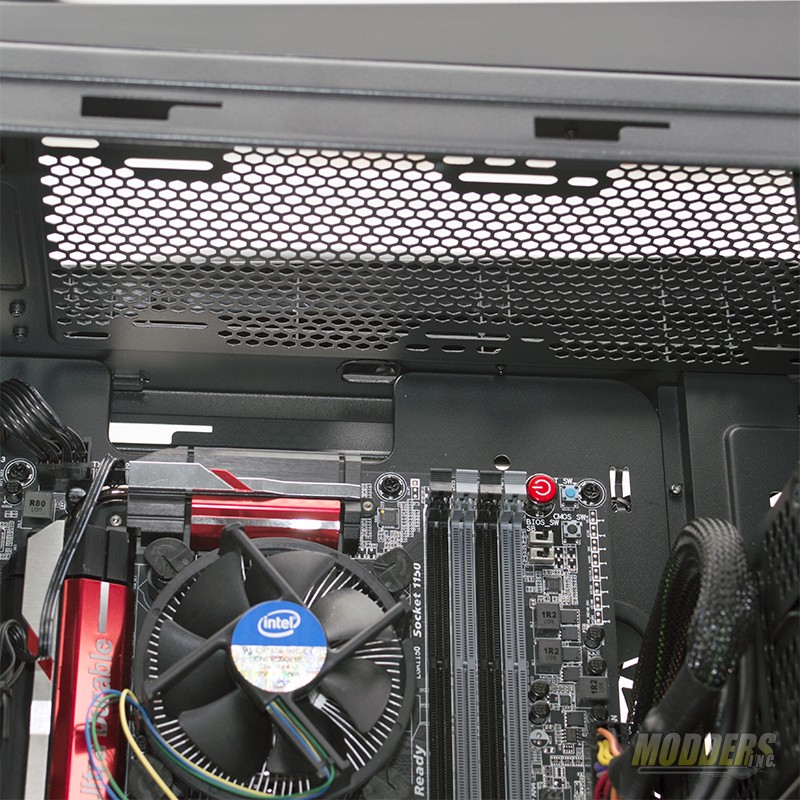 |
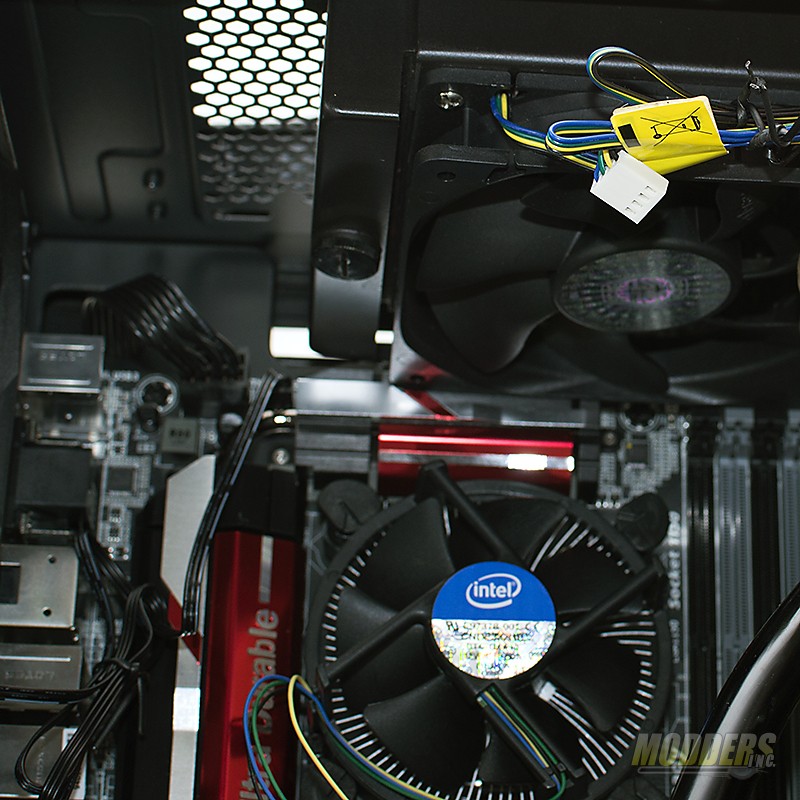
Next we will need to prepare the case. My plan is to mount the radiator at the top of this case, which is the Cooler Master Cosmos II SE. I’ve removed the top fans to prepare for installation.
 |
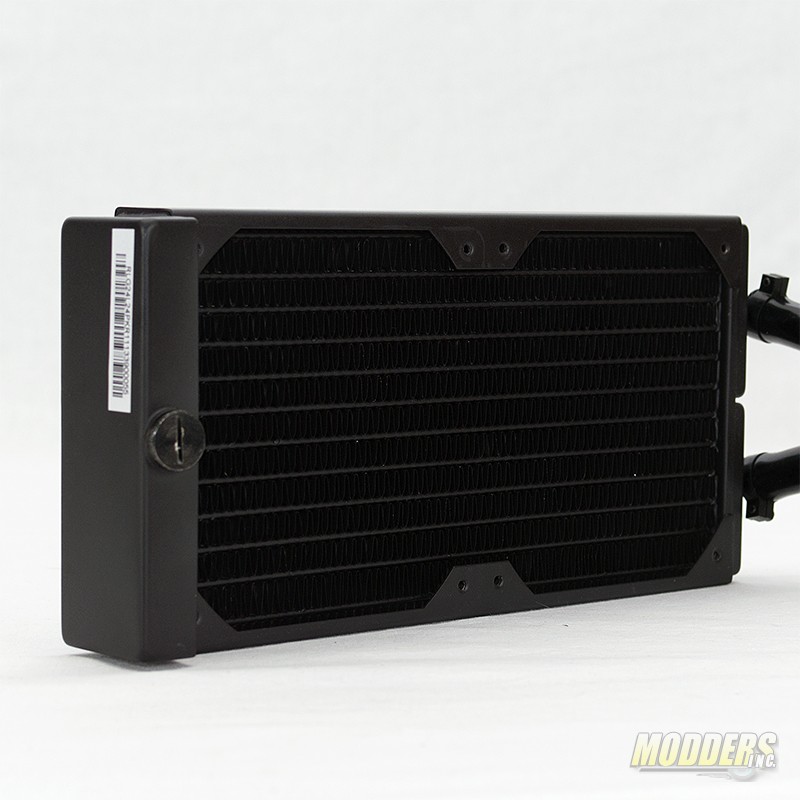 |
Initially I ran into an issue where the the radiator would not fit in the case with this motherboard with the fans installed. So I removed them.
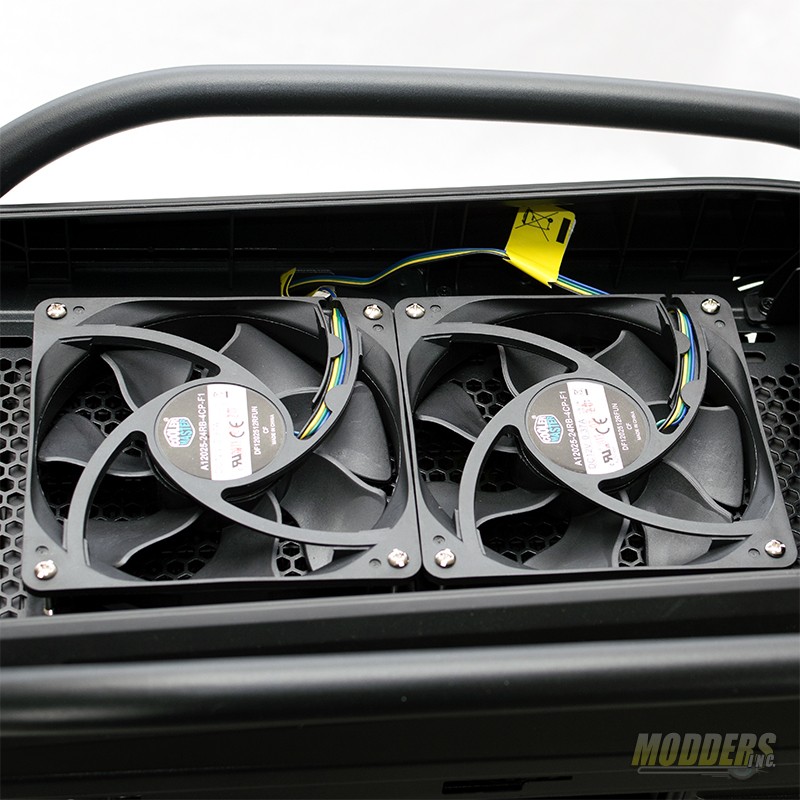 |
With the fans removed, I was able to get the radiator into the location where I was planning the installation. I used the long screws to attach the fans to the radiator through the top of the case. If this is your installation method, it is advisable to make sure the fan orientation so that it pulls air out of the case, as in the above picture.
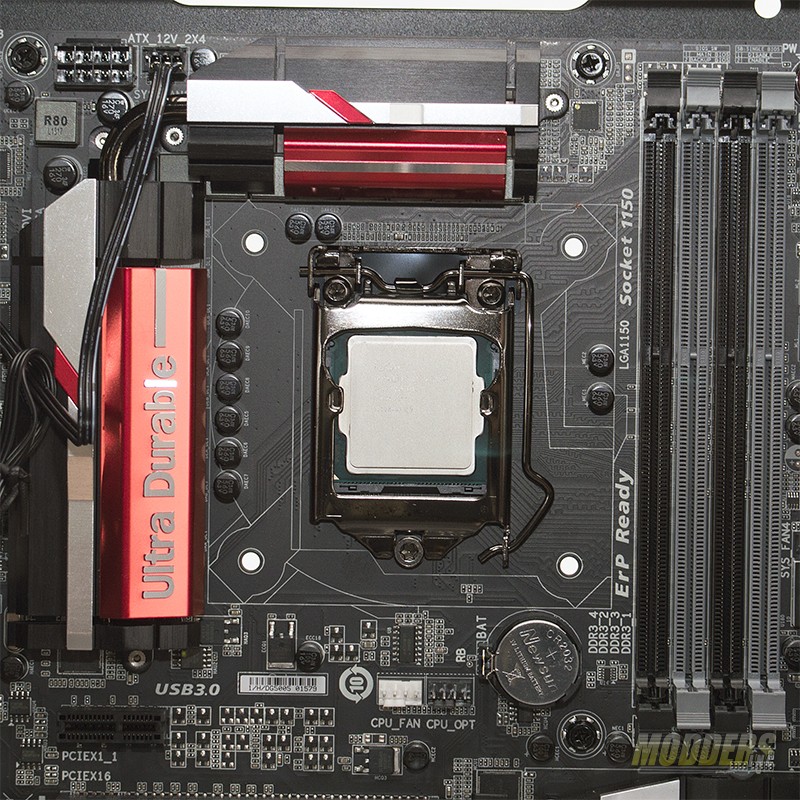 |
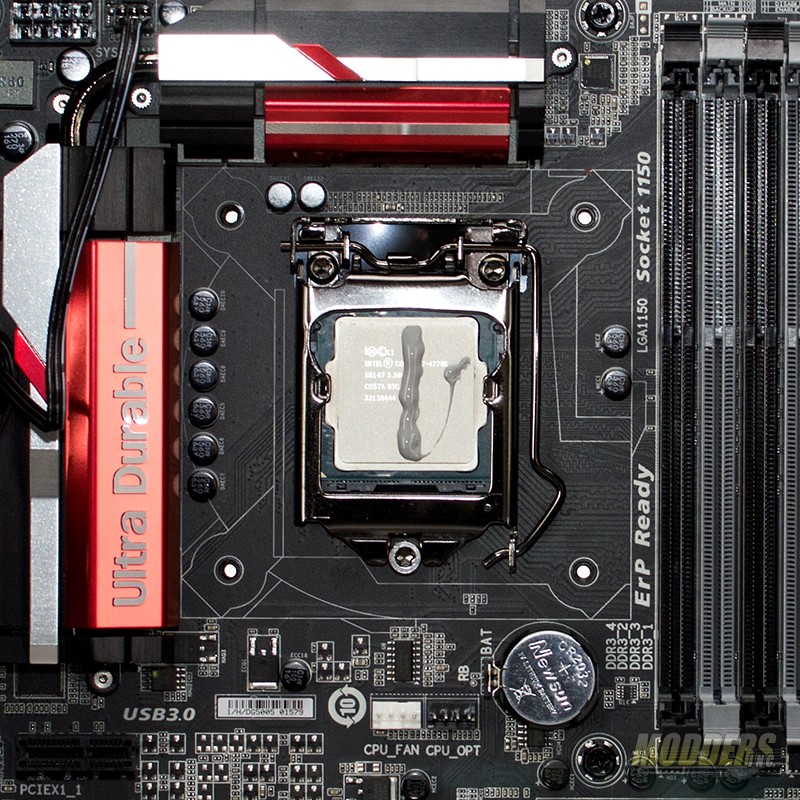 |
The first step in preparing the waterblock for installation is to remove and clean the old thermal interface material off the heat spreader. Isopropyl alcohol is one of the safest ways to clean the top of the heat spreader. Next up you will need to apply new thermal interface material to the heat spreader. Now, before we move on, there is a lot of discussion on how and how much thermal interface material to apply. The photo above is for demonstration purposes only. The best way to check and see if you have done it right, is to put some on, mount the cooler and remove the cooler and check the base of the cooler. You should see a light coating on the base of the cooler. Any area that is blank means that it didn’t get applied. This is one area that can make or break you installation, so take your time and double check it.
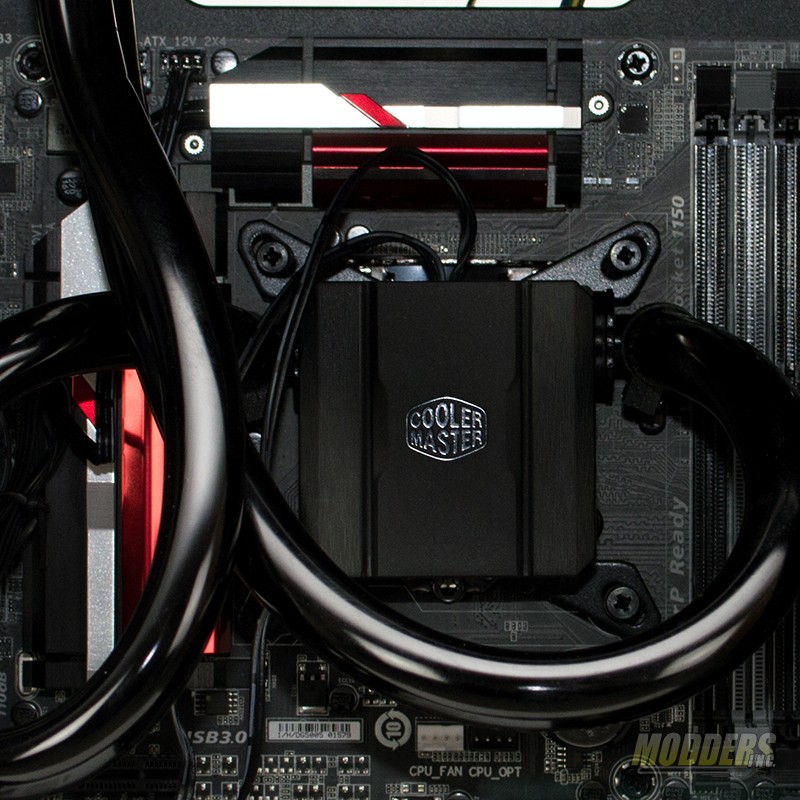 |
To finish up tighten down the waterblock using a criss-cross pattern to ensure even contact with the heat spreader of the CPU. Screw it down until the screws bottom out. Connect the power lead to an available SATA power connector and the PWM connector to the CPU fan header on the motherboard.




Resurrection of the H220 :3 i like it
Hmmm
It would be great if you could take Cooler Master at its word and actually utilize this cooler to its full potential.
A very simple upgrade would be to add a POSEIDON-GTX780 with the OEM water cooler. It is should be very simple to add to this cooler. Run tests on both the GPU and CPU to see how how well the system can handle the additional load.