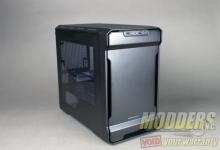
Cooler Master Cosmos-S Full Tower Chassis
Installation |
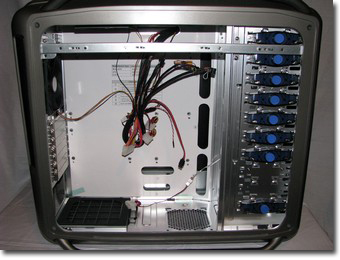 Moving along to the installation section, we will want to undo the wires and prep the case and all your hardware. If you haven’t built to many computers, then you will want to make sure to read your manuals before installing any components.
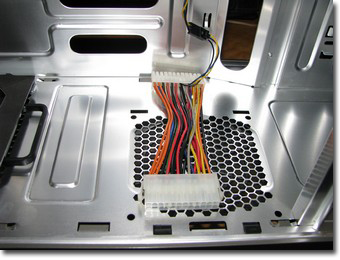 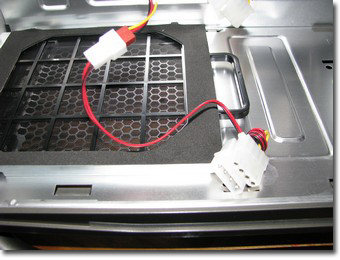 The top left image shows the 24 > 24 pin adapter that Cooler Master supplies with the Cosmos-S. The purpose of this adapter is to power the Touch Sensitive power button on the chassis by tapping into the Green and Black wires. To the right we see that the included case fans come with a 3-pin connector and also include a 3-pin to Molex adapter in the event you need one.
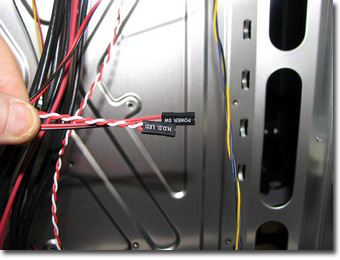 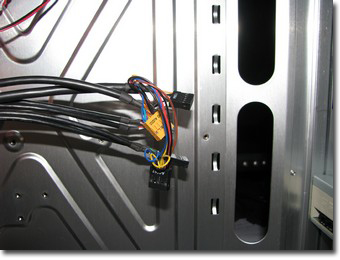 In the top left image we see the HD LED and Power SW pigtails that connect to your motherboards front panel header. The chassis is missing the standard Power LED and Reset SW pigtails. The Power LED side of it is handled in the top switch area. Moving over to the right image we find the USB, 1394, and Audio pigtails.
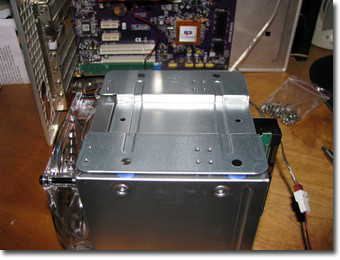 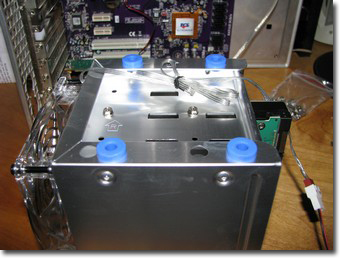 First up I pull the hard drive cage out to install the hard drive(s). The hard drive cage has two outer plates that fasten to the main cage of the chassis. Removing one of the plates you will see the four blue grommets that are used to control the vibrations. You simply mount your drive(s) in the cage. Slip the sides in place and slide it into the main cage. This to me is the ideal way to handle the anti-vibration mounts.
The 5.25″ drives install relatively easily. The push button tool-less locks need a little extra work. The pins that push into the drive barely catch the drives and leave me with a less than secure feeling. I tend to always remove the tool-less options and screw mount the drives which is possible with the Cosmos-S. Removing the tool-less parts can pose to be a challenge though, it does take a little force but they will come out. 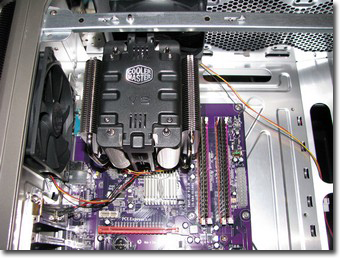 Next up you will want to install the rear I/O Plate and then install the motherboard. Note that you will want to install your CPU and CPU cooler before hand. The Cosmos-S doesn’t have an access hole on the rear to allow the backing plate to be installed for the CPU cooler. If your cooler uses the Push-Pin style mounting then you can install the cooler after the motherboard, but its easier to do before hand.
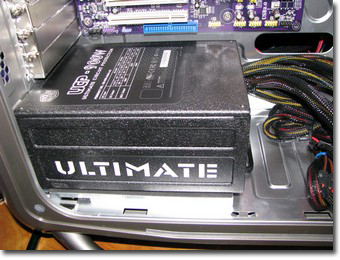 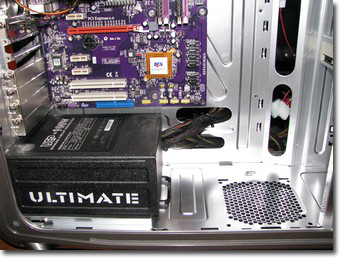 Moving along we want to mount the PSU in place and start routing the cables behind themotherboard tray via the cable access holes at the bottom of the tray. As I mentioned earlier, you will want to make sure and keep your cabling as spread out and flat as possible if you have a lot of it. If it bulges up to much it will cause clearance issues with the frame of the right side panel.
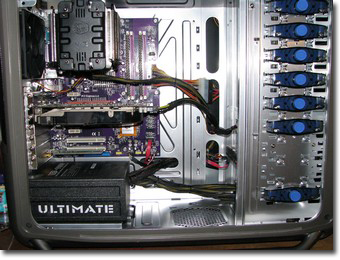 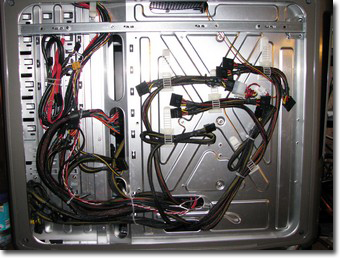 Here we can see how I routed the cables the first time around. I did a couple of different installations to verify cooler clearances. Most of the coolers I have on hand are the larger versions, which meant I might have to remove the side fan. The Cooler Master V8 / V10 variants both would require the side fan to be removed.
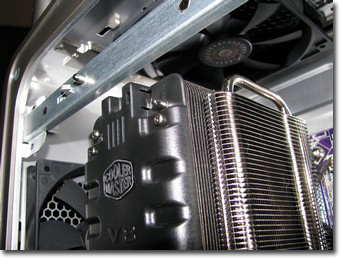 Cooler Master states on their site:
Keep-out requirement for CPU cooler installation: At least 5.7 inch(145mm) separation between motherboard and the side panel of COSMOS S. Also note that if you do decide to remove the side mounted fan from the panel. That part of the fans mounting bracket might also get in the way of some coolers. Make sure you research things a little bit before deciding on what cooler to match with the Cosmos-S unless you plan on doing some modifications of your own. |
