A Closer Look – Interior
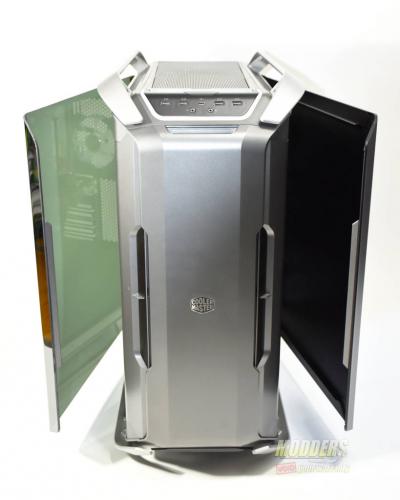
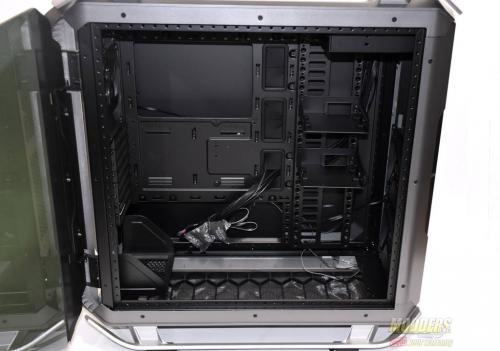
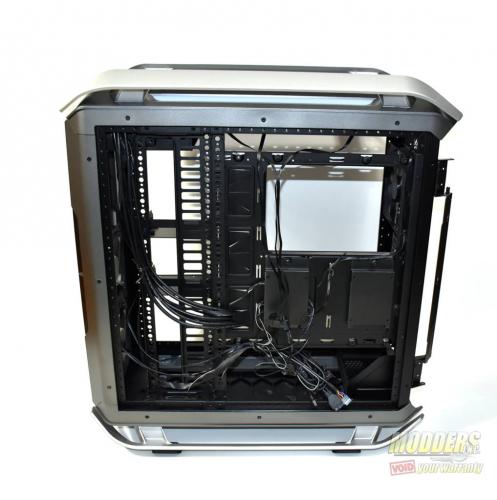
Unlike many cases, both the front and rear panel swing open on the Cooler Master Cosmos C700P. One of the first things you notice when opening the front or the back of the case are the removable panels. There are 2 removable panels in the front of the case and one in the rear. One the front, these panels cover up the power supply and any cables, as well as the 3.5” hard drive bays. In the rear, the panel covers up the cable management. The feature is perfect for those who, try as they might, just can’t manage cable correctly. For this build, I did remove one of the panels in the front. Otherwise, half of the loop would be hidden.
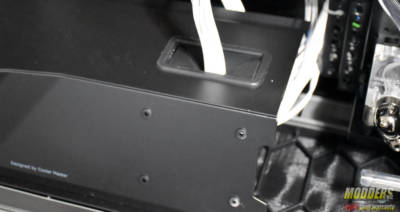
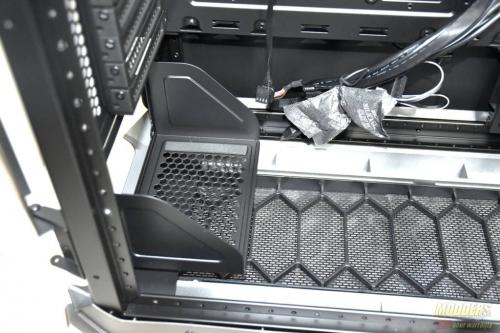
The power supply shroud looks great installed. It does an excellent job hiding the cables. There is a cut out with a rubber grommet to feed the VGA cables through. On the front of the power supply shroud, there are holes for mounting a 2’5” SSD, or hard drive. Mounting an SSD here not only looks good, but allows you to hide a couple more cables.
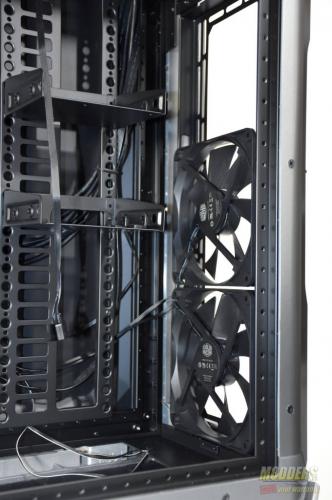
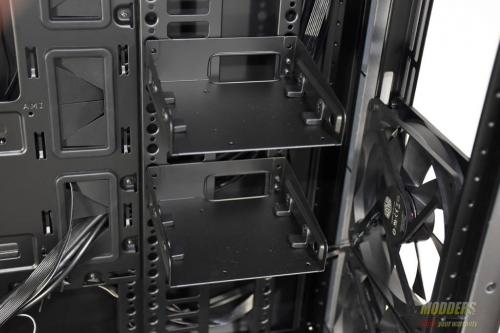
The other cover behind the tempered glass side panel hides several things with many options for customization. First, the Cosmos C700P comes with 2, 3.5” bays for hard drives or SSDs. They are mounted on a track that runs the height of the case. You can also purchase additional hard drive bays on the Cooler Master website. However, you can do much more with this space if you’d like. This area is prime real estate for a pump and reservoir. The track the drive bays come installed on has alternating sized holes, running the entire length. You can install a pump and reservoir on this track as well, and still have room for the drive bays as well. You can also purchase other accessories such as graphics card supports that would mount to this same track in the Cosmos C700P. If you were to keep the panel installed, it would hide the hard drives and front fans very well. The Cosmos C700P comes with 3. 140 mm fans pre-installed. Two in the front and the third as the exhaust.
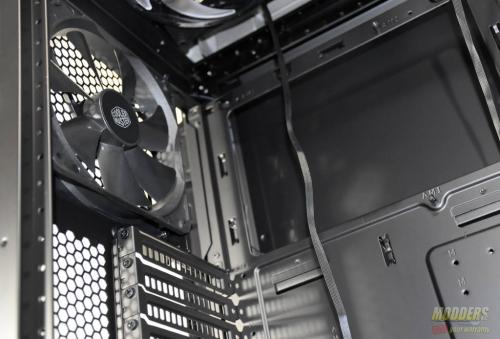
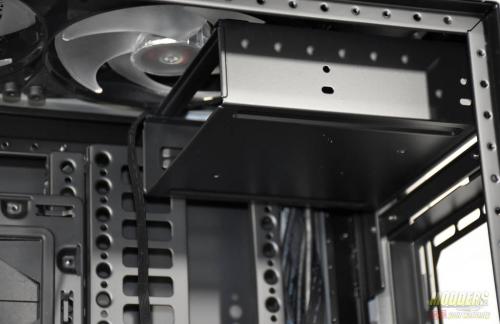
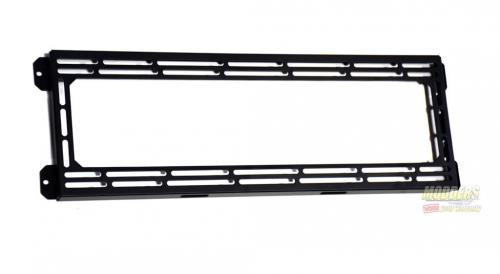
The Cosmos C700P comes with 2, 5.25” optical bays. To use both, the Cosmos comes with small mounting brackets that attach to the sides of the top 5.25” bay. You then attach you fan controller to the optical drive, for example. Since most enthusiast have moves away from optical media, the 5/25” bays can be removed as well. With the ODD (optical disk drive) cage removed, you have more options for liquid cooling. Which, is what this case is really designed for. With the ODD cage removed, you can fit a 360 mm radiator on the top and a 480 mm radiator in the front. With the ODD cage installed, you can use the radiator mounting brackets that come installed in the Cosmos C700P. This allows for up to a 280 mm radiator on the top and a 360 on the front.
The Cosmos C700P comes stock with the power supply mounting bracket in the basement of the case. This can be changed if you’d like to set the case up in a different configuration. The Cosmos C700P allows you to completely invert the inside of the case. You can strip down the internals of the case and rebuild it in a couple different configurations. It comes set up in the standard configuration. The Cosmos allows you to either flip the system up side down, in an inverse layout. You can also turn the motherboard tray 90° clockwise for a chimney effect, with the exhaust and IO on the top of the case. With an additional fan bracket, you can add an addition two 140 mm fans on the bottom of the case.
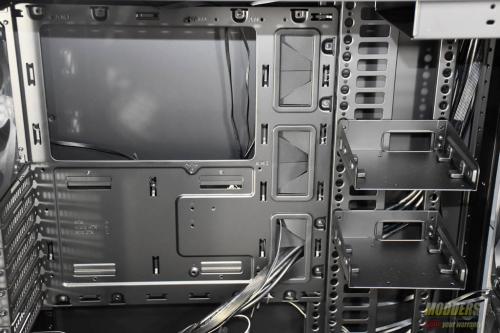
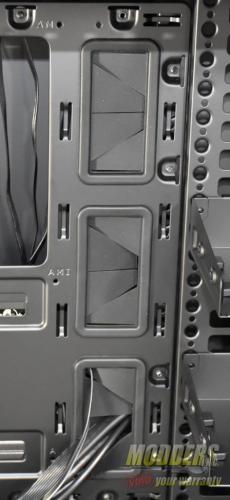
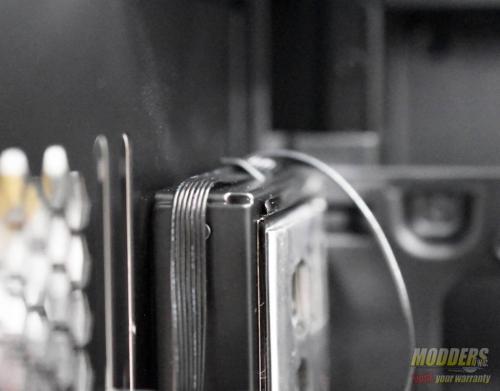
The motherboard tray has mounting holes for ITX, MATX, ATX and EATX motherboards. There are several cut outs for cable management, with rubber grommets, on the removable motherboard tray. Which is another great feature of this case. The ability to remove the motherboard tray is a feature every case should have. It makes installing the motherboard, RAM, CPU and CPU cooler much easier. There are even small hooks for wrapping cables around. For example, above the cut out for the IO shield, there is a hook for the wire to the exhaust fans. Nice little touch. On the back of the motherboard tray, there are several spots to attach zip ties or Velcro straps. This allows for excellent cable management behind the motherboard tray.
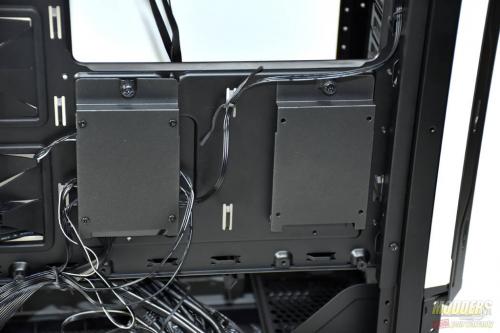
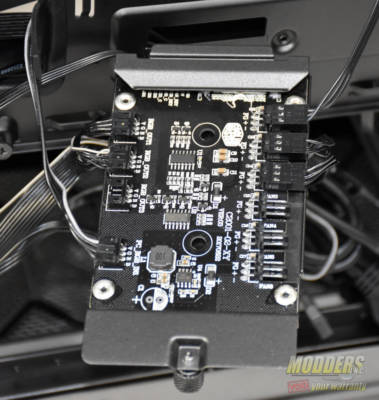
The Cosmos C700P come with two 2.5″ drive bays, installed behind the motherboard tray. However, one of the tray is more than just that. Behind the left 2.5″ tray, there is a built in RGB and fan controller. This is what controls the RGB lighting on the case. There are three RGB out ports, One RGB in port and six fan headers. The single RGB in comes with an extension to connect to your motherboard. This will sync the RGB lighting on the Cosmos C700P with the lighting on you motherboard. Two of the three RGB out ports are used for the accent lighting on the case. The third is left open for one additional RGB connection. This could be an RGB strip, a fan or even one of the new RGB air coolers from Cooler Master. For example, the Cooler Master MasterAir MA610P.


I built the Cosmo C700P reversed around an EVGA Classified SR-2 dual Xeon HPATX motherboard. It worked awesome, fills the case perfectly, posted CUDA rendering records first time out, and looks gorgeous!!!
The EVGA SuperNOVA 1600W G2 is bottom right; the pcie and sata power cables are completely hidden bottom center to left under the geometric shroud where I keep my emergency backup HyperX SSD out front in the special shock-mounted holder. The dual six-core X5660 2.8 GHz Xeons are air-cooled by twin LED CM V8 GTS fans; 24 RAM slots are good for 48GB factory, 96GB with the “Secret Sauce”; and 7 full length pcie slots in the upper right keep the air-cooled GTX cards right side up for better cooling, like in Mac Pro cases. The only real alteration was to move the vertical HD mounting column/support back on standoffs to clear the colossal SR-2 motherboard; everything else just worked, and the gorgeous double-curved glass door swings out and then right (towards the back of the machine). 4TB of SSD boot and scratch disks are tucked into two special holders on the back of the mobo tray behind a huge double curved black aluminum door; everything is super clean, and super accessible!
Initial config was with two immaculate EVGA GTX590 Classifieds, and one ROG MARS GTX580x2 for a total of six massive GF110 Fermi GPUs. On the Thea Rendering benchmarks (combined Nvidia CUDA and Intel Embree unbiased 3D rendering performance), this system scored 10,660; crushing many dual and triple GTX 1080ti rigs! Gotta love it!
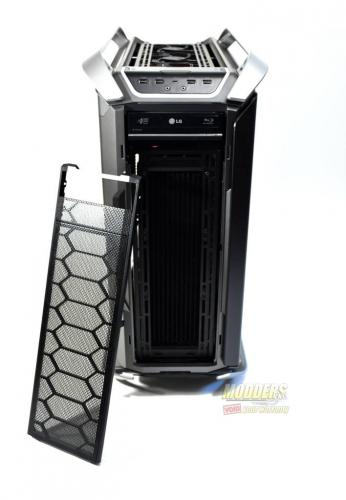
The top grill pops off to reveal the very impressive and huge ROG MARS GTX580x2 video card, and the many internal red LEDs hint nicely at the depth, volume, and massive power inside the stunning case! The ROG MARS GTX580x2 supports DisplayPort with audio, and drives a single 27” Apple Cinema LED display with glass face and nice sound. It really compliments the timeless and high quality styling of the C700P!
For the long term, I plan on re-installing two EVGA GTX580 3GB Classified Ultras under the ROG MARS GTX580x2, and setting up for cool and quiet presentation renderings in a professional industrial design studio. With BIOS temp-controlled and reliable air-cooling fans for all system components, this will prove to be a valuable asset in our bag of extreme-duty design tools. The heavy and hushed sounds of the big fans, the barely audible coil whine, and the subliminal double-curved tempered and LED lit smoked-glass case tell clients they are in for an experience they will not soon forget…
For showcasing the vintage and classic dual Xeon SR-2, and the massive CUDA video cards it can support, the Cooler Master Cosmo C700P is the one to see! Everyone loves it!
archiblender
archiMARS580
archiCUBIX