PC Cases / AccessoriesPC Hardware Reviews
Cooler Master CM Storm Sniper PC Case
« Page 2 | Page 4 »
Installation |
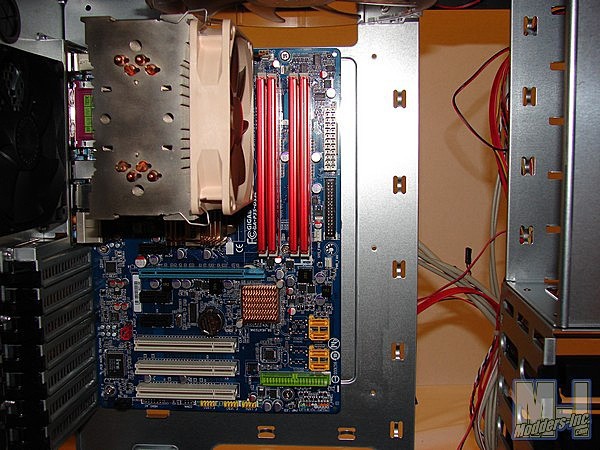
Installation of the motherboard was pretty straight forward with the CM Sniper. Once I had the stand-offs in place I simply installed my I/O shield, slid my motherboard in place and secured it to the motherboard tray/stand-offs with the provided screws.
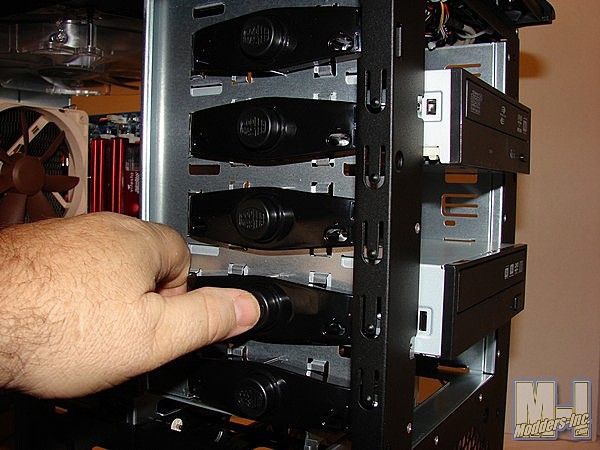
Next I slid my optical drives in place and pushed the button on the locking mechanism to lock them into place securely.
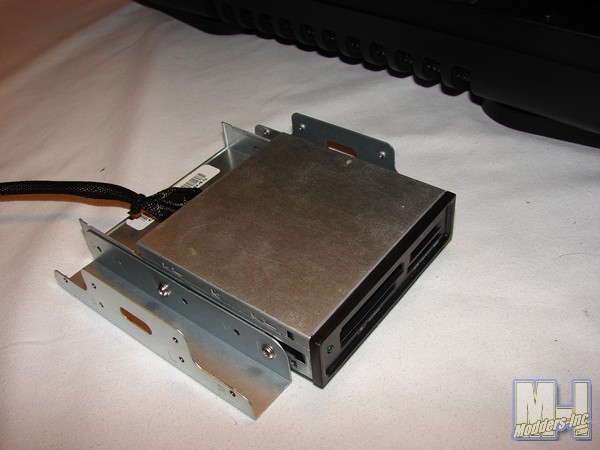
The 5.25″ to 3.5″ conversion brackets included in the accessory kit attached to my card reader easily and it was then able to be installed just as I did the 5.25″ optical drives above.
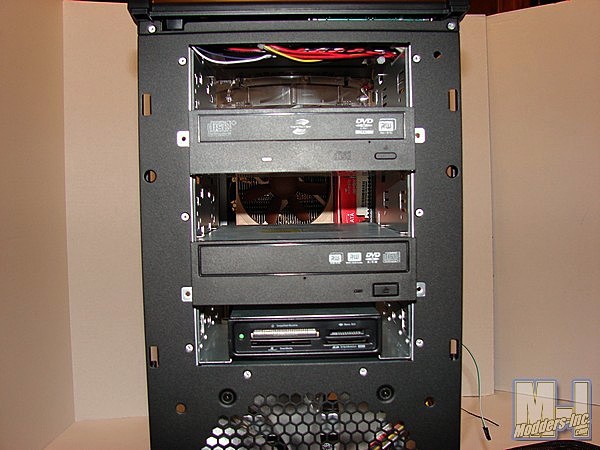
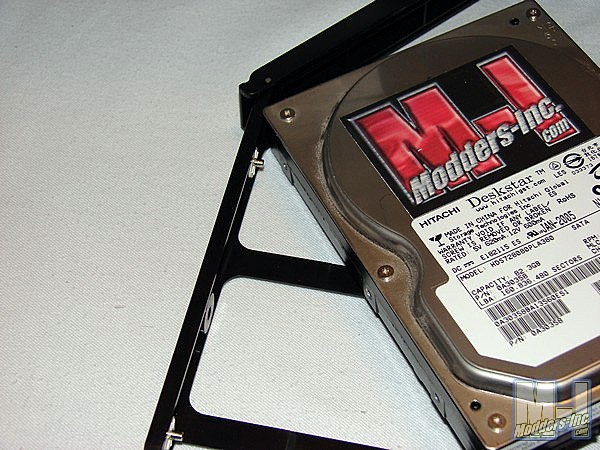
Here is a shot of the optical drives and card reader installed using the tool-less drive mechanisms. To install the hard drive in the hdd carriage simply spread the plastic rails slightly and place your hard drive down between the carriage rails so that the metal pins lock into the hard drive screw holes. I have the hard drive above sitting at an angle to allow fo a good camera shot of the metal locking pins located on the rails and the hard drive mounting screw holes on the hard drive.
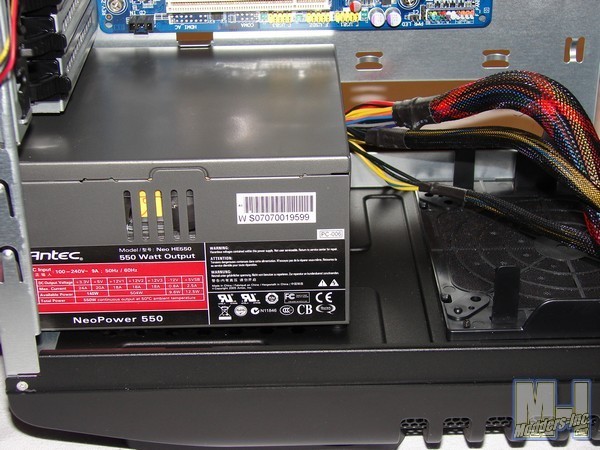
As you can see in the picture the raised strips with the rubber pads lifts the power supply off of the chassis floor leaving ample room for air flow from the vented area beneath it. There is room enough here for a bigger psu, just be sure to measure between your fan, radiator and/or whatever you decide to mount in the bottom before buying one.
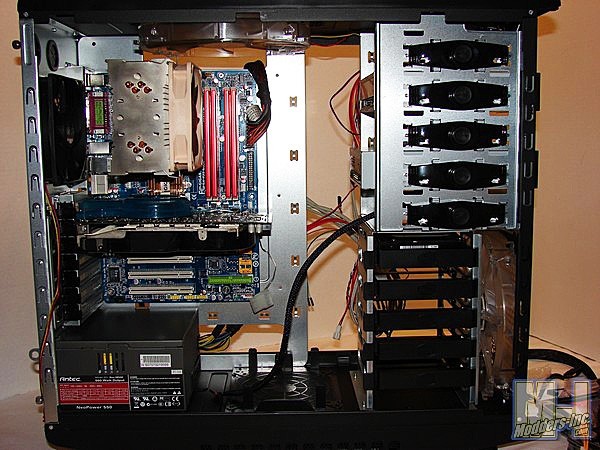
Here is a shot of all the hardware installed, minus of course all the cabling etc and fancy cable work that can be done with this case. And believe me, with the cable management holes and extra room this case has between the panel and motherboard tray you can do some a really nice job if you want to.
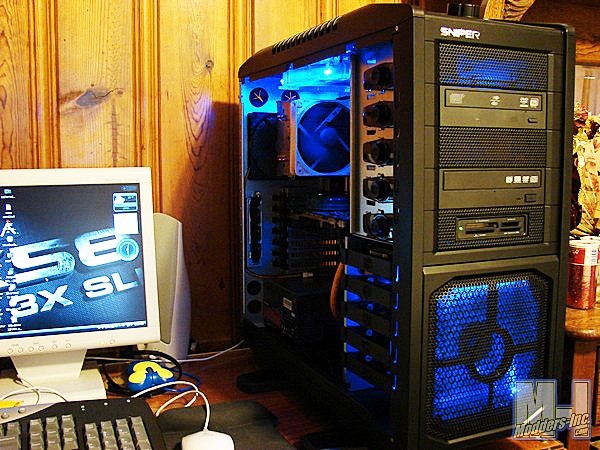
Here is a shot of the case with the Force 200 fan LEDS On. Next I used the CM Storm Control to turn the LEDs off while leaving the fans on. |
