Cooler Master CM Storm Sniper PC Case
A Closer Look |
|
Before we get started here is a link to the downloadable manual for the CM Storm Sniper, it will show you a lot of things I will probably miss that you may wish to see or know about. CMStorm Sniper manual Exterior 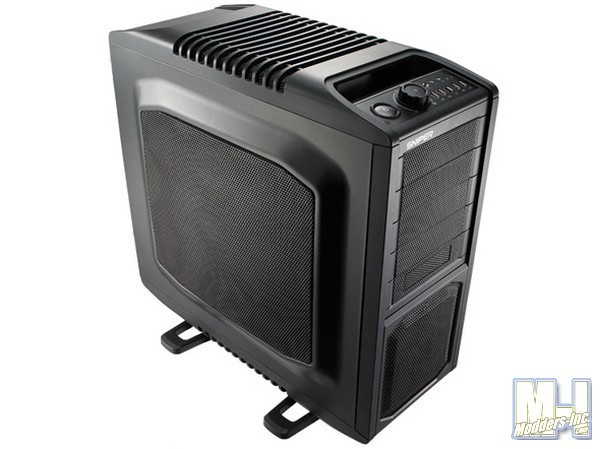
The Cooler Master CM Storm Sniper may be dubbed a mid tower chassis, but one can tell at the first glance that this mid tower is not your average mid tower. No wonder it is described as an “ultra mid tower PC chassis” in the introduction section of the Cooler Master site. Ultra, as in a huge mid tower for one. lol
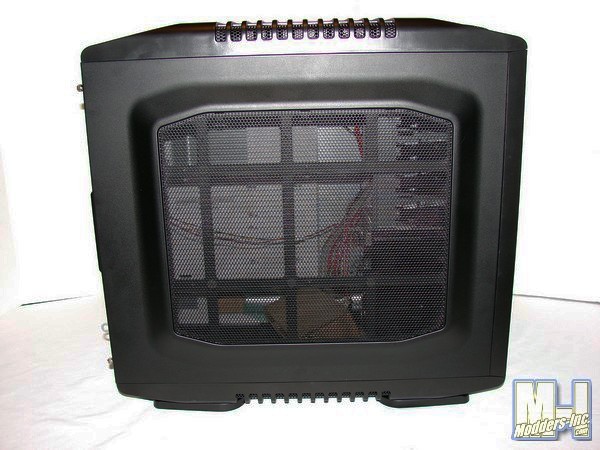
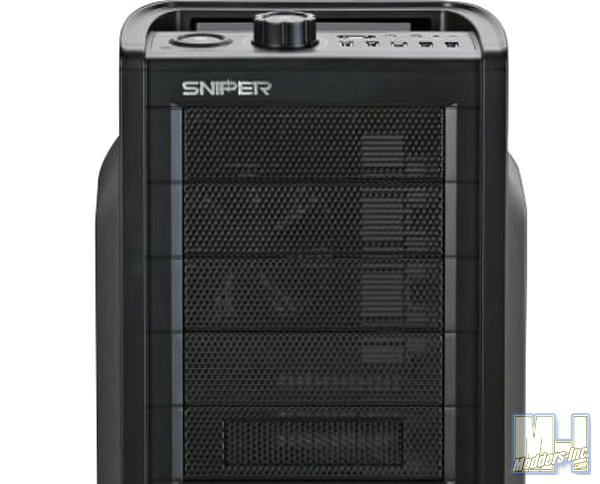
The CM Storm has a very nice mildly textured matte black finish that really helps to bring out that military / tactical weapons look. Loads of wire mesh, in a decent thickness I might add, for air flow. In fact the instead of a traditional side panel window, it has been replaced with wire mesh also.
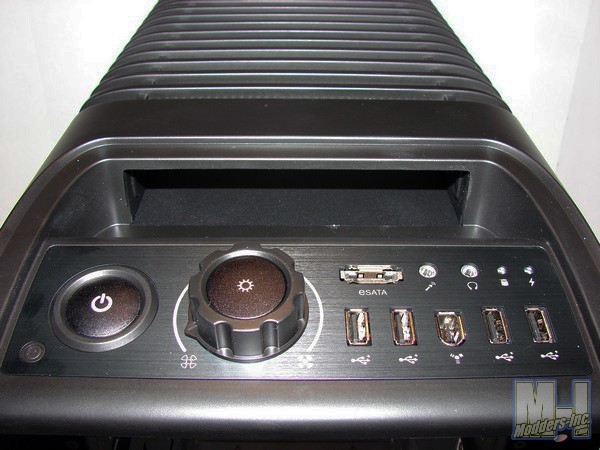
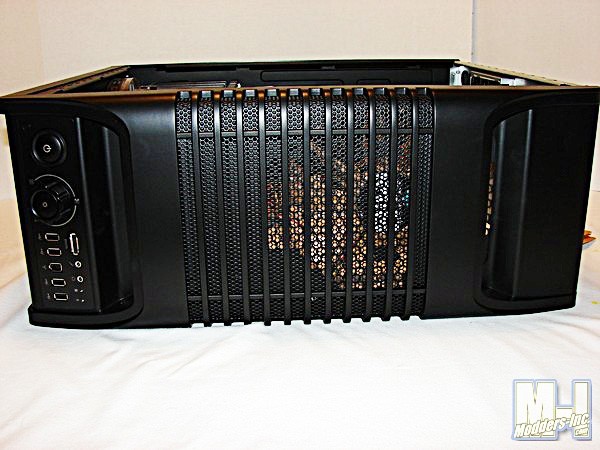
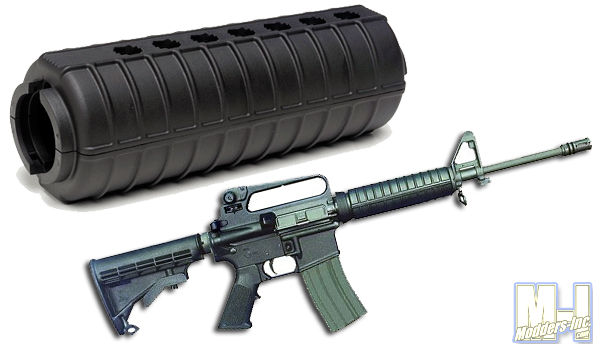 From the side the vents and ribs at the top and bottom sort of look like the handguard ridges of an M4A assault rifle. Which brings us to the top the case, where we find the CM Sniper’s control panel up front, the a-fore mentioned venting for the massive 200mm exhaust fans, and the built in steel re-enforced carrying handles. The built in carrying handles are a big plus for big gamers and lan-party goers, as now with the built in handles they have an easy way to carry a massive system to game with and don’t have to be too concerned with weight. No more little snack sized pcs to game on at the next lan party! ;) The control center is also something a bit new, as it incorporates not only the usual built in goodies like the CM Sniper’s: 4 x USB 2.0, 1 x Fire Wire, 1 x E-SATA, Audio / Mic Ports (adapts for HD audio or AC ’97), HDD activity LED, Power indicator LED, a large Power Button, and a Reset Button, but it also has a built in “dual function” fan controller.
This dual function fan controller has one big Knob! lol In fact it is one of the first things you notice about the CM Sniper … I kid you not. When I first saw it I immediately thought of an air conditioning unit control knob … and you know what … that is basically just what it is. lol Yup, it controls the air flow inside the case, therefore it controls the air conditioning. Who’da Thunk it? You simply rotate the knob to the right or left to increase and decrease the fan speed of every the fan connected to the controller. The only drawback if any to this is that it is not a seprate control for each fan, thus you can not simply slow down the front fan without slowing down the other fans connected to the controller. Now, not only is the airflow controlled, but the sound is also controlled. You can definately tell a difference in the sound level as you turn the knob to the left to lower the fan speed. From it’s highest setting to it’s lowest setting the sound level drops approximately 80%. However, Cooler Master didn’t stop there, they included a large button in the center of the large that controls the LED lights in the fans, simply push the button to turn them on for a cool light display or off for less distraction while gaming etc. Pretty cool huh? The front panel will accept five 5.25″ optical drive or peripherals or four 5.25″ and a 3.5″ utilizing a 5.25″ to 3.5″ drive adapter included in the accessories. The drive bay covers are all black steel mesh with dust filters behind them that can be removed and cleaned.
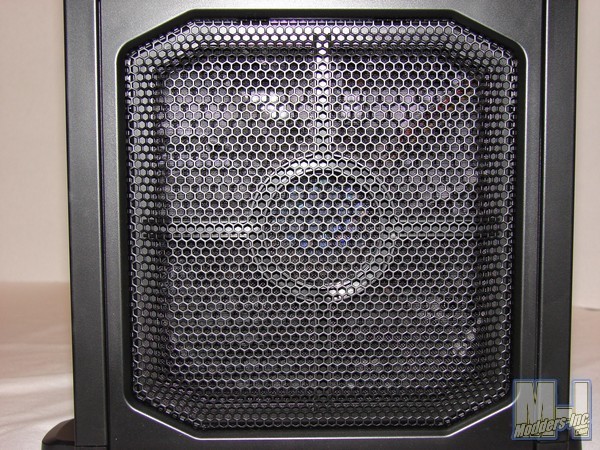
At the lower portion of the front panel we find the front air intake. It is covered with the same black steel mesh and also has a removable dust filter for cleaning. I thought it sort of neat how the opening behind the mesh looked like the crosshairs of a scope. :) Behind the front mesh CM Sniper utilizes a 200x30mm blue LED fan for the air intake.
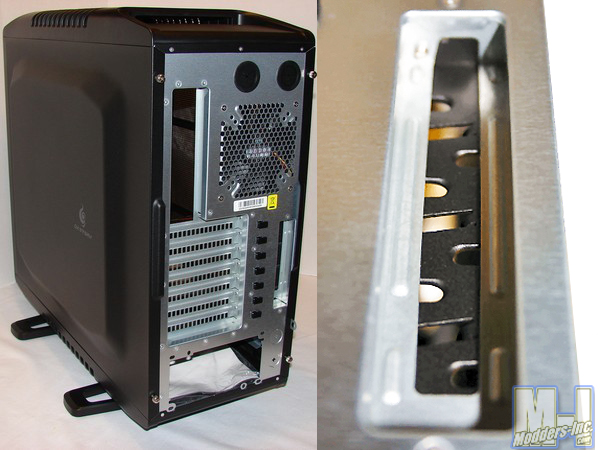
At the rear of the CM Sniper we find 7 vented expansion slots, a 120mm fan pre-mounted (with 92mm and 80mm pre-drilled holes available), bottom psu mount to enhance airflow, 4 liquid cooling pass-throughs are also pre-cut (two at the top with grommets and two at the bottom needing to only be punched out; rubber grommets in accessories for bottom holes). We also find the CM Storm “Storm Guard” … more below.
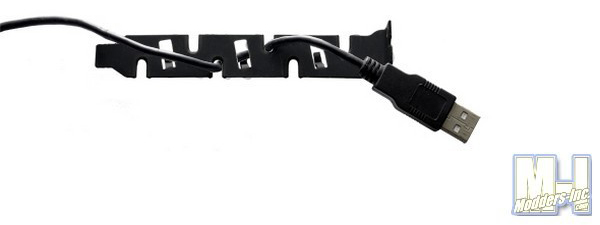
The StormGuard™ is the newly patented security feature for you pc chassis. Why? Well have you ever been to a lan or heard friends talk about getting their keyboards, mice and even monitors stolen while they went to the bathroom. lol Geesh Turn your back nowdays and someone will walk up and unplug your $75 mouse and be gone with it before you ever know it was even being looked at. Sad but true. Well, this little item just may save you a the hassle of having to hunt down a replacment, … better yet the hassle of it happening to begin with. Simply run your mouse/keyboard etc cable through the slots in the StormGaurd plug it in and close / lock your case back up. That mouse ain’t going nowhere … without your permission, or without having to have it’s cable cut. Sweet, huh!
A closer look at the top shows the ample steel mesh venting for the 200x30mm Blue LED exhaust fan. You can also get a better look at the built in handle layout, though a relatively simplistic design the handles are indeed very sturdy.
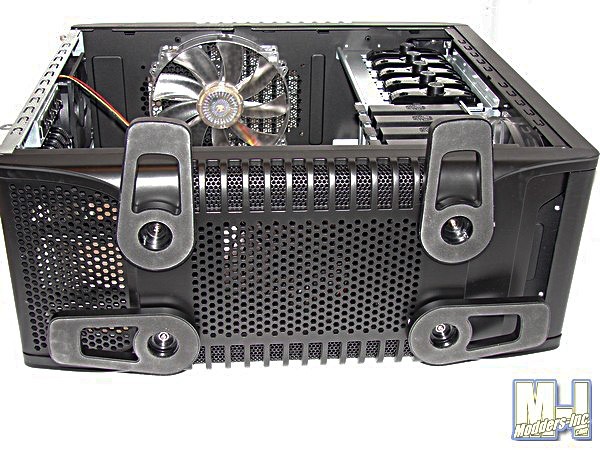
Looking at the bottom we can see the very large rubber padded adjustable feet that Cooler Master has included with the CM Storm. They rotate 90º giving the CM Storm a rather large, but stable, footprint when fully extended. You can also see that the bottom of the chassis is vented very well, both under the Power Supply area and the optional intake fan area.
Interior
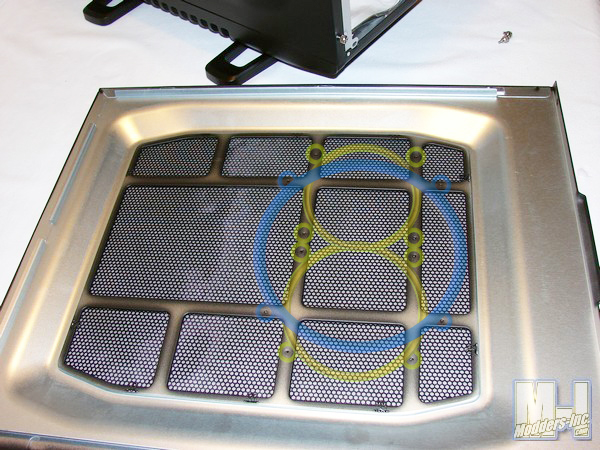
Upon removing the side panel we can now get a better look at the pre-drilled mounting area for a single 200mm Blue LED Force 200mm Cooler Master Fan, which is optional (still not available in the US) or two 120mm fans. I have the mounting hole layout for the 200mm fan highlighted in blue and the two 120mm fans highlighted in yellow.
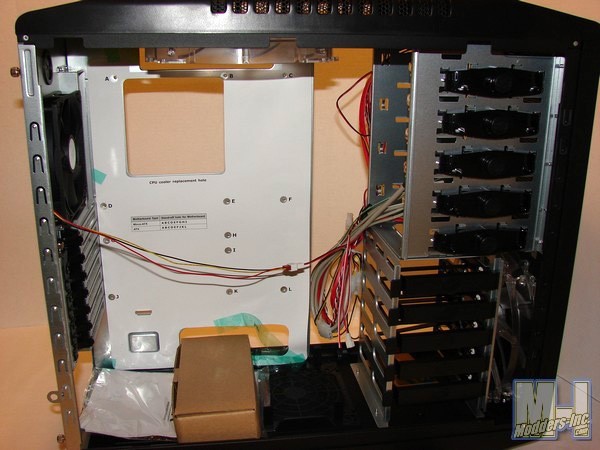
Taking the first good glance inside the CM Sniper, I must say I was impressed to say the least. This thing has the belly of a beast, it is indeed quite large for a mid tower. Of course we find the instruction manual and accessory box taped to the bottom, and a truck full of wiring is awaiting. Nice big cable management holes and a nice large access hole behind the motherboard to install/uninstall those large painful cpu coolers of the day. Nice!!
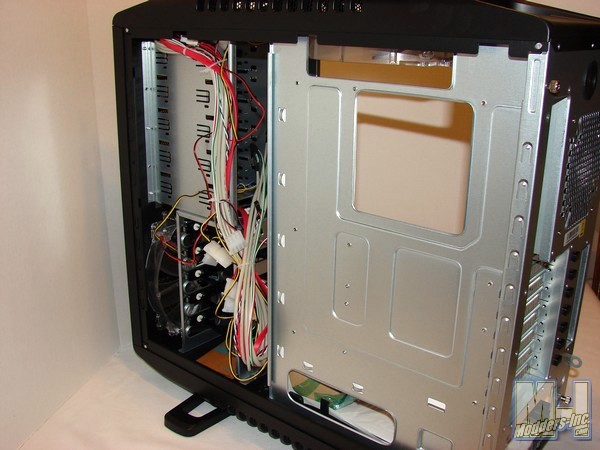
Here’s the opposite side of the case, as you can see the access to the cpu area is large indeed. And the cable management holes, though only two are quite large. Between the side panel and the back of the motherboard tray is ample room for more wires and cables than you will ever put in here.
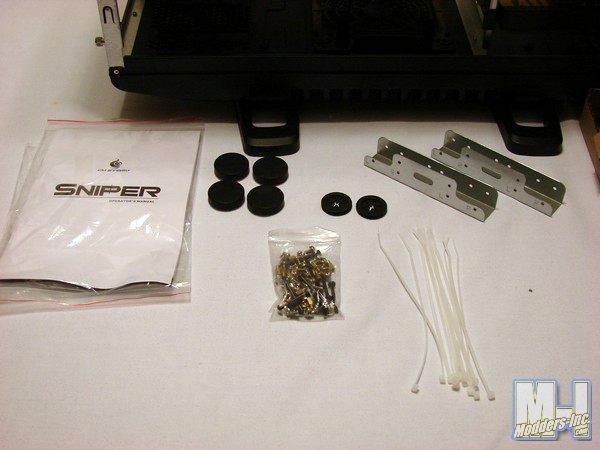
Here we have the instruction manual and the included accessories; cable ties to help with wire management, a bag of installation hardware (screws, standoffs etc), the extra rubber grommets for the L/C holes, 4 regular style rubber case feet (just in case you prefer those) and the 5.25″ to 3.5″ drives adapters. Yep, everything you need and then some more.
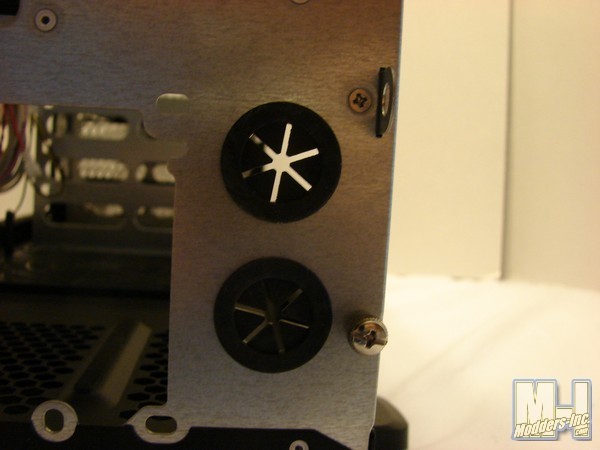
Speaking of the extra rubber grommets, I went ahead and installed them even though I did not plan on using liquid cooling. I personally like the way they look much better than the punch outs.
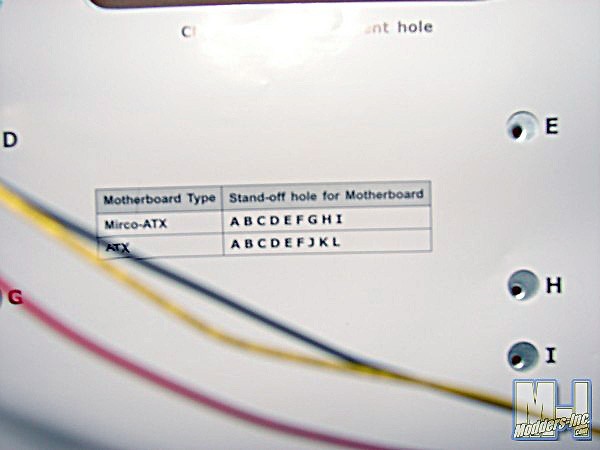
I also like the motherboard stand-off layout template that Cooler Master included. this makes finding the correct stand-off locations quick and painless, just match the letters to your motherboard type and install your stand-offs.
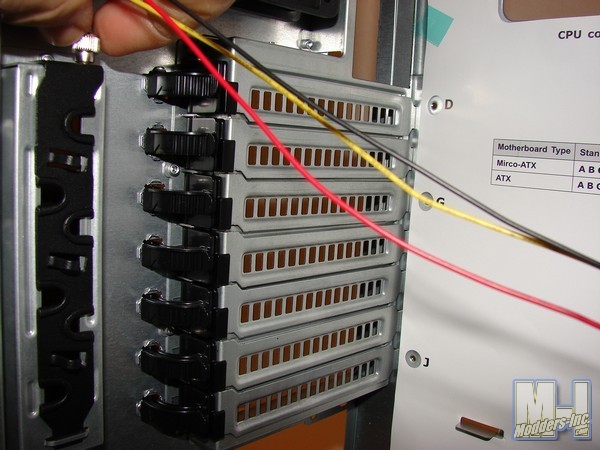
Moving to the rear of the case we can see that the Storm Guard is held in place via a thumb screw, simply unscrew it and thread your mouse cable etc through the guard and re-attach it to the case with the thumb screw. We can also see the tool-less PCI slot system and vented slot covers used by the CM Storm.
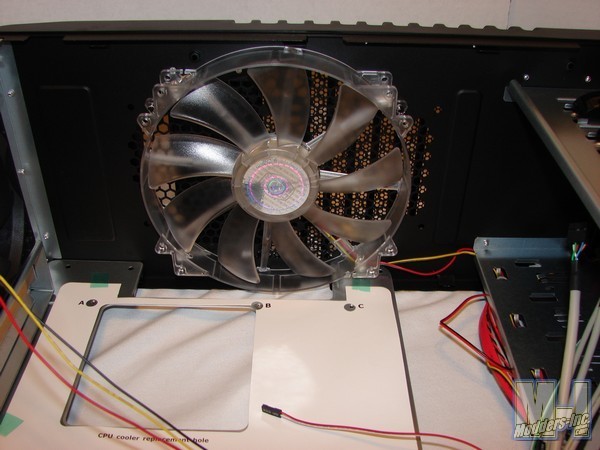
Looking up at the top we get a good look at one of the massive 200mm x 30mm Force 200 Blue LED fans used in the CM Sniper. Now if you so desire the 200mm exhaust fan can be removed, and two 120mm fans or a dual 120mm liquid cooling radiator can be installed in it’s place using the pre-drilled mounting holes provided.
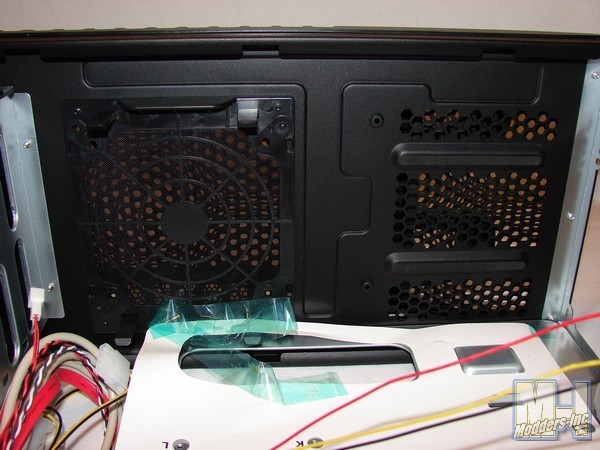
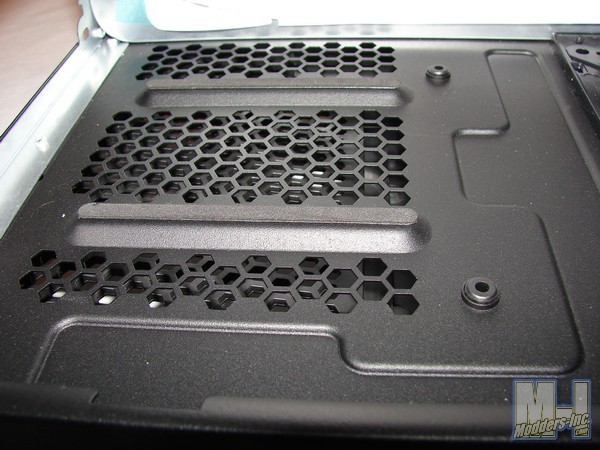
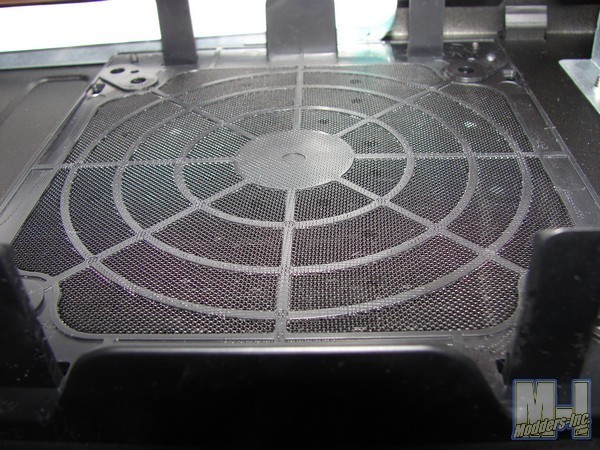
Turning our attention to the bottom of the chassis we find that the power supply sits on two raised padded strips running atop a nice sized vented area. This should provide plenty of ventilation for the power supply. In front of the power supply we have a bottom air intake mount that will allow you to snap in a 140mm fan or install a 120mm fan via screws. The fan mount does include a cleanable air filter.
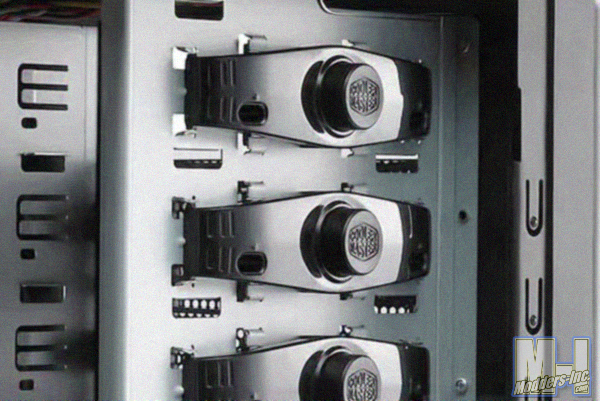
Up front the CM Storm Sniper uses push button (tool-less) installation locks to hold the optical drives in place securely. There are 5 such push button locks that only require you to simply push the button to lock or unlock the mechanism once the drive is slid into place.
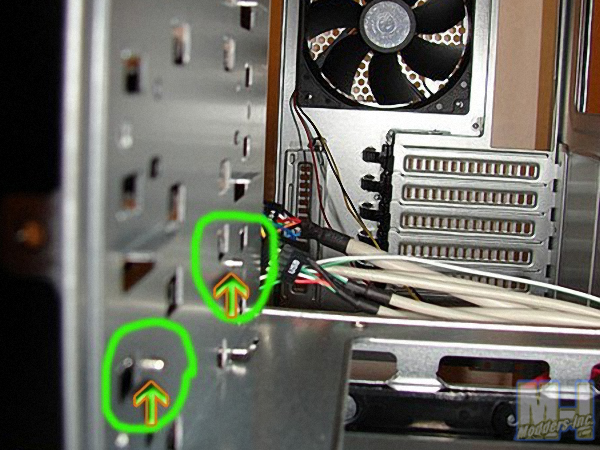
Shown here are the two steel studs that come out of the locking mechanism and stick into the optical drive to hold it in place.
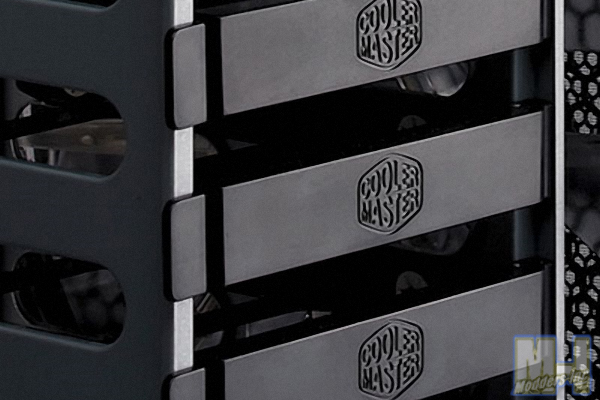 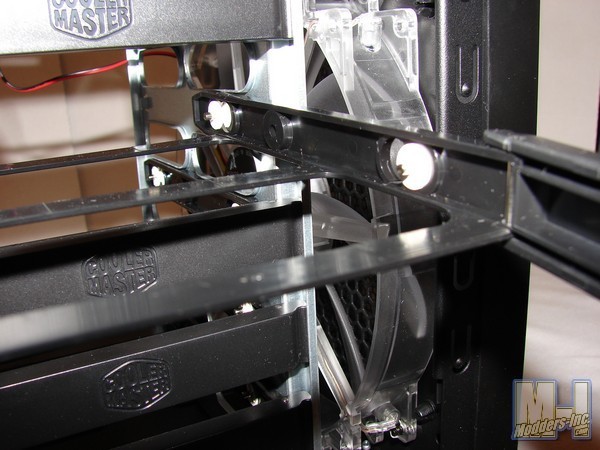 In the HDD cage we find five slide out HDD carriages, simply unsnap the latch and they slide out easily allowing access to your hard drives.
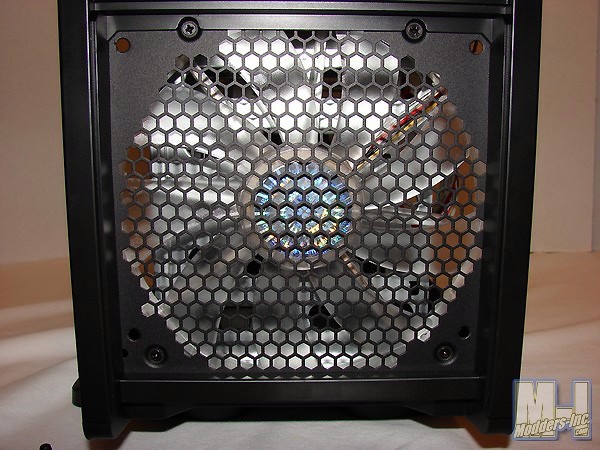
A massive 200mm x 30mm Force 200 Blue LED fan by Cooler Master sits up front to facilitate the air intake for the CM Sniper.
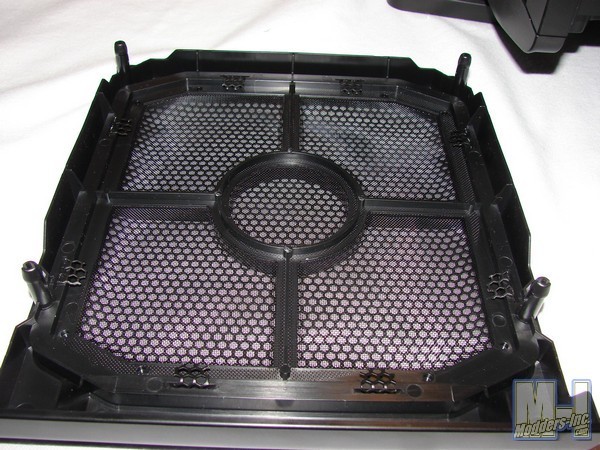
A cleanable dust filter for the front intake fan is attached to the front panel via this lower removable section of the panel. Simply pull it towards you gently til it un-snaps to remove it for cleaning.
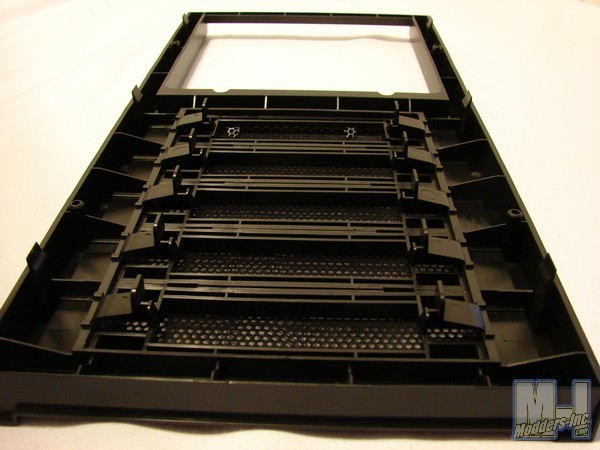
The entire front panel also removes just as easy.
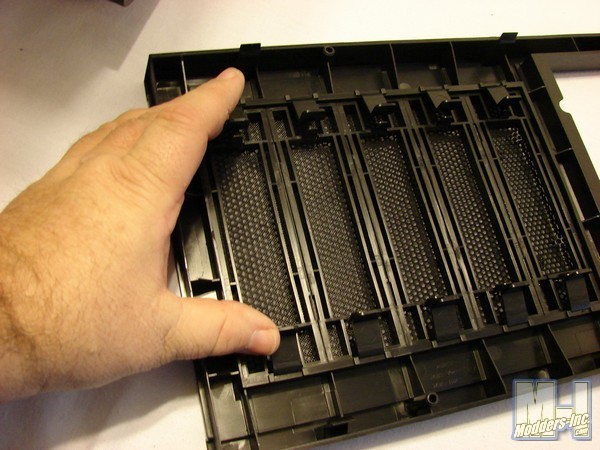
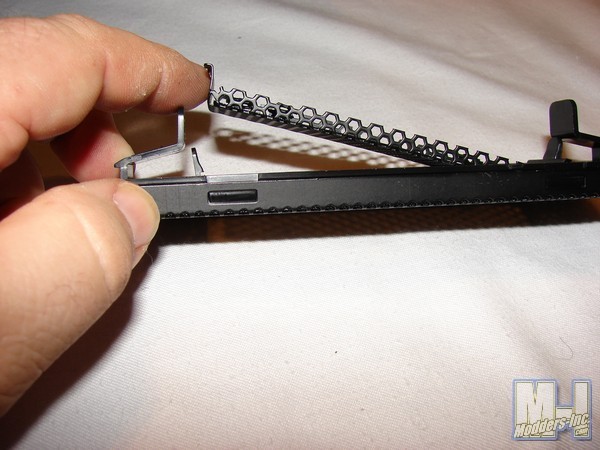
Each drive bay cover has a removable/cleanable filter also, as each cover is vented for air flow. Simply press in on the tabs on the back of the covers to release them from the panel.
There is one 5.25″ cover with a pre-cut 3.5″ bay hole in it. You remove the 3.5″ section just as you do the 5.25″ sections to use this cover with a 3.5″ drive. |
