COOLER MASTER CM Storm Scout 2
Exterior Impressions Part 2:
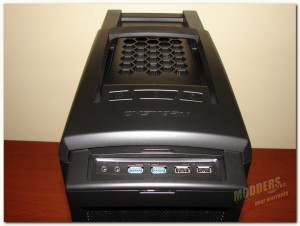
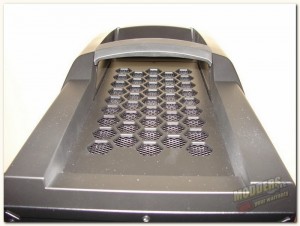
Here we have the top of the CM Storm Scout 2, which is fully ventilated. It also has the front panel I/O put area under the sliding panel and behind that you have the power header. CM Storm has added carrying handle as well, so you can transport it more easily, … more about the handle a bit further down.
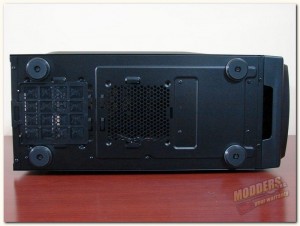
The bottom of the Scout has a set of nice rubberized feet, with brushed aluminum trim. You can also see that there is a space for another optional 120mm intake fan here. Now, there was not a filter/screen here although it looked like one may have supposed to been there, since it had tabs one could have slide a screen into. As we move on to the PSU intake area, you can clearly see there is a screen/filter here that can be slid out and cleaned easily.
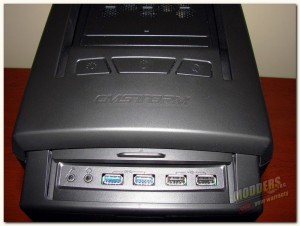
Looking at the front I/O area, which by the way is covered by a small sliding door, we find the basic needed input/output ports. From left to right; the mic jack, audio jack, 2x 3.0 USB slots, and 2x USB 2.0 slots. Behind the sliding door we find the power header, which consists of from right to left; a Fan LED switch, a large power button, and the reset button. And also, there is a red LED power indicator located at the front of the case, just below the sliding door of the front input/output area. In the pic on the right you can also see the carrying handle and the upper fan exhaust area (which is removable).
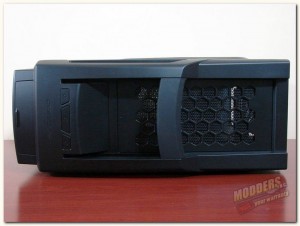
On the left you can get a somewhat better view of the carry handle, it is a steel reinforced handle that has a rubber cover over it. The handle feels good in your hand when carrying the case, and the rubber minimizes slippage. Having the handle placed in the position it is in makes carrying the case easier also.
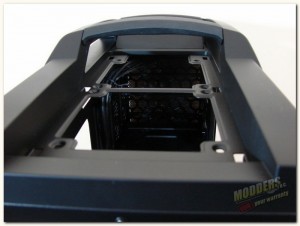
As I mentioned above the top panel has an exhaust area which is covered with a removable plastic mesh panel. To remove the panel you reach into the case and in the top you will find six plastic locking clips, that you simply push over slightly and push upward to release the mesh panel. (Note: These clips are delicate and will break easily, so remove this mesh panel with care.)The mesh panel does have a screen type filter in it to keep debris from entering the case. In the pic on the right you can see where you have the option to add 2x 120mm fans for exhaust purposes. The panel has an arrow on it that points toward the front of the case, to help you quickly identify which direction it goes when replacing the panel.
