Computer Case Cable Management
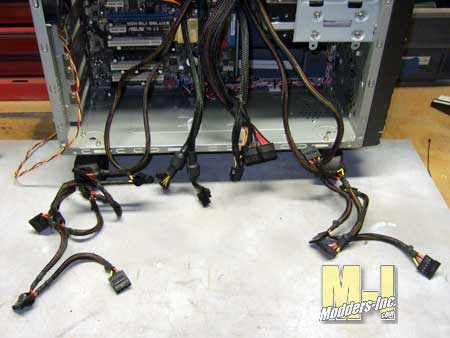
Off we go to the next hurdle and that is the dreaded power cables that run to all that junk you have inside your case. I will once again stress that less is more and that if you can eliminate anything you don’t need then take it out. First we need to see what we have to power up and see how we can cut down on the clutter. I like to take all the power cables and separate them in to common groups such as all the PCI-e, hard drive, motherboard, and etc. Why you ask? Again I will reference back to the front panel as we know that all common power types will be going to the about the same place. The PCI-e will be going to the middle of the case, the motherboard power will be somewhere towards the top of the case and the hard drive and ROM drives will be to the front of the case. By grouping them we can route them to the same area and hopefully eliminated unneeded cable clutter.
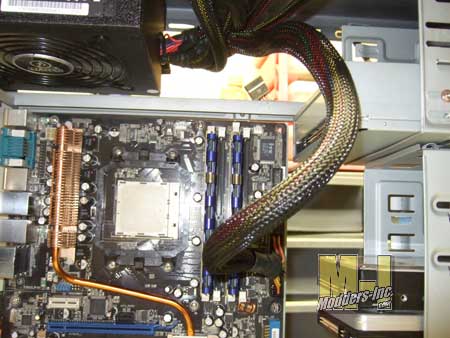
Here I took the main power from the power supply and plugged it in to see which way that I could manipulate it for the best look.
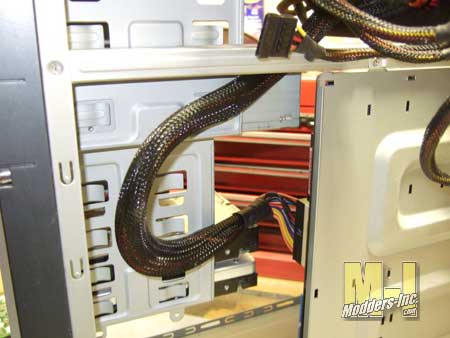
What I found was that I could place most of the monster cable behind the drive cage and it would be sandwiched there when the side panel goes back into place.
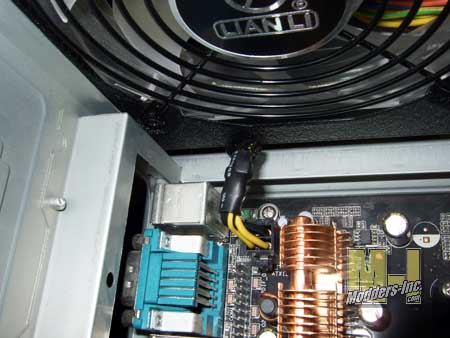
As for the power pin to the motherboard itself I again found a small place to run the cable through to shorten the run and clean up the look. A small gap between the power supply and a brace for the case gave me enough room to do what I wanted.
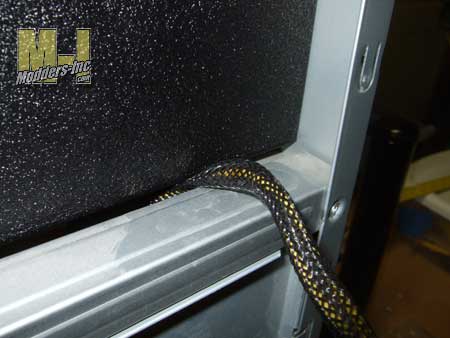
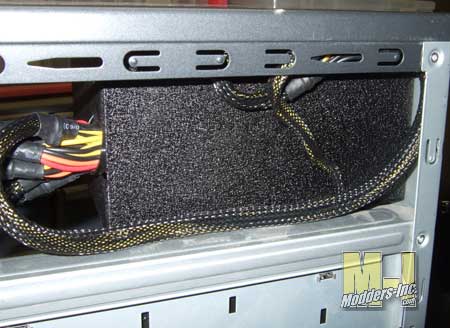
With even more luck there was plenty of open space on the side of the power supply and the side panel to allow me to tuck the power cable away. This space was large enough to add even more cables here if needed at a later time.
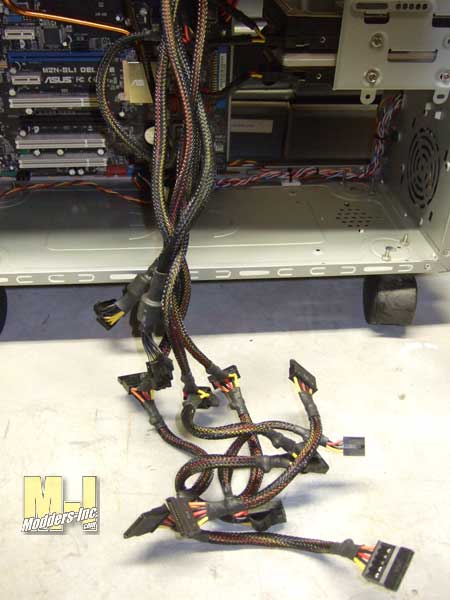
We now have two wires out of the way with more to go. It is time to tackle the hard drive and ROM power cables. And yes there are a fist full of them and probably less than half of them you will use. So what in the world do you do with them. Hide them of course, but first look at what you must have to make your stuff work and make the best of it. Practice the routing techniques you have read about so far and you will come up with a solution.
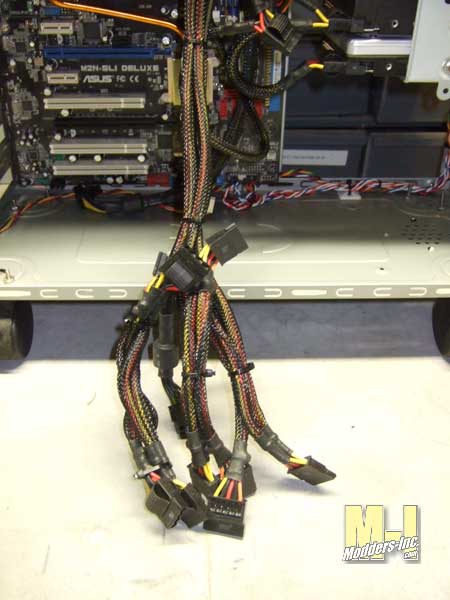
Now what about all those extra wires? Tie them up as neatly as possible like I did here. I once again grouped them and cable tied them to make a single more manageable piece to work with.
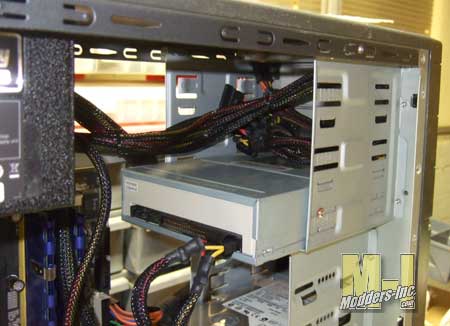
Primitive, yet it works, you can just stuff them into an empty drive bay and the whole group of wires are gone. All you see is the smaller singular wire we made going into the cavity. Now if you want to go another step farther you can do as I have done in the past and that is to make a cover that goes over the back side of the drive bay to completely conceal away the wires.
