Cooler Master Nepton 240M Review: The Power of Silence
Installation of the Cooler Master Nepton 240M
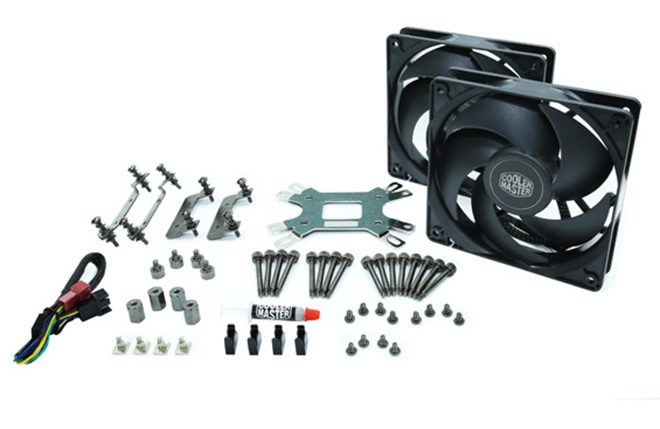
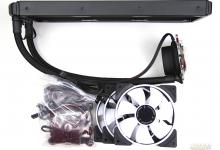
Before proceeding with installation, lay out all accessories and cross reference the package content with the illustrated user’s guide.
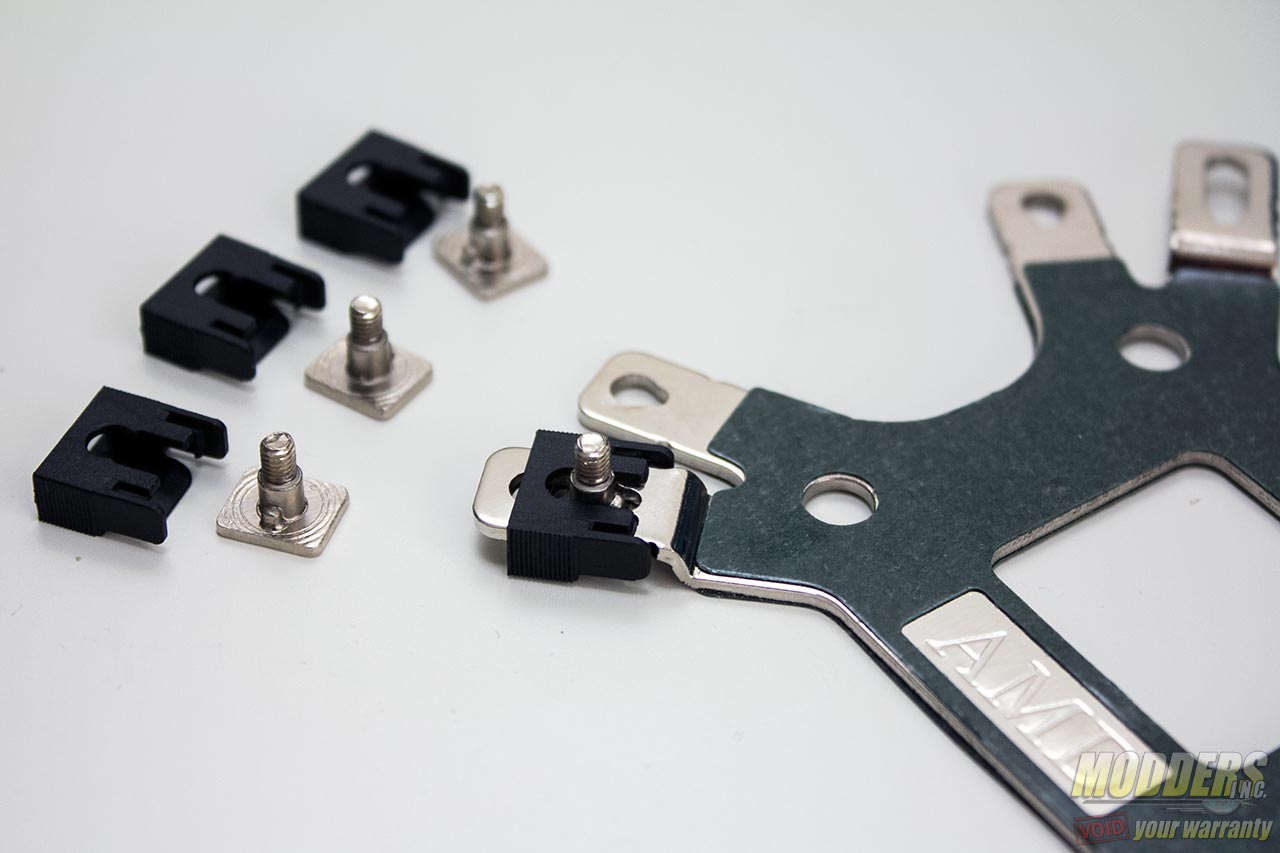
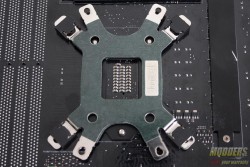
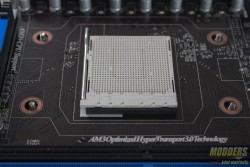
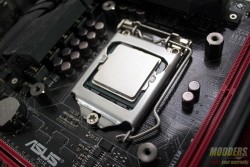
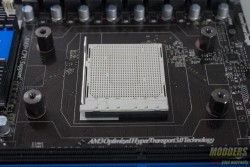
With the exception of Intel LGA2011 mounting, both AMD and Intel installation requires the use of the universal backplate provided. One side is for AMD and one side is for Intel and it is marked accordingly. The mounting posts must be assembled first at the tip of the corresponding mounting hole and it is made up of the metal post and the plastic lock that holds it in place. If you find that the mounting post is not fitting correctly through the motherboard mounting hole, make sure that the post and the plastic lock is secured completely with no gaps on the edge.
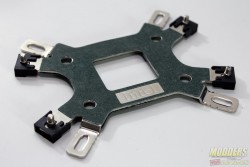
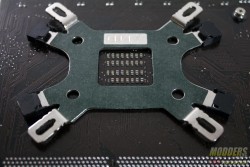
View of the backplate assembly from the other side:
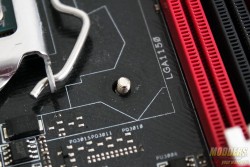
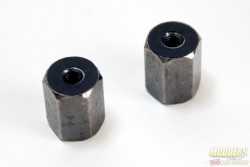
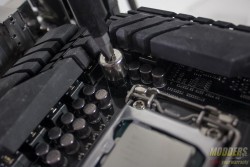
The next step is to mount the hex posts on these protrusions from the backplate assembly. These hex posts are insulated on one side so as not to damage the motherboard surface. Installing these would be a lot easier if Cooler Master provided a hex-screwdriver adapter (see second photo below) which they include in their heatsinks such as the Hyper 212 EVO for mounting the hex nuts but for some reason is not bundled with the Nepton 240M.
Once all four posts are installed, the mounting assembly on the pump unit can now be assembled.
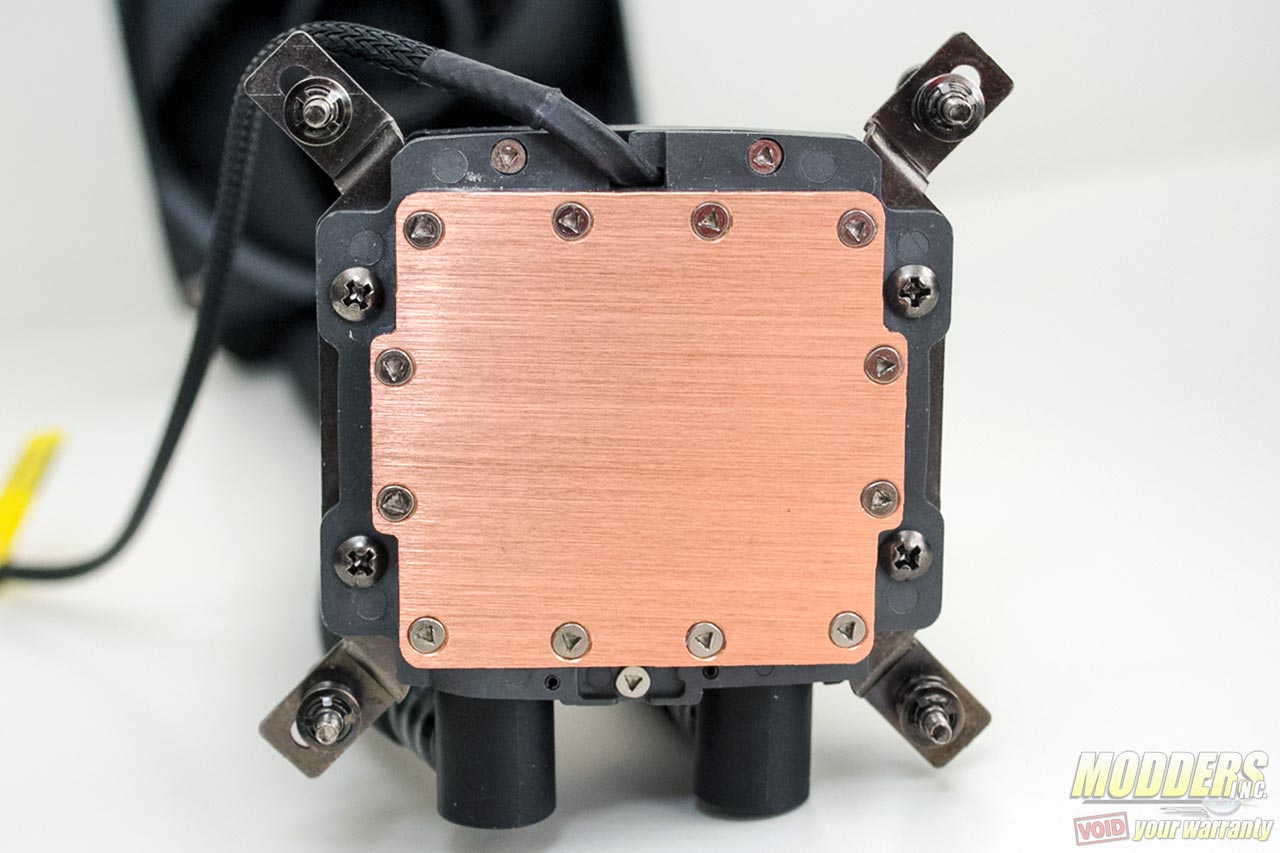
Two mounting brackets are provided, one for Intel (square) and one for AMD (rectangular). Unlike the previous Nepton units such as the 140XL, these mounting brackets have integrated spring-loaded screws so it is obvious which side should be installed where. These are secured by four screws provided in the accessory pack and slides in between the gap of the plastic header surrounding the cold-plate and the top plastic cover of the pump unit.
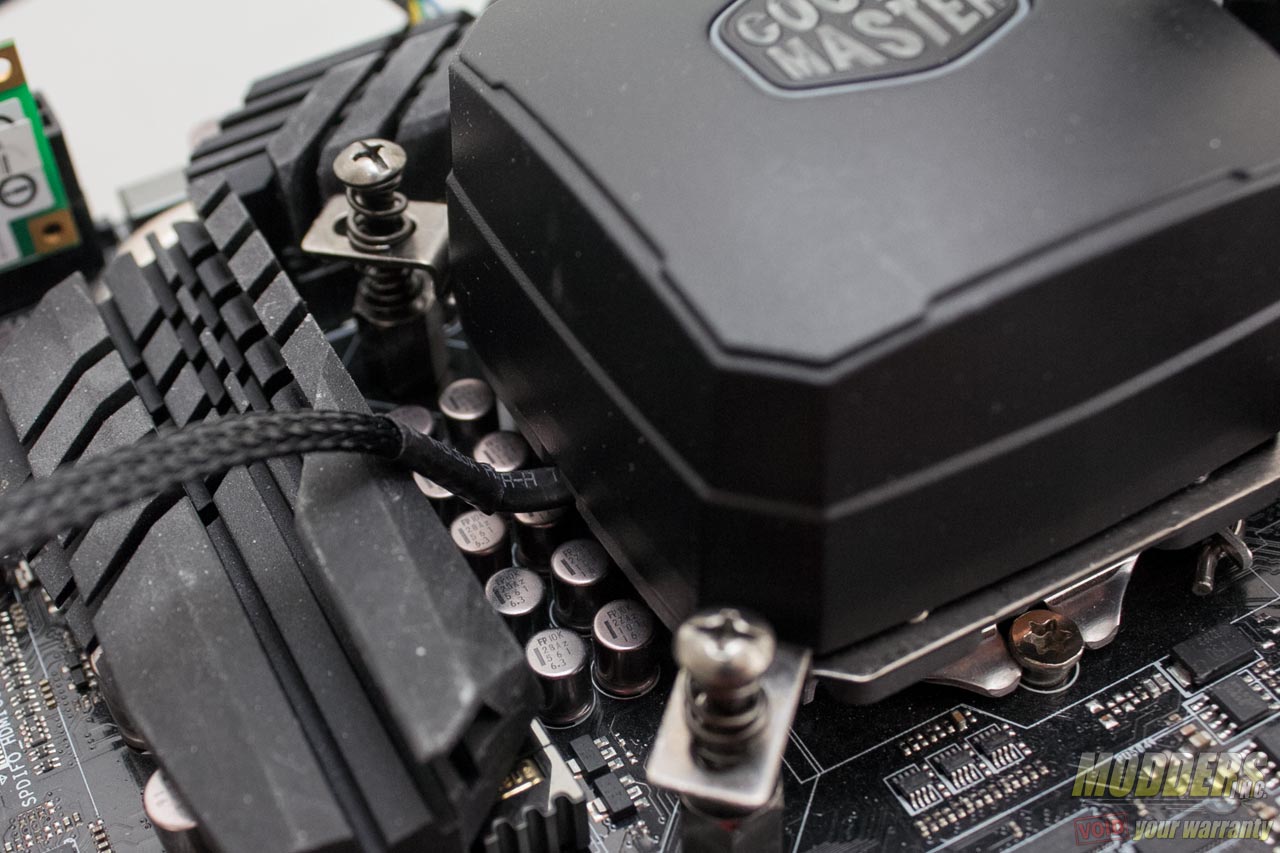
Apply thermal compound and secure the pump unit into the posts. The connector wire is to the left side while the hoses are on the right side normally. These can be changed on the Intel mounting to any orientation if clearance is an issue.
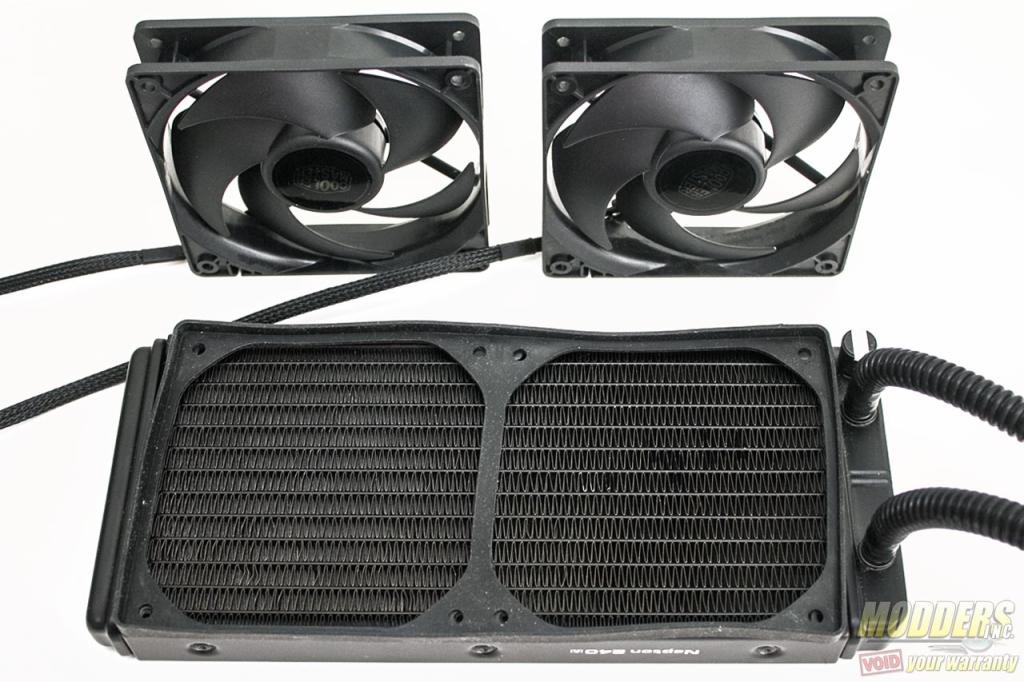
A gasket is provided to dampen the vibrational noise of the bundled fans and sits between it and the radiator. Cooler Master provides two kinds of radiator screws for mounting these fans: one for mounting it directly and one for mounting the fan to the radiator on the case. A third set of screws is also provided for mounting the radiator to the case directly.
After assembly is complete. Plug in the two fans (the bundled splitter can be used) and the pump must be plugged in as well.
Compatibility and Clearance Issues
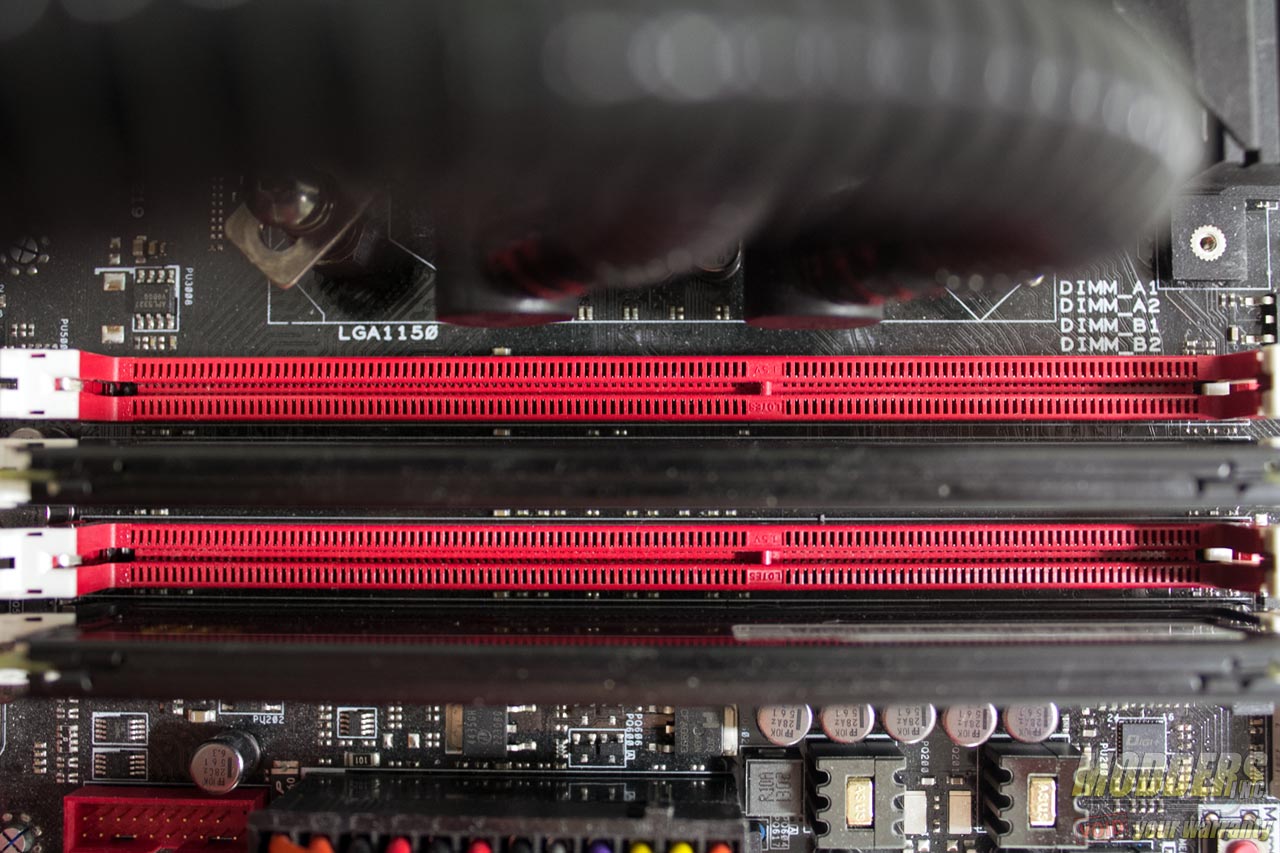
As with most self-contained liquid coolers, the Cooler Master Nepton 240M poses no direct clearance issue for RAM or PCI-E device installation and is well within the range of the keep-out zone outlined by Intel and AMD for their motherboards. Total pump unit height is 49.1mm, and total pump width including the side with the hoses is 84.5mm. Most clearance issue will most likely come from case compatibility as there are some cases with no support for 240mm radiator mounting on top or front.
