Bluebeards Revenge : by Tazz
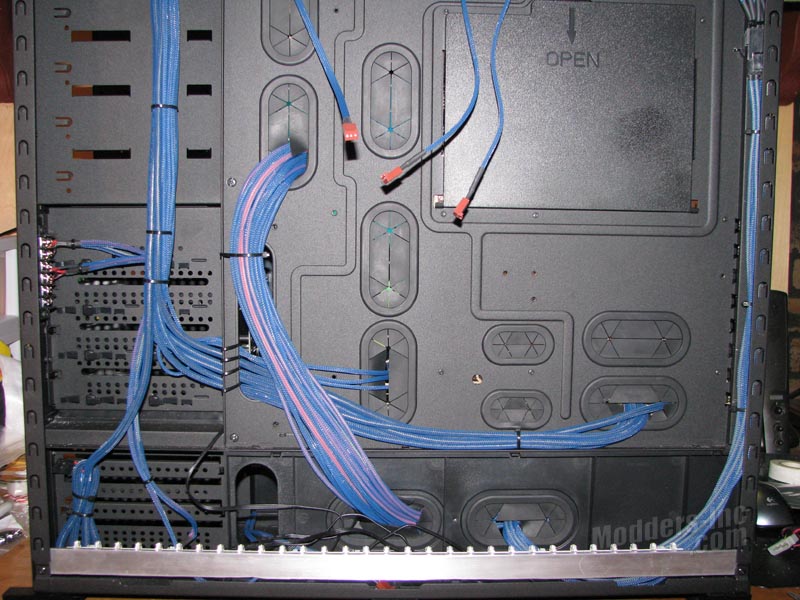
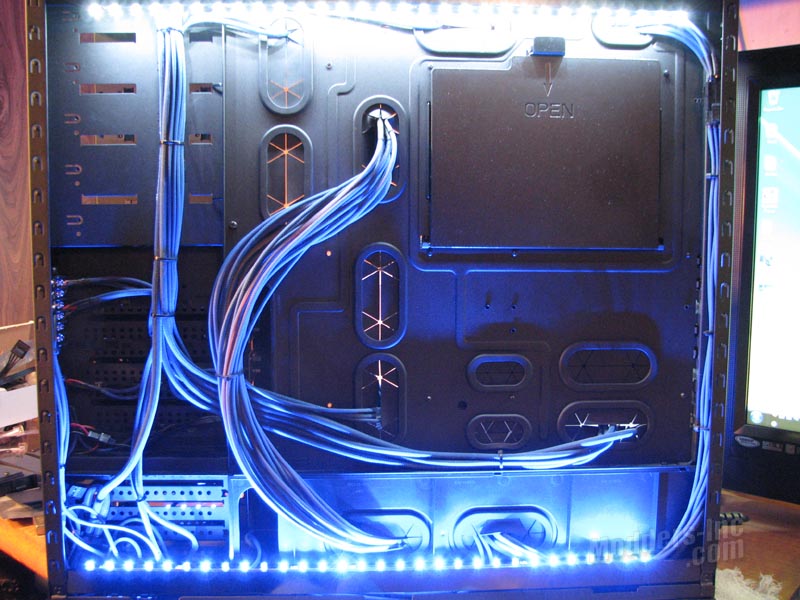
The next step was trying to figure out how to route the wires. Even though most wouldn’t want to show the wiring through a window on the reverse side, I felt it was something that would be helpful on a Demo case. I just need to keep things fairly clean while doing it. I mounted a couple of power strips to the backside of the front. These will be used to wire in the fans and lights.
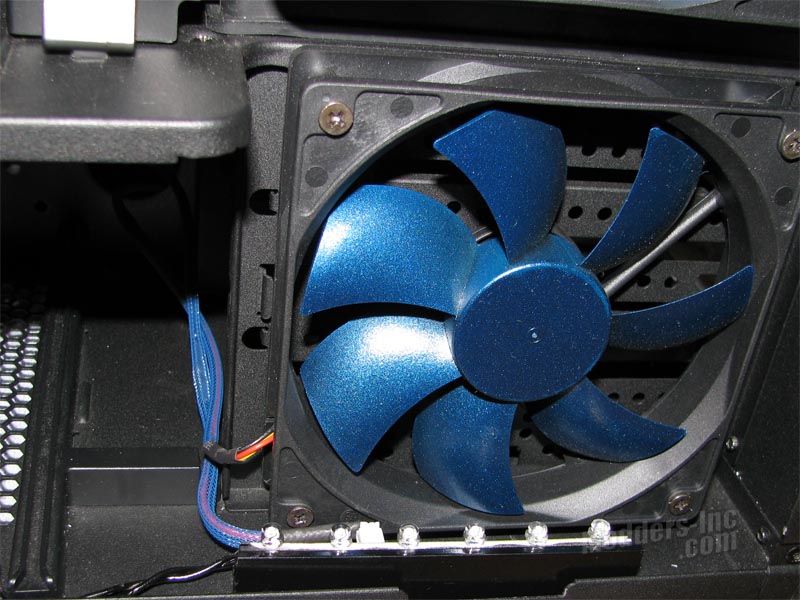
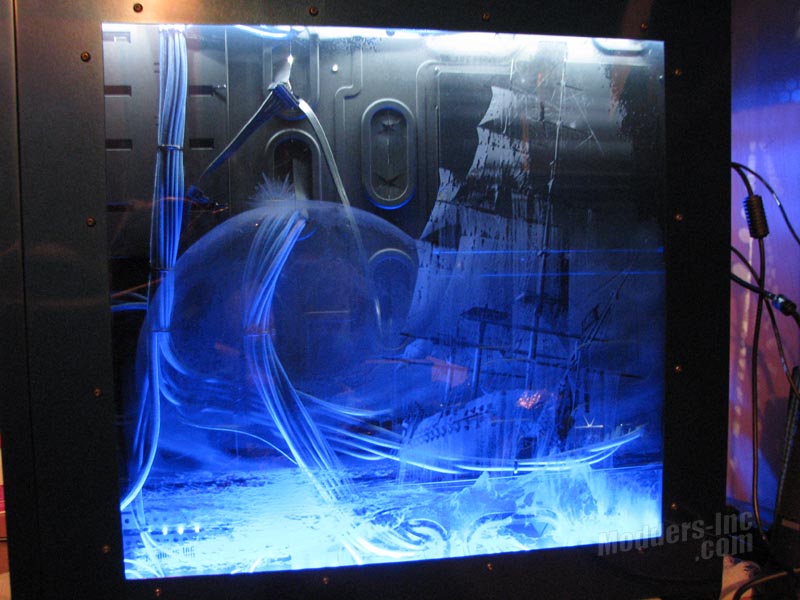
The placement of the lights was a little challenging. I ended up using 4 light strips that consisted of 30 LEDs each (2 blue, and 2 white). I simply mounted the light strips to some 1/2″ aluminum angle iron with double sided tape. The top and lower left light bars are simply trimmed to fit and riveted into place. The lower right bar required a little more work. I ended up cutting off 1/2 of the angle iron and riveting it to the two lower corners. With the wires running through there, and the lower support down there, space was pretty tight.
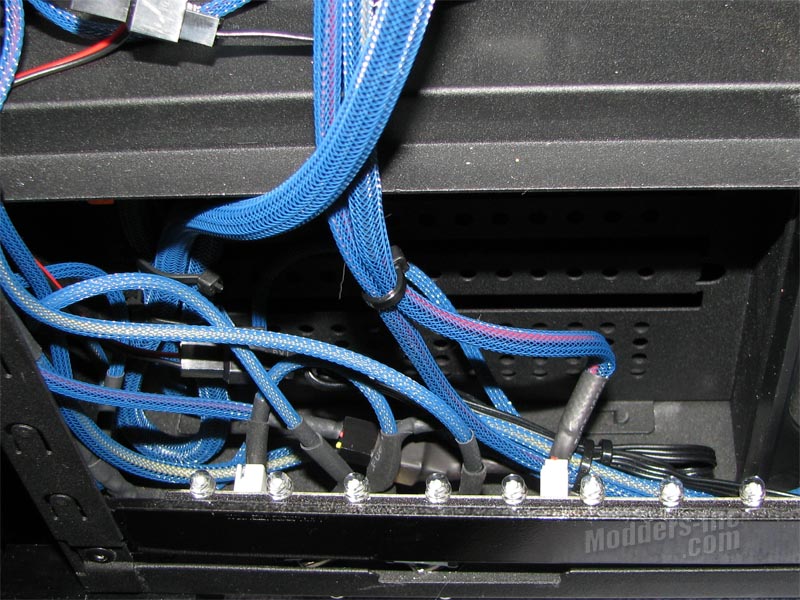
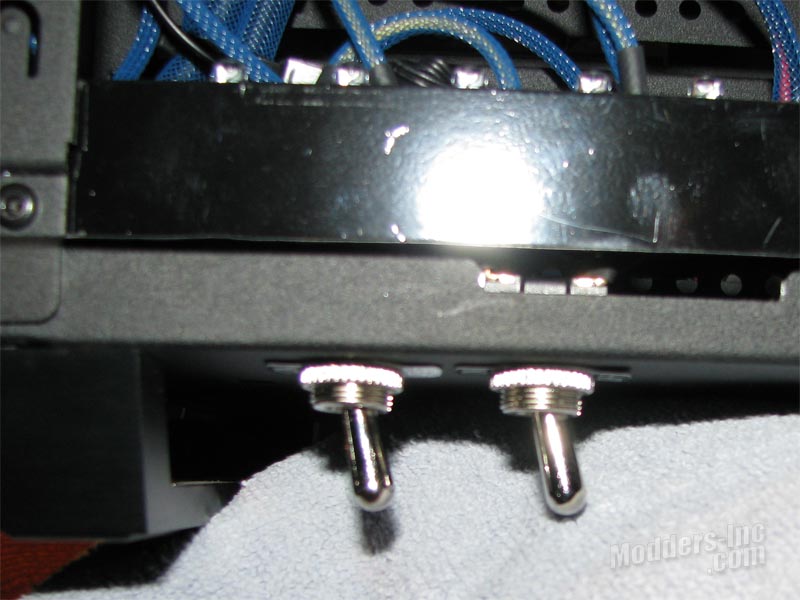
I decided to wire each set of lights to its own switch. This would allow them to decide if they wanted to show the wiring or not during an event. I then made up a pair of power cables (using the two PCI-E cables that I cut off).
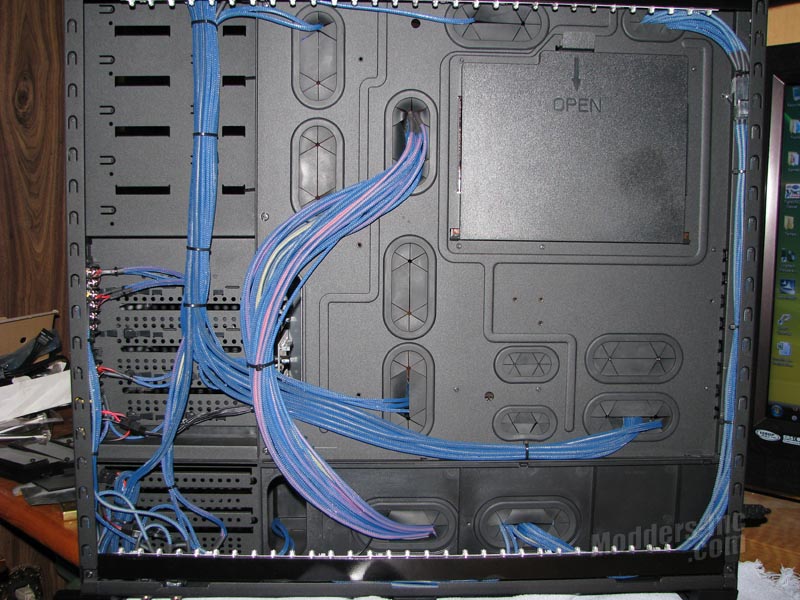
Once I had everything basically laid out the way I wanted it I did a quick power test and then started securing everything with zip ties.
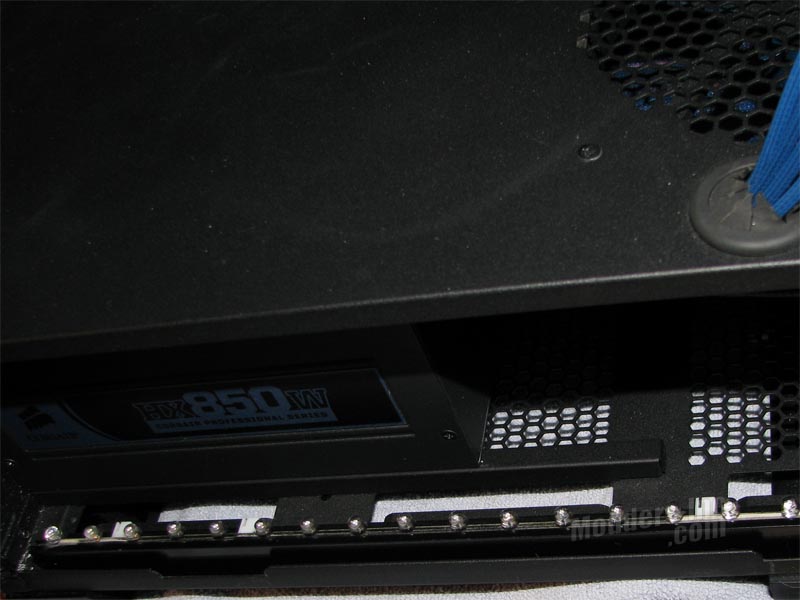
On the left side I had to make a few more modifications. In order to allow the lower cover to be slid into place I had to cut the lower light bar into two pieces and make a jumper to connect the power. I then cut the upper bar into two pieces as well. The main piece would light from the Optical drive cage back (not beside it), and the short piece would be moved down beside the video cards and mounted with screws to allow removal and installation of future hardware.
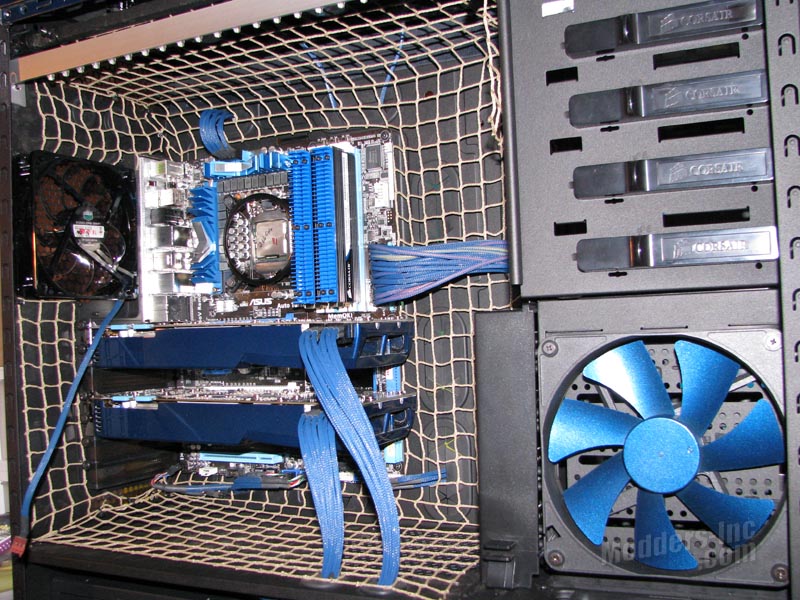
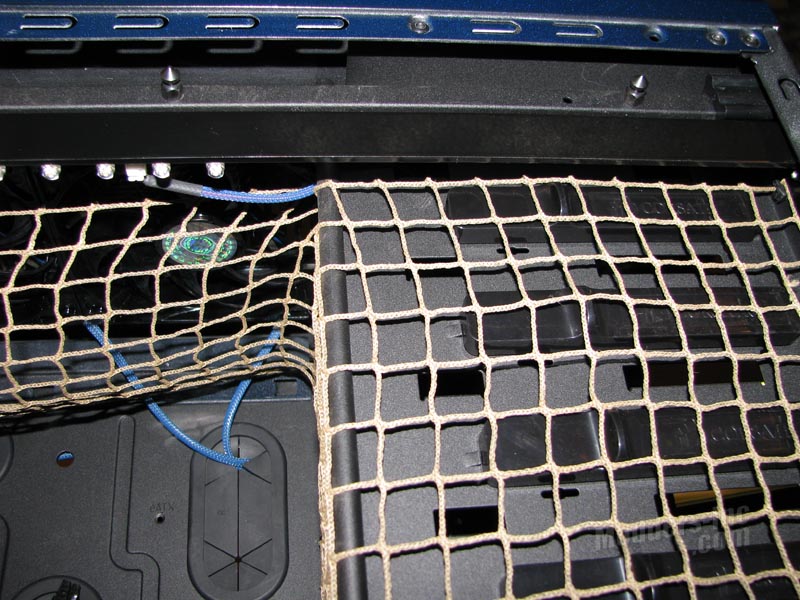
At the same time I was working on pulling in a little more of a pirate feel. I had ran across some netting that kind of fit the mood. The first attempt proved to be a bit to much (upper left image). I ended up with a piece drooping down from the top of the chassis, and then fixed a piece over the optical drive cage to help draw attention away from that area.
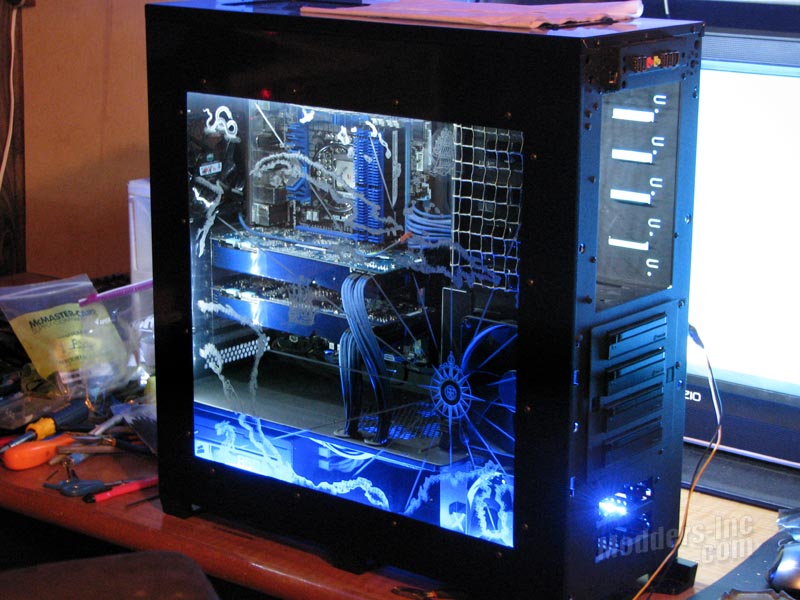
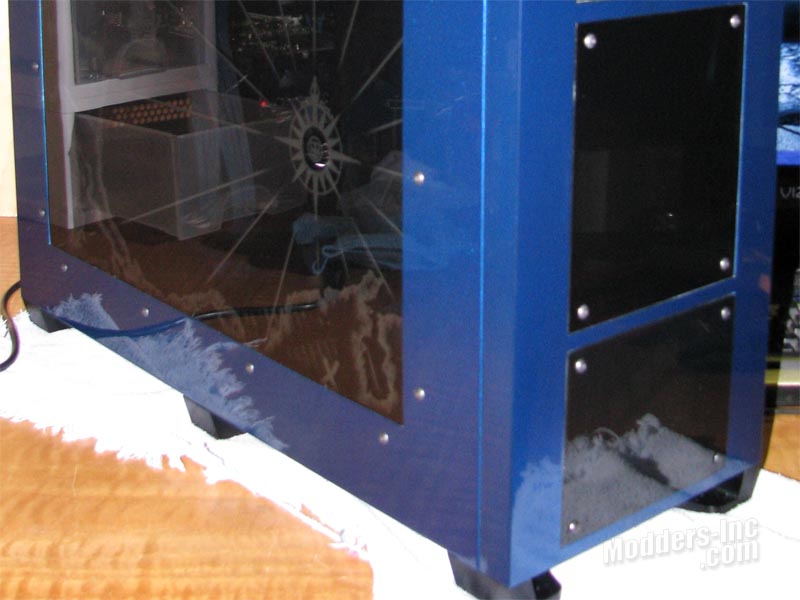
With almost all of the wiring complete, I popped on both side panels for one last test. Originally, I had planned on doing the Corsair logo on the Hot Swap bay door, and then running a Pirate Skull on the lower panel. I was then going to back light the Skull with a hard drive activity array. Having to scrap the plexi options on the drive bays and door. I decided to move the Corsair logo down to the bottom panel.
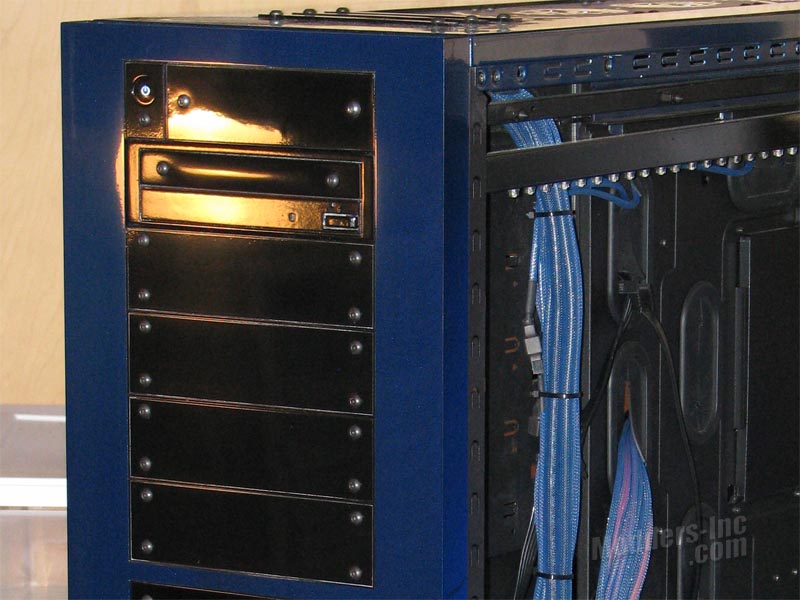
I went ahead and finished up the drive bay covers, power button area and optical drives. I then moved on to the door and lower panel. I still wanted to use the lower section to show the hard drive activity. In order to get the Corsair logo to show up good enough, I decided to cut the logo into the plastic that was behind the front panel. I would then put one piece of smoked plexi on the outside to achieve the uniform look on the front panel. I would then use a piece of sanded clear plexi behind the plastic and light that.
