Bluebeards Revenge : by Tazz
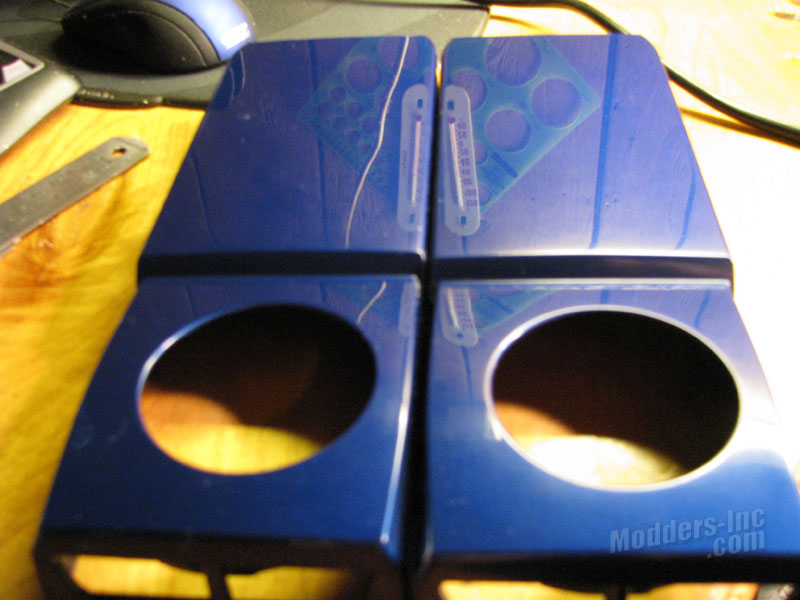
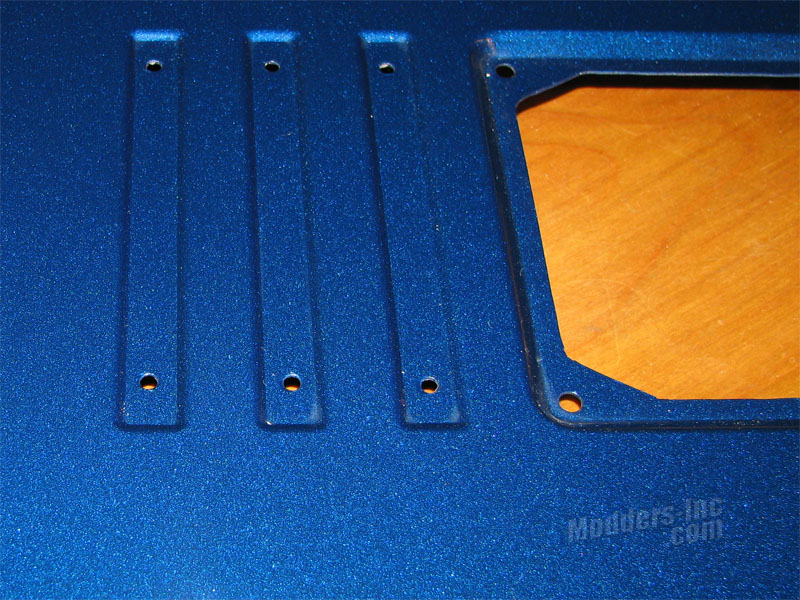
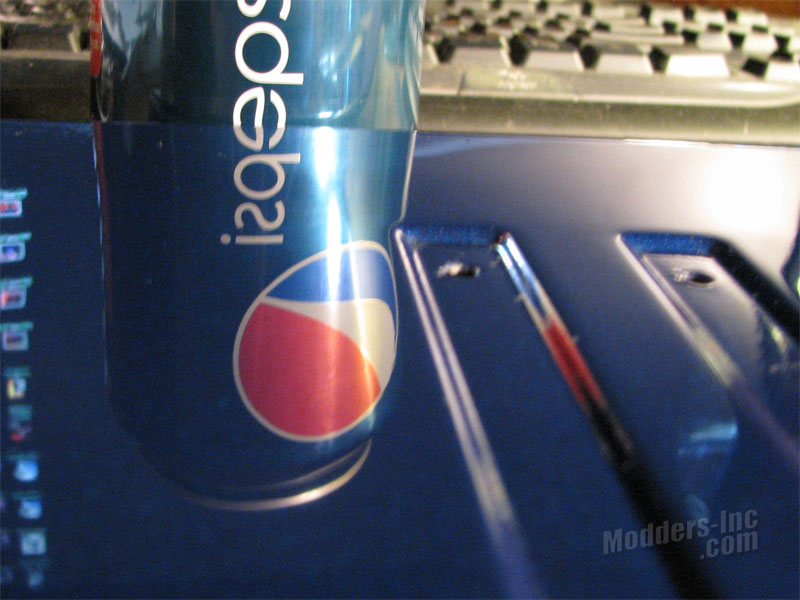
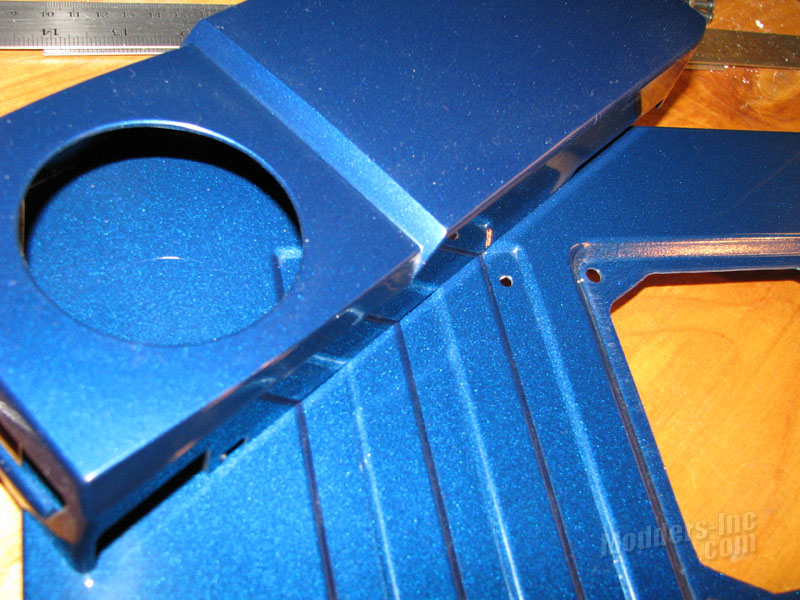
Looking at them side by side, we can see I still had a little more work to do around the fan areas, but the main body was coming out pretty good. If I slip up during this process, it would be almost impossible for me to match the color without having to take the parts back to the same painter. I guarantee that IS NOT GOING TO HAPPEN.
What really burnt me about this entire process is the fact that I’ve known this painter for better than 15 years, and have had vehicles painted by him without a single complaint. None the less…. I have to move on.
I then moved on to the top panel. It was one of the easiest panels to work back into shape.
At this point, I have everything wetsanded and polished excluding the front panel. I will leave it till last do to the sharp edges. It actually had the best look out of all the parts when they came back from the painter. I don’t think it will take much effort to get it into shape.
With the majority of the paint repairs out of the way I started on the assembly process.
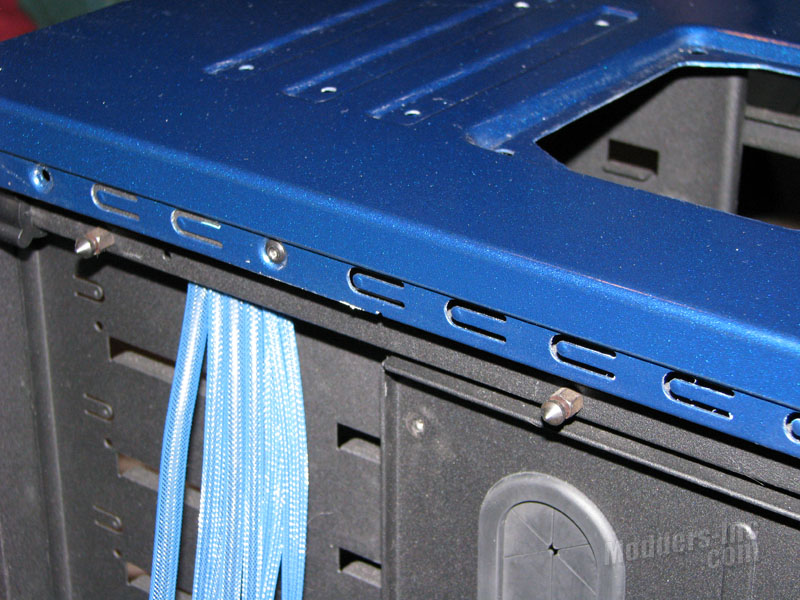
I slipped the top panel back into place and secured it with black rivets to match the original ones. If you plan to remove the top panel on the Obsidian 800D, make sure you take your time and look everything over. You will need to undo the motherboard tray from the lower support, as well as the rear support in order to get the top panel to come off.
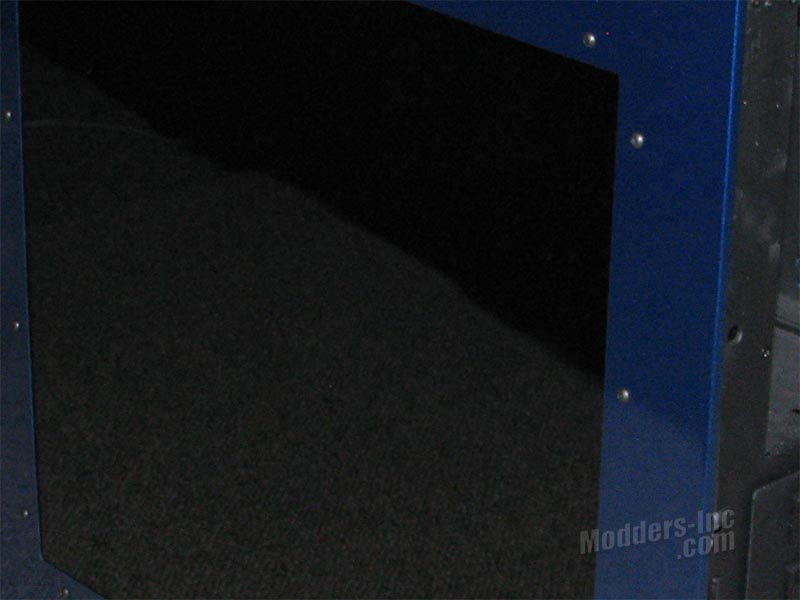
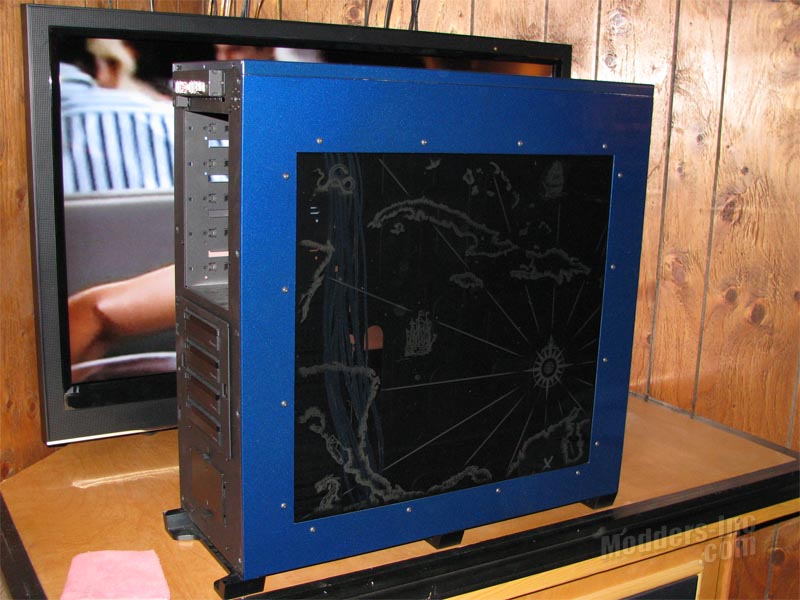
When I first got the Obsidian 800D in, I noticed both of the side panels had been tweaked slightly. With the panels only having a slight 90 degree bend on the ends, they would actually flex a lot. I thought I might have to do some bracing to give them more strength. However, bolting the windows in the way I did made them feel about 5 times sturdier.
