Bluebeards Revenge : by Tazz
Next up I did a quick test fit to make sure all my screw mounting holes lined up. This was one of the messed up windows, so I wasn’t to worried about the finger prints or marks on it.
Now that I know all the parts passed the quick fit test. I went ahead and took the other parts to the painter. This was done simply to save me on build time, and give the parts a nicer finish than what I thought I could do with my usual steps.
So while waiting on the parts to get finished at the painter. I started doing the final touches on the front plexi parts. After getting all the drive bay covers fitted, I found one slight error in my design. The front door did not allow enough room for me to mount the plexi and open the door. Even after thinking things over for several days trying to come up with a way that would have worked, I had to bite the bullet and nix the front plexi :(.
I don’t know why I didn’t think of this issue before starting, I had to adjust for the same thing on the USB door. None the less I have to move forward. To resolve this issue, I moved on to painting the drive bay covers and door, in hopes of the one lower plexi matching them as closely as possible.
I finally get a call from the painter saying that my parts are finally ready after being almost a week or so late. I made the drive to the shop only to find out that I should have just done the entire process myself. Here I will let a single picture tell the story.
I don’t know about the rest of you, but I know I was doing better paint jobs with rattle cans back in the 70’s as a kid. Man was I ever pissed off about this. Not only did the painter eat up any extra time I had, he just created at least a week if not 2 weeks of work for me to fix.
So the question now was how to fix this. Well there was only two options. A) Strip everything and start from scratch. B) Wetsand the hell out of everything and re-clear it as need, then follow that up with some ultra fine buffing.
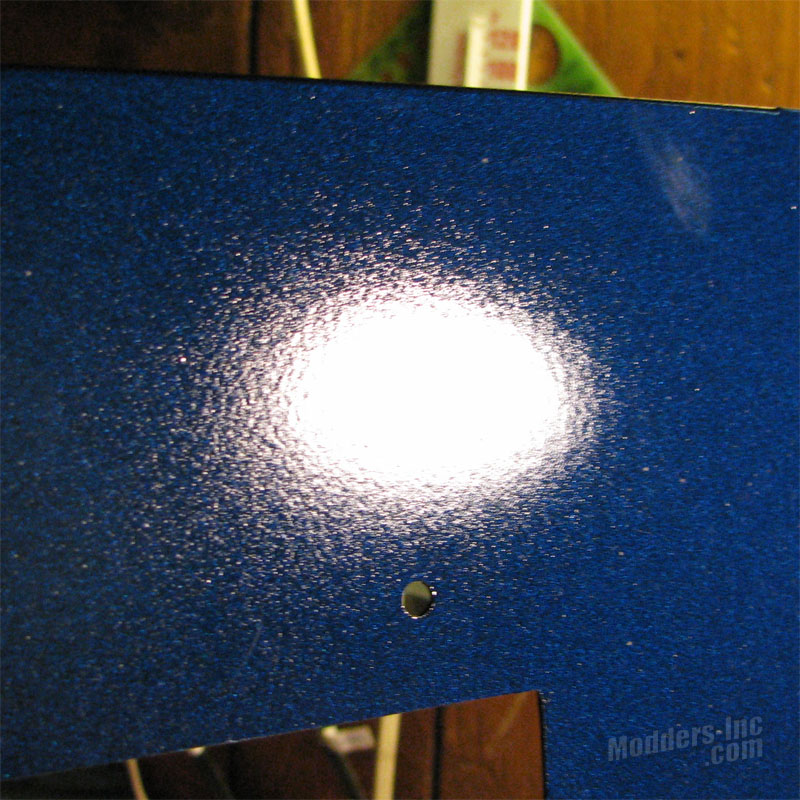
Out came the 1000, 1500, and 2000 grit sandpaper. To repair this I would have to wet sand everything as smooth as possible without getting into the color coat. All though this wouldn’t be to much of a challenge on the side panels, it will prove to be a challenge on the rest of the parts. The above shot shows the first go at 1000 grit with some light buffing to see how things would look.
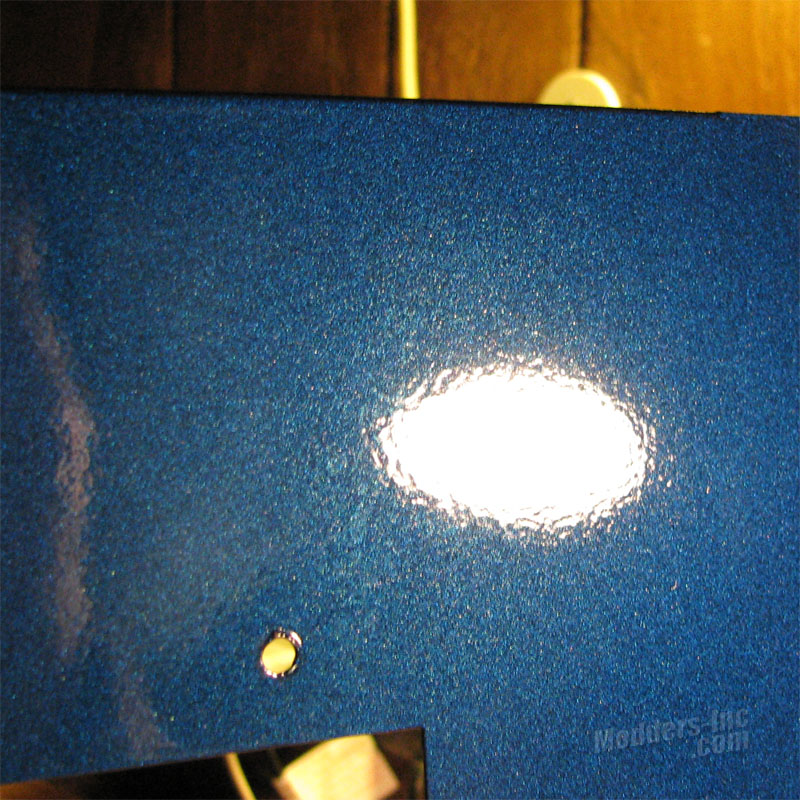
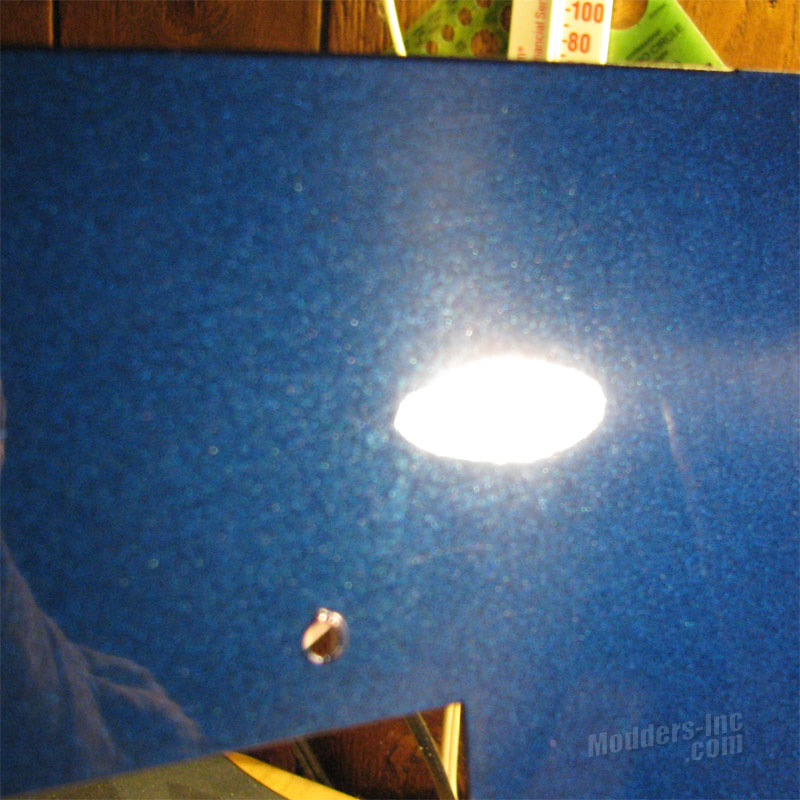
Here we are in the process of polishing after the 1500 and 2000 grit wet sanding. Although its still a little foggy, we can see that the finish is actually getting to where we need it to be. At this point in the process I think I already re-cleared the side twice building up the surface to keep me from getting into the color coat.
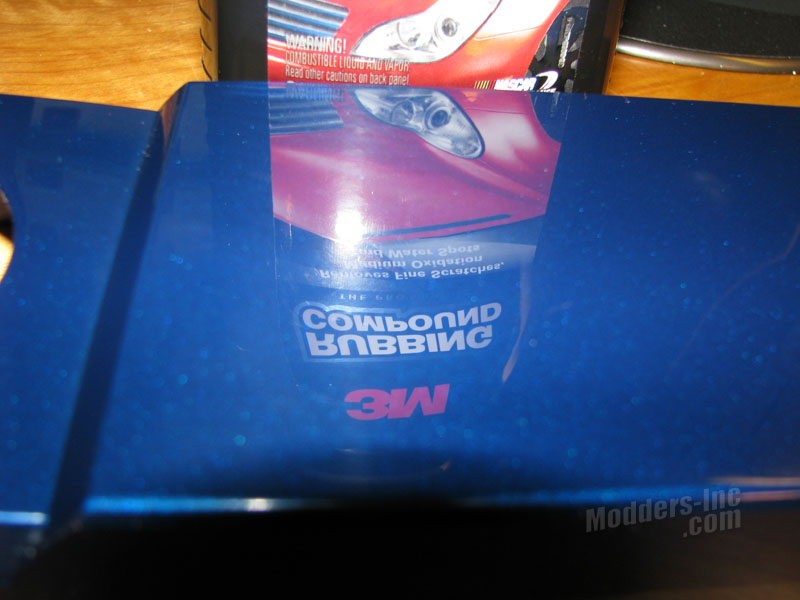
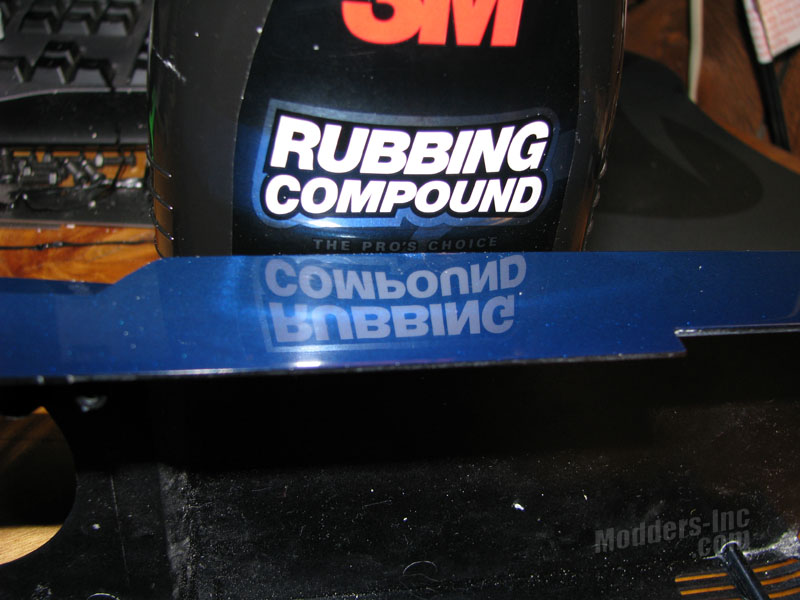
After getting the side panels finished, I moved on to doing the two covers for the graphics cards. These had to be the most challenging pieces to wet sand without going through the color coat. Although they are fairly flat, they have enough curves to cause you to sand through to the plastic. To prevent this, I simply started off with building the surface up a little more with extra coats of clear.
