Bluebeards Revenge : by Tazz
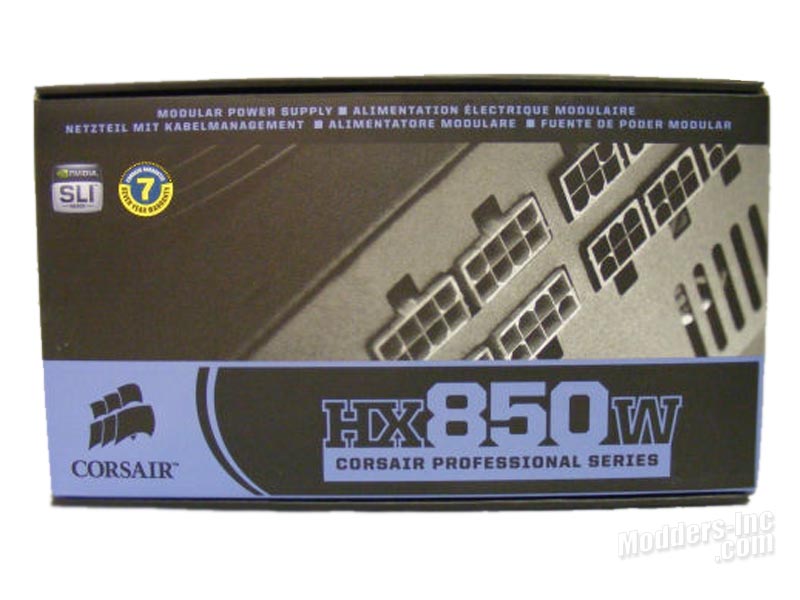
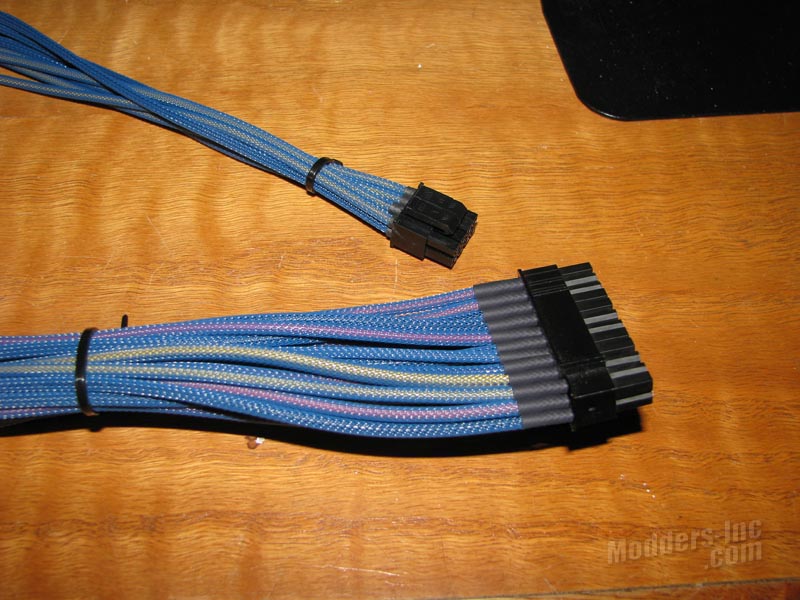
The first task I took on was re-sleeving the Corsair HX850W Power Supply. I wanted to change the sleeving color from black to blue, while at the same time sleeve each individual wire individually. Knowing up front that this was going to be a challenging task, I went ahead and ordered in plenty of the 1/8″ sleeving and heatshrink.
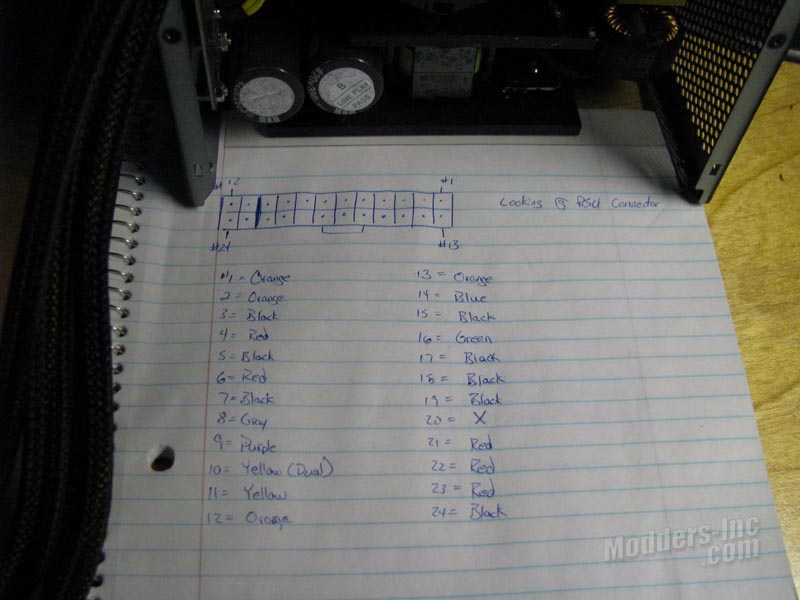
Once the sleeving and heatshrink arrived I pulled the cover off the HX850, and jotted down the wire colors in conjunction with the pins locations on the PSU’s motherboard connector.
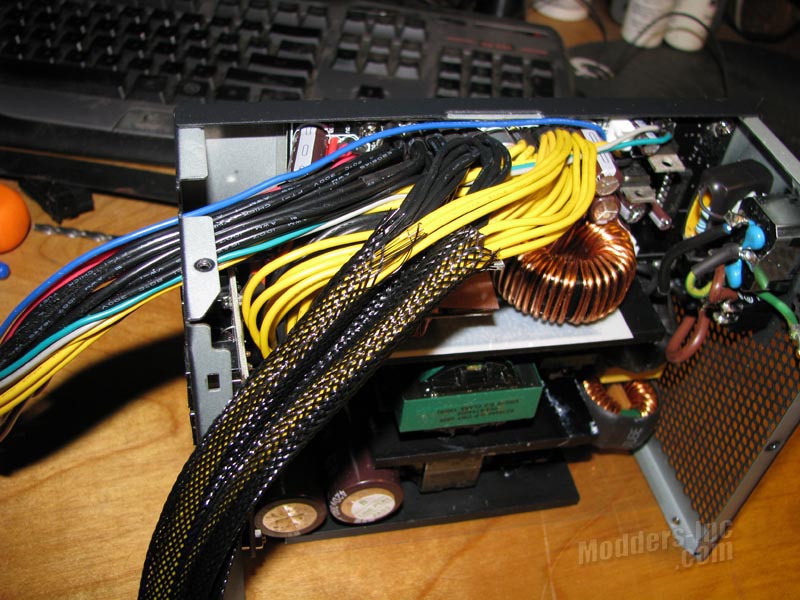
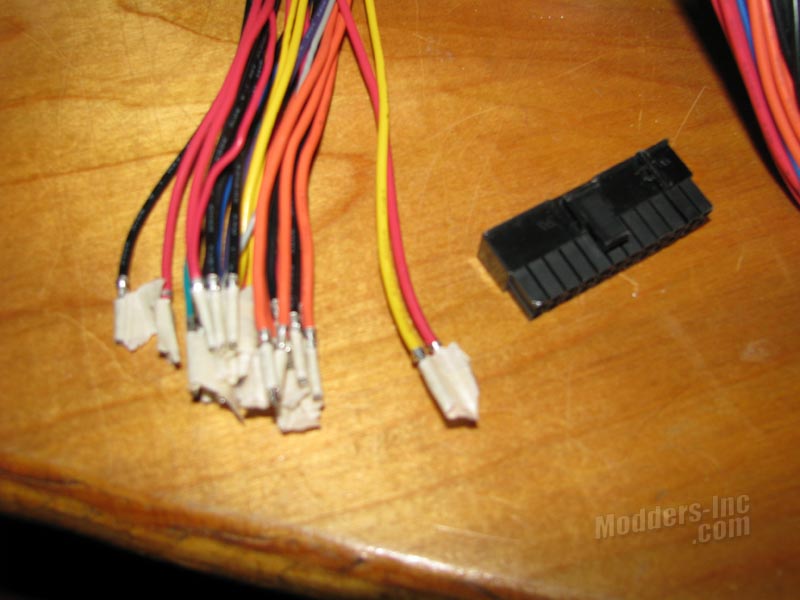
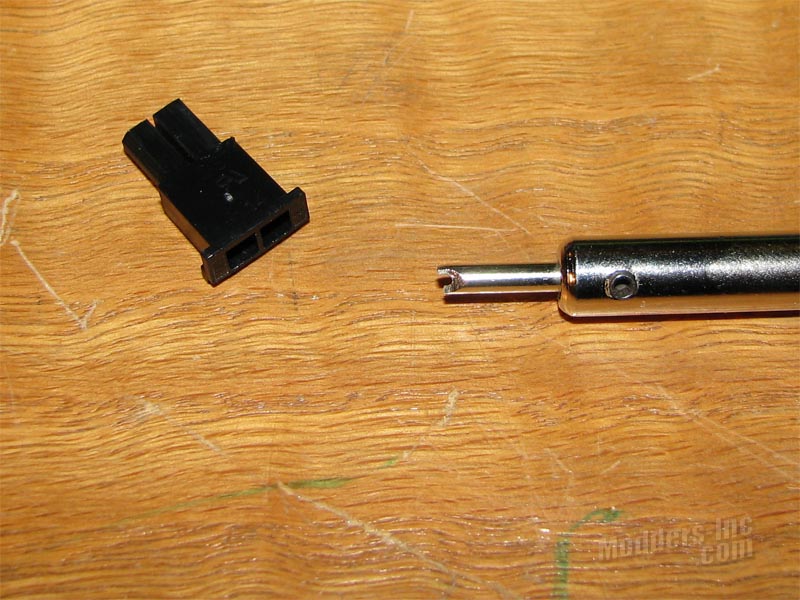
As I pulled the wires out one at a time, I slipped a small piece of tape on the end with a number in correspondence with the appropriate number on the pin-out. Now most will tell you that you need to get a pin removal tool before attempting to remove the connectors. In some cases this works best, but after removing enough pins you might find that its a royal pain in the arse.
After breaking the prongs off my tool, I resorted to the good ol “Staple” trick. I took a 5/16″ staple (Arrow – found in the tools section at any hardware store) and bent one side of the staple straight. I would then either use my fingers or a pair of needle nose pliers to remove the pins. If you opt for using your fingers, the pain won’t be so bad by the time you’re done with all the wires :D. Some power supplies connectors come off relatively easy, while others are really hard to remove.
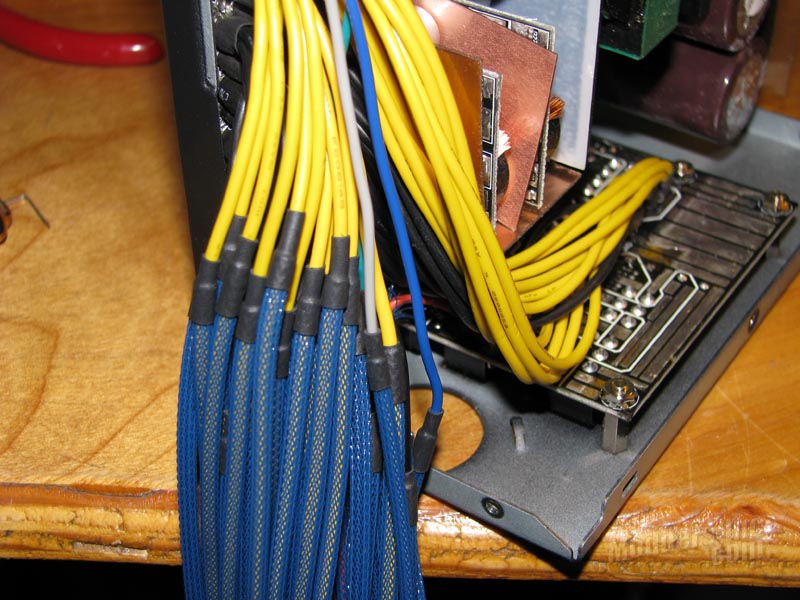
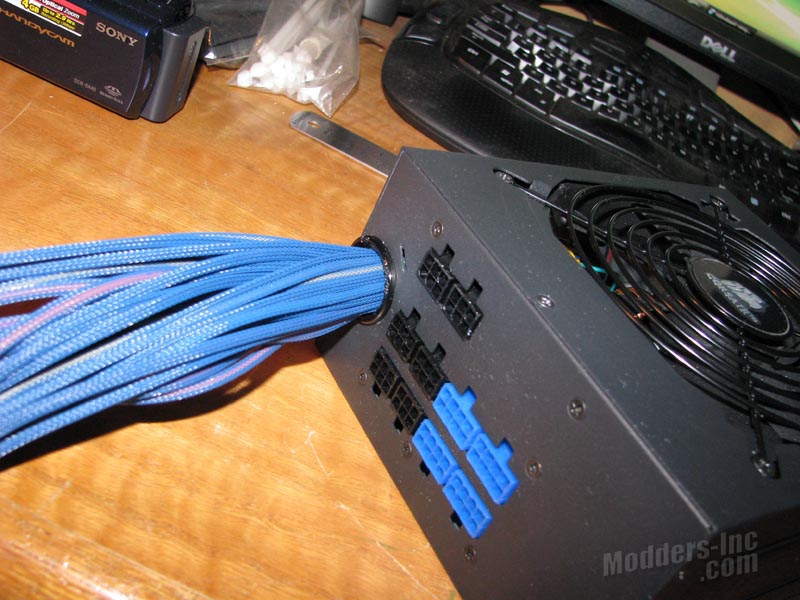
When sleeving a PSU in this manor, keep in mind that adding sleeving to each of the wires makes the overall diameter of the cables larger than normal. This means they will no longer fit in the grommet that is at the front of the PSU. You will either need to make the hole larger. Of course by removing the cover of the PSU, I clearly voided the warranty on the unit, luckily for me, this is Corsair’s mod so I doubt that any warranty issues will arise … he he.
Rather than making the hole larger for all the wires to fit into. I decided to trip some fat from the Corsair HX850. Seeing that I would be doing a SLI build, I did a quick connector count and verified what cables I would and would not be using on the build. I then opted to remove the two fixed PCI-E cables which in turn gave me enough room to pass all the re-sleeved cables through the stock grommet.
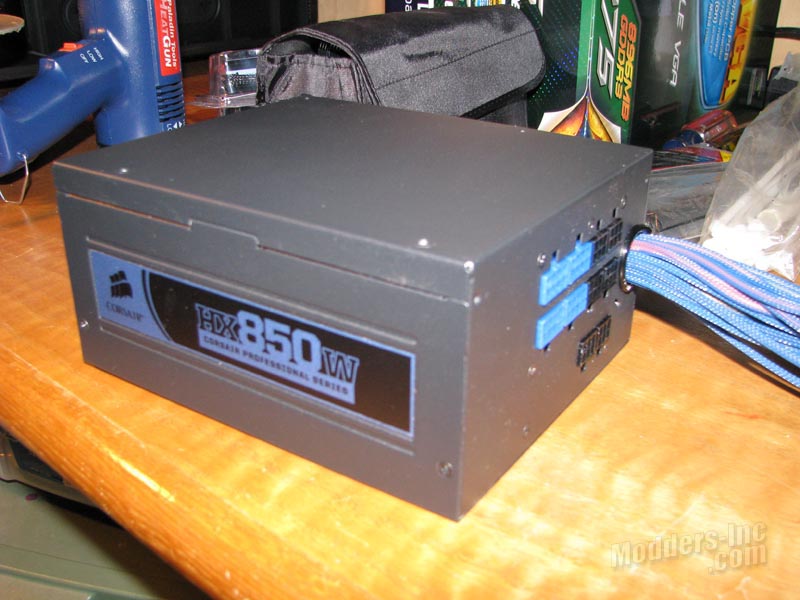
With the fixed cables finished I slapped a few zip ties on the wires to keep them neat and tidy and sat the unit of to the side. It was now time to move on to re-sleeving the modular cables that I will be using.
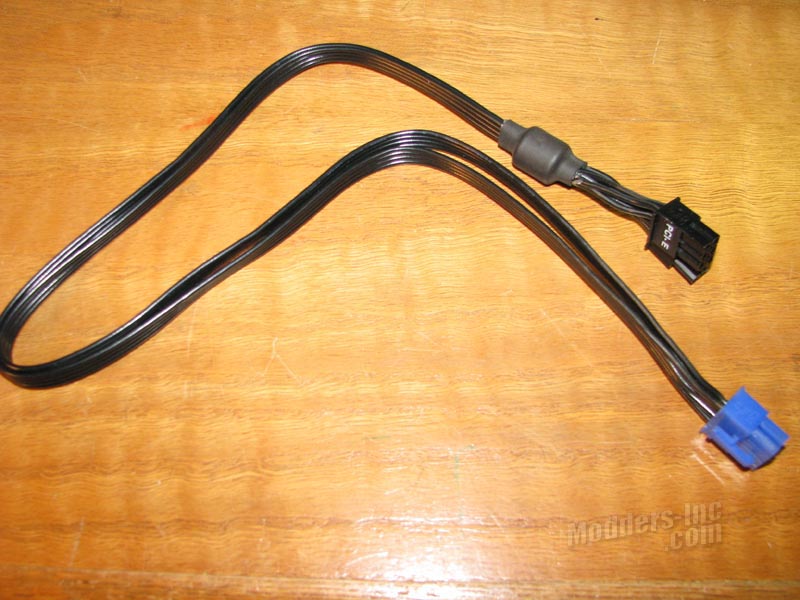
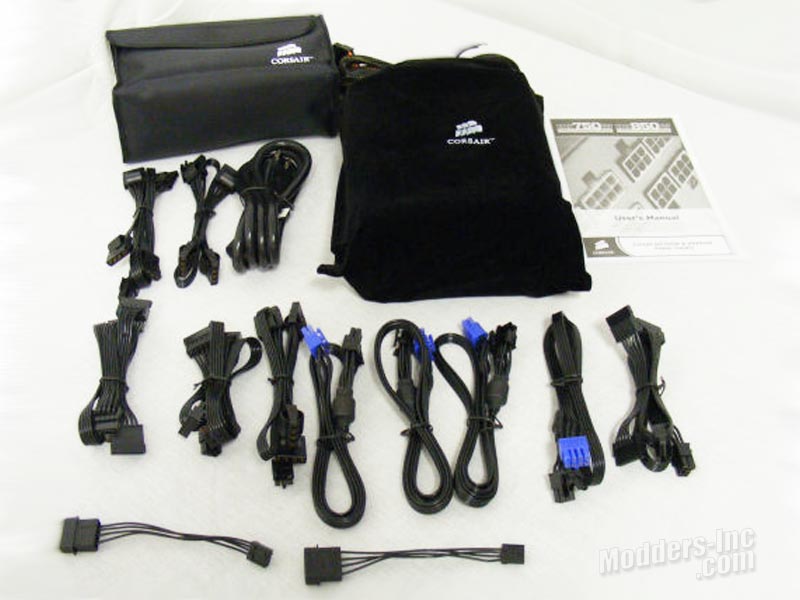
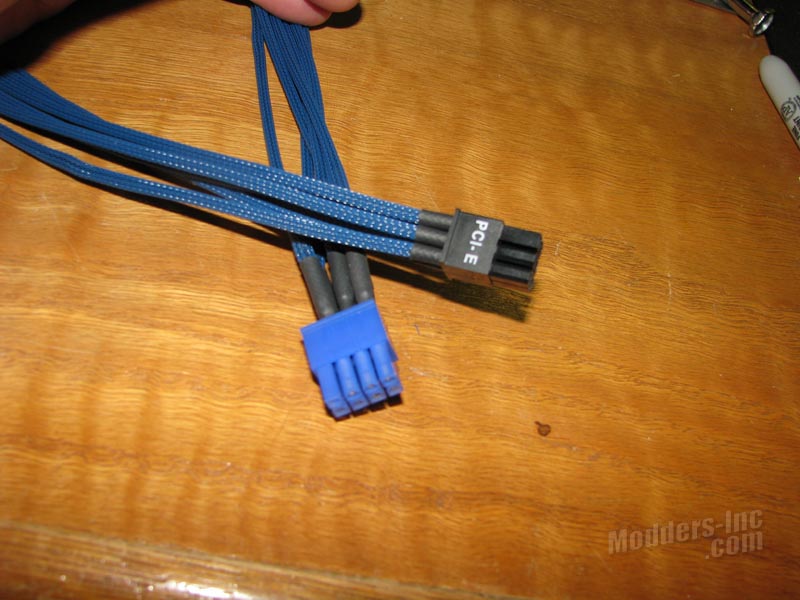
This pretty much consisted of sleeving the four PCI-E cables. Looking at the before image on the left we can see that the modular PCI-E cables started out as simple black wires with 8-pin connectors on the PSU end (blue connector), and a 6-pin + 2-pin connector on the VGA end (black connector). Use will also notice that the stock cables has a ferrite bead (bump just off the black connector) which is suppose to filter out EMI. Seeing that this is a mod, I can’t leave well enough alone can I? Off comes the ferrite bead and on with the sleeving we go.
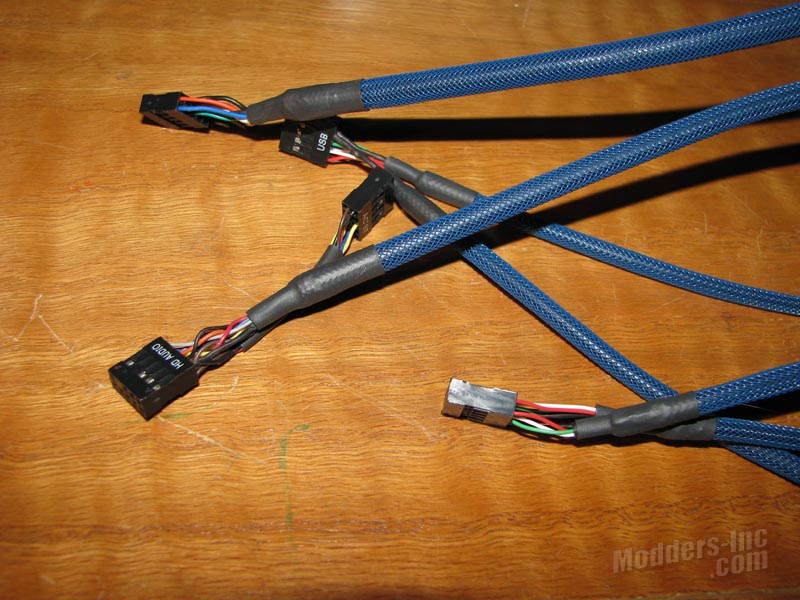
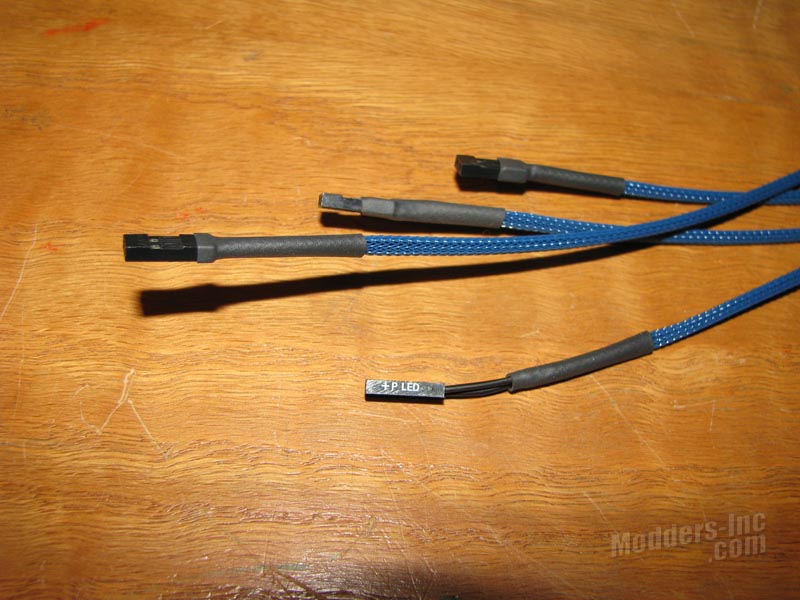
I finished up the sleeving with the front panel wires for the Obsidian 800D. All in all the process really doesn’t take as long as one would think. Just make sure you have enough sleeving on hand, and take your time to do it right the first time. The next step was to do some quick test fitting and checking out cable routing options. With the Corsair Obsidian having a slew of openings to route cables, the routing process should be easier. However, I will make mine a little more challenging by adding a window on the back side. So this means I will need to keep wiring clean on both sides.
