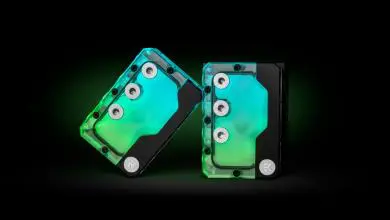
Bitspower THOR EIX99 Full Cover Water Block for EVGA X99 Classified/FTW
Installation of the Bitspower THOR EIX99 Full Cover Water Block
 |
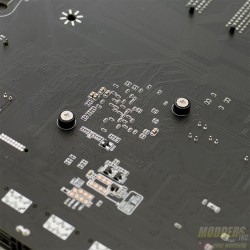 |
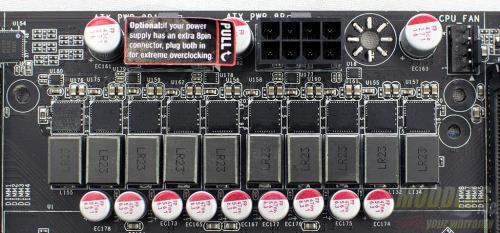
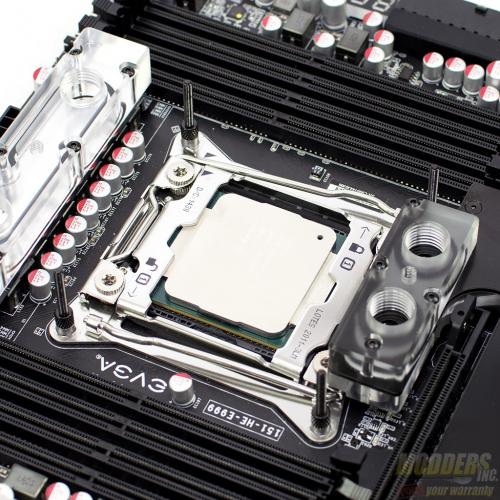
The first step in getting the THOR EIX99 installed is to remove the stock EVGA VRM and PCH heatsink. There are two heatsinks connected by a heatpipe. Flip the motherboard over and remove the three screws from the VRM heatsink and two additional screws securing the heatsink to the PCH.
 |
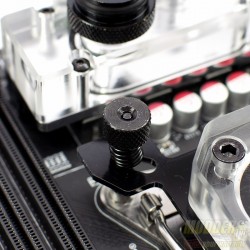 |
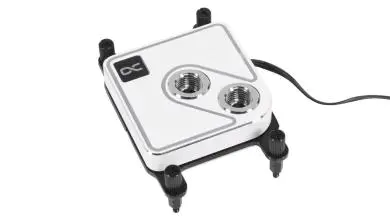
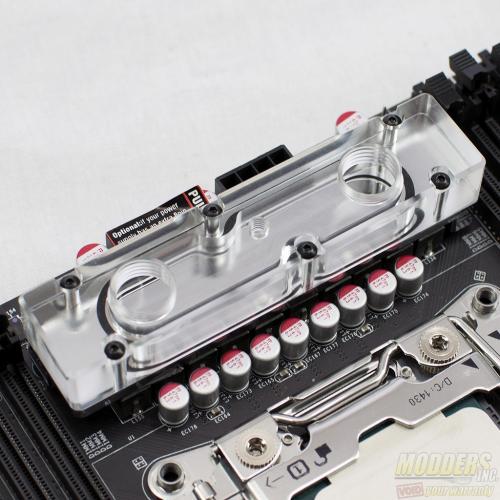
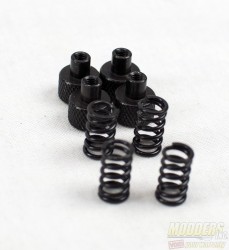
Apply some thermal paste and set the CPU block on top of the CPU. Then use the springs and thumb screws to secure the block. Make sure to use a cross type pattern when tightening down the CPU block. According to the instructions, tighten the thumbscrews until the center post is even with the top of the thumbscrew.
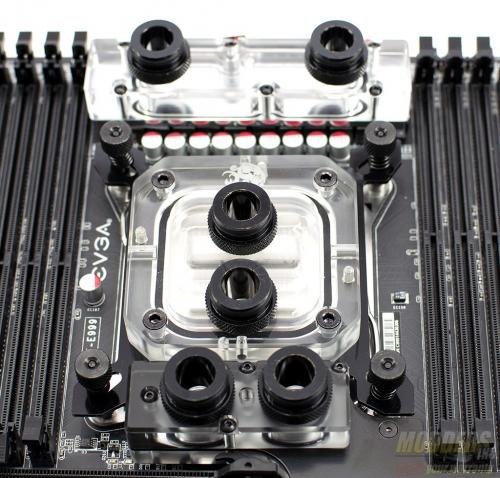
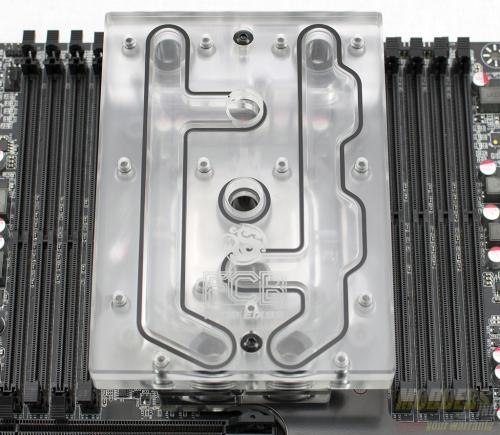
Don’t get me wrong, the acrylic on the THOR EIX99 seems pretty tough, I just caution the installers as I’d hate to see a the block spring a leak on a $400.00 motherboard.
 |
 |
There are a couple of clearance issues to be aware of:
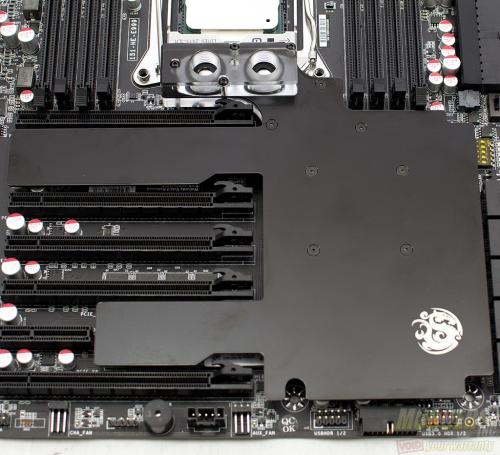
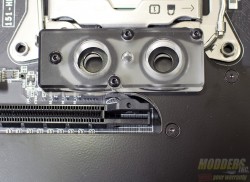
- First is the top PCIe slot. The card retention lock is right up against the acrylic for the PCH block. This does not hurt functionality but does make it difficult to get the card out, but it can be done.
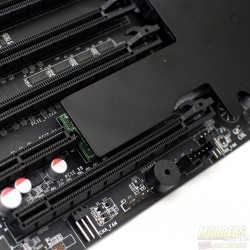
- Second is the metal plate for the PCH block covers the M.2 ports. Make sure to install any M.2 cards before mounting the THOR EIX99.
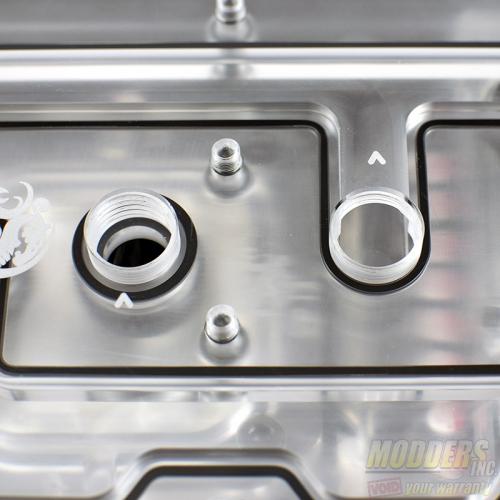
The kit does not come with fittings to attach the assembled components to your watercooling loop. You will need to provide those. The distribution block uses standard G1/4 threads. After everything is installed and connected, Bitspower recommends a 24-hour leak test before powering up the motherboard.
