BitFenix Shadow ATX Case Review
A LOOK INSIDE
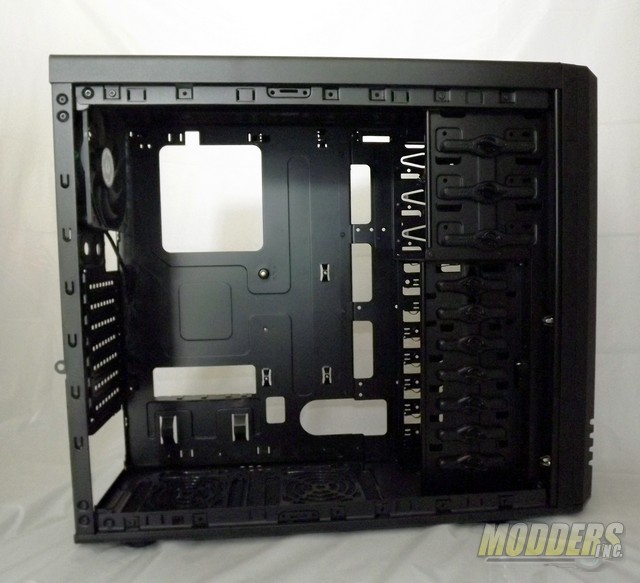
Both panels off we see all the access ports, rear 120mm fan, 3 x 5 1/4 bays, 7 HDD bays. The access pass thru’s are not sharp but they are not coated or have no grommets.
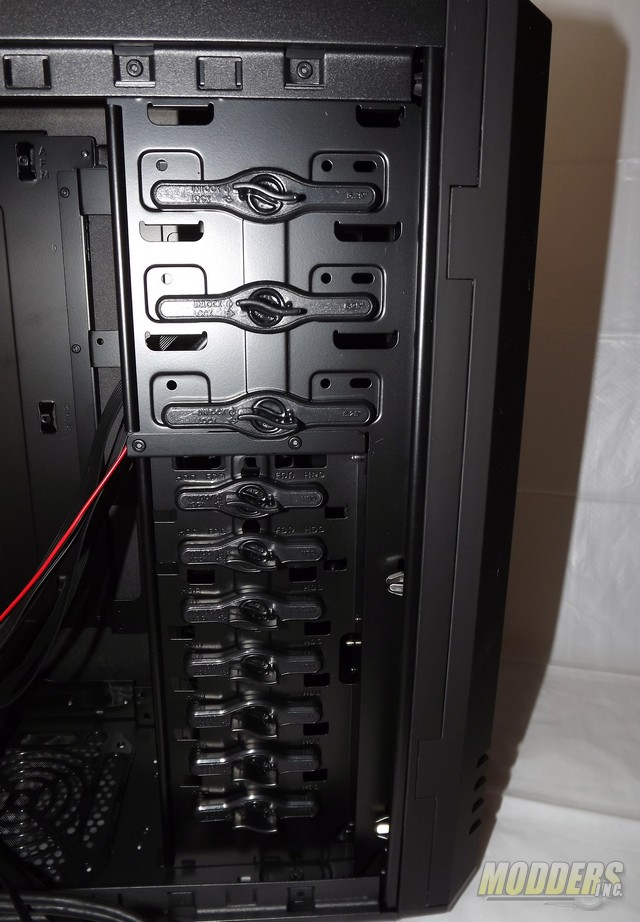
The lower Drive Bay can not be removed without drilling out the rivets, I’d would worry about structural integrity if removed.
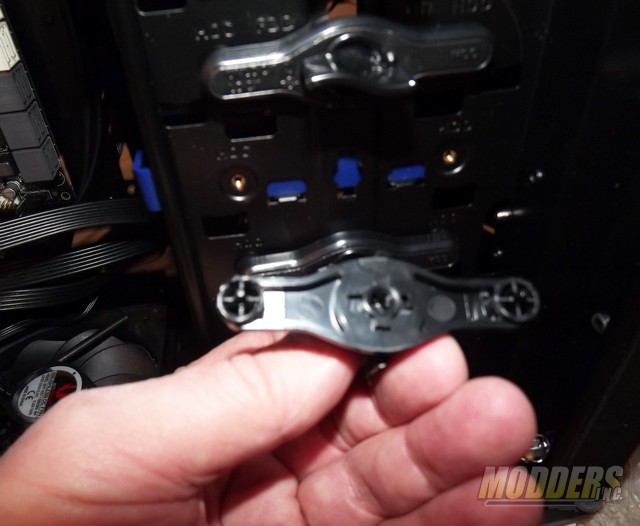
The 3 upper and 7 lower bay mountings are all tool less lock on brackets.
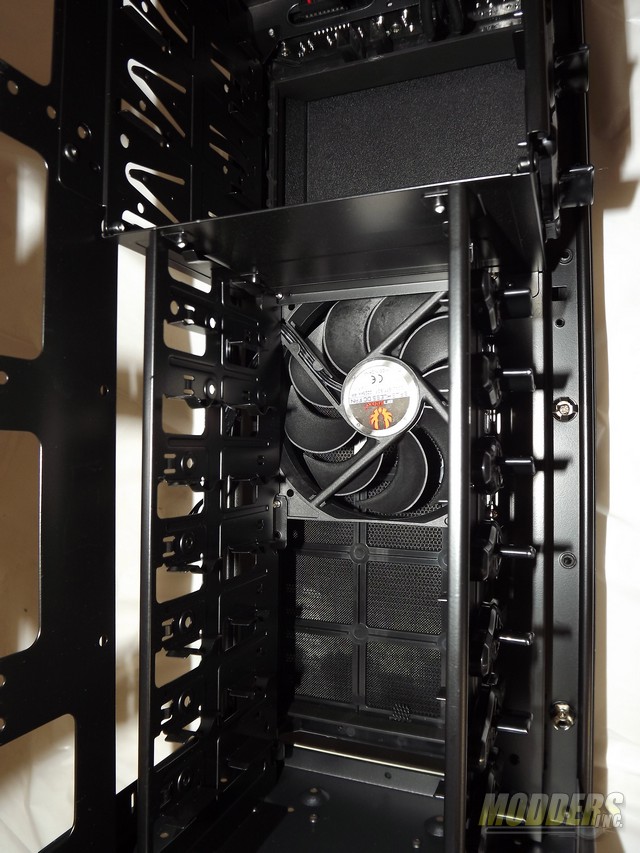
Looking inside the bay area there is rack type slide in sections, 1 120mm fan is included with room for another. Notice the side cable management opening down the full side of the 3 1/2 bay area.
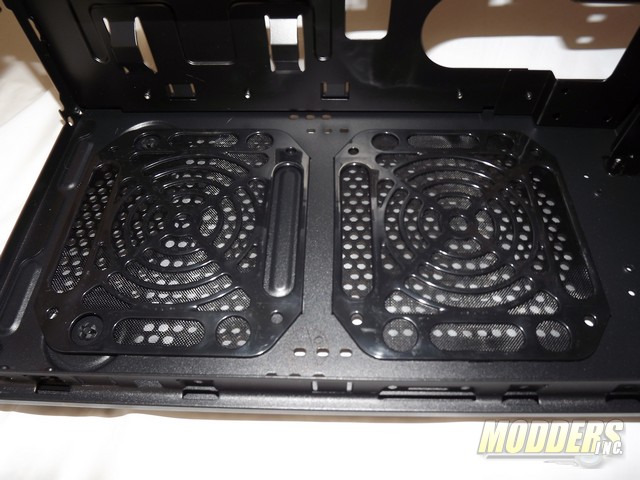
Moving down to the case floor air intake section has 2 pop out screened removable filters. 1 would be for PSU intake the other for another 120mm fan intake.
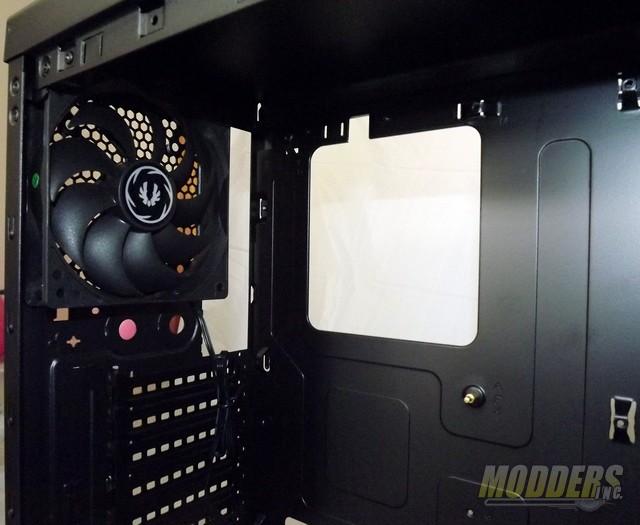
Turning to the rear is the 7 card slots, rear pass thru put tubing ports and an included 120mm exhaust fan.
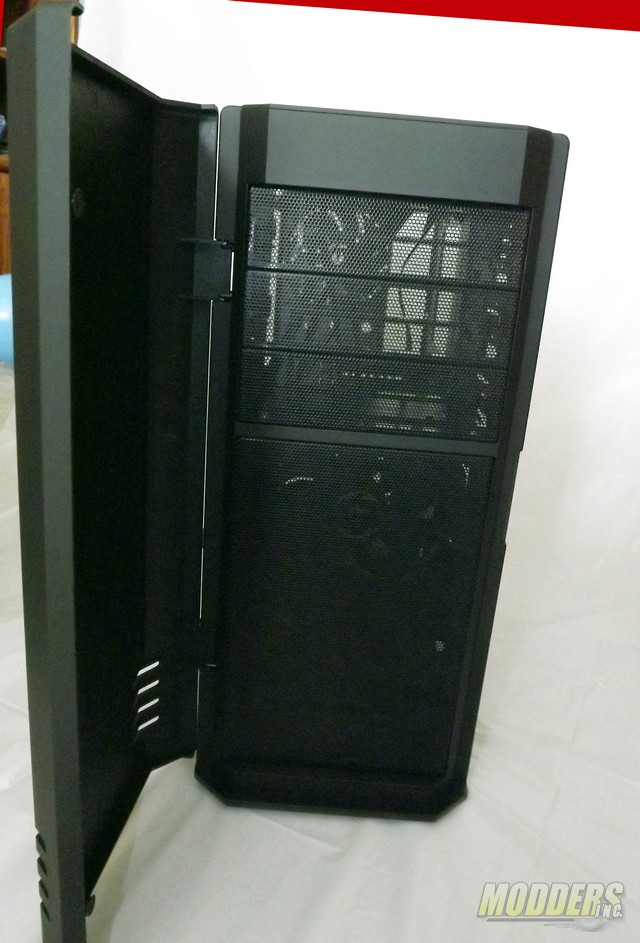
Open the front magnetic bezel door and you see full mesh screening top to bottom. 3 x 5 1/4 top bay sections and lower door vents that are on both lower side angles of the swing out door.
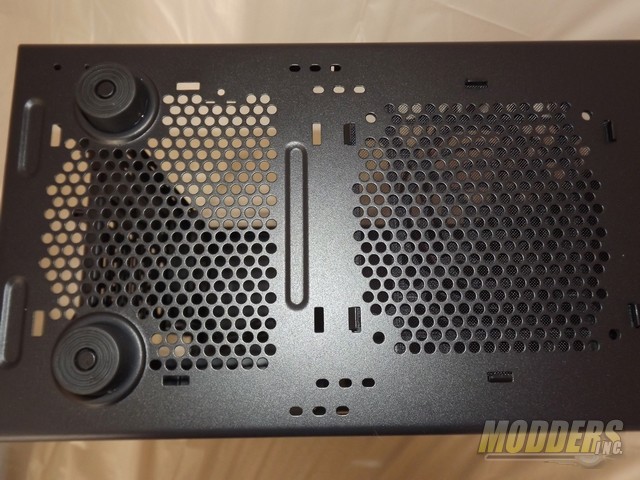
Underneath there is the 2 intake fan grilled sections and rubber case feet that are both compression pinch mounted not glued.
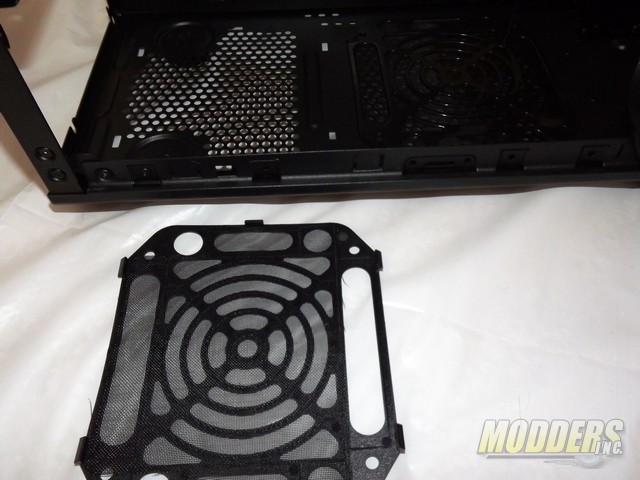
Both case floor intake fan sections are removable for easy cleaning but NOTE: If you buy this case these come mounted inside on the floor. Instructions and first thought is to mount the PSU and Fan as is, especially with the instructions showing filter cleaning and removing the filters from the floor. STOP! Once you put the fan on top and the PSU on top you have a real chore to clean them that way. My testing shows these will mount up from the bottom.
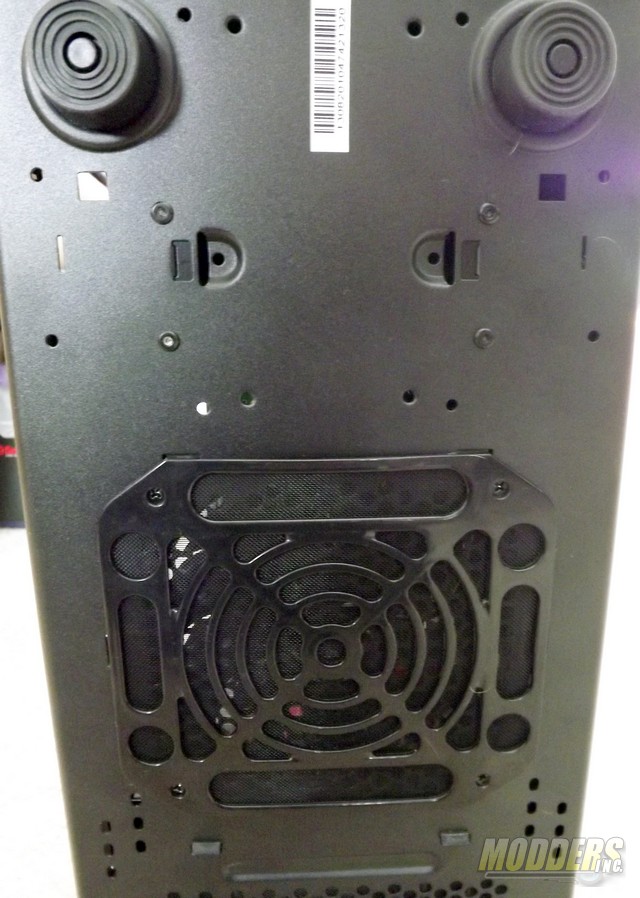
Mount the fan filters under the case, under the 120mm Intake and PSU intake area AFTER securing the fan screws for a easier snap in and snap out filter cleaning.

The tray area has plenty of cable management pass thru openings. The MOBO CPU opening makes mounting a CPU cooler easier unless you have a 2011 ATX and the right side of the CPU or left side from the back view has an issue. If the CPU cooler does not mount to the on board CPU Bracket you will have to mount the cooler / rear bracket before you mount the MOBO to the case tray.
There is one Center Brass Standoff to help you position the Mobo but for ATX the standoffs are all built in and 2 brass standoffs are included to mount mATX boards.
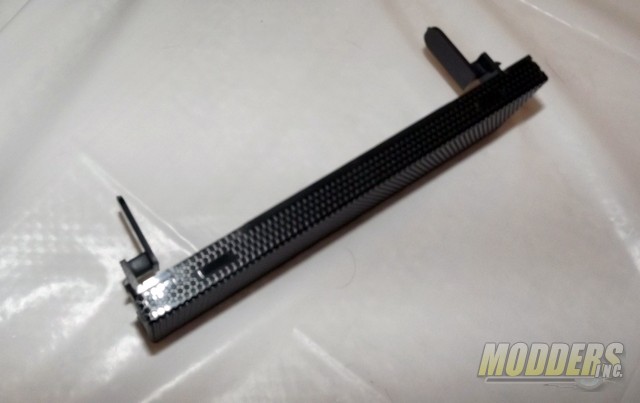
The 3 x 5 1/4 bay covers remove by pinching the side locks, they seem well built and strong and remove easily.
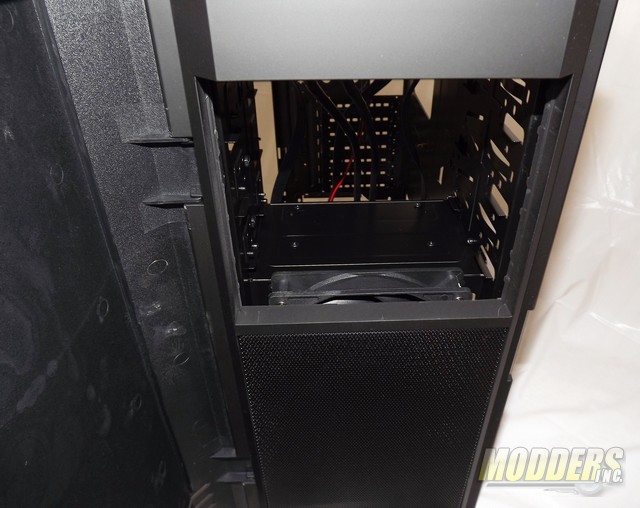
Front 3 x 5 1/4 bay section with all covers removed.
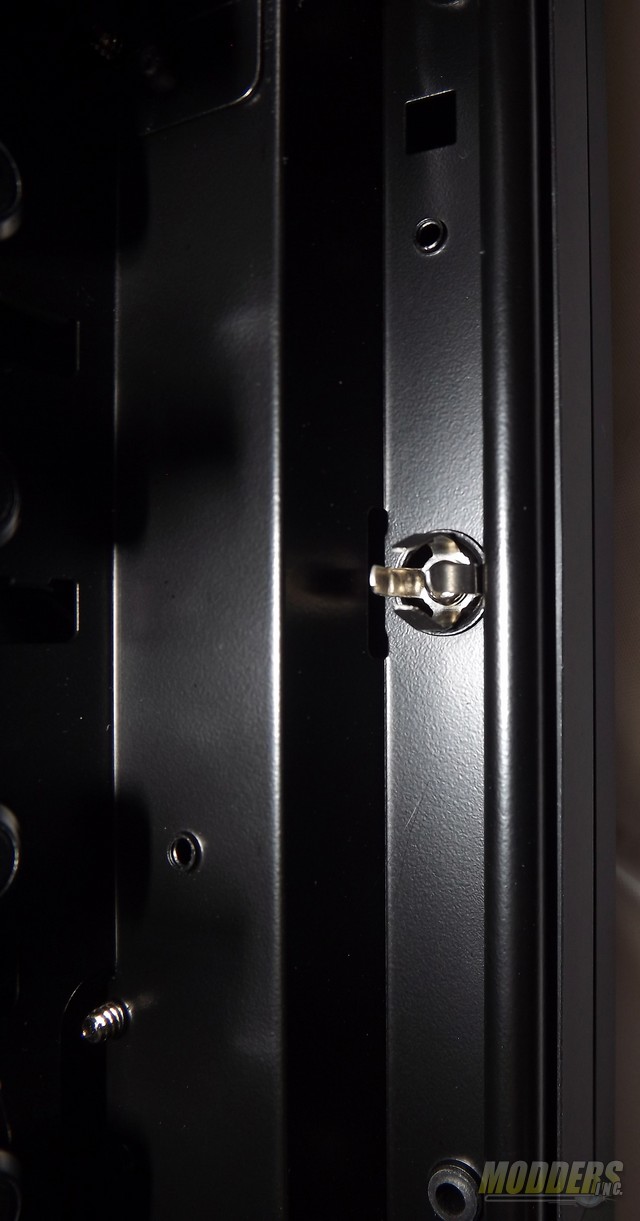
The Front Bezel panel/door section is removable by pinching these strong long lasting metal pinch connectors and easily done.
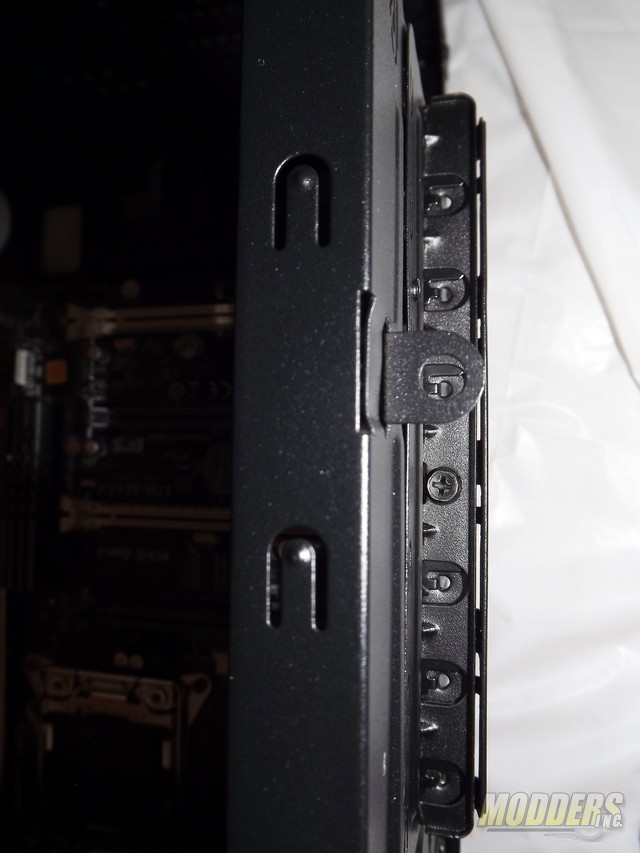
On the back side, the 7 card access slots are locked in one bracket.
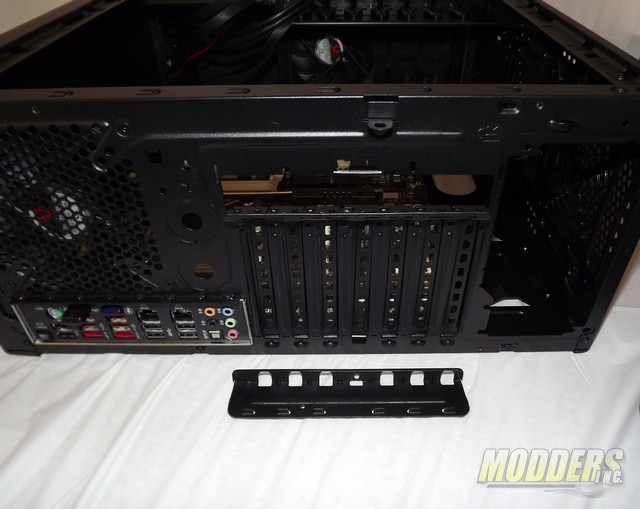
The card slot bracket is held in by one screw and once removed any of the 7 slot covers can be removed.
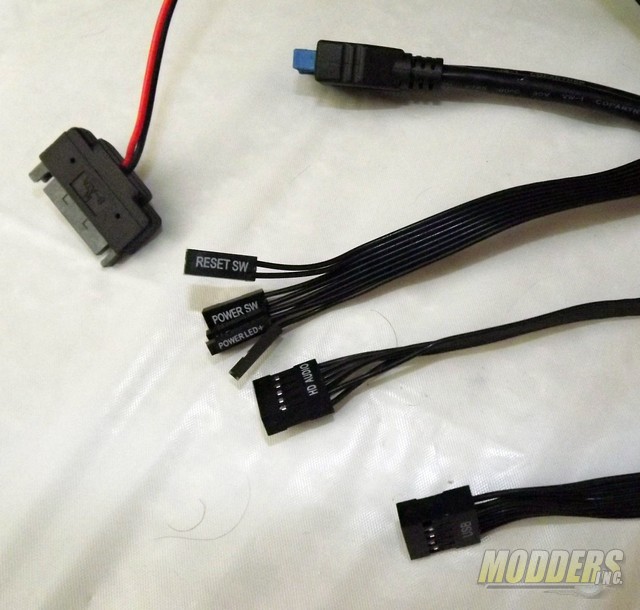
Case comes with cables for 1 Sata Power connector for the Case LED power, 1 x USB 3.0, 1 x USB 2.0, I/O MOBO connections and HD Audio cable. These are flat ribbon style cables. Note the one red Sata power cable we’ll talk more about later.

A well written and un-bias review. Thank you Al Shuryan
Hij, thank you for the great review!
I do have one question about the bottom dust filters. The filter underneath the PSU, are you sure that one can also be mounted underneath the case? I am building my new system in this case and it looks like the feet are in the way of the filter. How would I mount the filter underneath the feet?
Greetings, Luneya
Yes I’m sure you can But, remember if your sliding it around on carpet that the mesh in the filter is fragile. I mounted the fan from the bottom then put the filter over that area. The clip holes work top or bottom.