Bitfenix Aegis Case Review: Maximizing mATX
A Closer Look at the Bitfenix Aegis
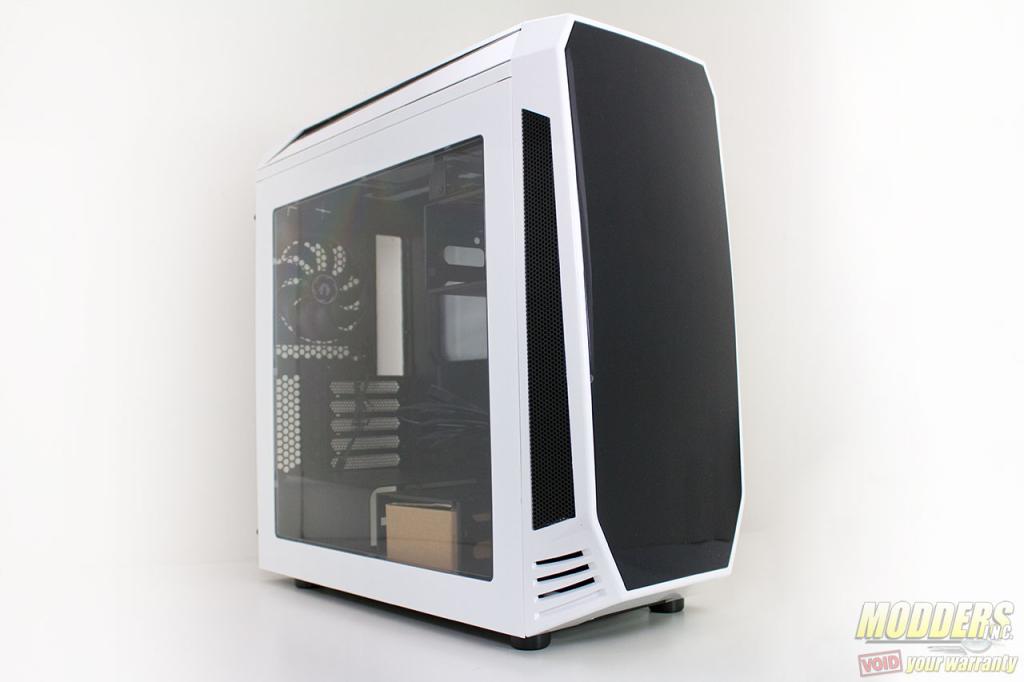
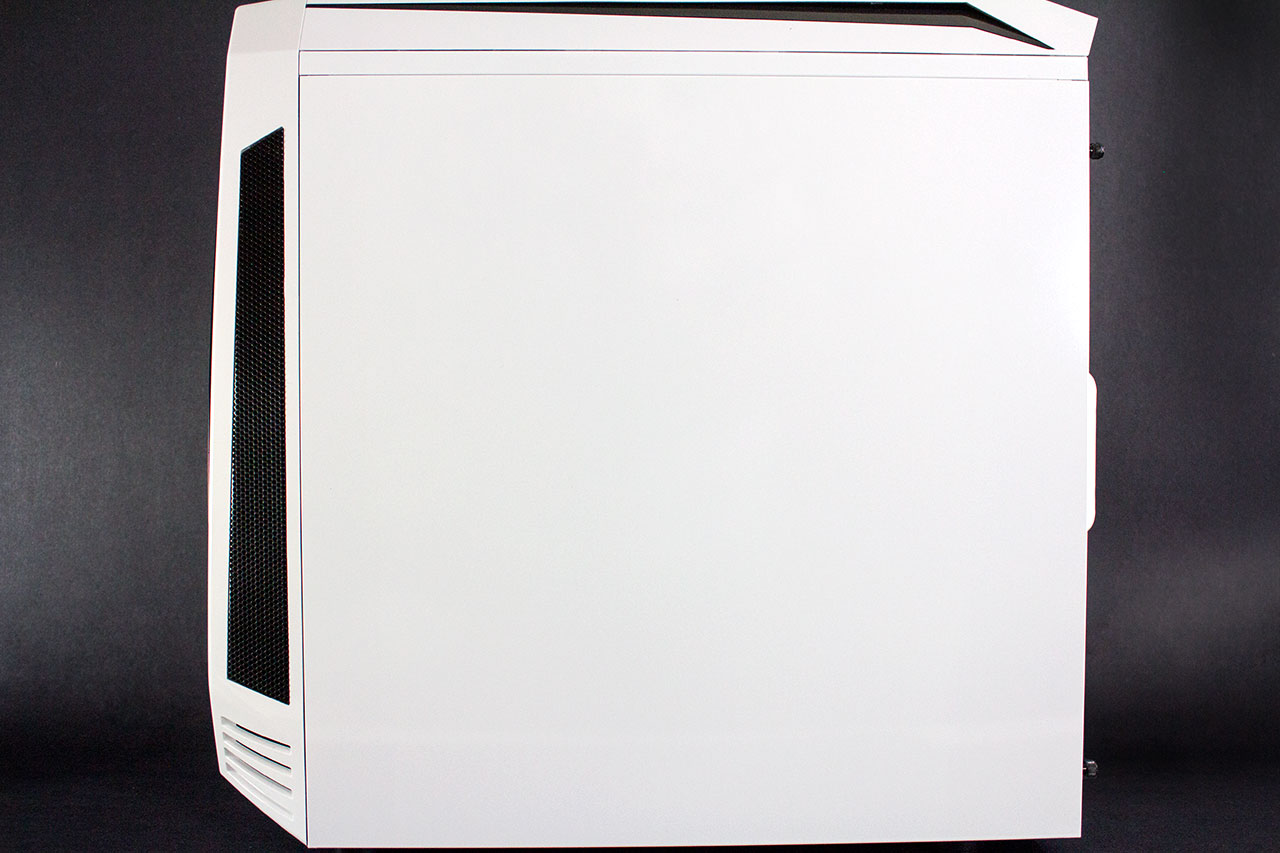
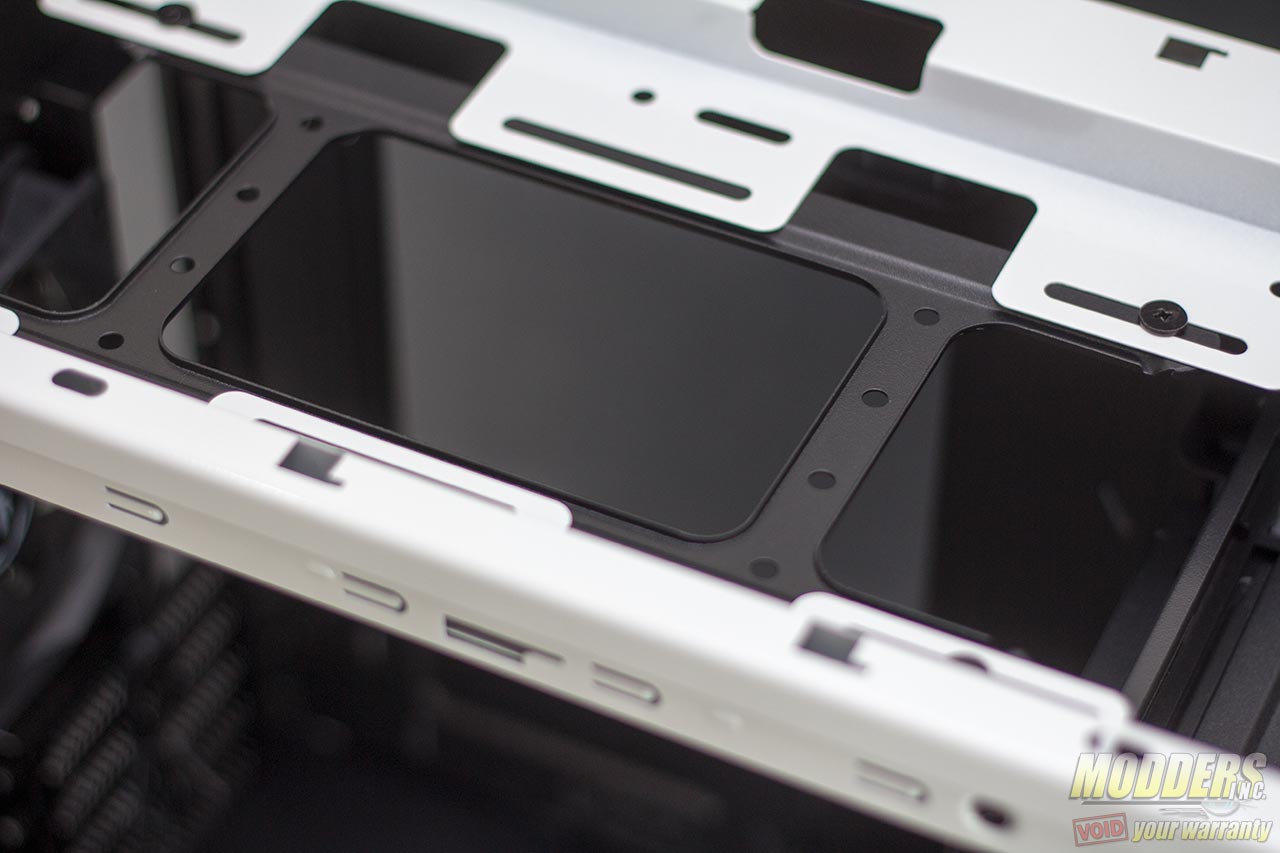
The original prototype of the Aegis which was on display in previous trade shows had a unique angled motherboard tray but the final retail version abandons that idea while retaining the same sporty look. The paint is glossy with equally reflective surface on the black accents at the top, face plate and buttons. Blending paint colors between plastic bezels and metal side panels used to be an issue with many case manufacturers but the painting process has thankfully advanced further along that it blends seamlessly like in the Aegis. So much so that they have the confidence to do it in five different colors. The left side panel has a large acrylic viewing window while the right side is plain. Even the interiors are evenly coated with only some areas inside the top radiator mounting ceiling that is not thoroughly coated in glossy finish. This is not really an issue since it is not visible to anyone else except the builder.
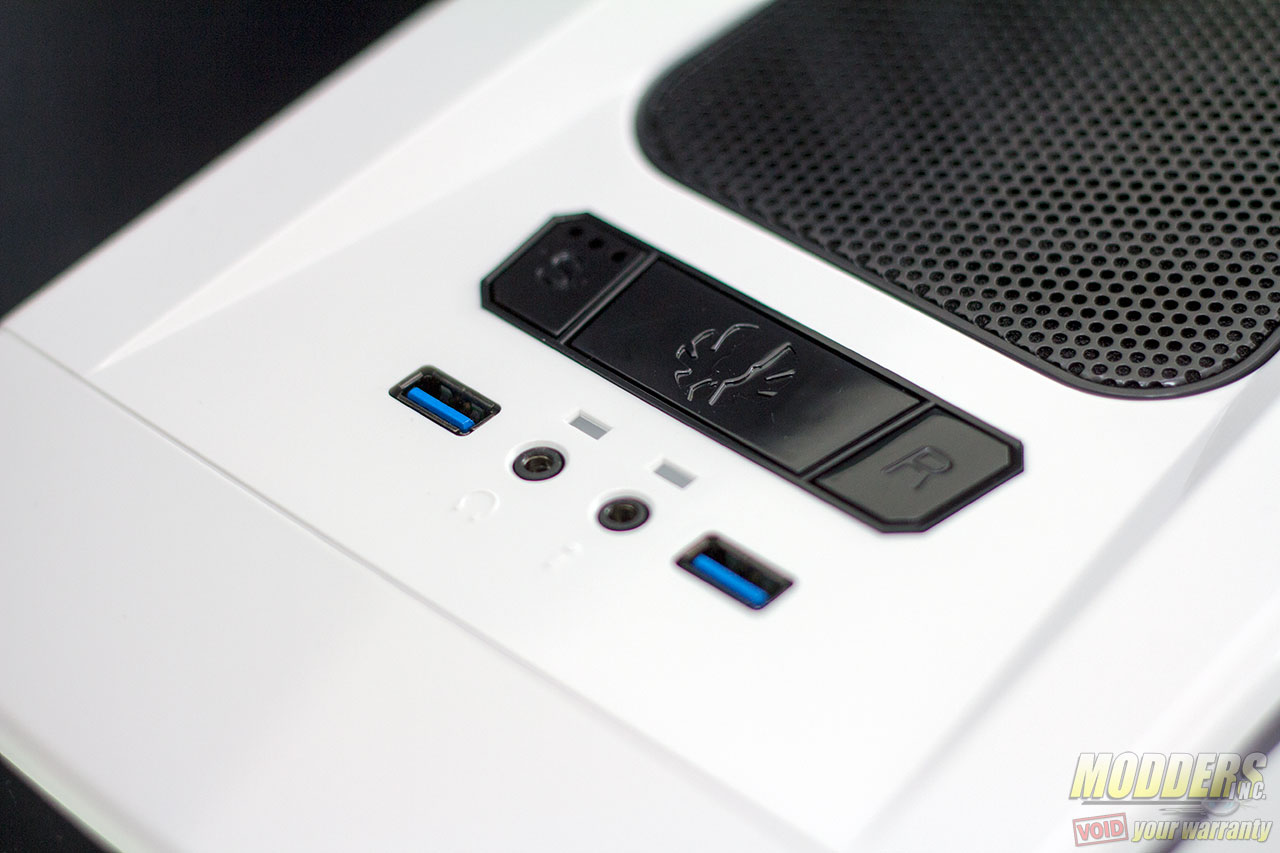
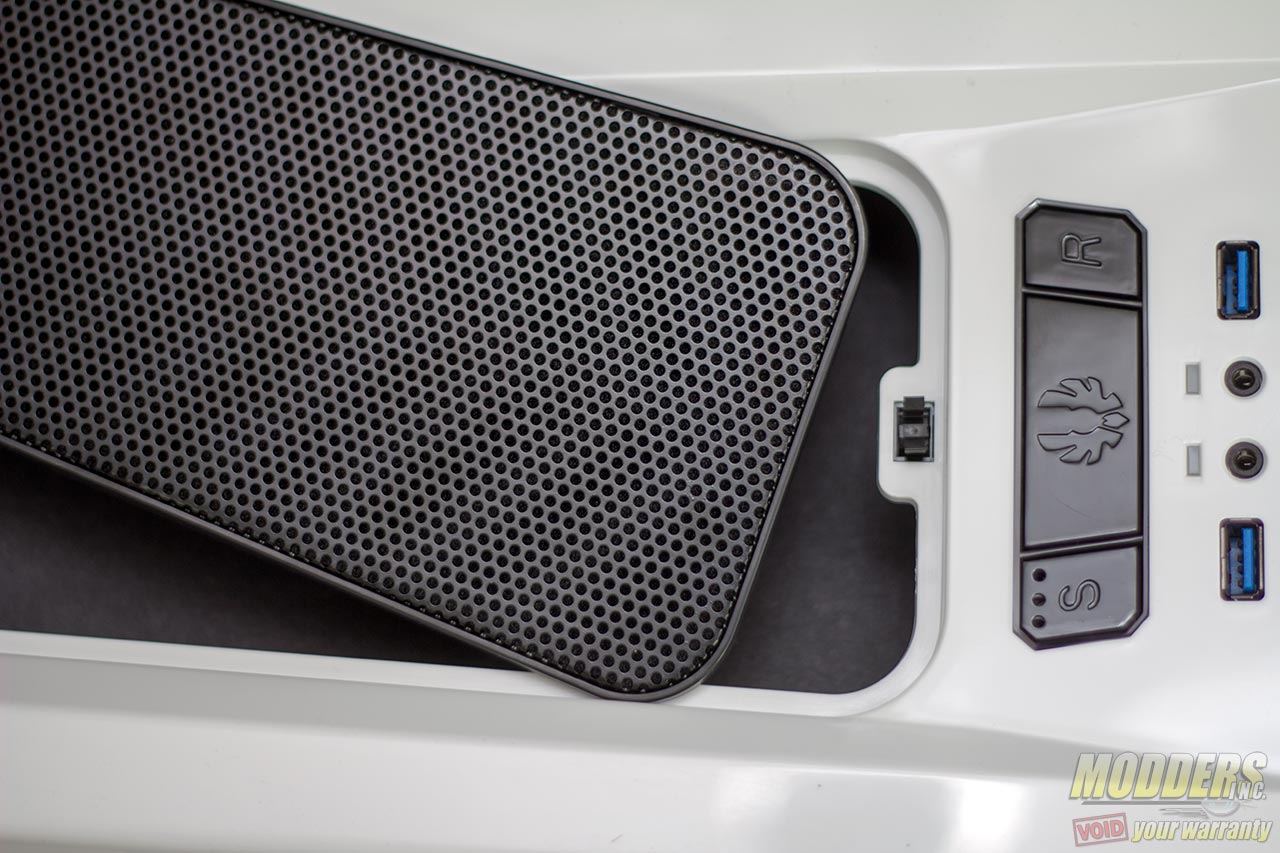
On the front IO, a pair of USB 3.0 ports is available (with a single 19-pin male connector), 3.5mm microphone and headphone jacks, a power button, a reset button, power and HDD white colored LEDs as well as a built-in fan controller for up to four fans. This is a 3-step fan controller that sets the voltage to 12V, 7V and 5V power. Even an LED fan such as the Bitfenix Spectre Pro series can be controlled here.
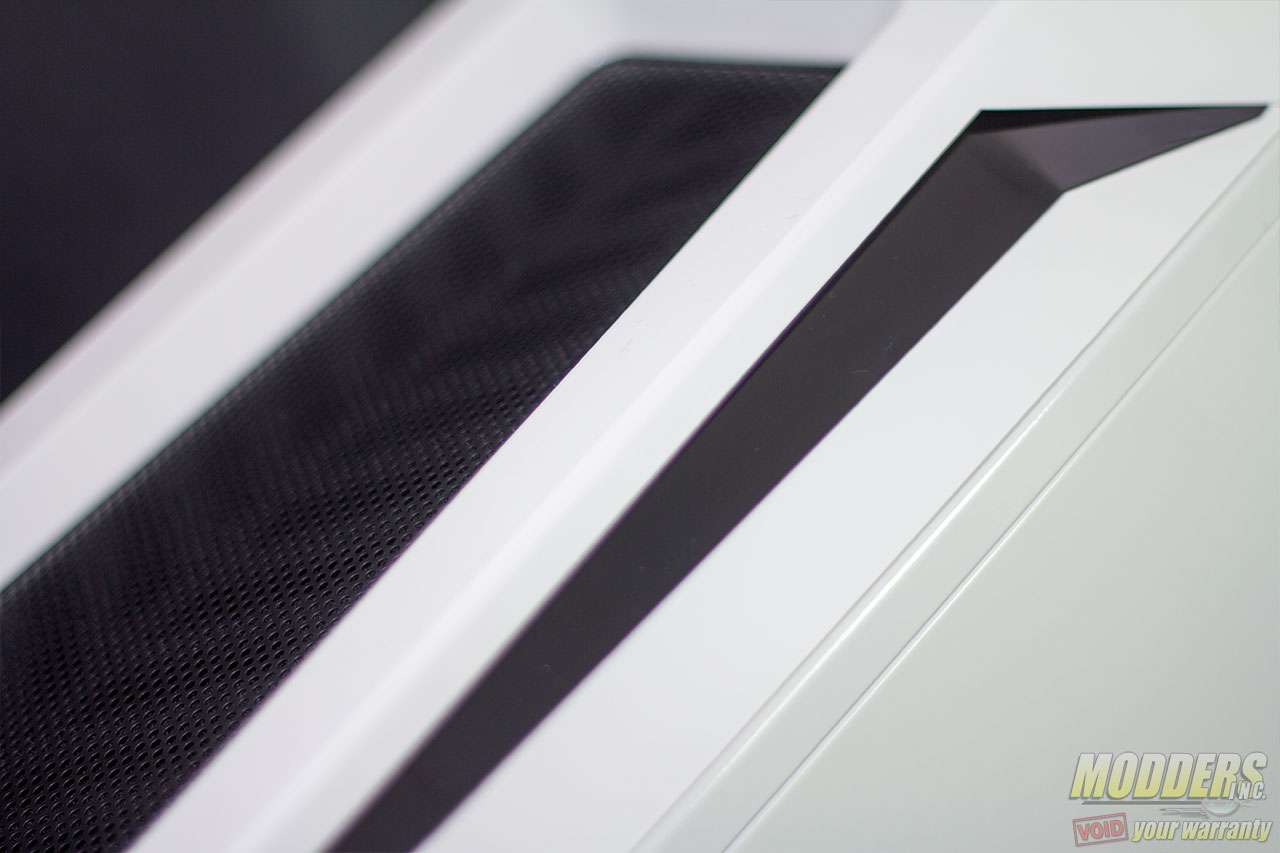
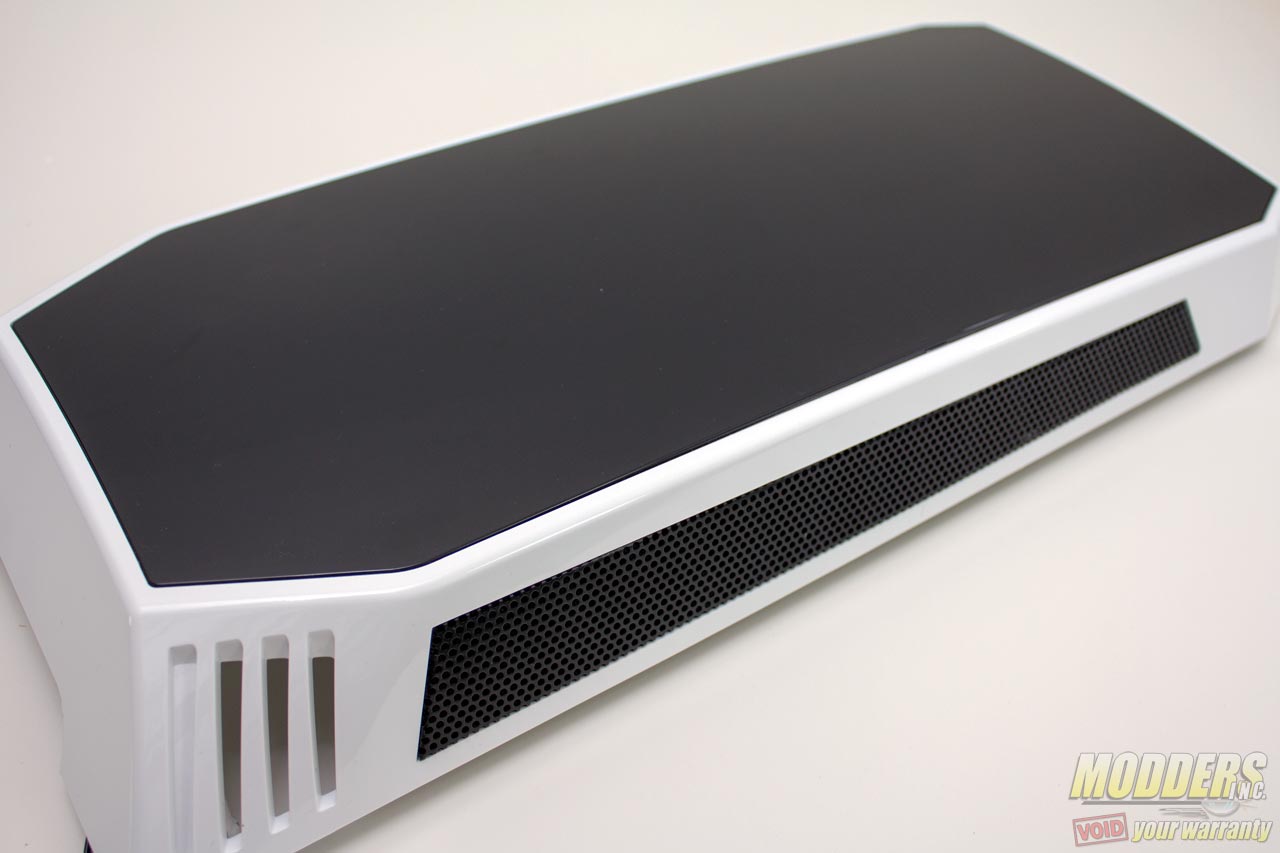
The gloss accent on the side of the top is only for cosmetic appearance, airflow instead comes in or out directly from the removable mesh top. This toggle-locks on the end closer front directly behind the IO switches and has thick foam filters for dust-filtration as well as noise dampening.
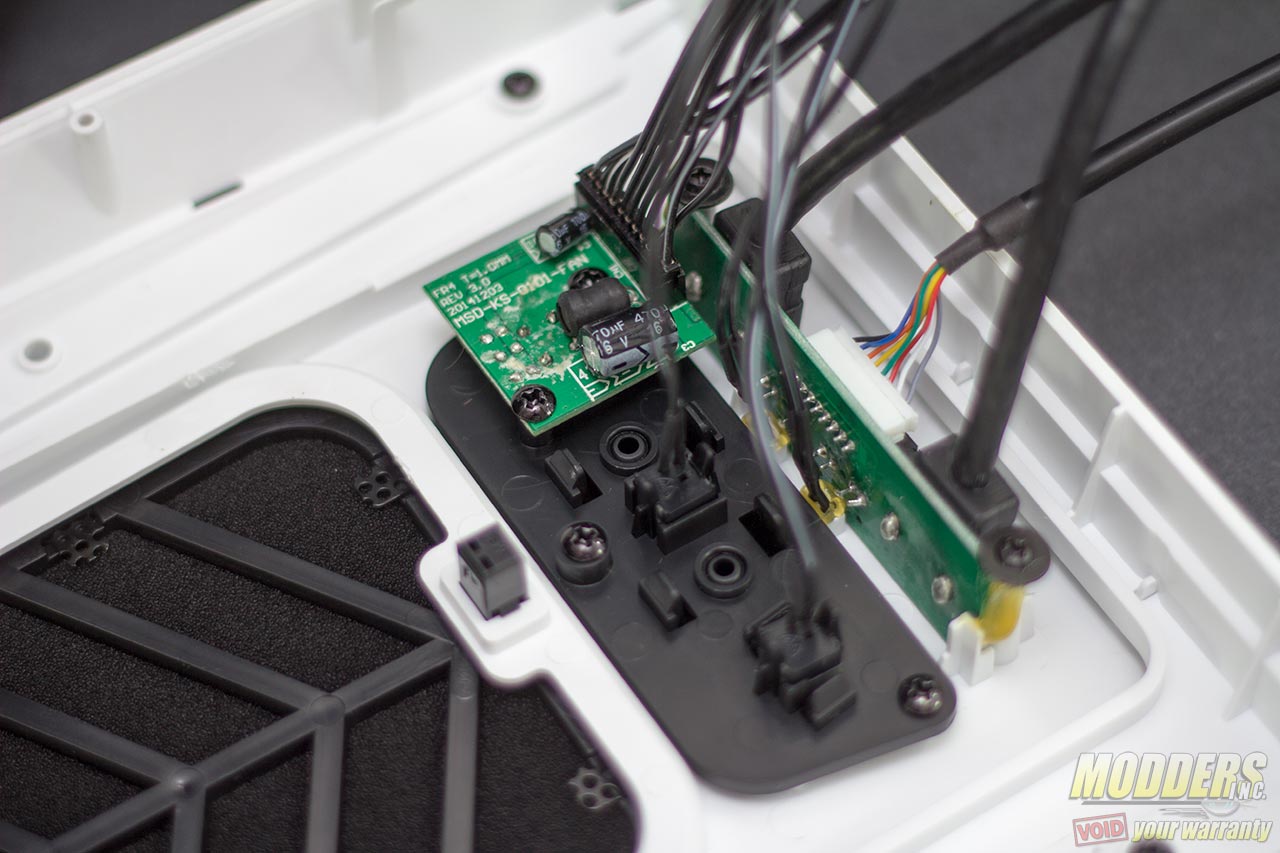
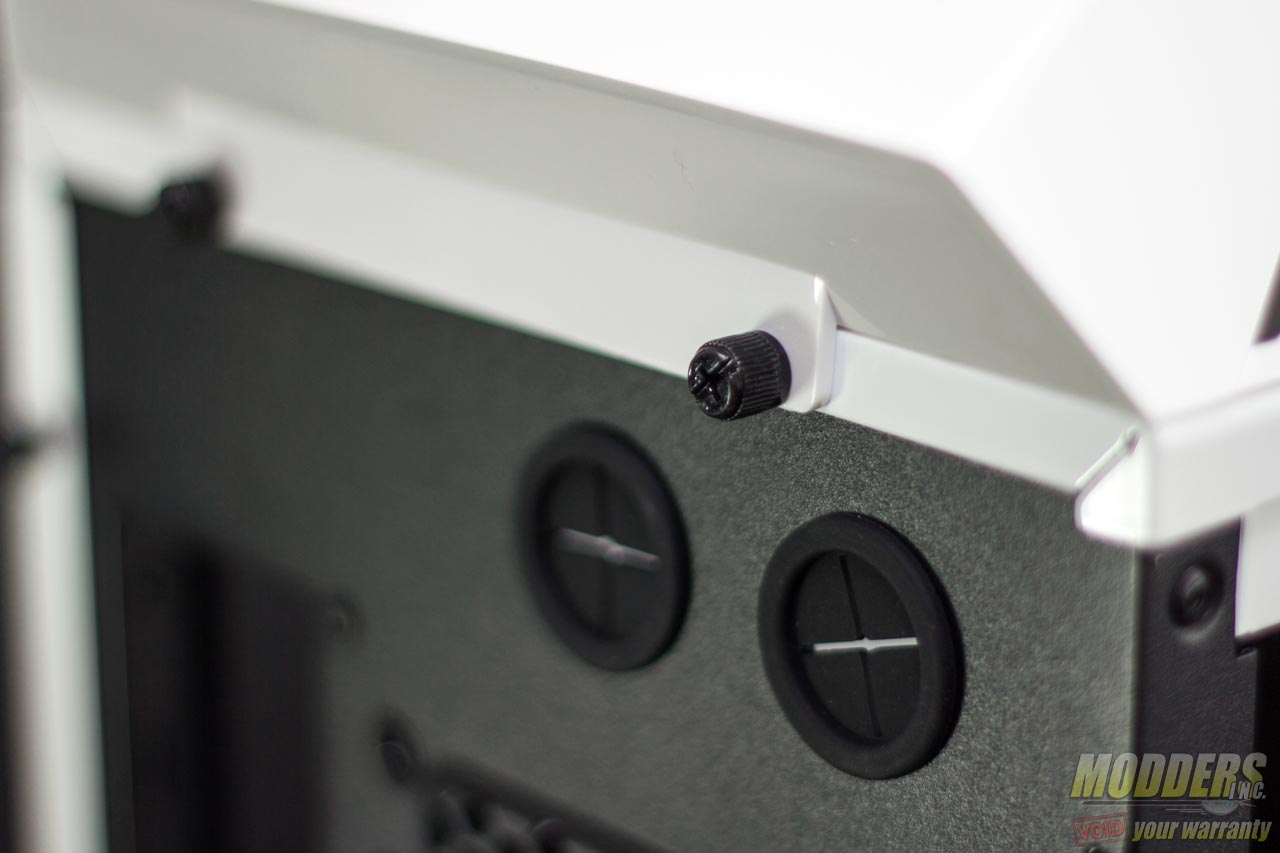
Mounting holes at the top support 120mm or 140mm fans and has variable positioning mounts to maximize clearance with internal components. The 120mm mounting is offset to the side to provide clearance for thicker radiators as well. A reservoir bracket is pre-installed at the top which can be attached to any radiator or fan assembly to use. For fan or radiator installation above, the entire top cover easily comes off by removing a pair of thumbscrews and sliding the cover back before lifting. Note that the front IO cables are attached so be mindful of removing the top cover if the cables have been tied down before hand.
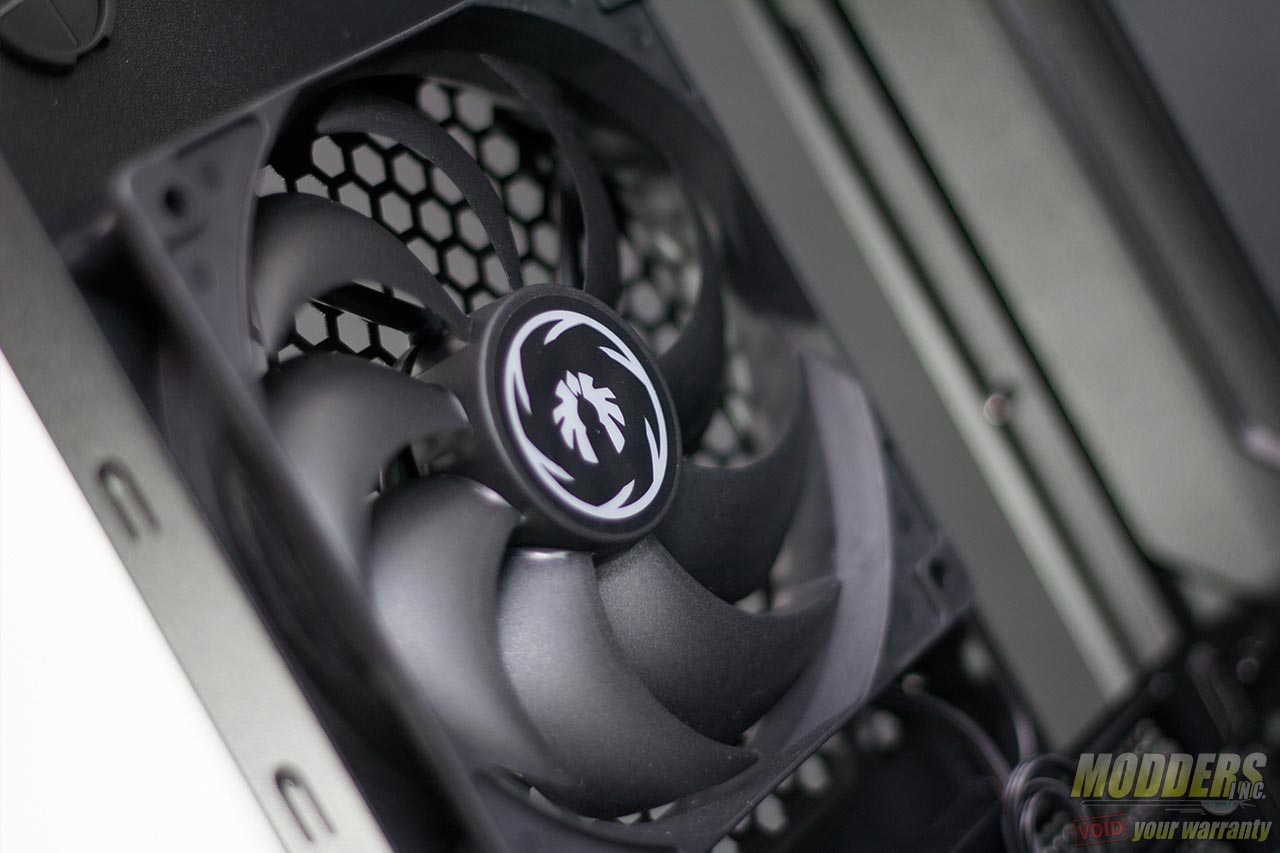
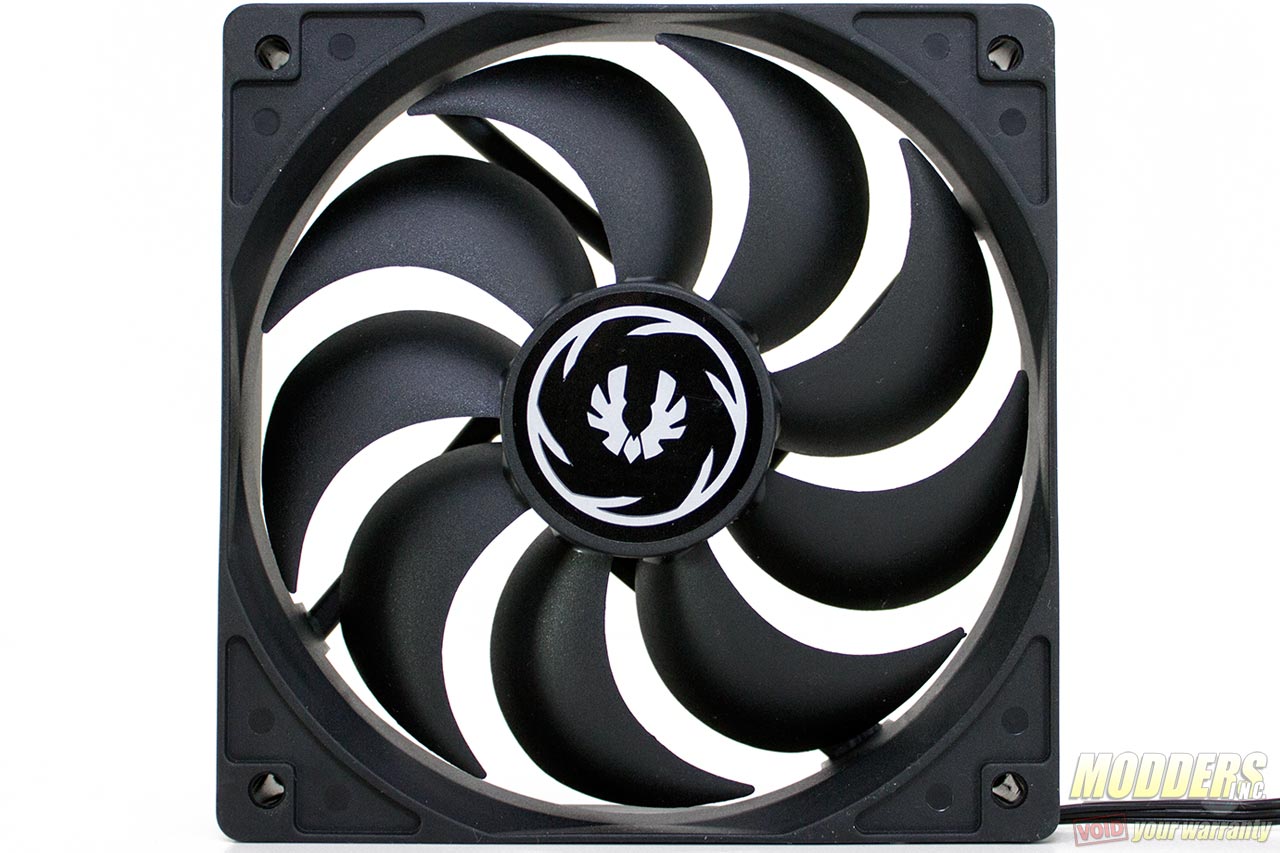
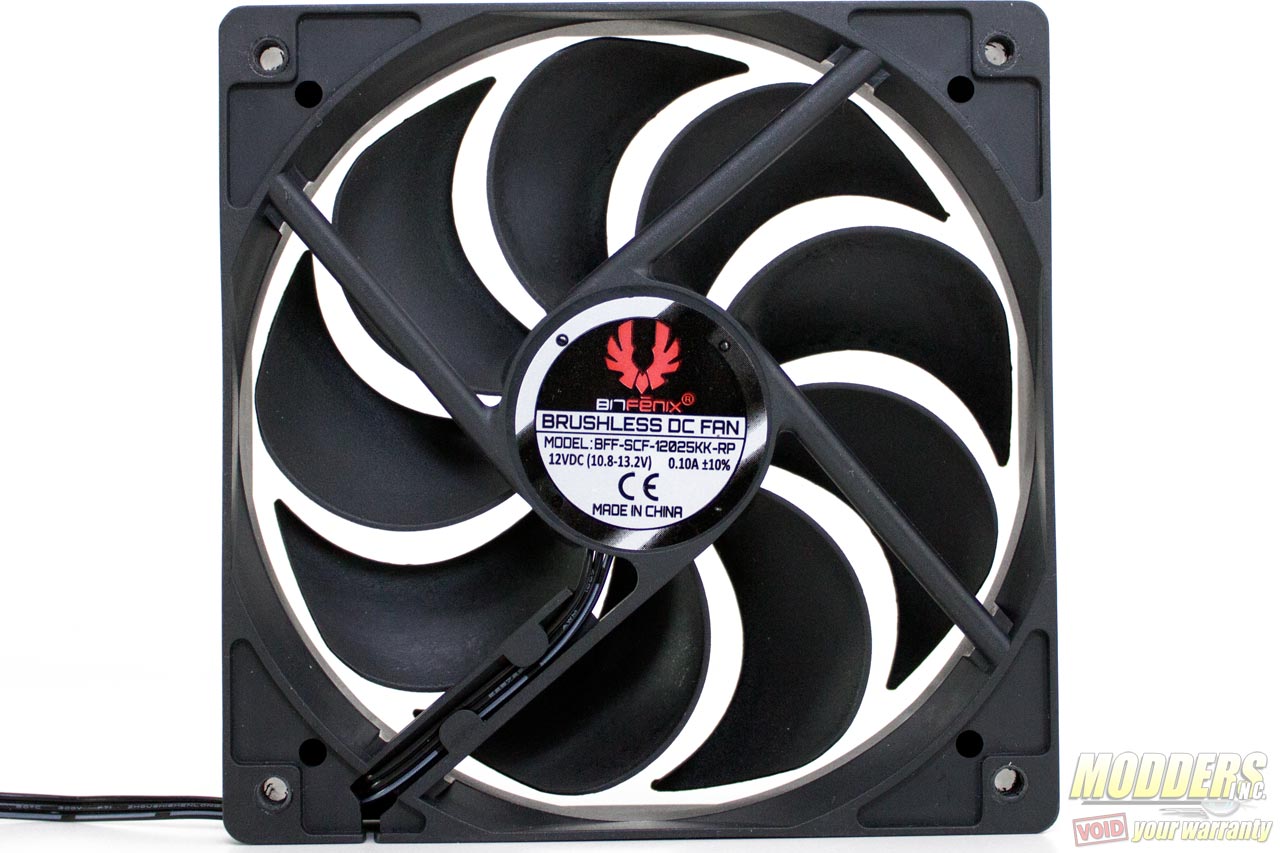
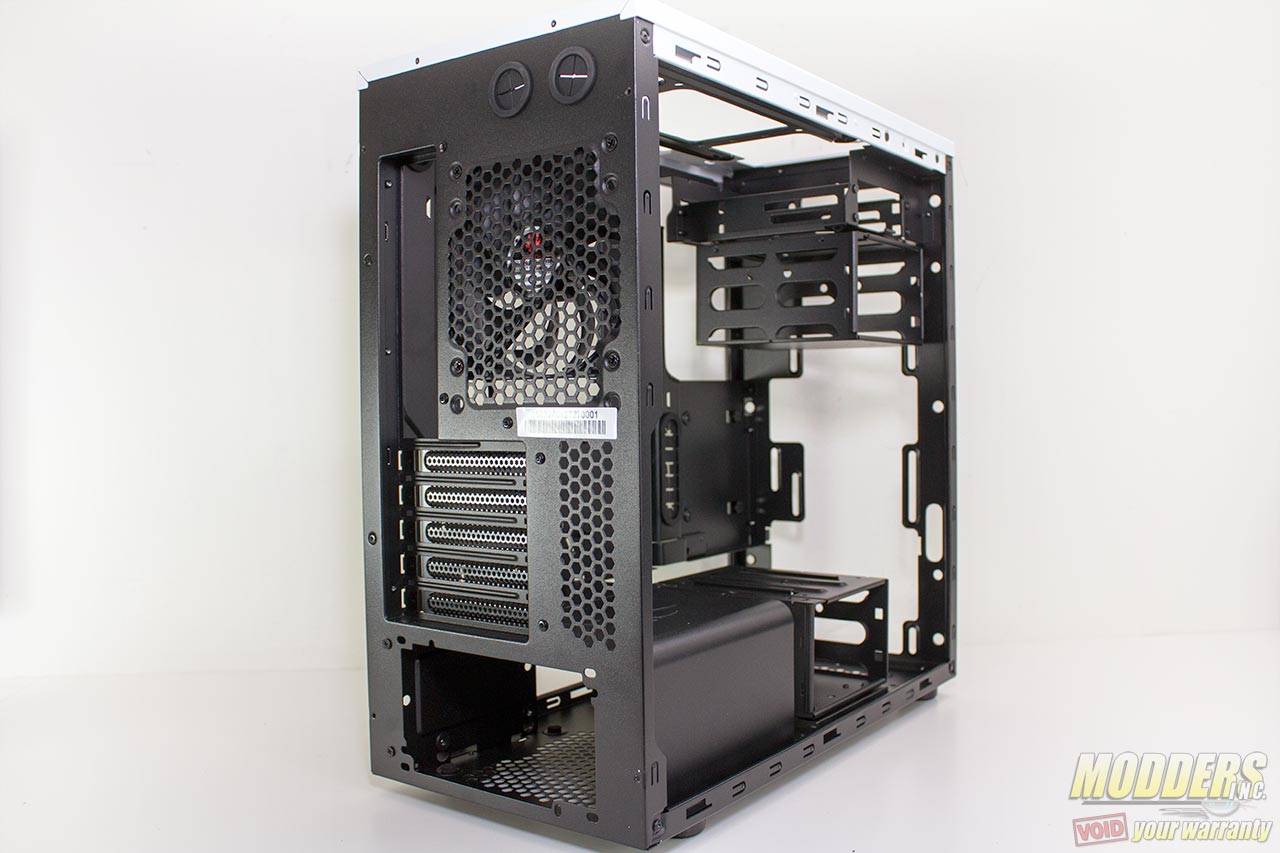
A 120mm fan is pre-installed at the rear for exhaust. This is a 3-pin 9-blade fan with aggressively curved blades and can maintain low noise output even at higher RPMs. This fan can be positioned up or down in the back as the mounting at the rear provides variable positioning option for clearance adjustment.
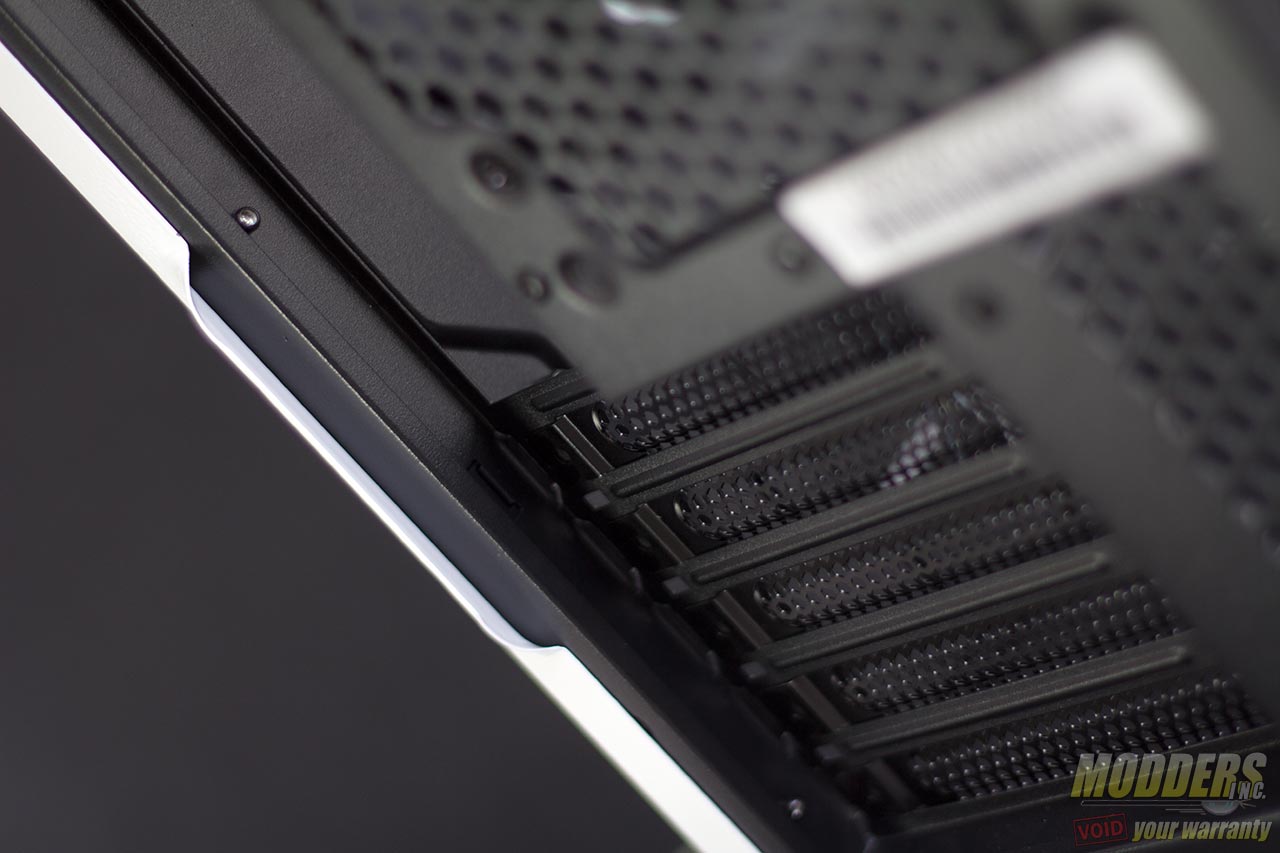
The side panels are also held by thumbscrews and have a convenient handle for removable. Unlike other micro-ATX cases, the Bitfenix Aegis provides five expansion slots instead of four. This is to provide optimal airflow for the lower video card for those who are running a dual-SLI or dual-Crossfire air-cooled setup. All the expansion slot covers are perforated and re-usable, held in place by thumbscrews.
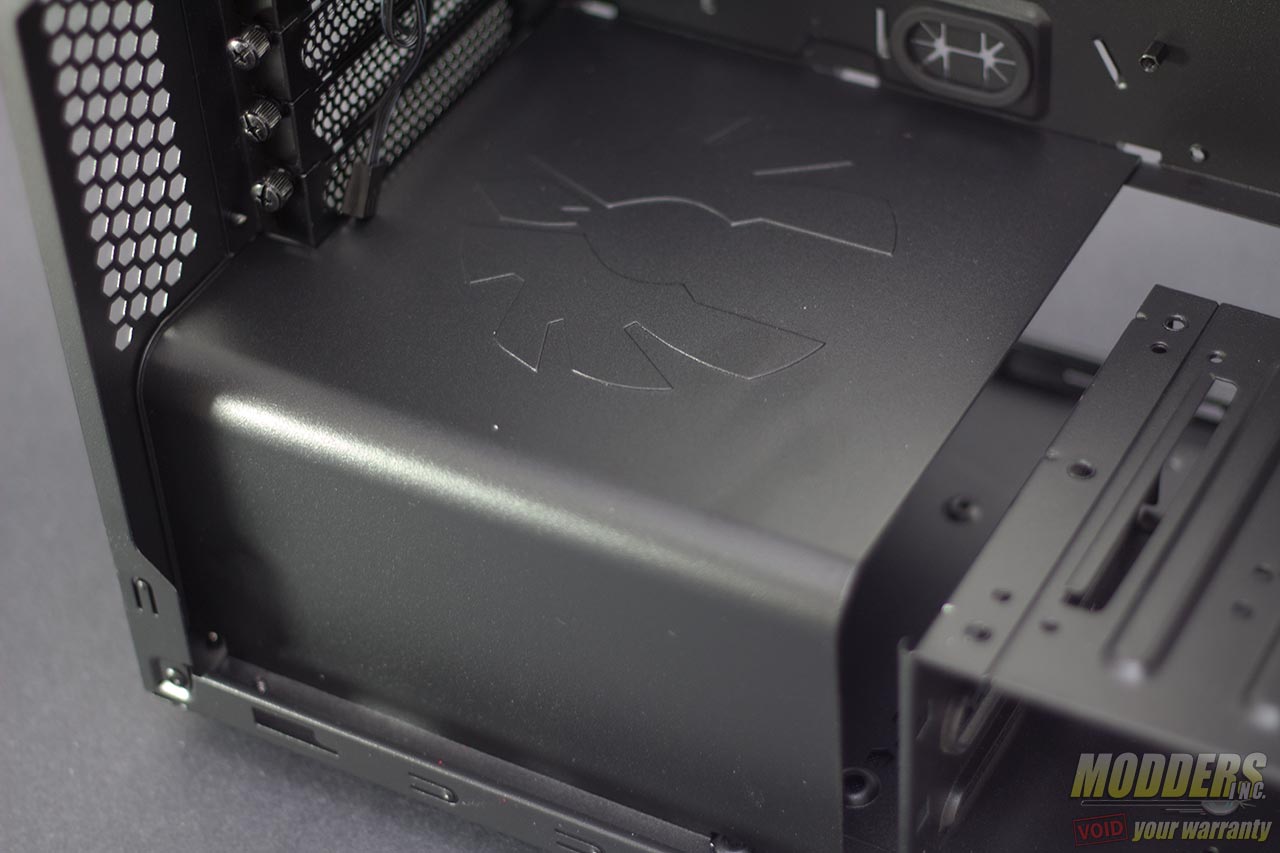
Power supply is mounted at the bottom and has a removable PSU cover plate. This covers power supplies up to 180mm long. To remove this cover plate, screws must be removed at the base and then the plate can be slid out of place.
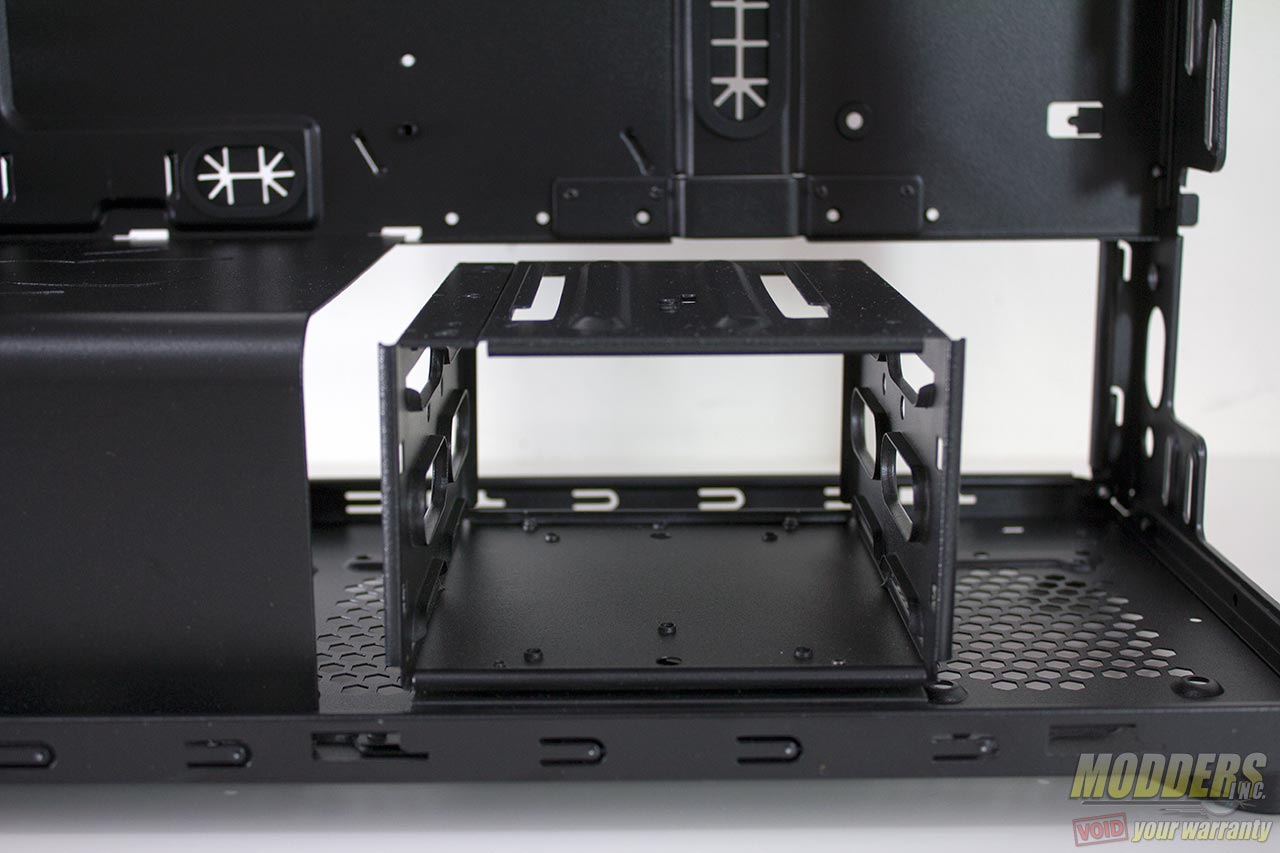
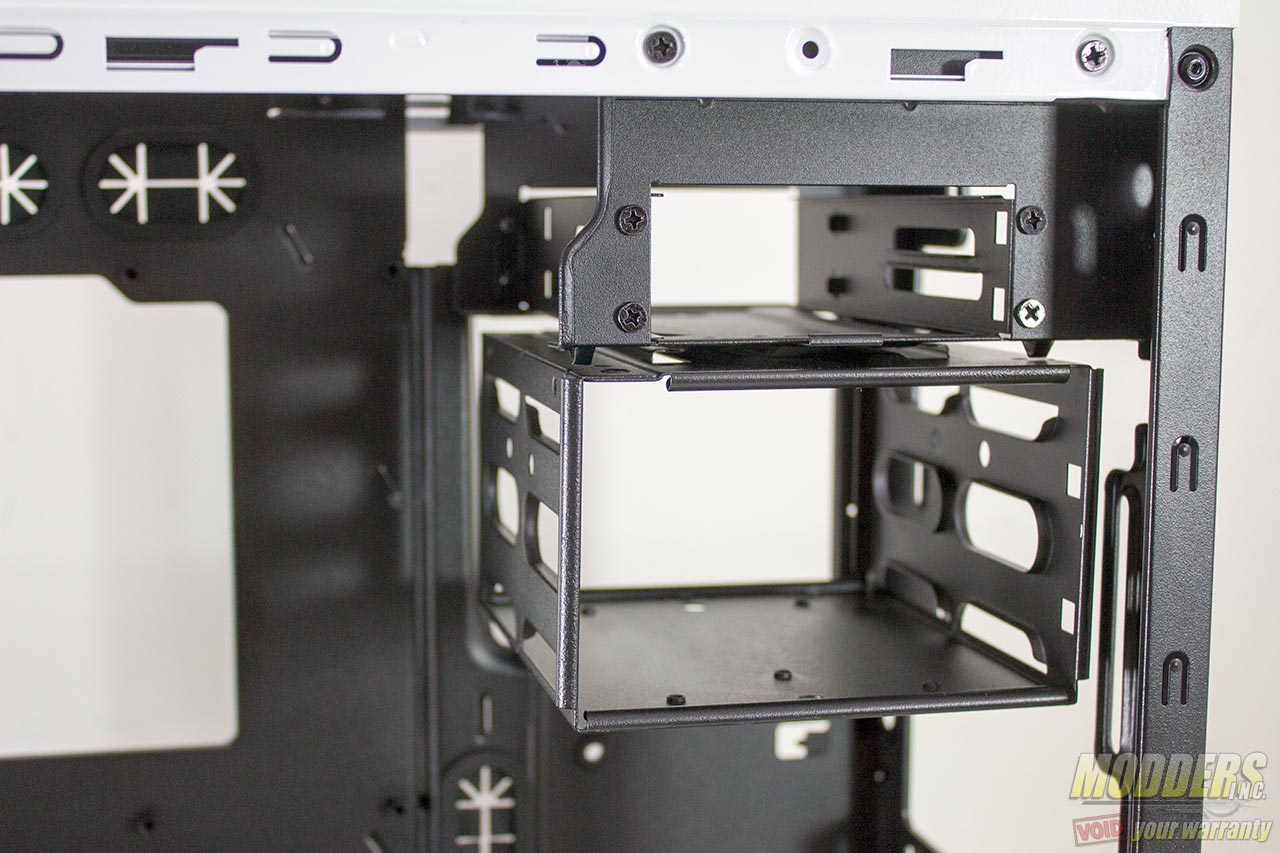
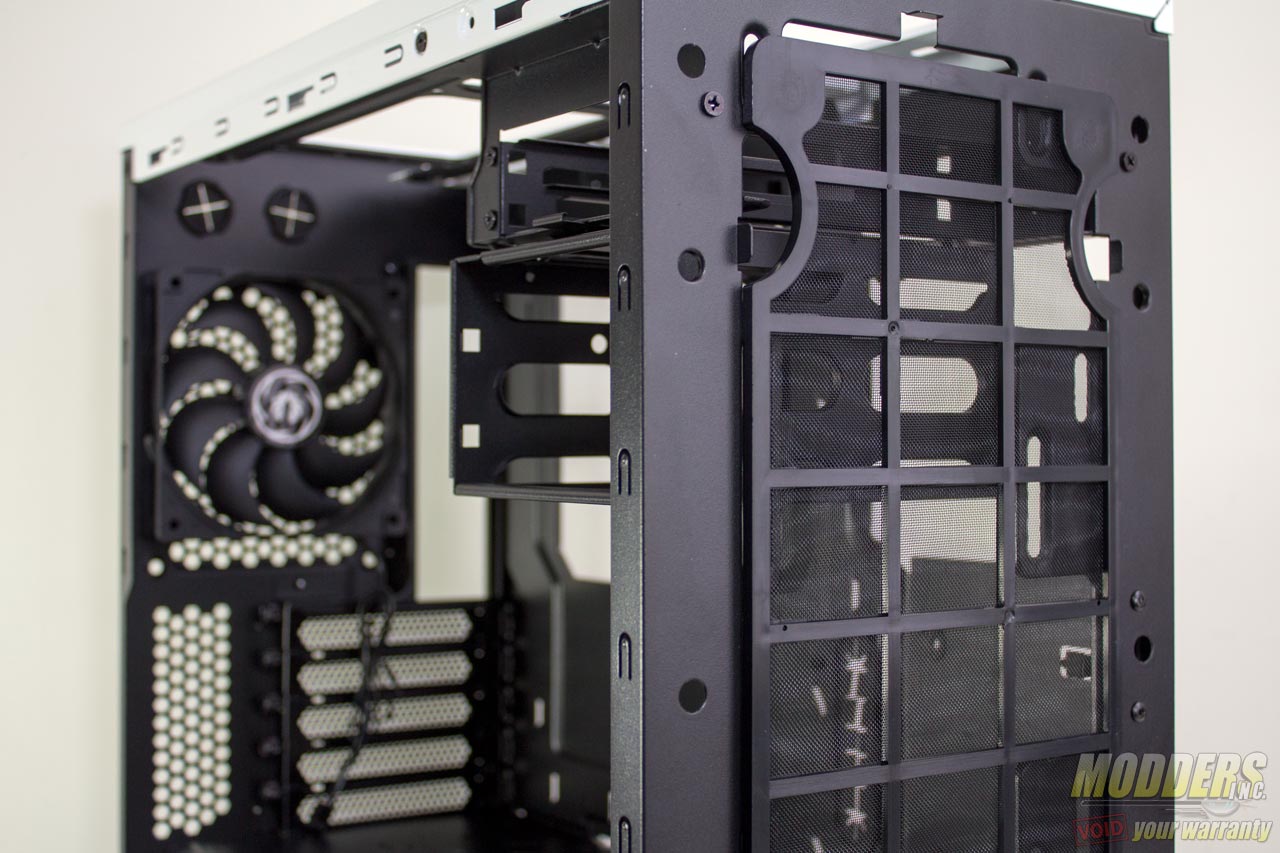
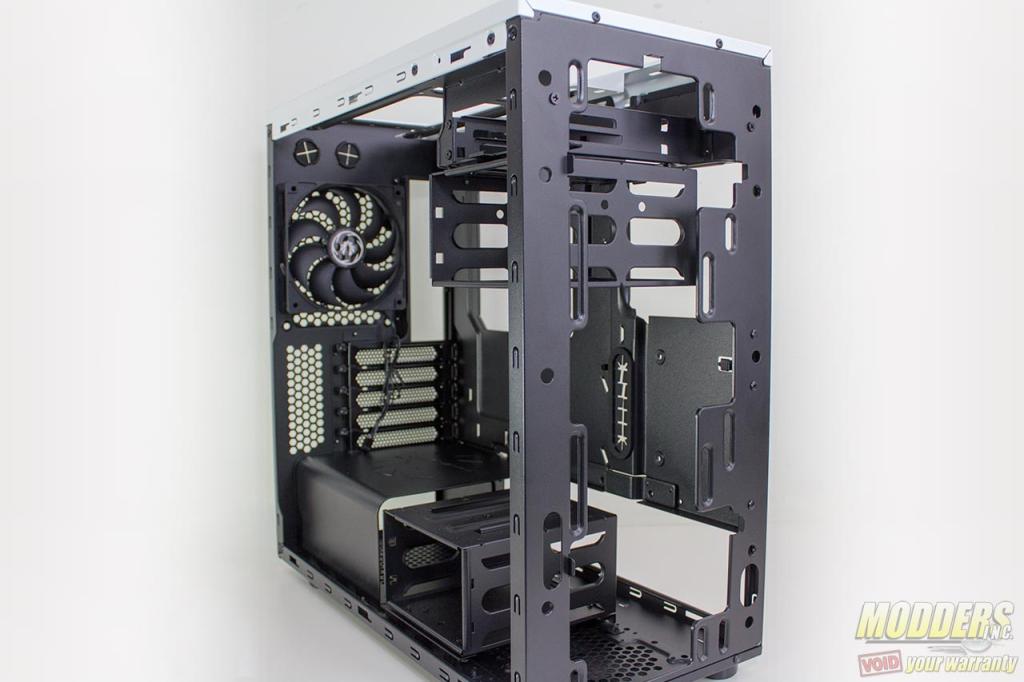
3.5″ drive cages supporting up to two drives is located at the bottom floor and hanging at the top. The optional pump mounting bracket in the accessory attaches to the bottom 3.5″ drive cage or directly on the floor. This drive cage or the pump mounting bracket can be moved, removed or repositioned depending on clearance requirements. As with the PSU cover plate, these accessories are screwed in place at the bottom. The hanging 3.5″ drive cage supports 2.5″ mounting underneath it as well and the entire drive cage can just be slid out to provide additional front fan or radiator clearance if necessary. This top 3.5″ drive cage has no lock that holds it tot he frame however other than the pinch-slide lock that attaches it to the top-most 2.5″ drive cage. This 2.5″ drive cage can also be removed to provide maximum clearance for radiators mounted at the top or front, but Bitfenix has made a cut-out towards the rear of the 2.5″ drive cage to route radiator hoses without removing the 2.5″ cage itself. All the drive mounting options are held in place by screws instead of punched in so they can be customized easily.
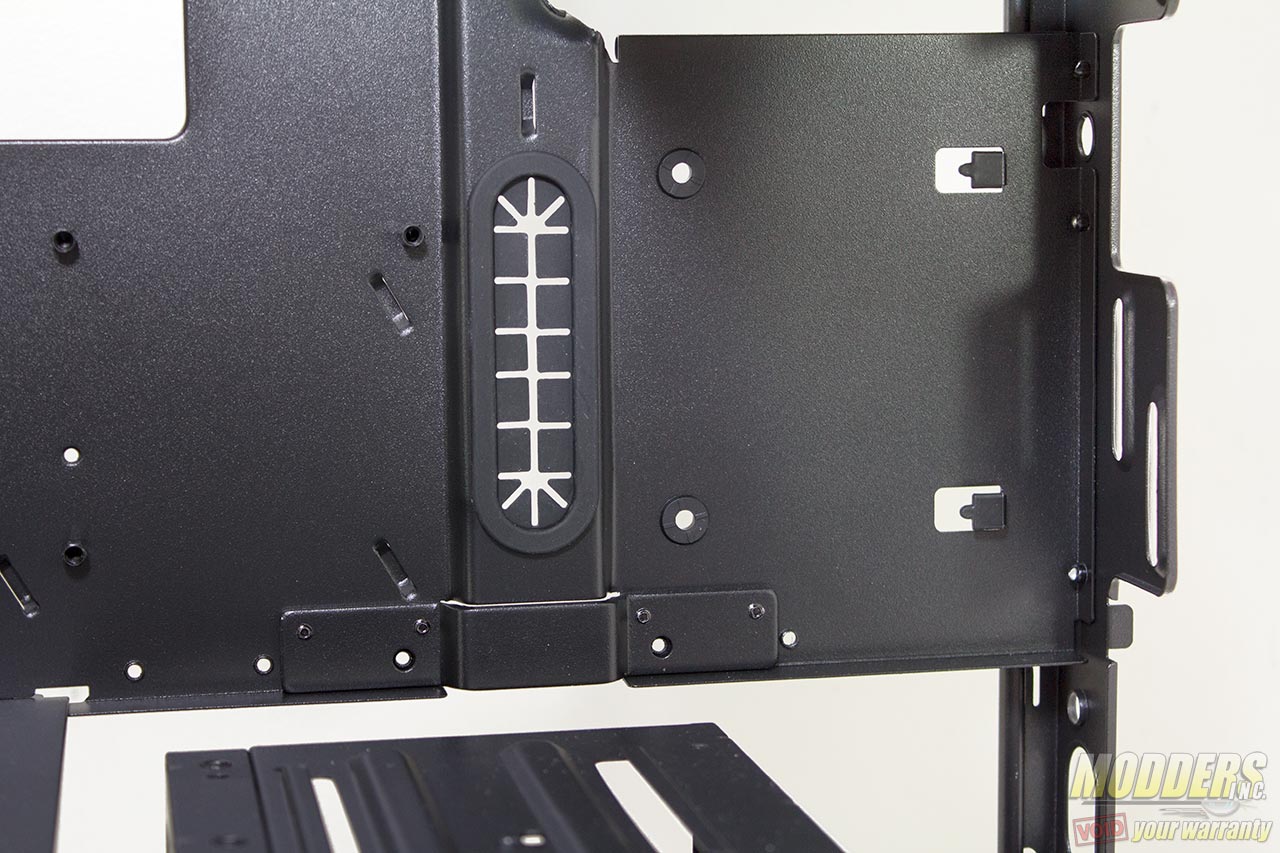
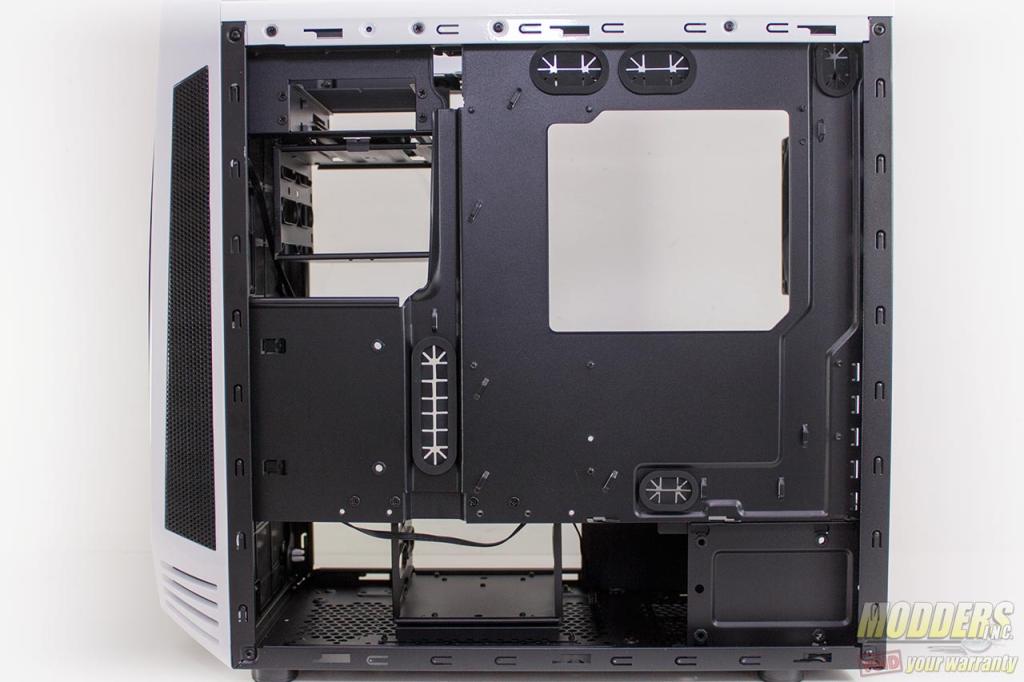
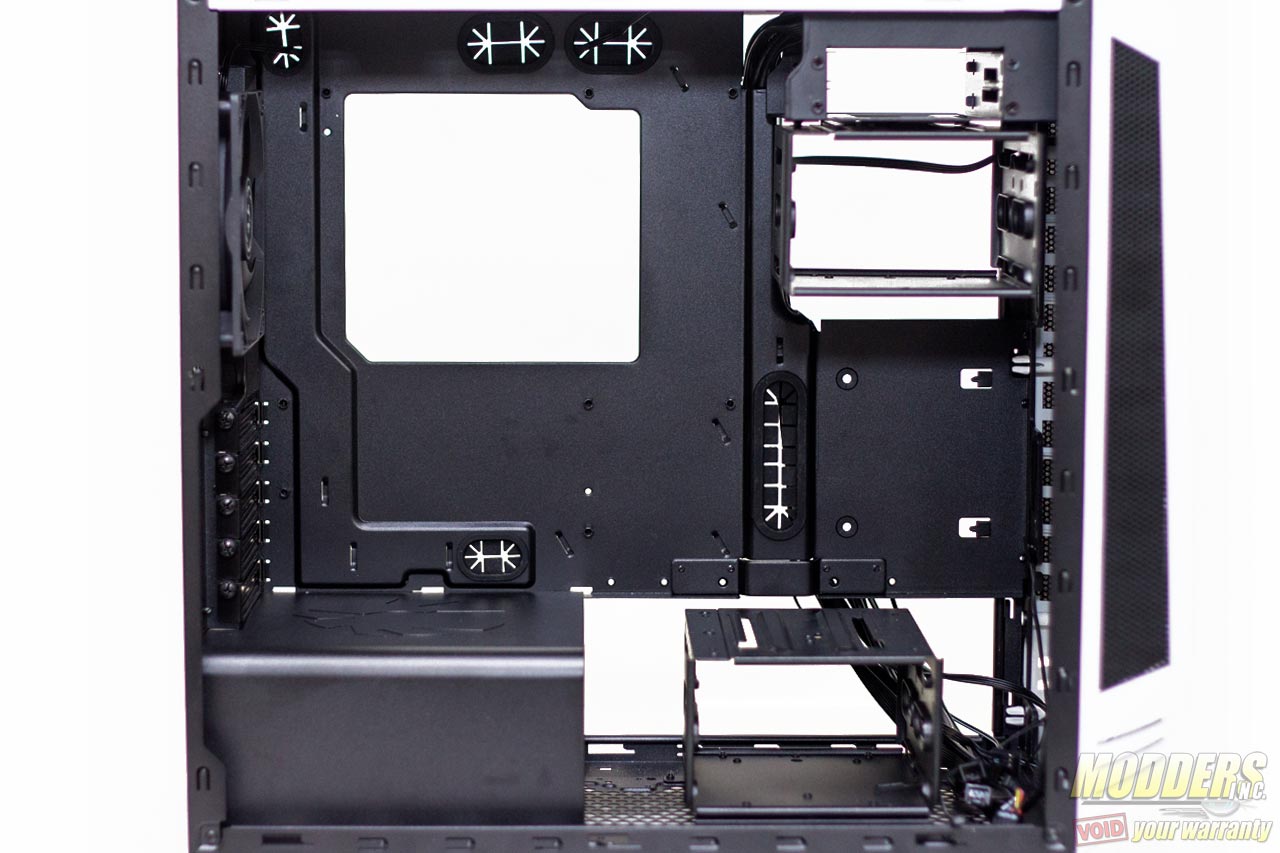
An additional “show off” 2.5″ drive mounting area is available towards the middle across the motherboard tray. In here you can also see some structural reinforcement that Bitfenix has implemented to further aid with the rolled edges for stability.
One more 2.5″ drive mounting option is available at the rear, directly behind and below the motherboard tray. Bitfenix has been generous with providing cable grommets as well with three available at the top for the 8-pin EPS12V and fan cables. Tie mounts are also strategically positioned on all corners to aid with cable management routed on the grooves behind the motherboard tray. The entire bottom area is open for easier routing and to provide extra storage space for cables.
The motherboard standoffs are pre-installed which saves builders a lot of time. An extra standoff with a hex adapter is included in the accessory package for some motherboards that require it. For CPU cooler installation while the motherboard is mounted, a generous cut-out on the tray is provided.
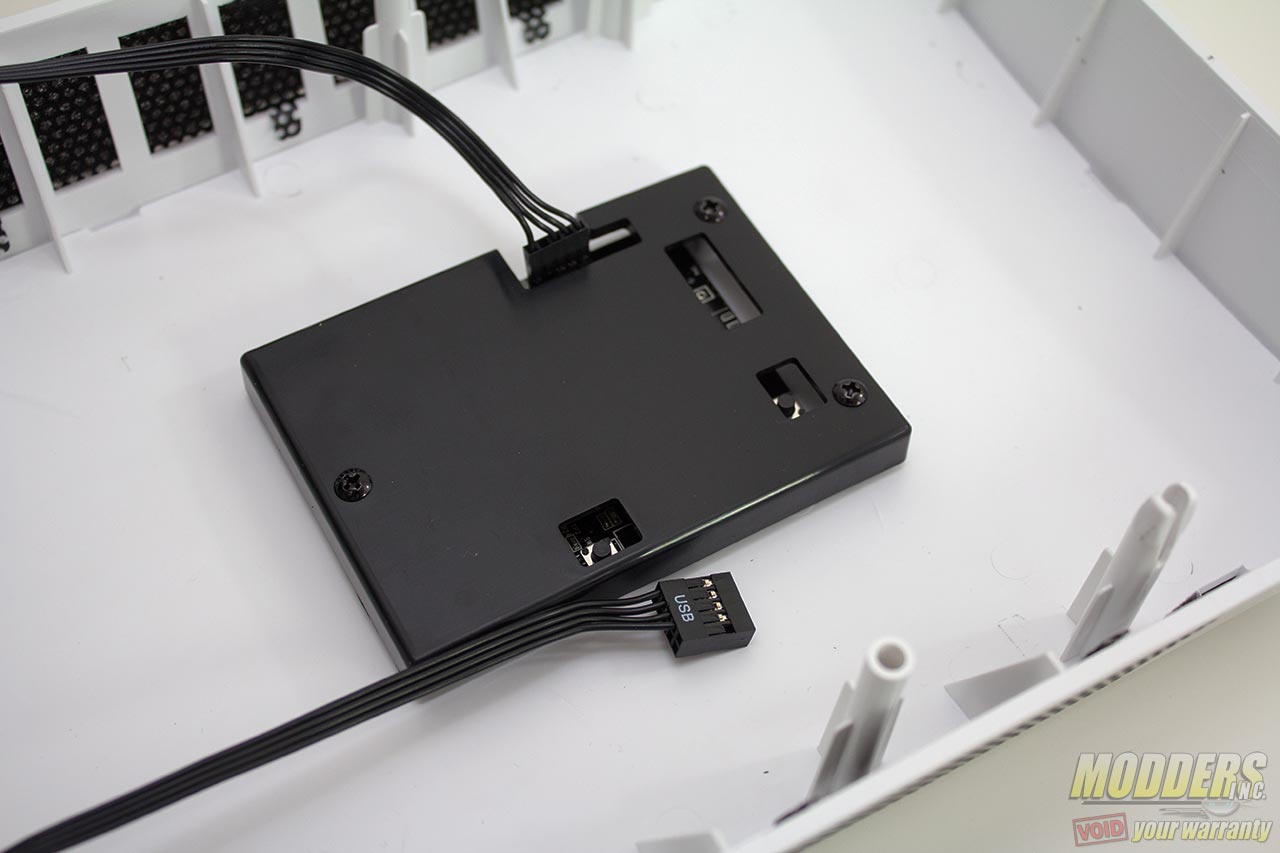
The front panel has perforations on the side for airflow (also has foam filters like the top mesh), and is also highly glossy and rather plain with the exception of the small LCD display. This is a bonus feature that is not available on the Core version of the Aegis and allows users to customize their system’s digital case badge.
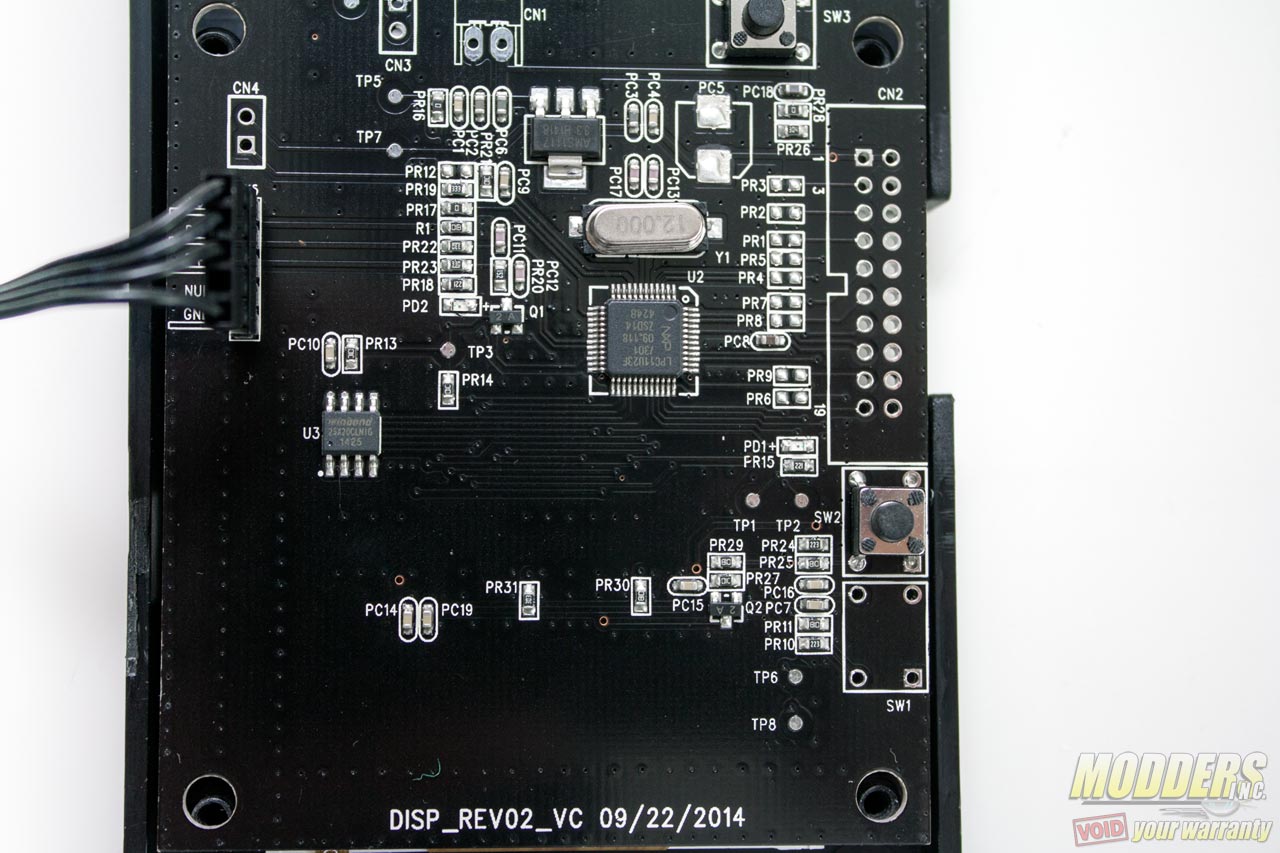
Plugging in via a USB 2.0 header, the LCD is programmable via a downloadable software from Bitfenix. On the PCB is a 240×320 pixel resolution TFT display and an NXP LPC11U23F Arm Cortex-M0 microcontroller with a Winbond 25X20CLNIG 2-Mbit serial flash for storage. There are two buttons on the PCB but they do not serve any useable function out of the box other than reset. A source code kit is available for developers to download on the Aegis product so they can play around with the functionality.
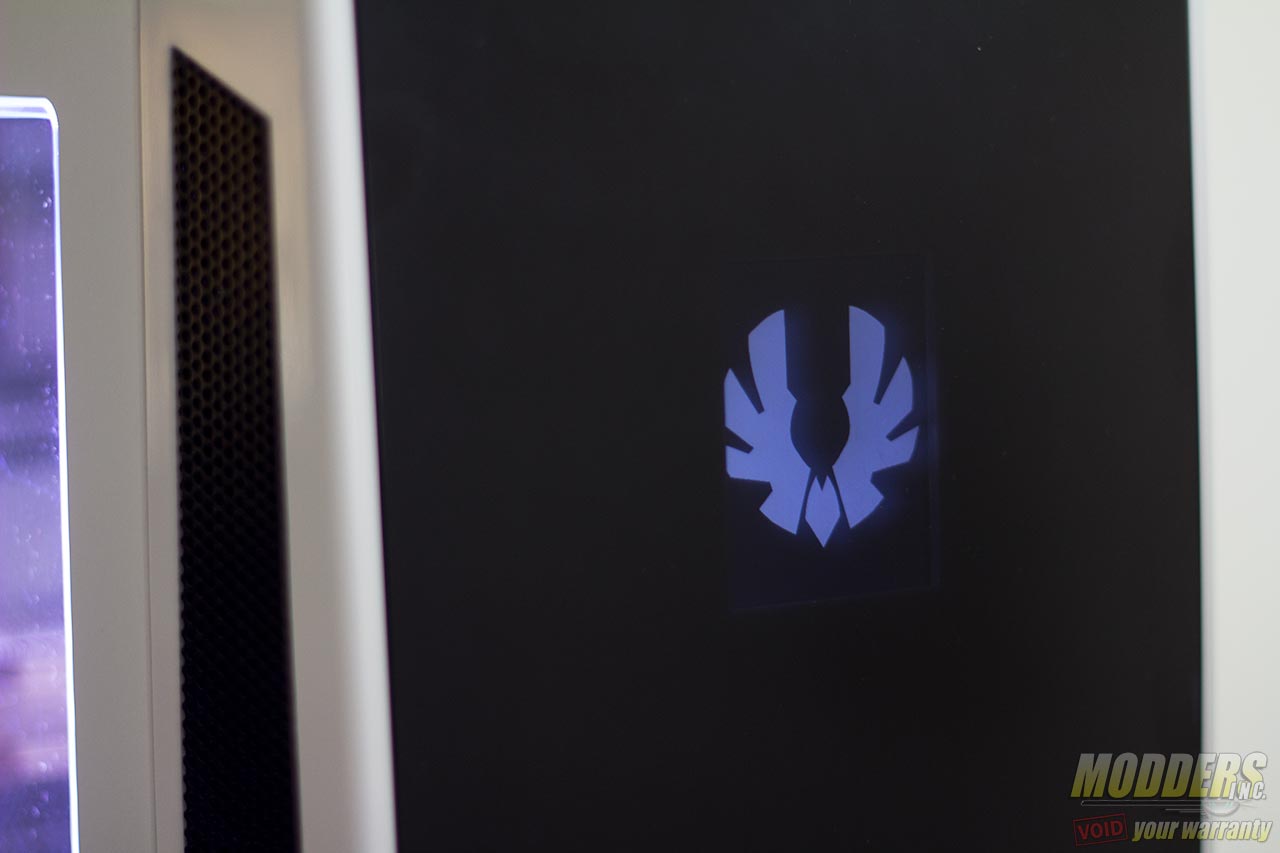
By default, the Bitfenix logo loads when the USB display is plugged in. This display stays on if the motherboard supports standby USB power even if the system is shut down.
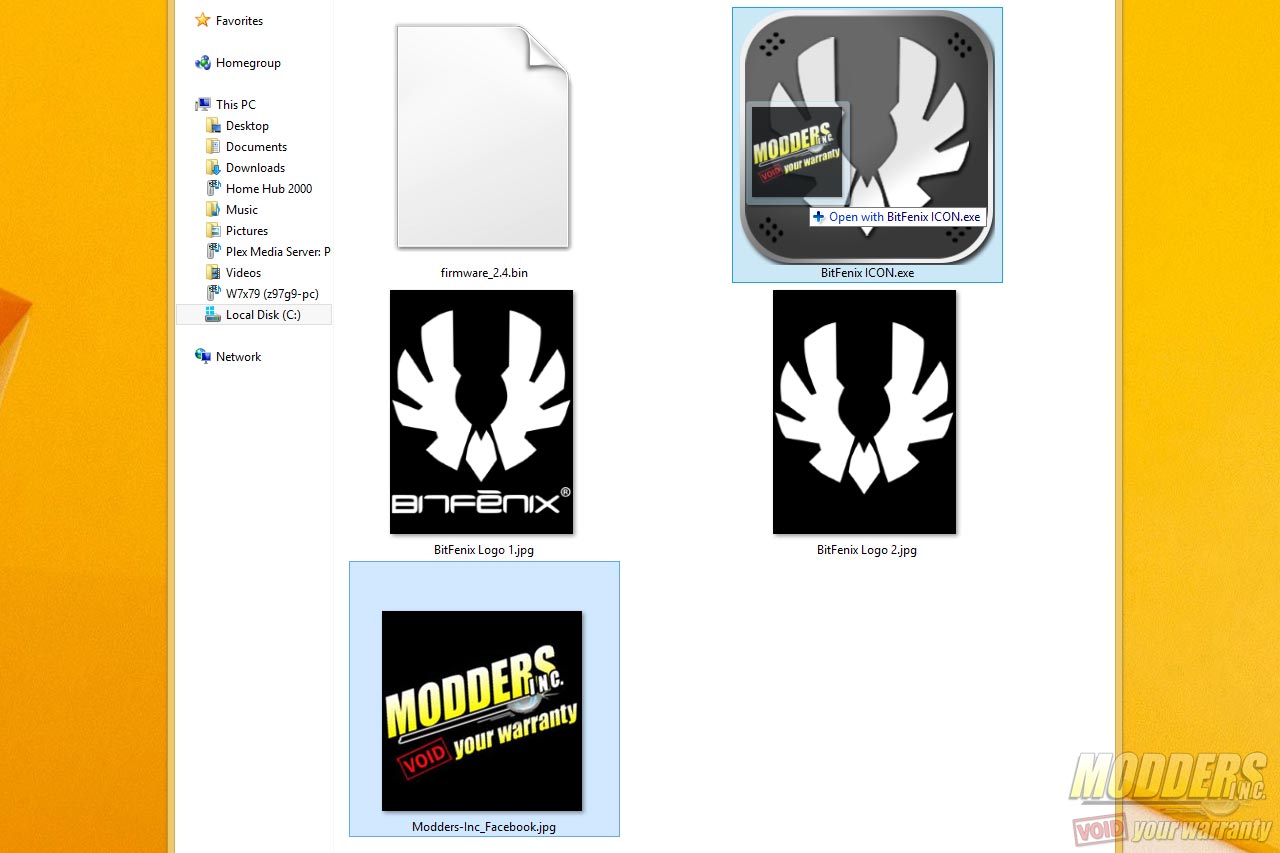
To customize the graphic, simply download the App icon from the Bitfenix Aegis support page, then extract all contents into any folder. Once all contents are ready, loading the graphic on the screen only requires the user to drag and drop any JPG or PNG to the EXE file.
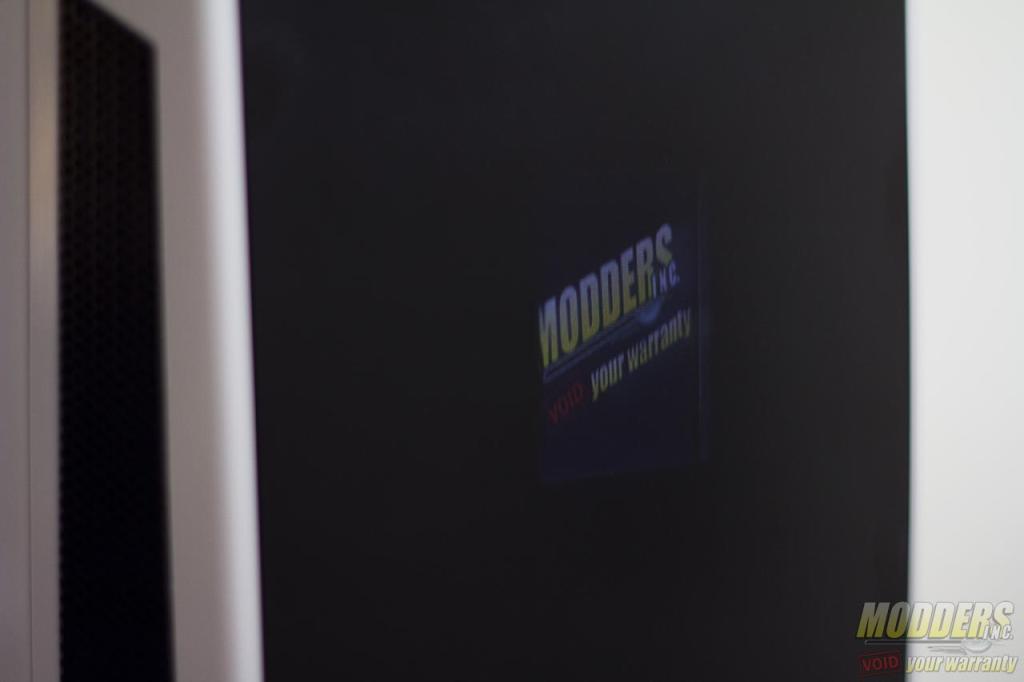
Note that the screen is 240×320 pixels and images loaded to the screen that do not conform with the dimensions will be scaled to fit, including the aspect ratio. The image below shows how it fits a smaller square image into the vertically rectangular screen.
With the front panel cover removed, users have access to the front fan/radiator mounting area. There is a magnetic dust filter that spans the entire front opening.
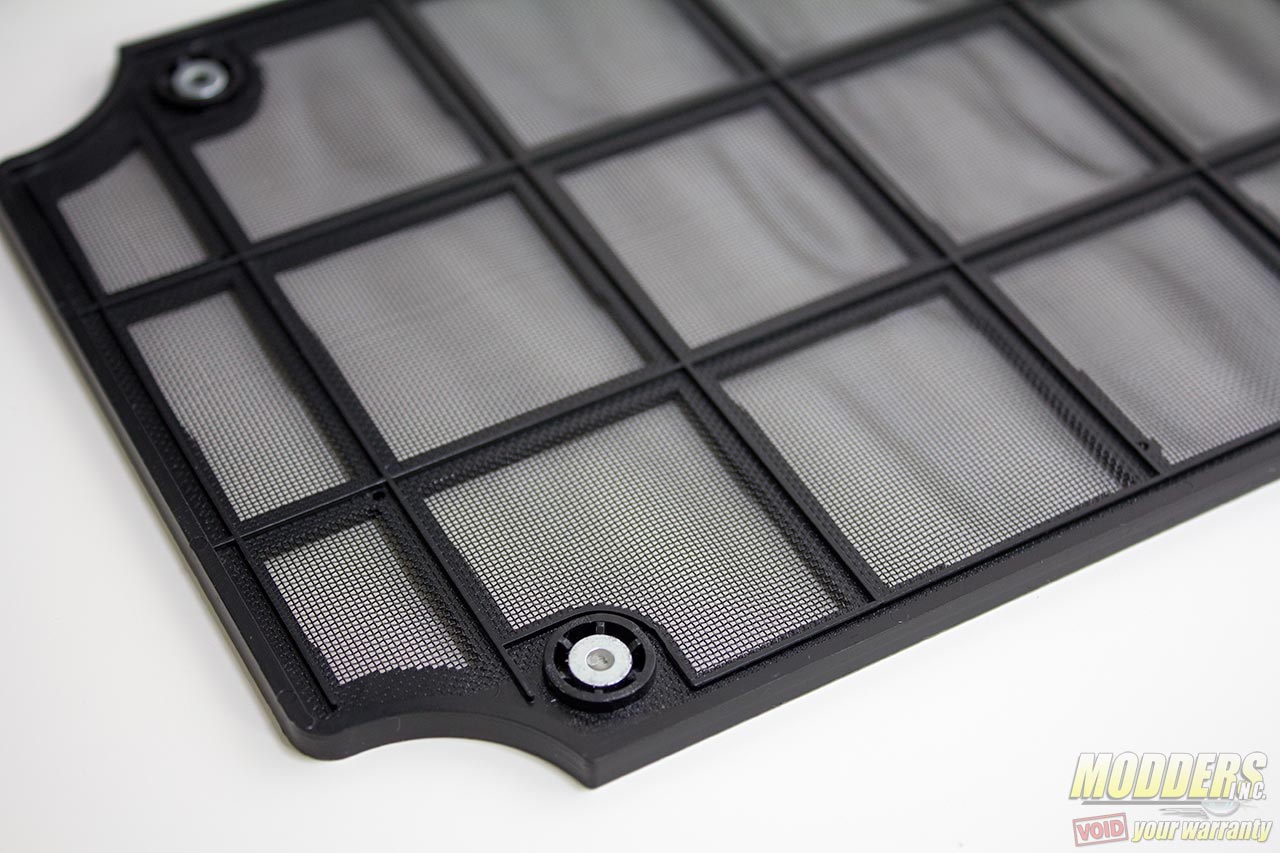
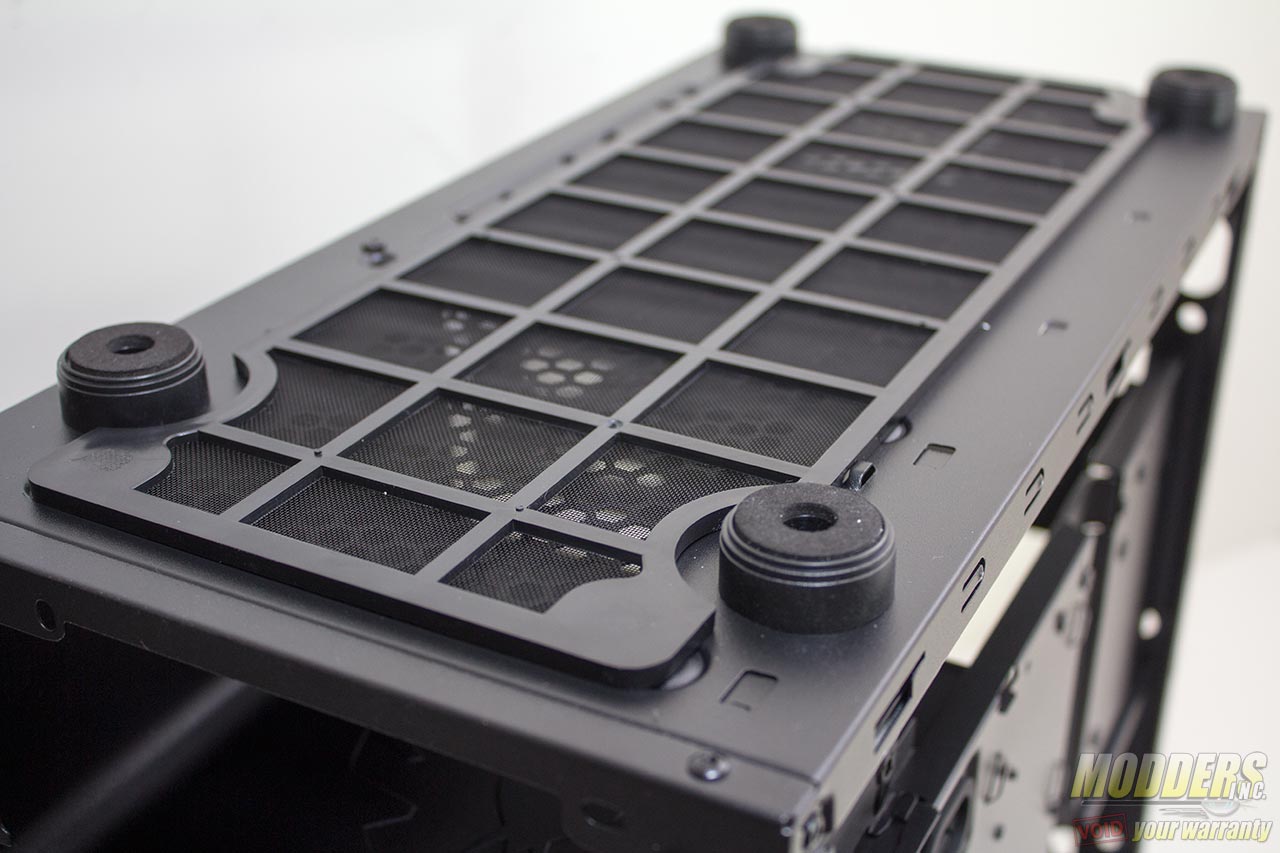
The magnets are not particularly strong and they can easily be moved and removed. A dust filter of equal size can also be found at the bottom area, spanning the entire length.
