Biostar Hi-Fi Z97Z7 Motherboard: The Importance of Looking Good
UEFI Overview and Overclocking
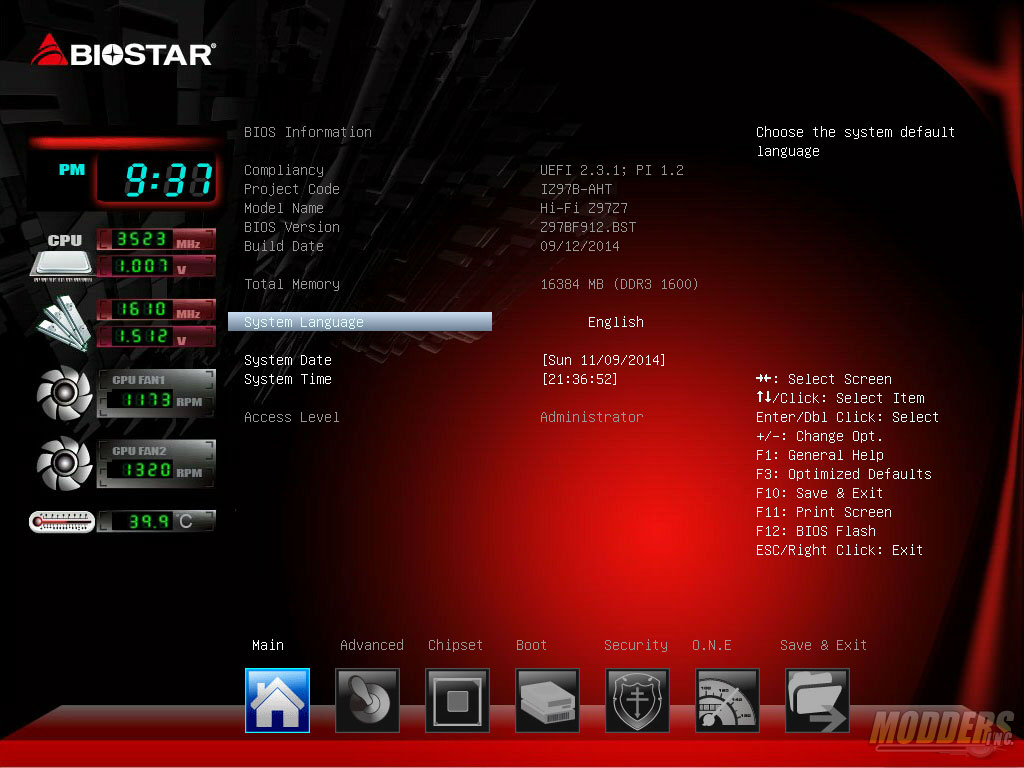
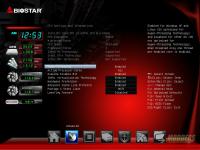
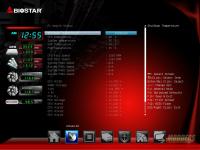
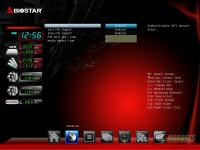
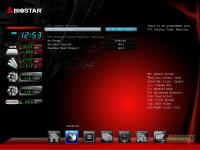
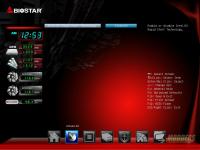
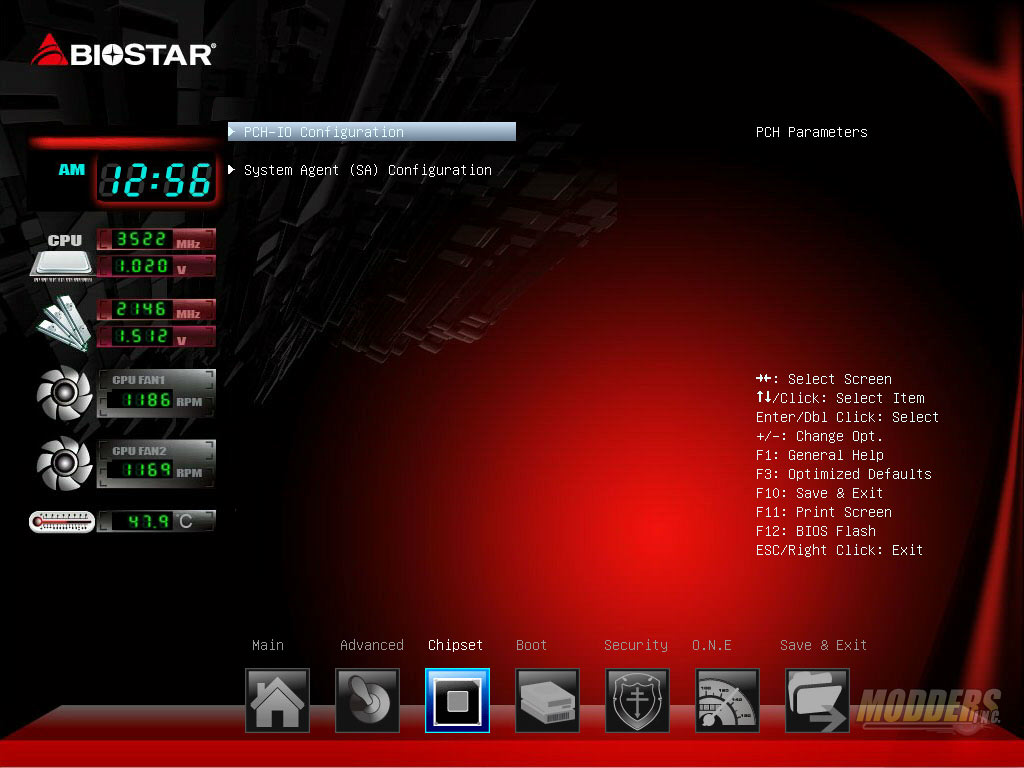
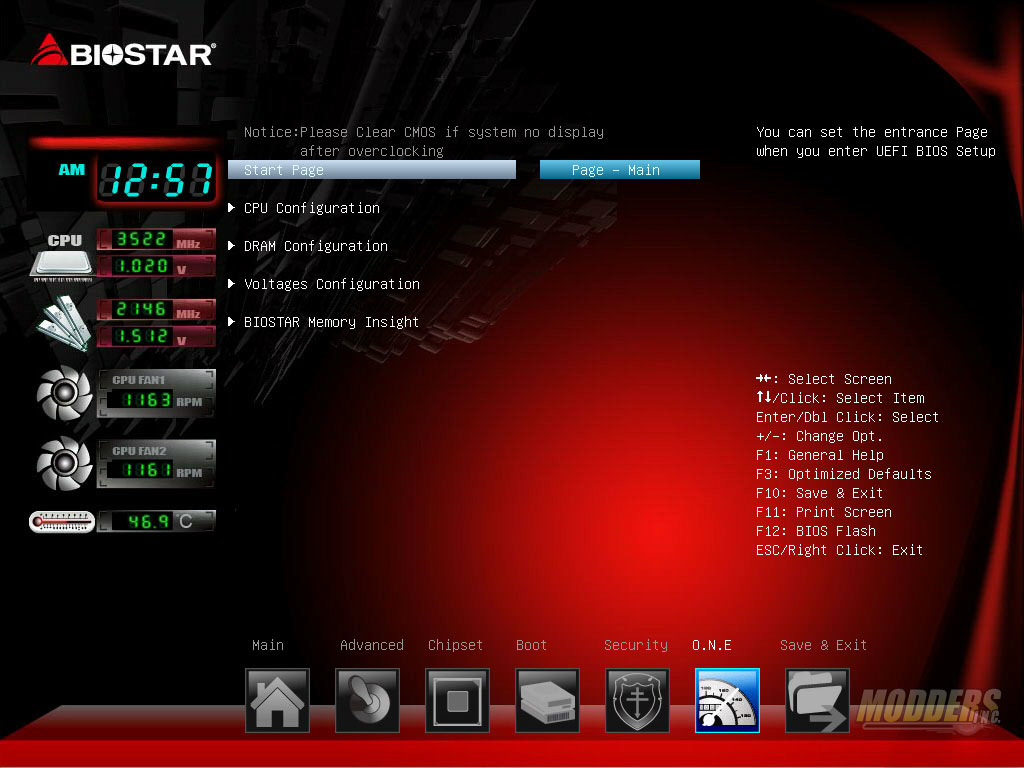
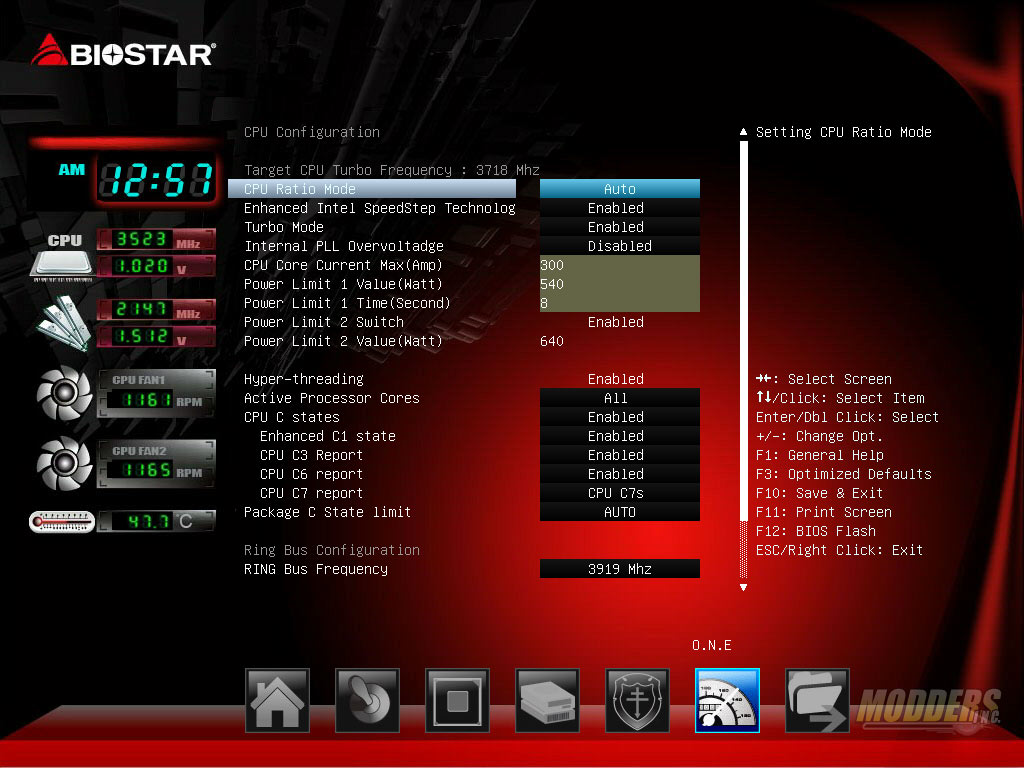
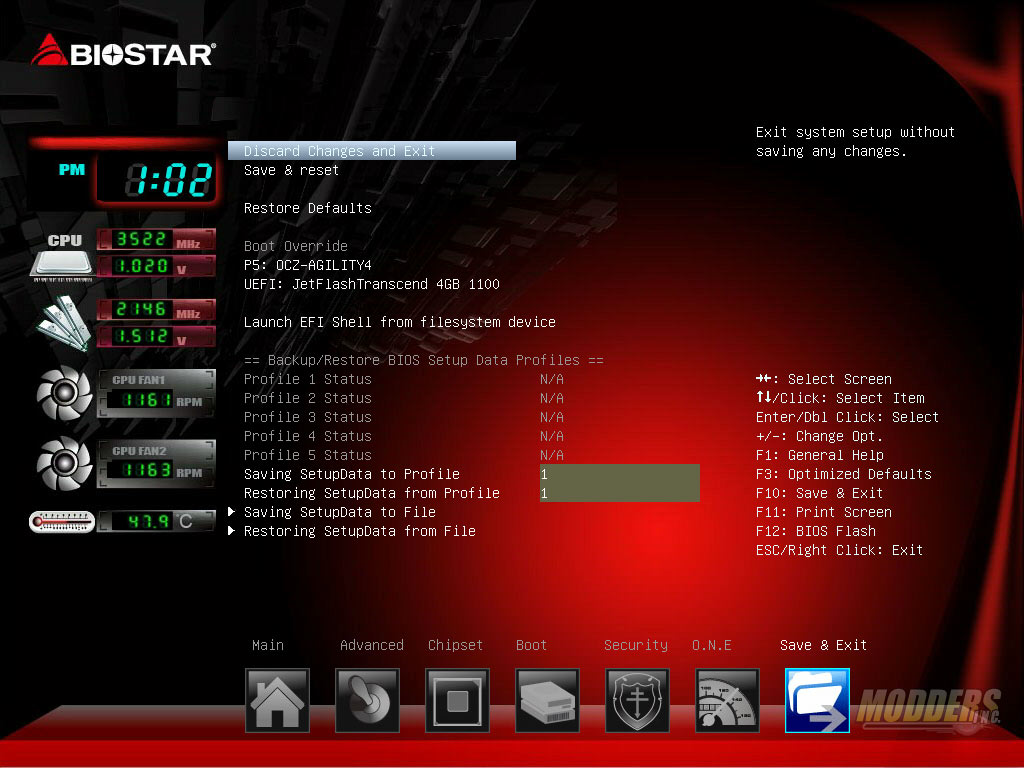
Biostar’s Hi-Fi Z97Z7 uses a graphical user interface with the options laid out across seven sections: Main, Advanced, Chipset, Boot, Security, O.N.E. and Save/Exit. Unlike other UEFI’s with separate basic and advanced layouts, Biostar’s UEFI combines both functions into one with the monitoring values for CPU/Memory frequency, CPU/Memory voltage, CPU temperature, fan speeds and time constantly displayed on the left side. Similar to traditional BIOS screens, the Main page displays the basic information including BIOS version, language controls and system/time adjustments.
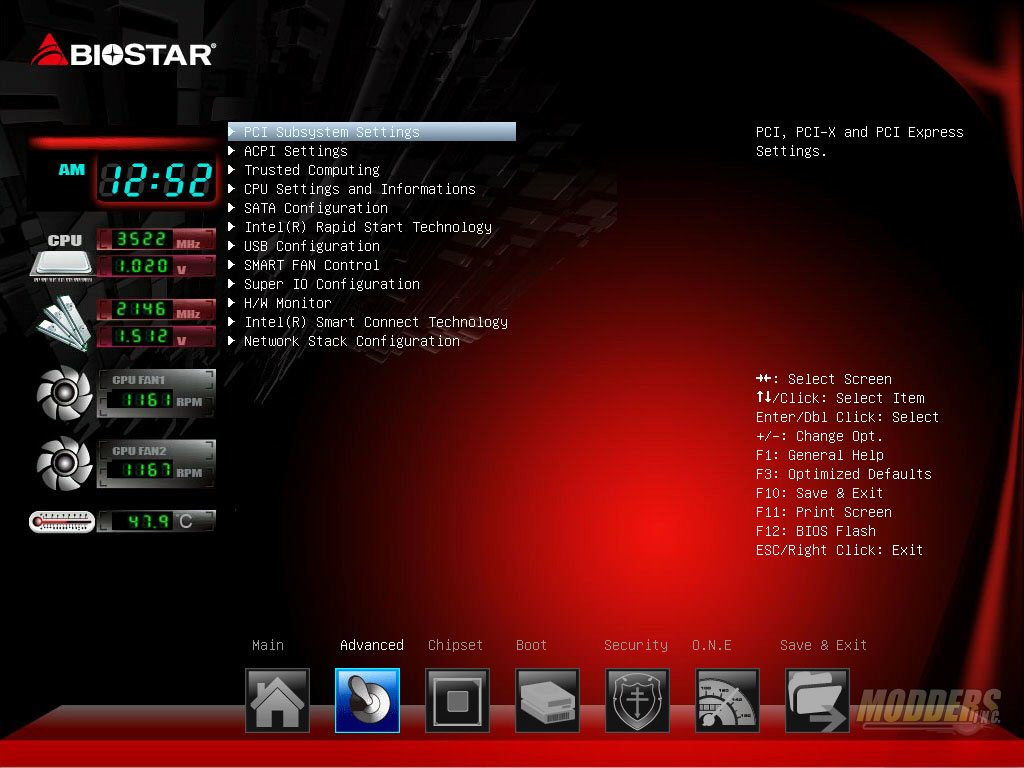
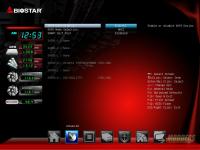
The Advanced Section contains most of the options for the board and has twelve sub-sections.
Despite the numerous options, Biostar separates the Chipset related options into its own sub-section. This could have been incorporated into the Advanced section and it would not have looked out of place.
The fourth section is the Boot option which allows for Boot priority adjustment as well as other boot-related functions such as launch options, OpROM policies and logo display.
The security options are also separated into its own page where users can set administrator password and change secure boot options. Like the Chipset settings, this space could have been incorporated into the advanced settings page or even in the boot section.
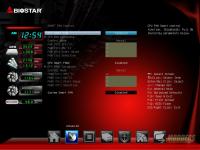
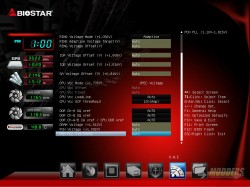
All overclocking and voltage adjustment functions are found in the O.N.E. (Overclocking Navigator Engine) page. This page allows adjustment of the start page so users who need to this page immediately can set the O.N.E. page to load first instead of the Main page. There are four sub-sections in this page: CPU, DRAM, Voltages and BIOSTAR Memory Insight (a DRAM value reader).
Now on to overclocking…a few notes about the Intel Core i7-4770K CPU before proceeding, just in case you are not familiar with Intel Haswell CPUs:
- A retail Intel Core i7-4770K CPU was used for this review. Unlike engineering samples which are handpicked and overclock further with less voltage, a retail Intel Core i7-4770K shows a more realistic overclocking experience.
- Voltages over 1.3V when pushing the frequency to 4.5GHz is usually too hot for normal air coolers. If you can hit 4.5GHz before needing 1.3Vcore, then you have a good chip. If you can’t, you will most likely need a custom water loop or better to get a higher OC.
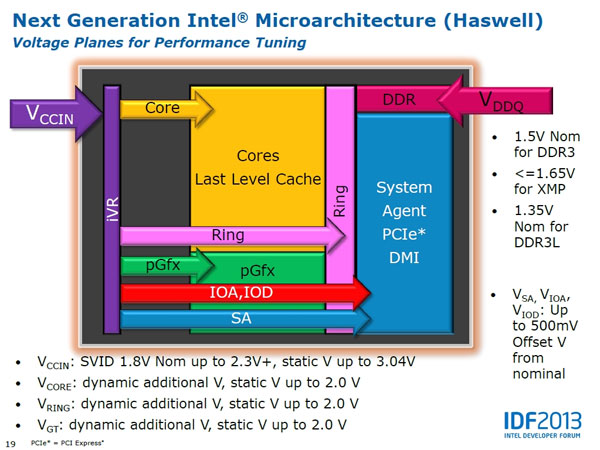
- Unlike previous Intel CPUs, Haswell has a built-in internal Voltage regulator (IVR) which takes VccIN from the motherboard and distributes to Vcore, Vring, VIOA, VIOD, Vsa instead of the old way with several independent inputs from the motherboard. Vddq for the VRAM is independent. This makes the power distribution a lot simpler and even beginner users do not need to worry about motherboard Vdroop as the CPU handles it (you have to look at VccIN not Vcore directly).
- This means that overclocking is HEAVILY CPU lottery dependent rather than motherboard power delivery dependent. It will take more effort from motherboard manufacturers to create a Z97 motherboard incapable of delivering power for Haswell Air OC up to 4.5GHz than to create one that does not.
- Each retail i7-4770K is WILDLY varying in their overclocking success and voltage requirements. Much more so than any other previous Intel processor. On air, most motherboards will pretty much reach that CPU’s thermal limit before it can realize its OC potential. Unless a motherboard’s VR is really inadequate, the same chip will OC on air on a budget Z87/Z97 LGA1150 board as it would on a high-end one. The CPU lottery is really crucial when it comes to getting a successful high overclock on air with an unlocked Haswell processsor. This does not even factor in the temperature limitation brought on by the IHS implementation which is another issue entirely which will limit your OC potential. Although to be fair to Intel, overclocking is and always has been a BONUS and not something they have to provide so the fact that they have not locked it out completely is surprising considering AMD has no equivalent processor offering in the same segment.
Even though there is no Auto-OC functions, overclocking a Haswell is very easy. Mention of risk is always present in motherboard reviews but that is a given. Risk is swimming naked in the Amazon river; overclocking Haswell by comparison requires barely any effort but has significant gains. On the Biostar O.N.E. page, under the CPU settings users can change the CPU ratio to “fixed” and type in the CPU ratio you want to set it at; set the CPU ratio 45 for 4.5GHz for example. Once the CPU ratio is moved to “Fixed” mode, you will see the other settings grayed out, which makes it convenient for beginners to see what settings they need to adjust and what settings they do not need to touch. Internal PLL overvoltage can be enabled for stability, especially when touching the Base Clock from default. The default Base Clock (Host Clock in O.N.E.) is 100.50 MHz and you can see it affects everything including bumping the Ring Bus Frequency (aka Cache aka Uncore) slightly to 3920MHz instead of 3900. We will set it to 100 MHz for the sake of this review because 4.5GHz is the baseline comparable setting I have from my previous motherboard reviews. Clock Spread spectrum (aka CPU spread spectrum) can be disabled for stability, LC PLL can be set if ratio tuning and SB PLL can be set if BCLK adjusting, both help with stability. These are all optional.
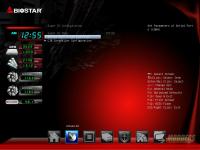
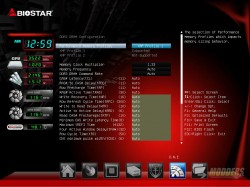
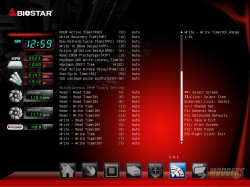
DRAM Configuration page allows us to set XMP profile or adjust timings, memory frequency divider and clock multiplier.
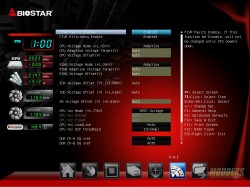
The second important part of the overclock is of course the voltages. This particular i7-4770K CPU overclocks to 4.4GHz at 1.2V but requires 1.28V for 4.5GHz and can reach 4.7GHz but needs to be pushed to 1.375V. That much voltage will require a strong custom liquid loop to keep cool so we are capping it at 4.5GHz to prevent throttling since a CPU air cooler is used. If you are overclocking by CPU ratio, the only voltage you need to change is the Vcore which you can set as Fixed and input the voltage (which for this case is 1.28V). Load line can be adjusted at the bottom (CPU Vcc Loadline) in percentages if you are seeing instability due to drooping (look at VccIN as well). If you are tweaking other aspects such as the Ring Bus (aka Uncore) and System Agent, use the image below from Intel as a graphical reference to see the relationships between all the voltage inputs.
Unlike previous Intel processors, Vdroop is not really the same concern as it was because of the iVR and you can be very stable without adjusting Loadline. After setting the desired values, the next option is of course the Save and Exit page.
As with all of our previous Z97 motherboard reviews, the i7 4770K was overclocked to 4.5GHz to get a standardized performance. Validation link for this motherboard: http://valid.canardpc.com/ysiivu
The Save and Exit page also contains Boot Override functions and Profile saving functions.
