Biostar Z170X Gaming Commander Motherboard Review: A Measure of Control
UEFI Overview and Overclocking
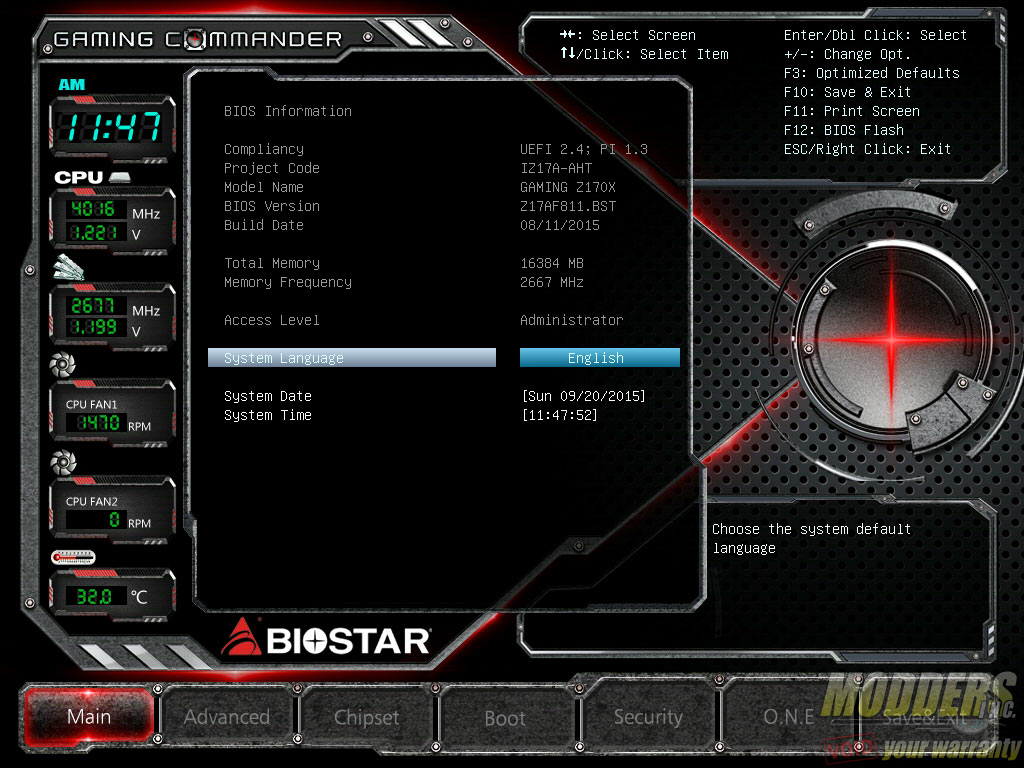
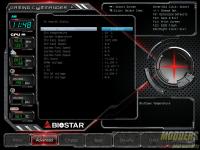
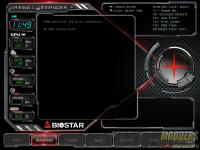
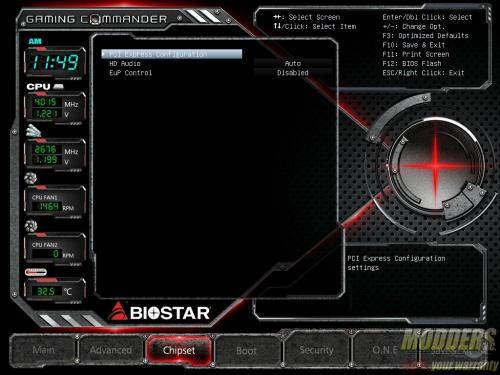
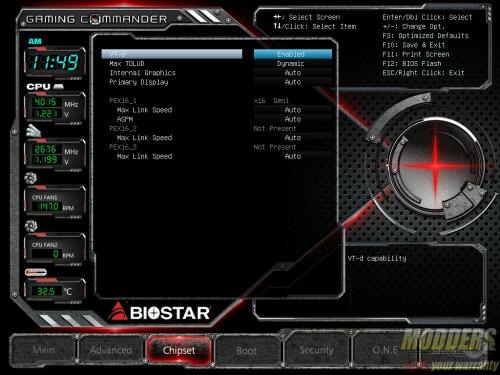
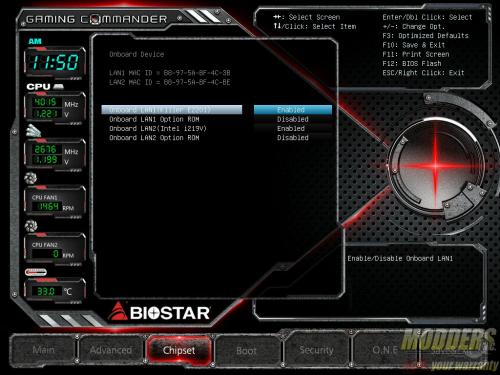
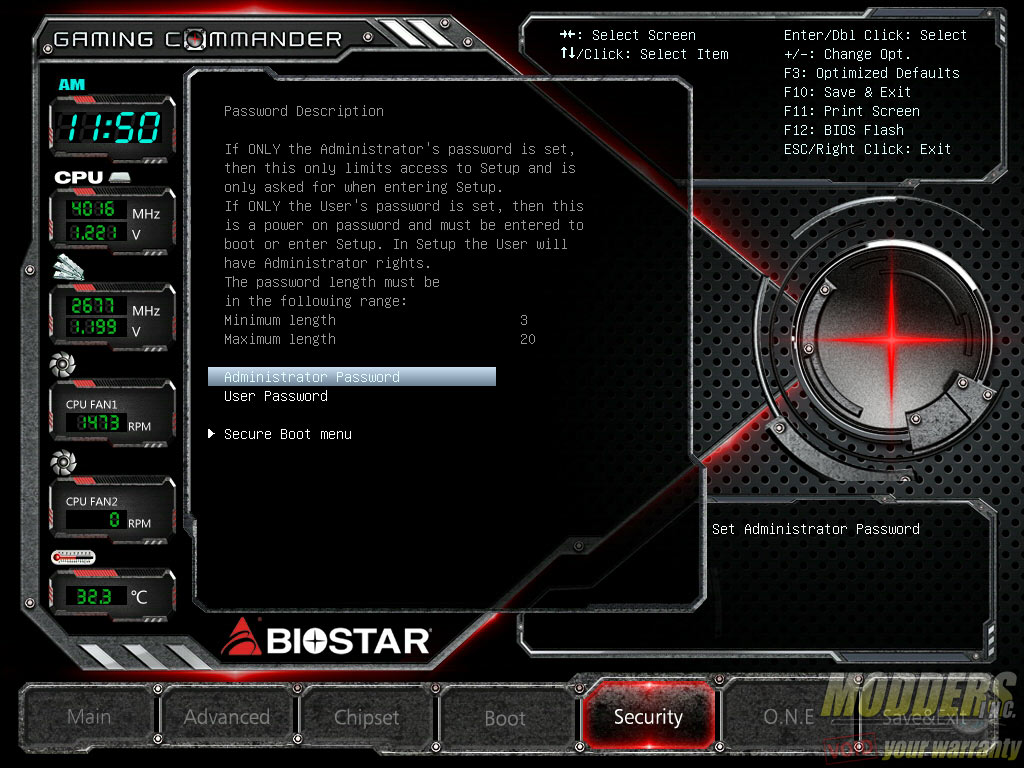
Biostar’s Z170X uses a graphical user interface that has received some facelift since the Z97 series but the options and layout remain the same, laid out across seven sections: Main, Advanced, Chipset, Boot, Security, O.N.E. and Save/Exit. Unlike other UEFI’s with separate basic and advanced layouts, Biostar’s UEFI combines both functions into one with the monitoring values for CPU/Memory frequency, CPU/Memory voltage, CPU temperature, fan speeds and time constantly displayed on the left side. Similar to traditional BIOS screens, the Main page displays the basic information including BIOS version, language controls and system/time adjustments.
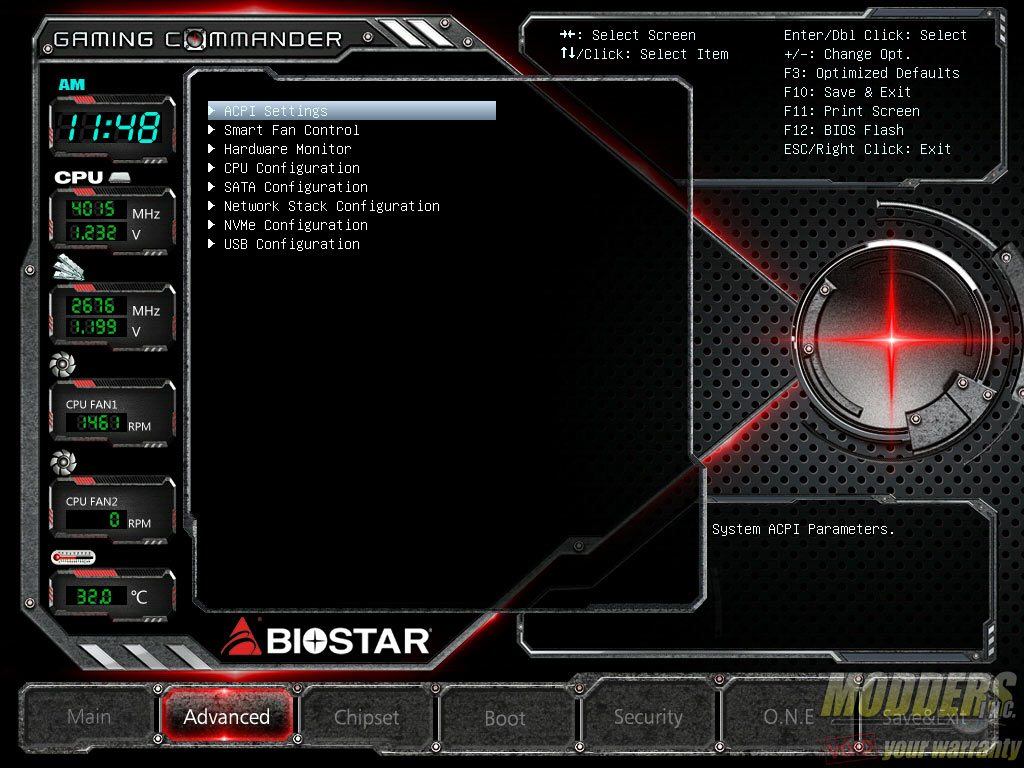
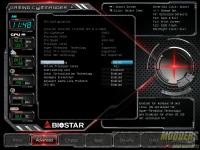
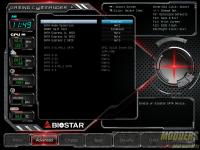
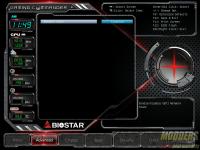
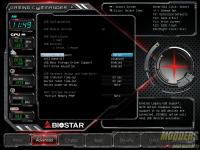
The Advanced Section contains most of the options for the board and has eight sub-sections.
Despite the numerous options, Biostar separates the Chipset related options into its own sub-section. This could have been incorporated into the Advanced section and it would not have looked out of place.
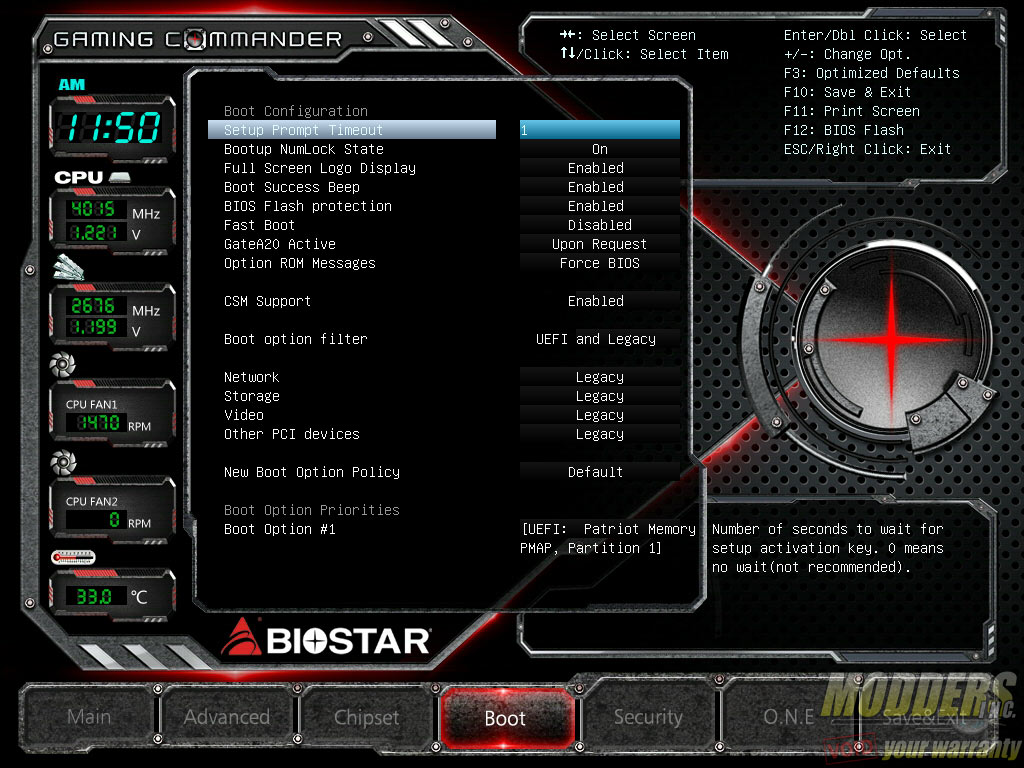
The fourth section is the Boot option which allows for Boot priority adjustment as well as other boot-related functions such as launch options, legacy booting options and logo display.
The security options are also separated into its own page where users can set administrator password and change secure boot options. Like the Chipset settings, this space could have been incorporated into the advanced settings page or even in the boot section.
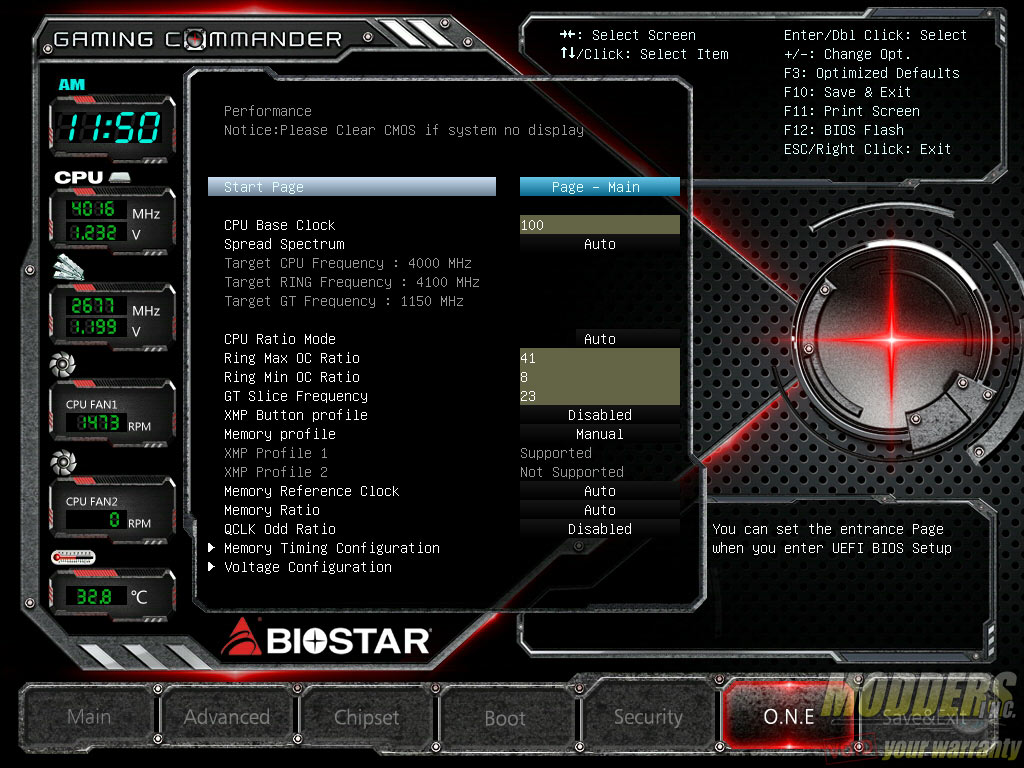
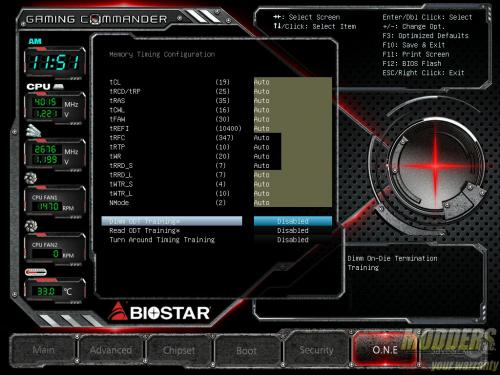
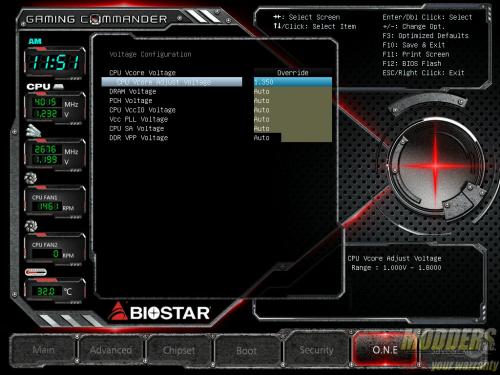
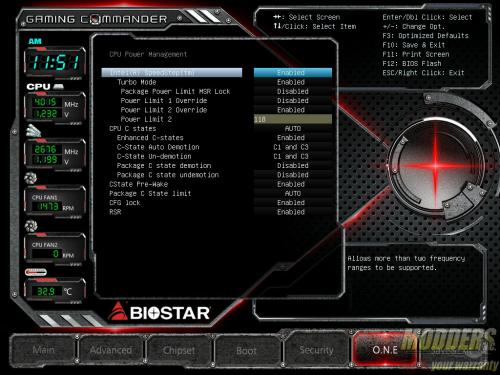
All overclocking and voltage adjustment functions are found in the O.N.E. (Overclocking Navigator Engine) page. This page allows adjustment of the start page so users who need to this page immediately can set the O.N.E. page to load first instead of the Main page. There are four sub-sections in this page: DRAM timings, Voltages, CPU Power Management and BIOSTAR Memory Insight (a DRAM value reader). To overclock, the CPU ratio mode has to be set to manual from auto and a sub option will appear below where users can type the per core or all core max ratio. Same goes for the DRAM where the Memory Profile has to be set to manual and then the sub option appearing will allow users to adjust memory ratio and users can even toggle QCLK odd ratio which adds 100 or 133MHz on top of the set ratio speed. Maximum memory ratio possible with the latest non-beta BIOS is 4000MHz but with the QCLK odd ratio enabled, this becomes 4133MHz.
Overclocking options are fairly straight forward here. Voltages can be set to override or adaptive as per Intel specifications, after which users can manually input the value into the sub-option that appears. Power limit options have to be set here before overclocking and limit is set in 1W increments. There is no load line calibration options here in the Z17AF811.BST BIOS.
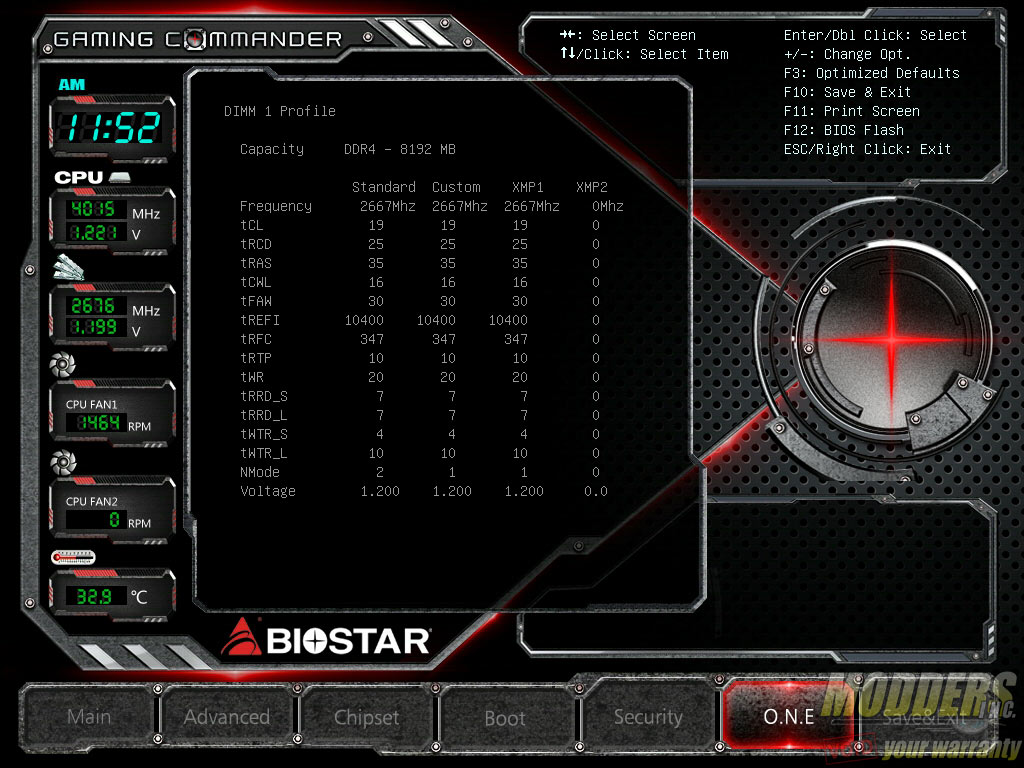
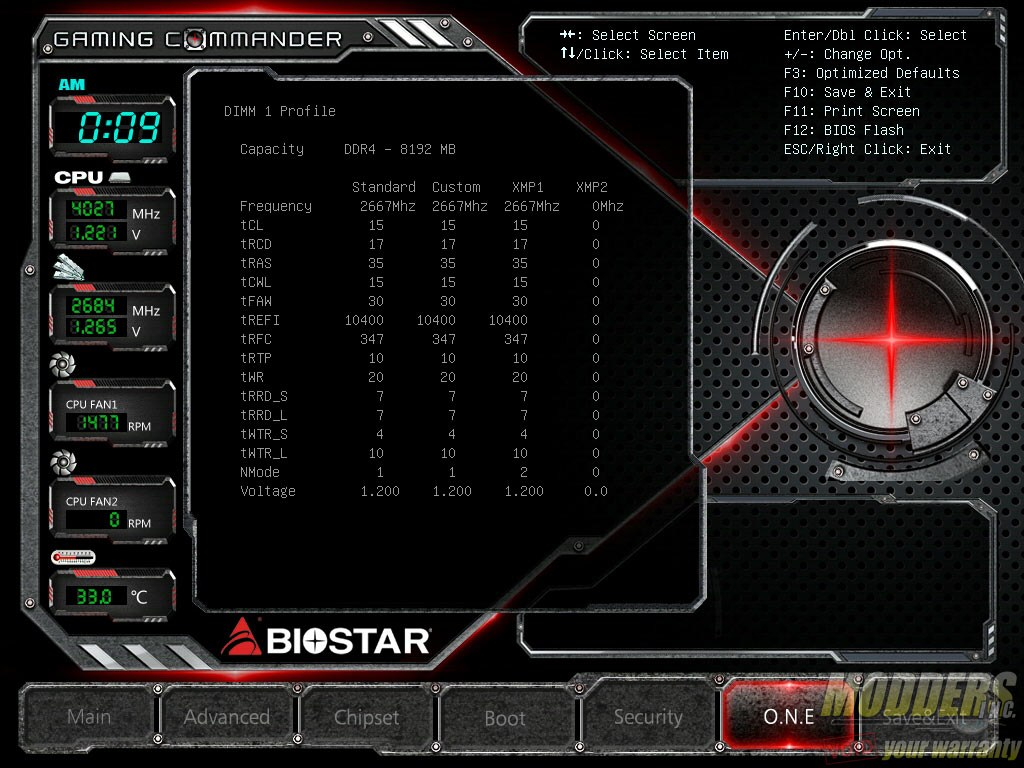
There is a bug with all current non-beta BIOS available at the time of this article’s publishing where the DRAM timings are not detected properly. For example, this memory kit with C15timings are being detected as CL19 so when the XMP is loaded, it will load as CL19. Customizing the DRAM timings does not work either (tested on Z17AF804.BST, Z17AF811.BST BIOS) as it will not boot to any other timings other than the values below at 2666MHz.
Thankfully, as of September 16, 2015, the latest beta BIOS update Z17AF916.BST has been posted which now finally detects the proper XMP timings but since it is a beta BIOS it has issues of its own such as the inability to detect dual-channel mode when only a pair of modules are installed (on any combination). Only single channel mode (single modules or two modules side by side) is detected properly and dual-channel mode when all four DIMM slots are populated also works. Hopefully, BIOSTAR updates this soon so users can actually adjust their RAM speeds and timing properly.
Update (November 2015): Biostar has released another beta BIOS (Z17AFB04.BST) but the issue still persists as with Z17AF916.BST where timings are now detected properly but dual channel only works with four sticks.
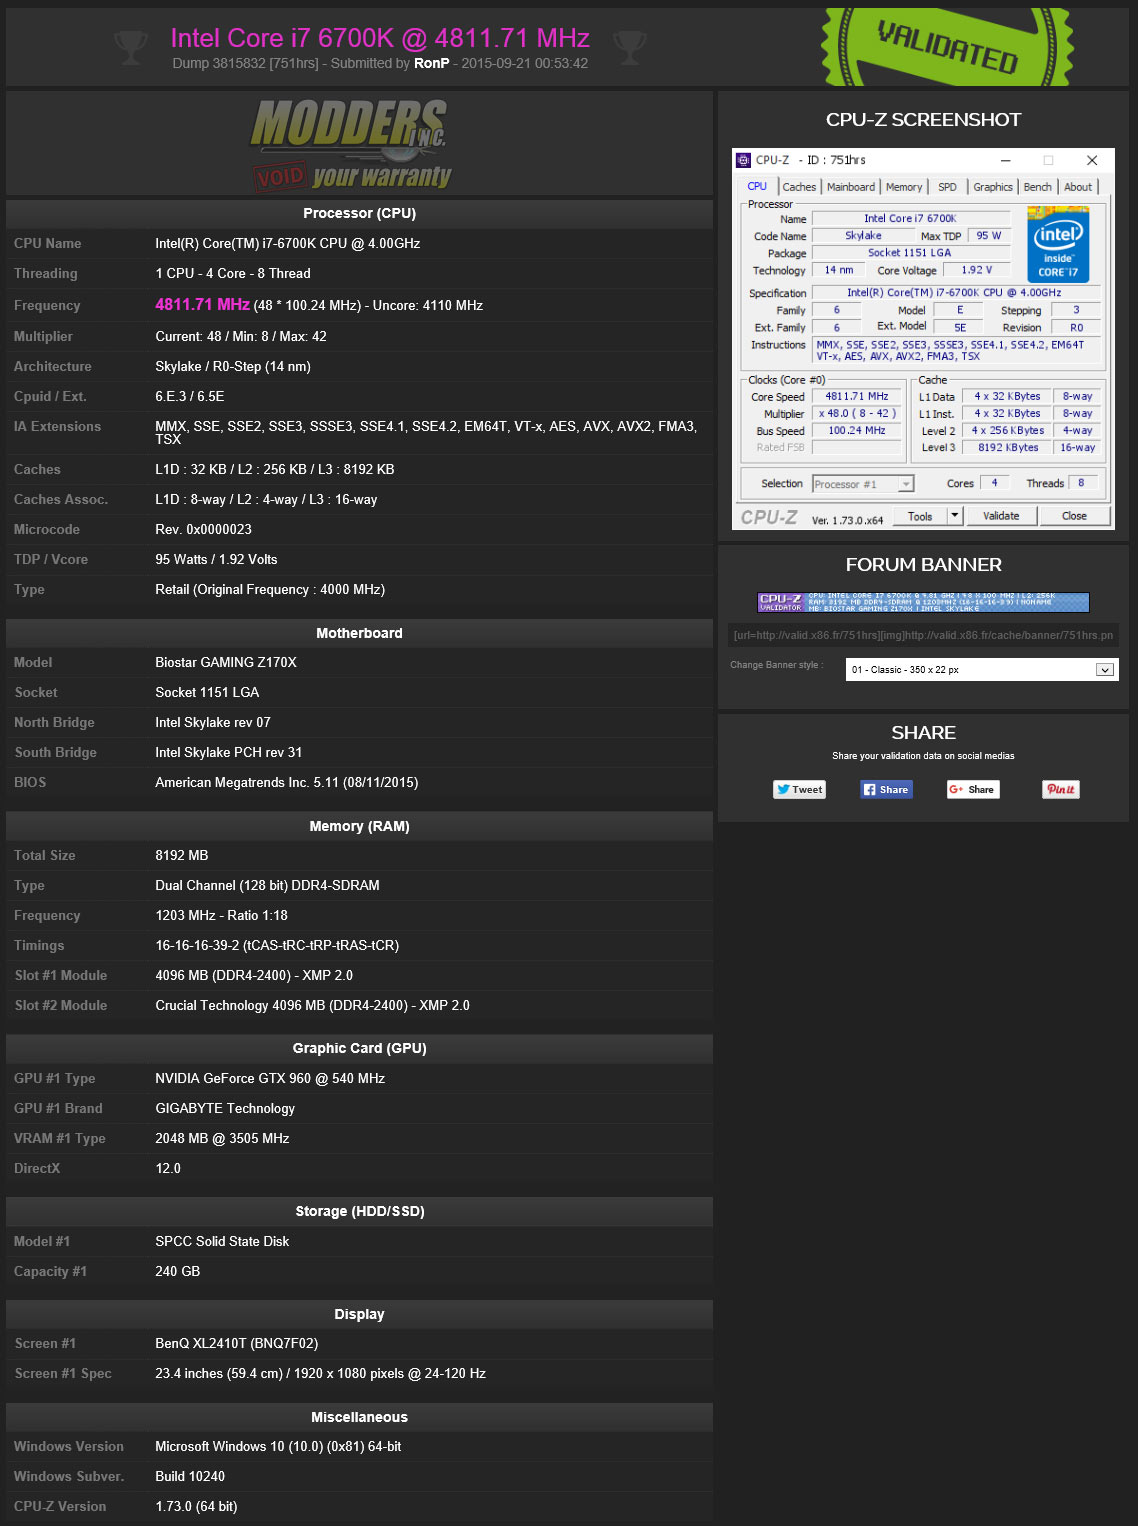
Overclocking range for the CPU ratio for unlocked processors is 8 to 83 as with other Z170 mainboards but the BCLK range is 90 to 300. Unlike other reviews where the reviewer touts maximum overclock achieved, I show how to overclock and to navigate the UEFI layout instead. With the same voltage set in my other Z170 motherboard reviews which 1.36Vcore set in the BIOS (Nothing too crazy with the voltage since this is a 14nm chip. Ignore screenshot as all Z170 mainboards are reporting incorrect values in CPU-Z currently), maximum from cold-boot with validation is 4.8GHz which is expected considering the power delivery. 5GHz validation is possible by booting at lower clocks and “walking” it with Toverclocker or the touch-control OC. It is not 4.8GHz AIDA stable like the EVGA Z170 FTW motherboard however.
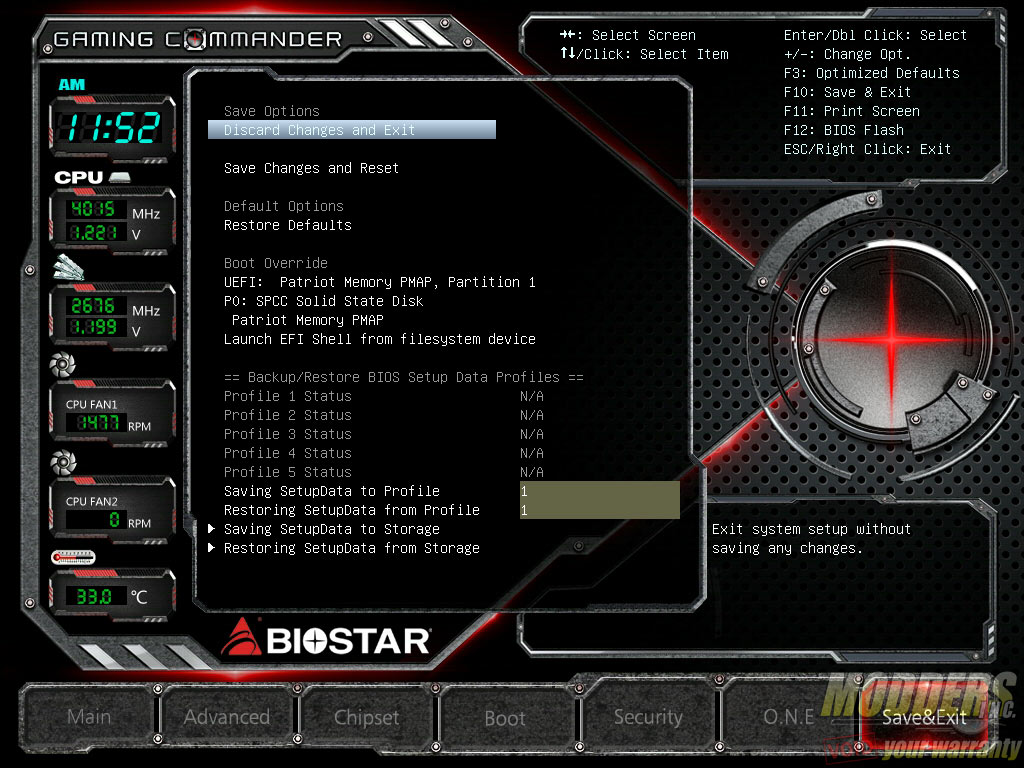
The last page is of course the Save/Exit page where users can also save the settings in five profile banks or save/retrieve a setup data file from a drive. Since this is the last page that is usually seen by the user before exiting, boot override options are also available here.
