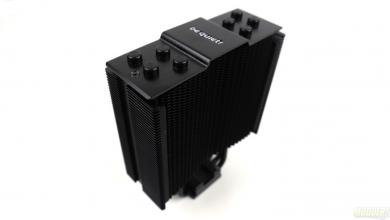
Be Quiet! Shadow Rock LP CPU Cooler Review: When Less is More
Installation of the Be Quiet! Shadow Rock LP
The Be Quiet! Shadow Rock LP weighs 390 grams and is not nearly heavy enough to require an elaborate backplate mounting system but it comes with one. Although not as accommodating as the standard Be Quiet! mounting support, this system has its advantages over the previous design, especially when it comes to providing more clearance for surface mounted components at the back of the motherboard.
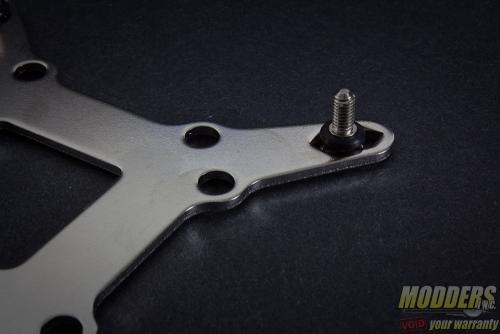
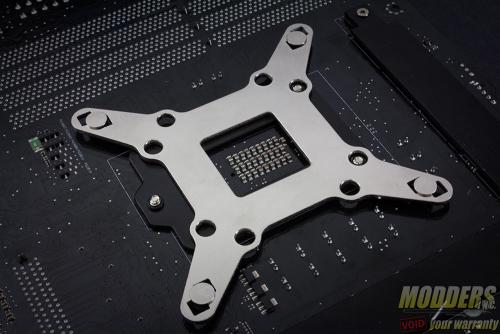
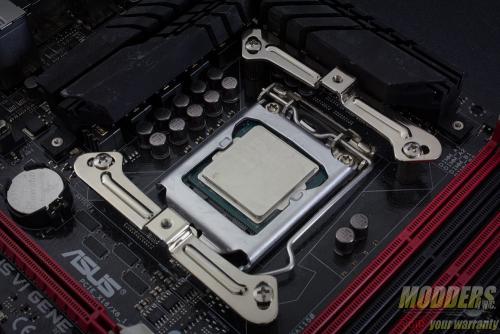
This backplate is only required for Intel LGA775/115x/1366 installation as LGA2011 has its own integrated locking mechanism built-in. For LGA115x systems such as our Z87 motherboard test-bed, the mounting post is threaded through and held in place by o-rings. As is standard when it comes to backplates with variable mounting hole support, the post is positioned closest to the center on LGA775 mainboards (which also requires the included square padding), while LGA1366 mainboards use the outermost holes. LGA115x CPUs use the middle. If the post and the o-rings are assembled correctly, the backplate will be “floating” because of the space provided by the washers and it leaves enough clearance should there be surface mounted capacitors around the socket such as in Mini-ITX motherboards.
Once the backplate assembly is completed, position it at the back of the Intel motherboard and secure with the threaded nuts. There are two types of these with four pieces each. One is for LGA2011 systems (has a male and female end) and the other is for LGA775/115x/1366 systems (has two female ends). Secure these nuts so that the part that has a cross faces upward. The other side of this is insulated with plastic so that the motherboard surface is not damaged when secured tightly.
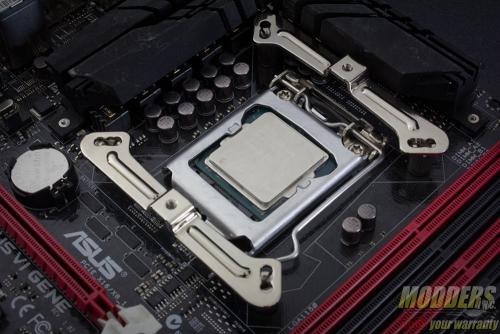
Decide how the mounting orientation should be and position the pair of mounting bars across each other with the longer side facing the outer area and secure both with the mounting bracket fastening screws.
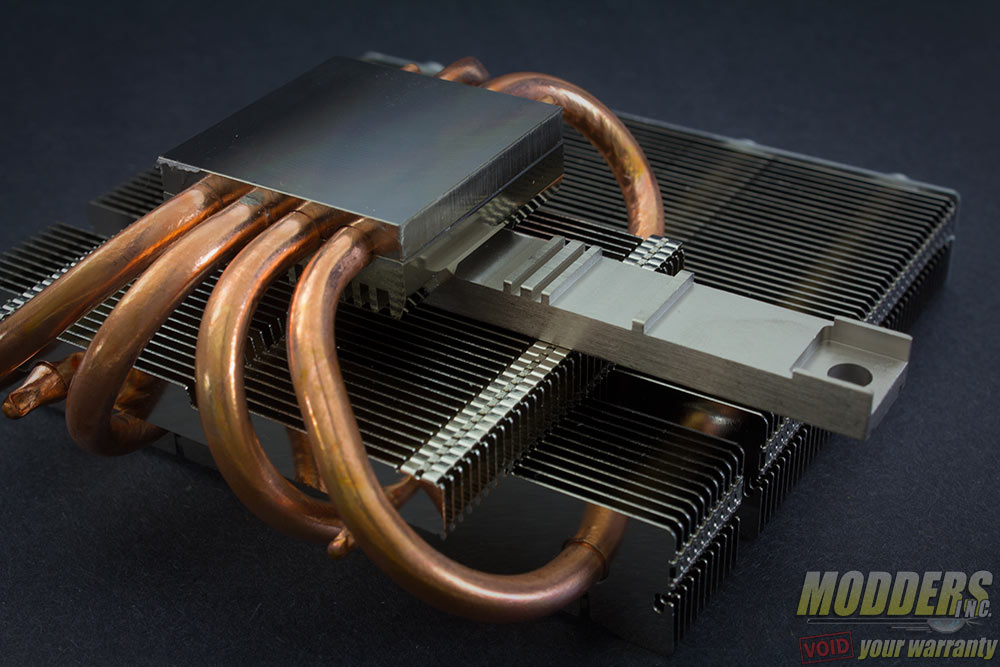
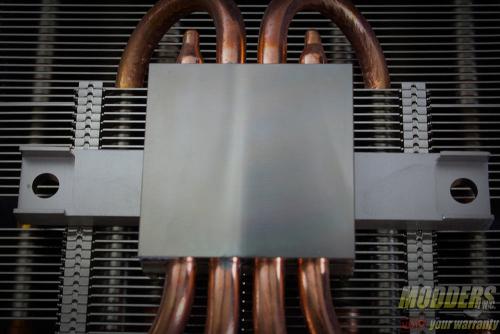
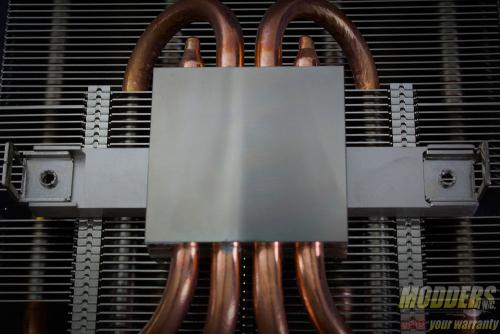
The next step is where the AMD installation begins and is also necessary for the Intel installation. Take the mounting bar and slide it through the small gap between the base and the secondary fin array.
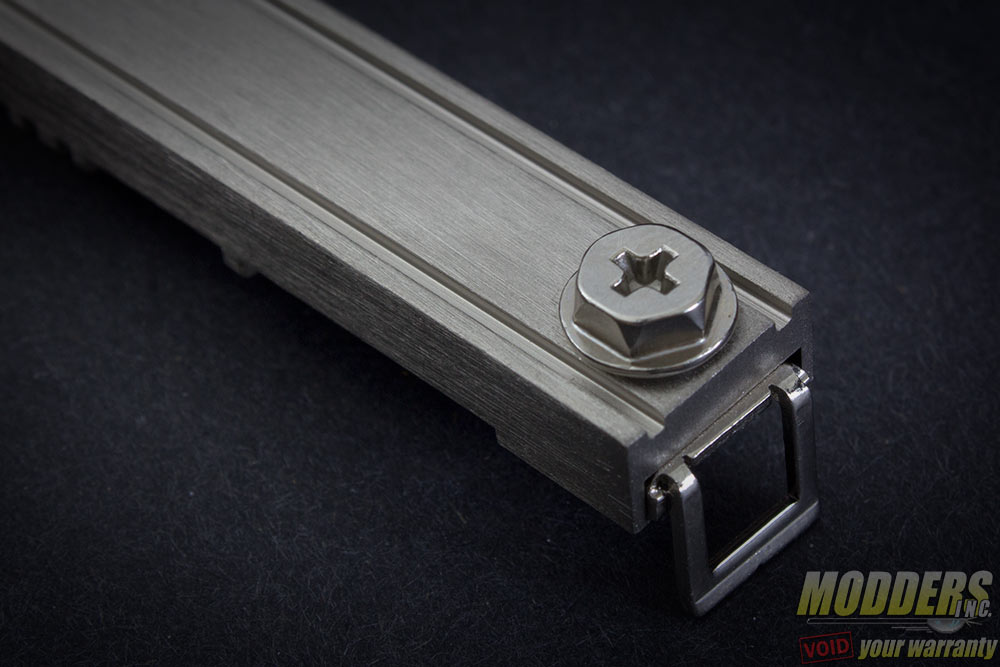
This mounting bar has grooves that fits perfectly at the top of the base so be careful to make sure that it is aligned properly. For AMD systems, the two extra fastening clips must be attached but these are not required for Intel systems.
The mounting bridge fastening screw is used for both AMD and Intel installation. This is used to secure the fastening clips for AMD systems (which then latch to the default AM2/AM3/FM2 mounting system) as well as directly onto the Intel mounting bars.
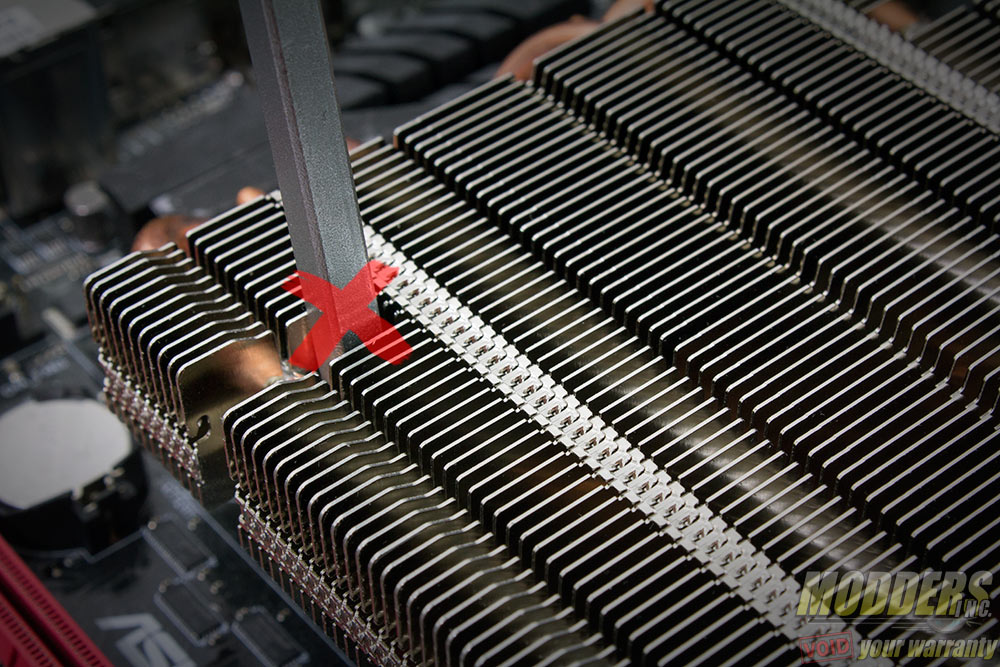
Users can secure these bridge fastening screws by using a screw driver through the fin array opening at the top. Although this gap is very small so users will need a thinner screw driver such as one from a precision tool-kit. Make sure to alternately screw each side after every few turns to apply even pressure.
Users can tighten the contact further with the included spanner or mount it with the spanner from the get-go (not recommended unless the user is a masochist).
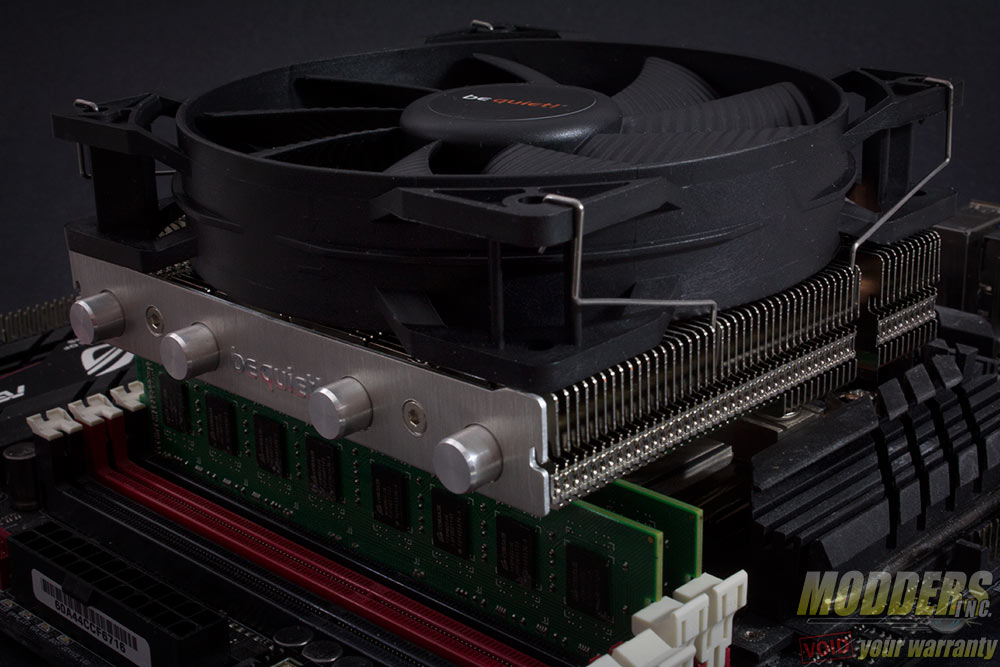
The last step is to secure the fan using the fan clips to the side and plugging it in the fan header. The fan clips are rather tight so securing one side is suggested, then secure the other side by using two thumbs on each exposed wire from the top until it latches onto the hooked edge. For maximum fan coverage, have the fan frame sit flush with the aluminum plate as the secondary fin array extends to the other side beyond the edge of the primary fin array.
Compatibility and Clearance Issues
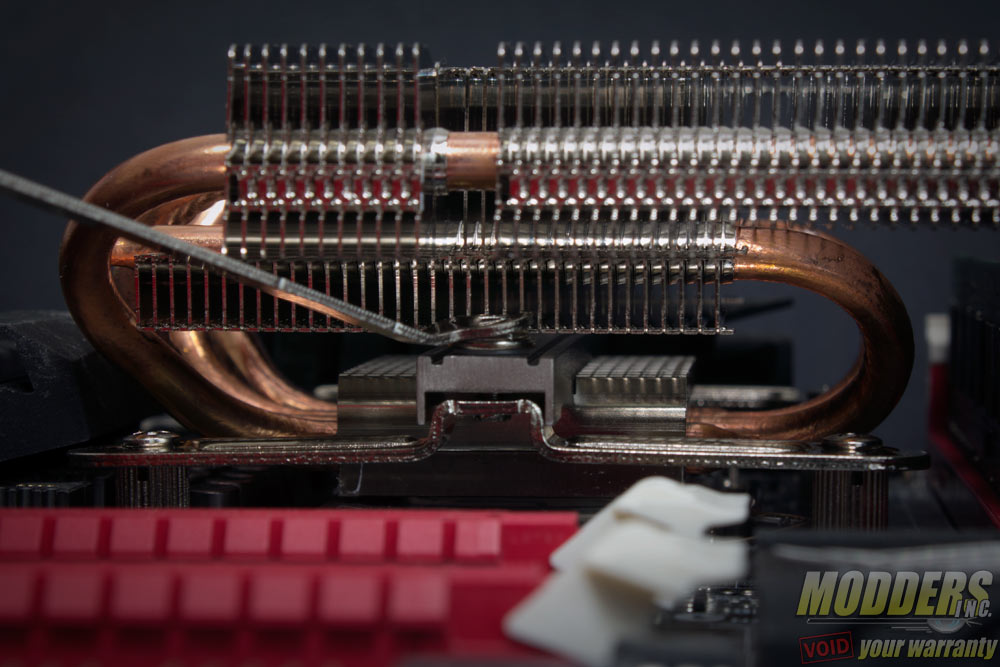
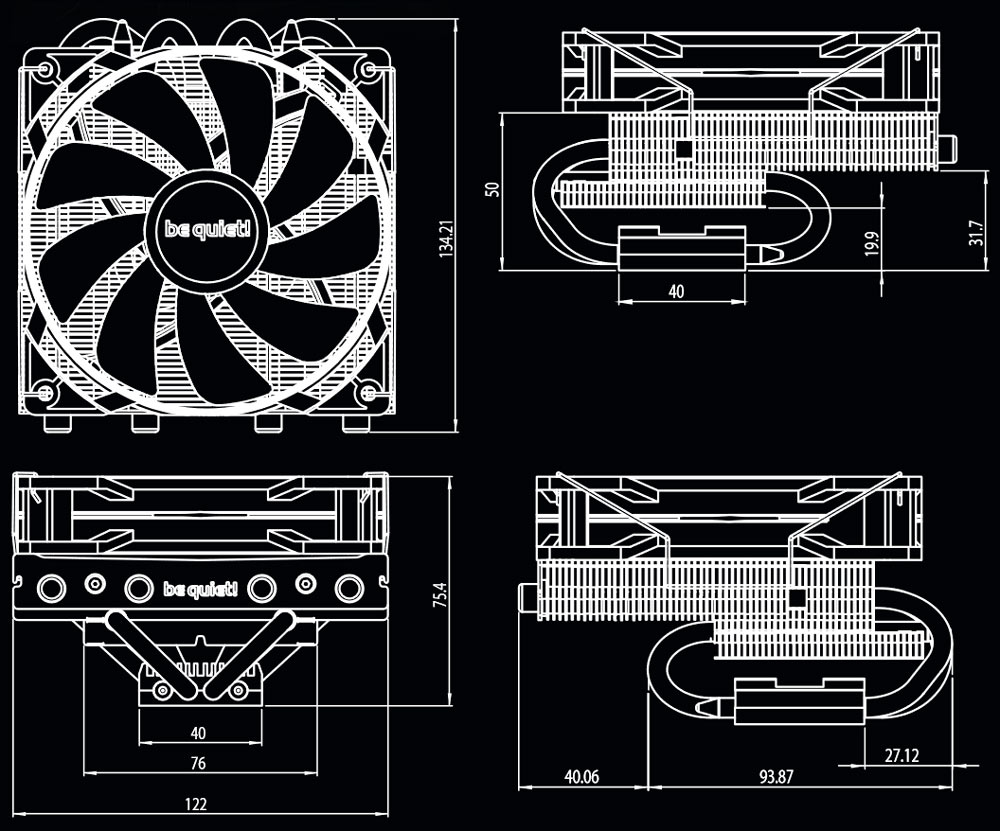
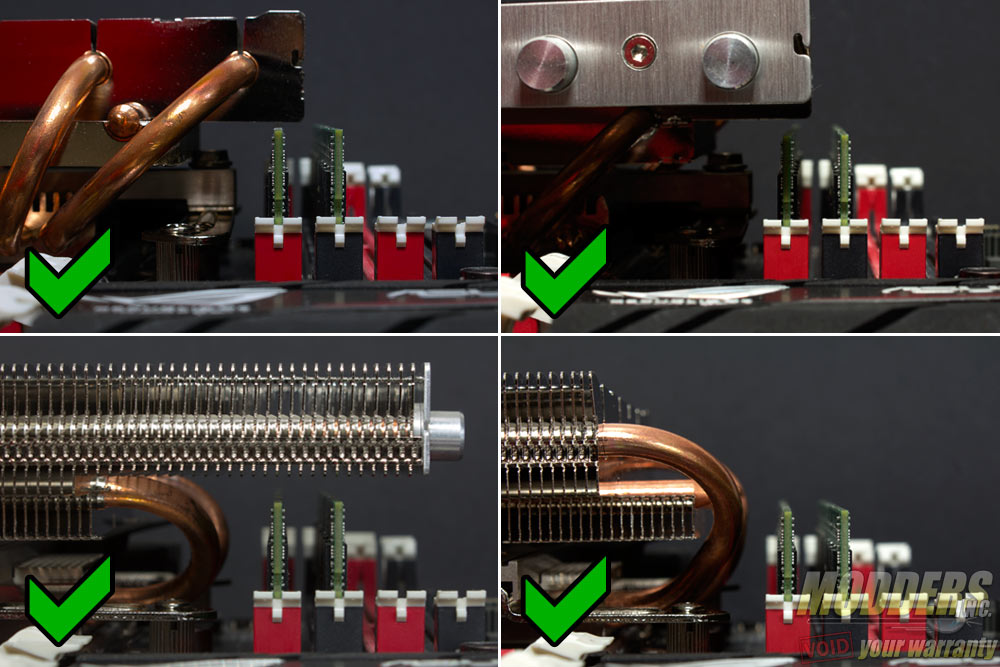
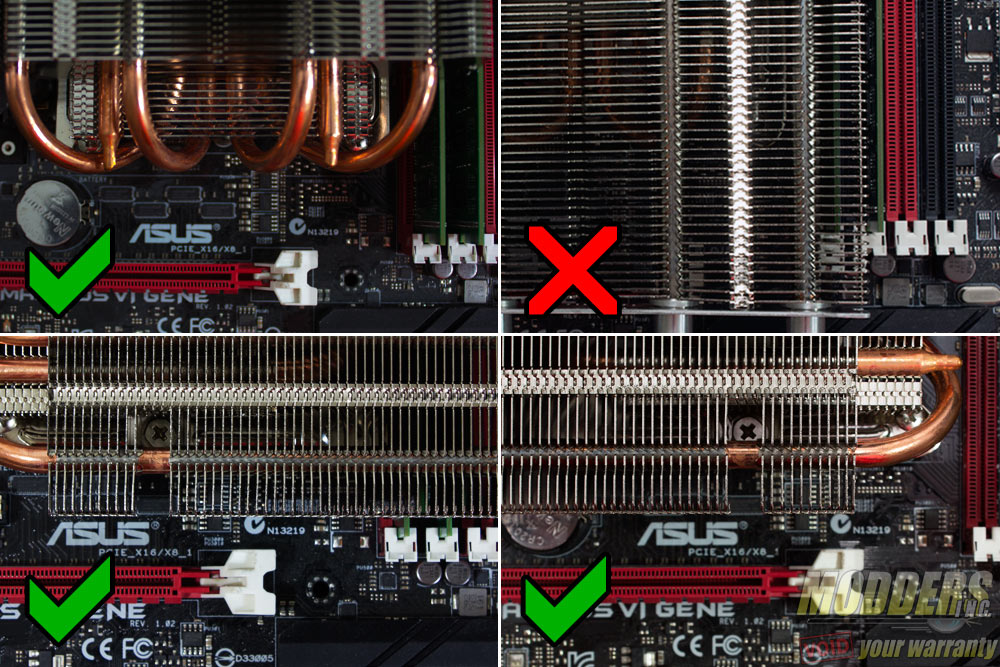
The Be Quiet Shadow Rock LP provides 31.7mm clearance (measured from CPU contact surface) underneath before the fin array begins and measures 114mm long with a 105mm width. The Mushkin Stealth RAM used in this review measures 31.5mm tall in total from PCB base up to the top of the heatsink (standard DDR3 PCB measures 30mm tall). The test system motherboard is an ASUS Maximus VI Gene motherboard with a 28.5mm clearance between the CPU socket and the first DIMM slot and has a 45mm gap between the CPU socket and the topmost PCI-E x16 slot. The Be Quiet! Shadow Rock LP can be mounted in four different orientations: Type A (heatpipe curve facing south), Type B (heatpipe curve facing north), Type C (heatpipe curve facing west) and type D (heatpipe curve facing east).
For RAM clearance, Type D provides full RAM clearance for any module height but Type A, B and C are limited to 34mm tall modules on the closest DIMM slot. Type A and B can use taller modules if the first DIMM slot is not going to be utilized.
For PCI-E clearance, Type B does not allow for graphics card installation but Type A, C and D provide plenty of clearance.
