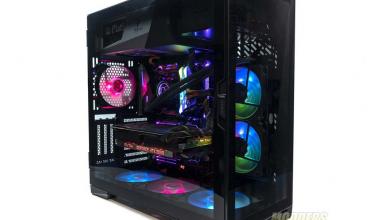
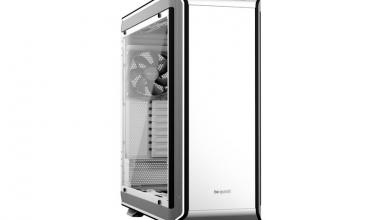
Be Quiet Dark Base Pro 900 Orange Edition Case Review
Modular and compatibility in mind
Hardware Installation and Clearance Compatibility
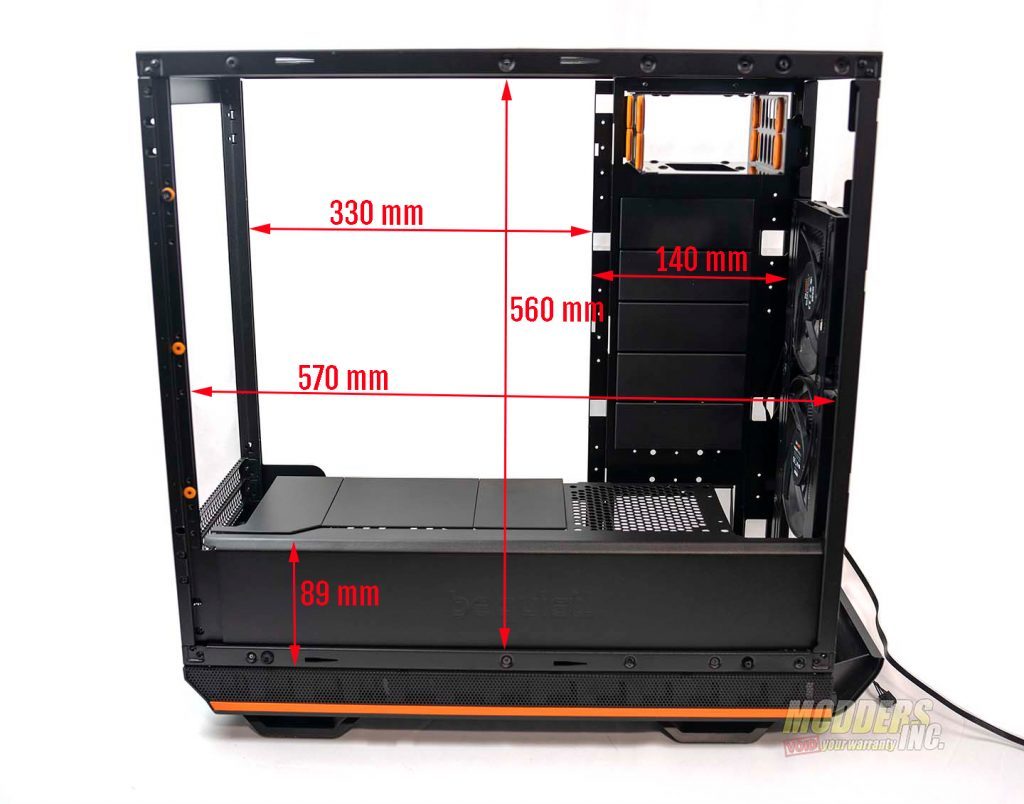
Internal Length: 570 mm
Internal Height: 340 mm
Internal Depth: 236 mm (to glass)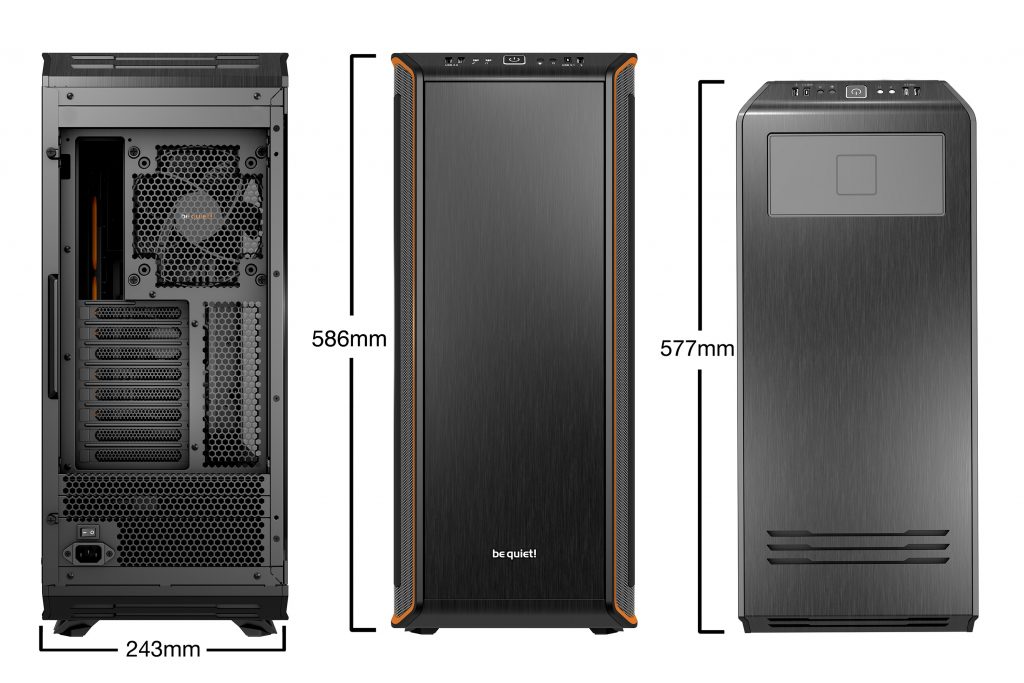
Overall Height: 586 mm
Overall Length: 577 mm
Overall Depth: 243 mm
Fan Support
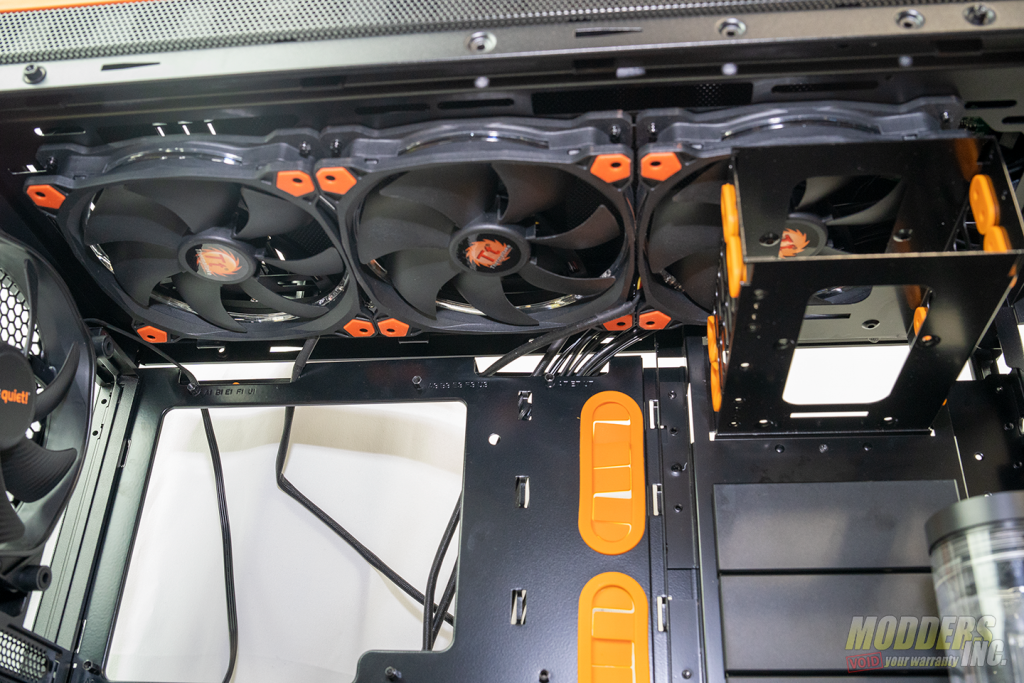
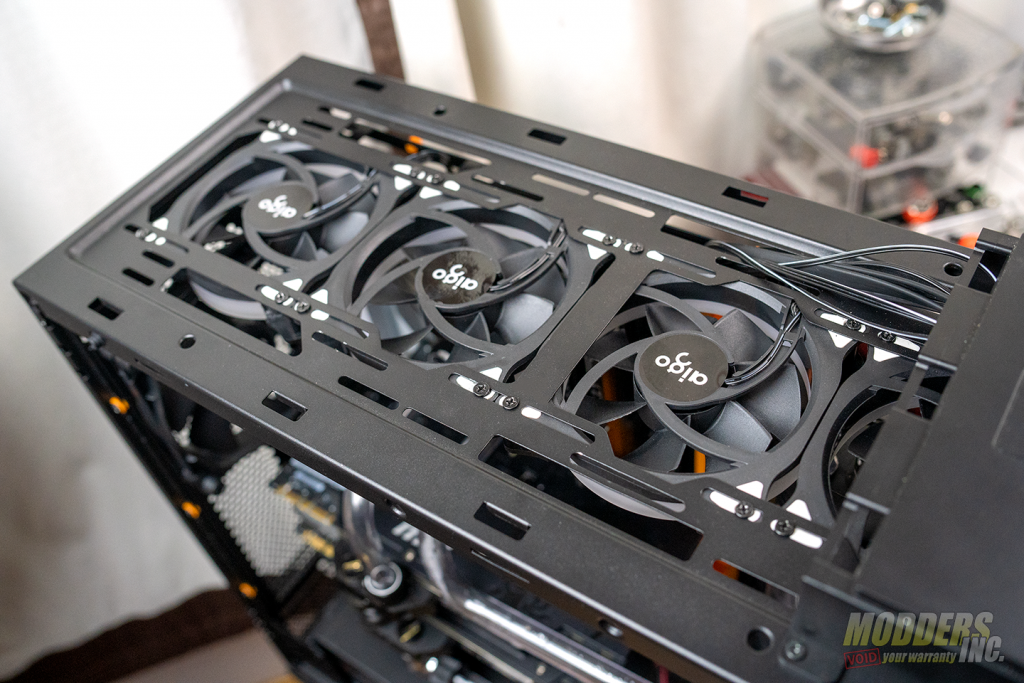
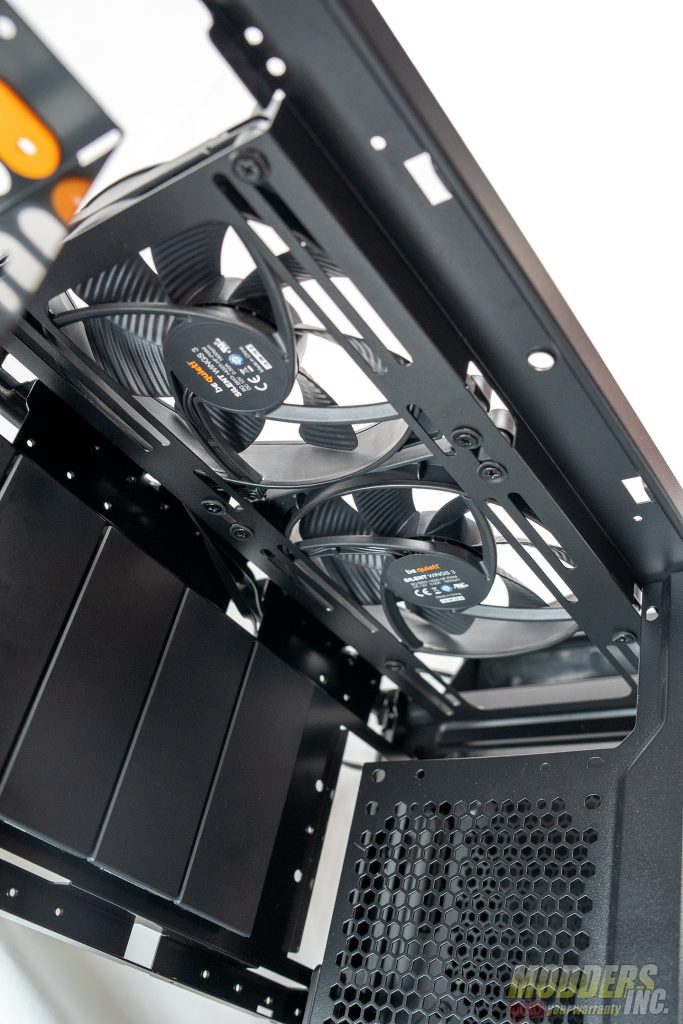
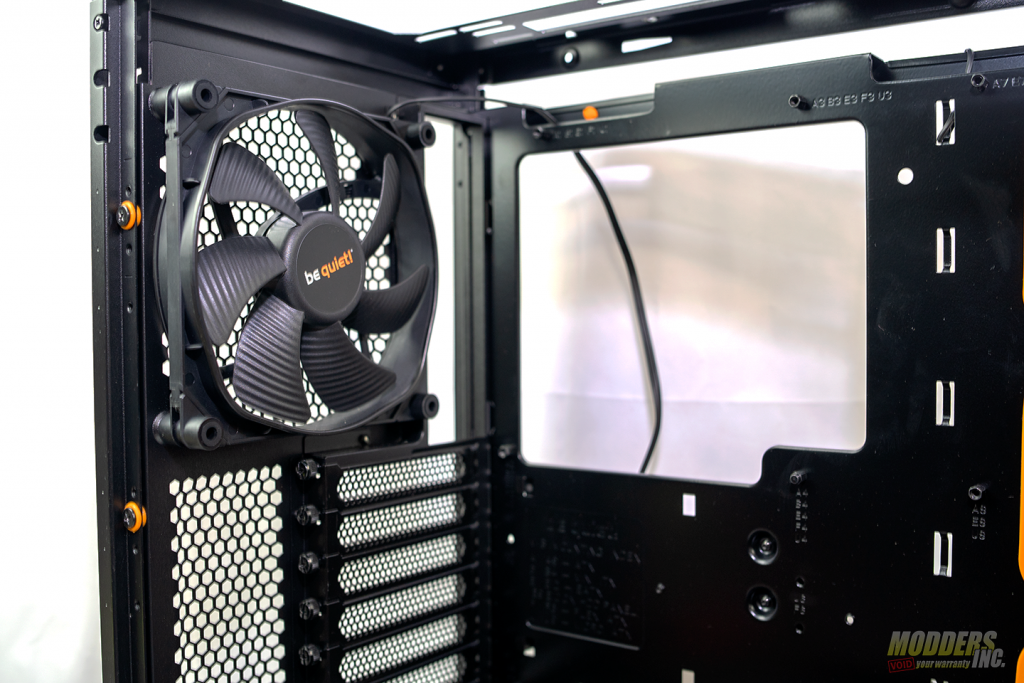
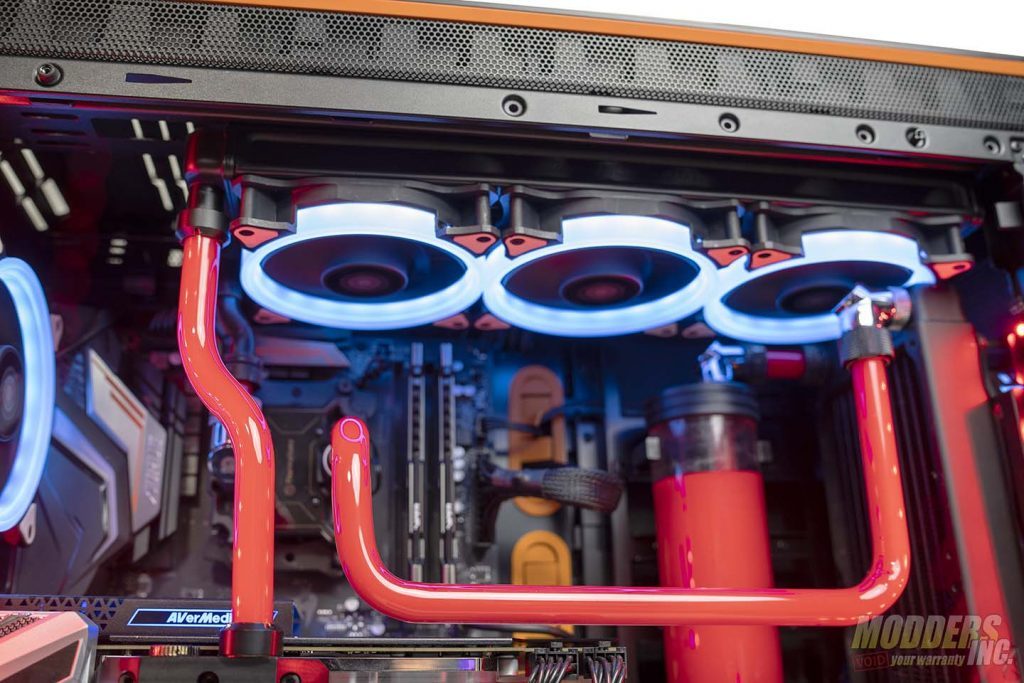
As we mentioned earlier, the Dark Base Pro 900 rev. 2 comes with three 140 mm Silent Wing 3 fans installed. One in the exhaust and two in the front. However, these fans were not used for the final build for this review. The Dark Base Pro rev. 2 can support either three 140 mm fans on the top or up to four 120 mm fans on the top. On the front, the Dark Base Pro rev. 2 can hold either three 140 mm fans or up to three 120 mm fans. For the final build, we went with 120 mm fans all around for the two 360 mm radiators installed for the build.
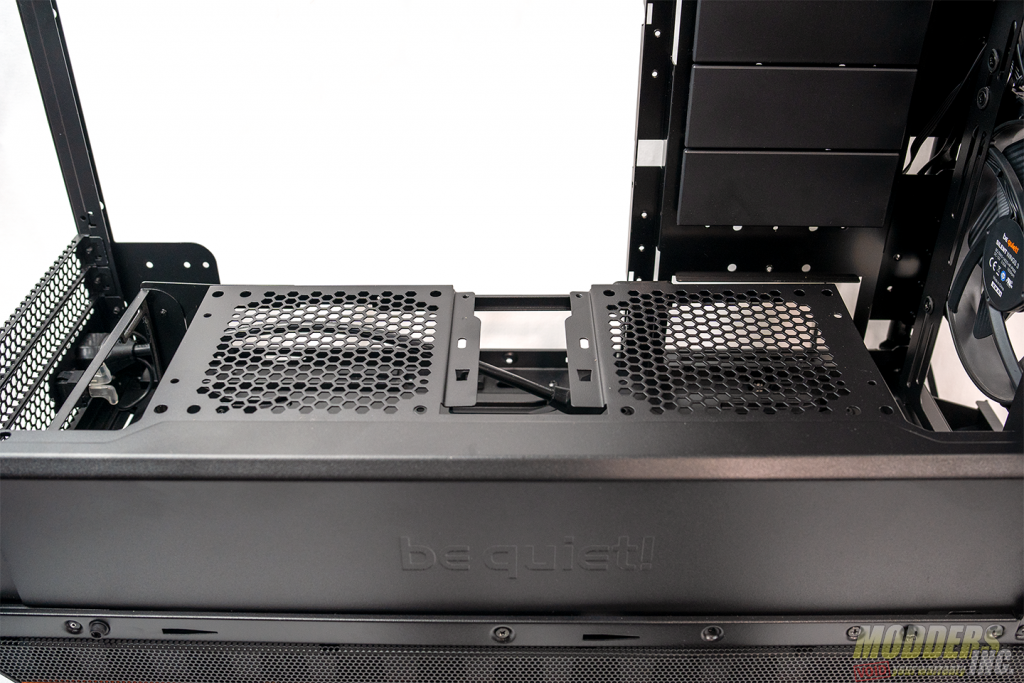
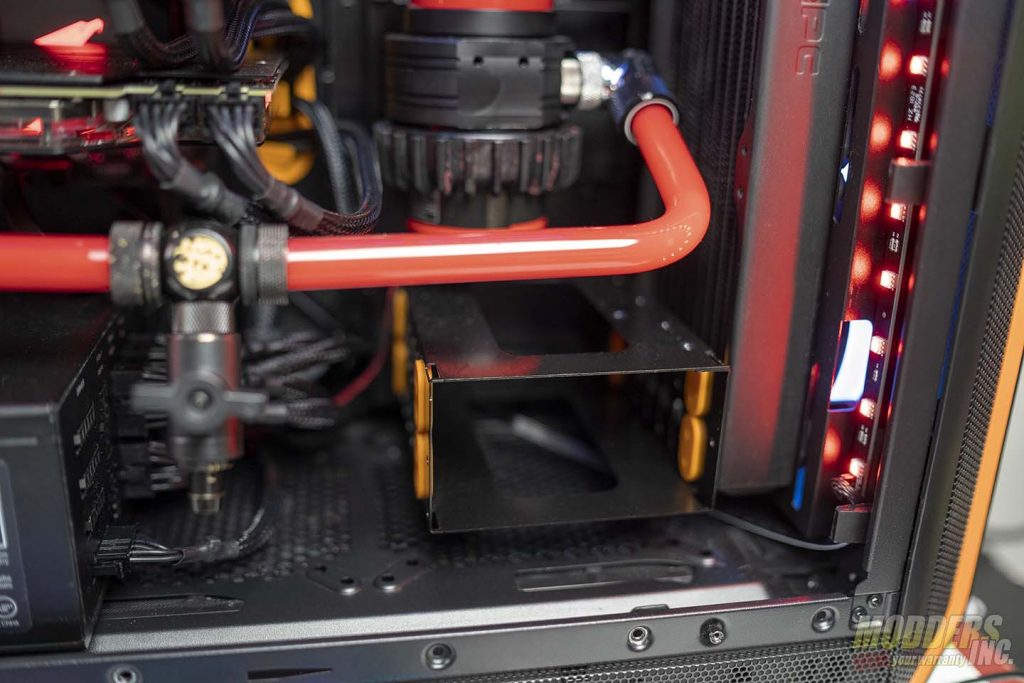
On the rear of the case, you can fit either a single 120 mm fan or a single 140 mm fan for the exhaust. If you keep the PSU shroud in, you can mount two 120 mm fans on the shroud. If the shroud is removed, you can technically fit up to two 140 mm or two 120 mm fans in the basement of the case. However, the way we configured the case for the final build, we couldn’t fit fans on the bottom as we had the dual hard drive cage installed on the bottom of the case.
The Build
Hardware
- Ryzen 7 2700x
- Aorus X470 Ultra Gaming
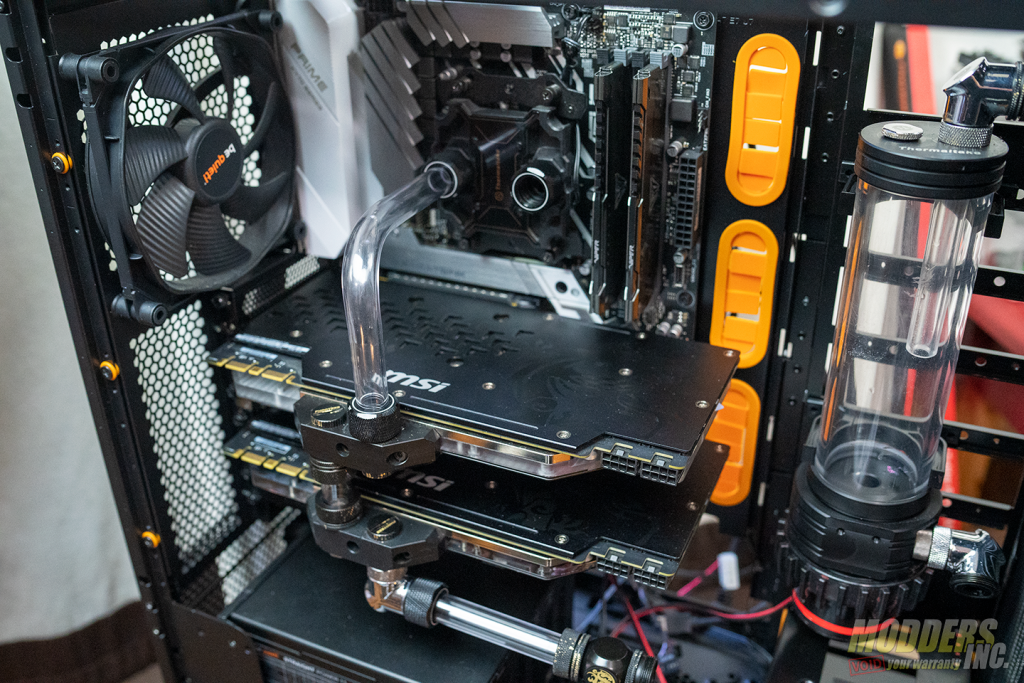
- 2 MSI Gaming X 1080 ti in SLI
- 1 TB Samsung 960 Pro
- Be Quiet Straight Power 11 1000 Watt 80+ Gold Power Supply
- Patriot Viper Steel DDR4 3866 MHz Memory
- Custom Watercooling
Watercooling
- Thermaltake Pacific W2 Waterblock
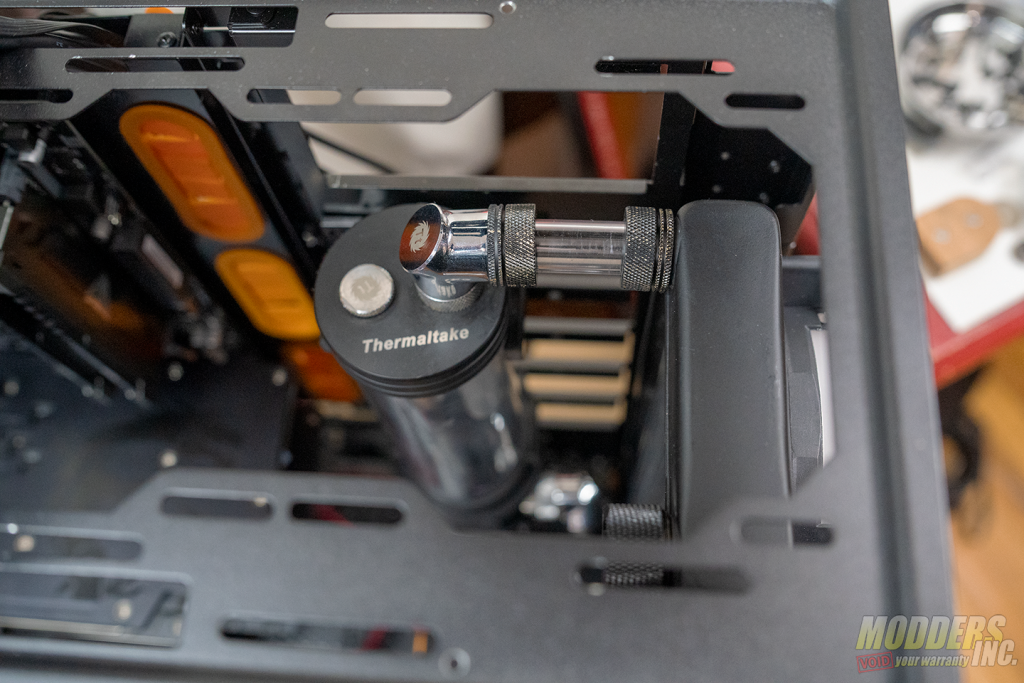
- Thermaltake Pacific DIY D5 Pump/Reservoir Combo
- Two Phanteks Full Cover Waterblock for MSI Gaming X 1080 TI
- 360 mm XSPC Radiator
- 360 mm Thermaltake Radiator
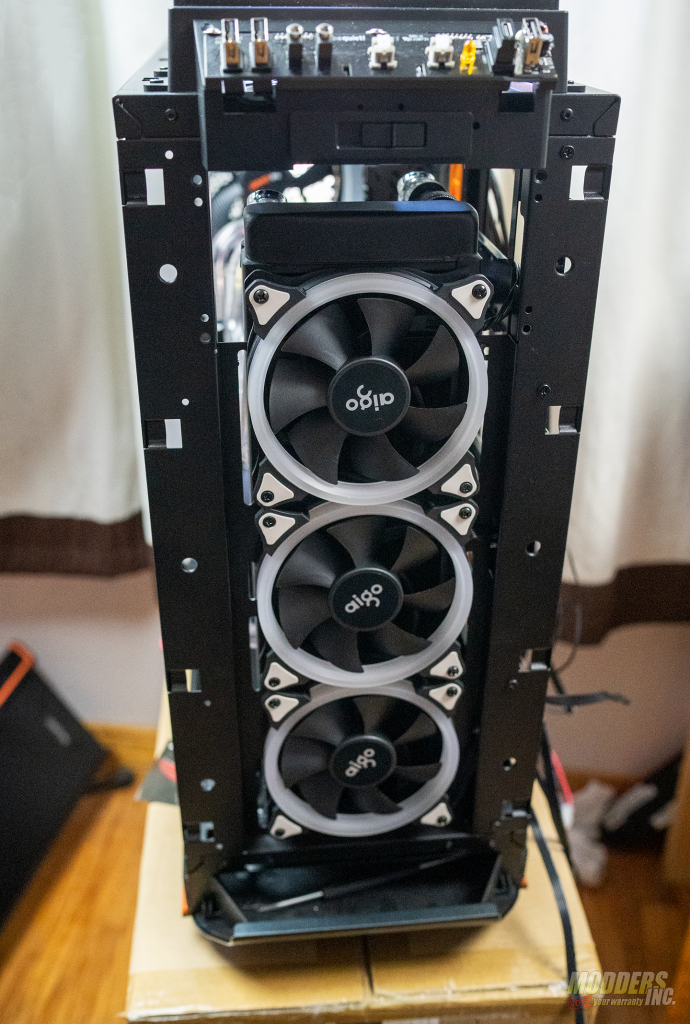
- 7 Agio RGB Fans
- Thermaltake Pacific PETG Hard Tubing 16 mm
- Thermaltake Fitting
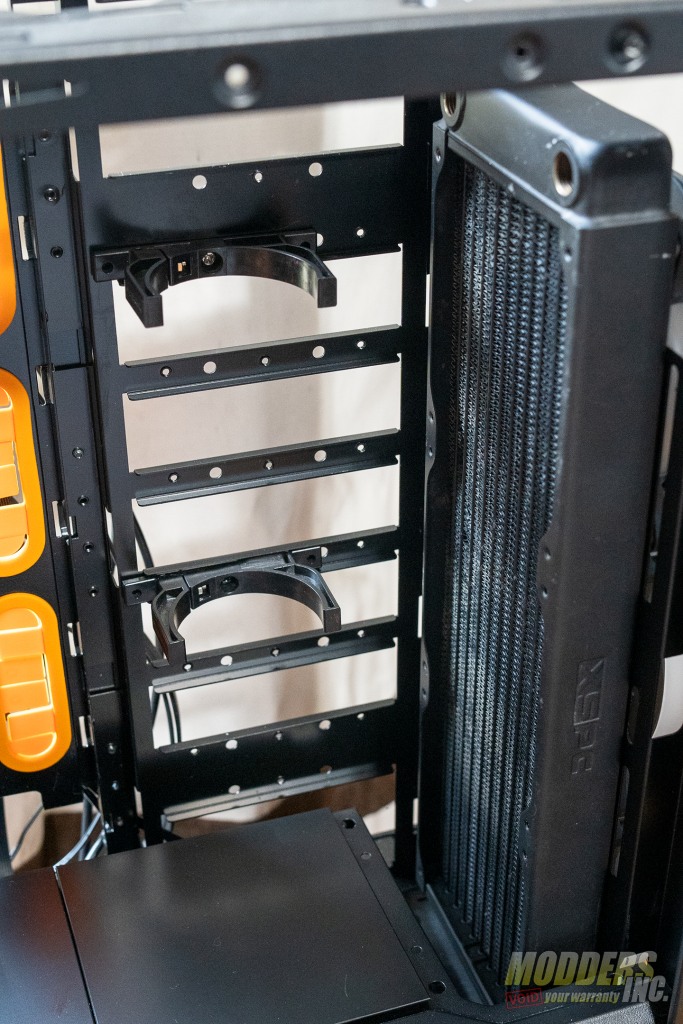
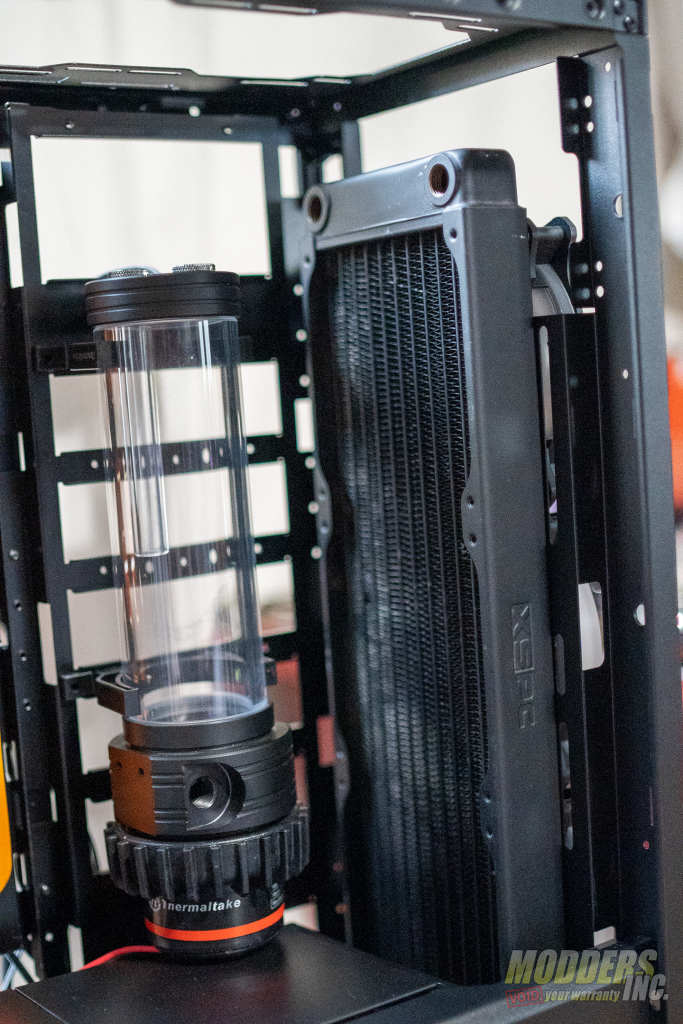
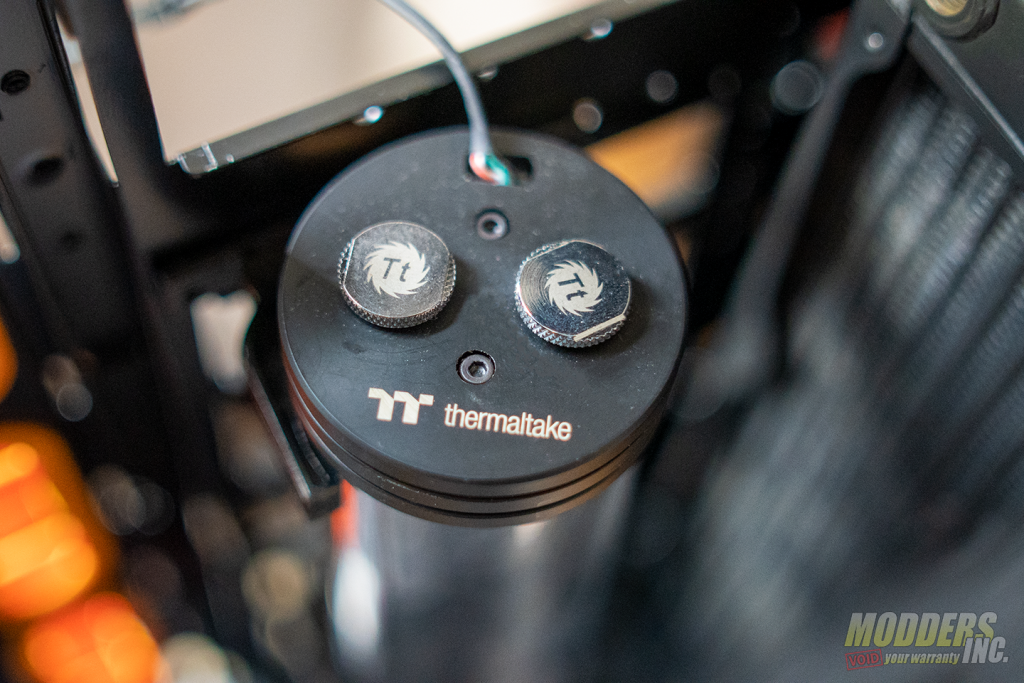
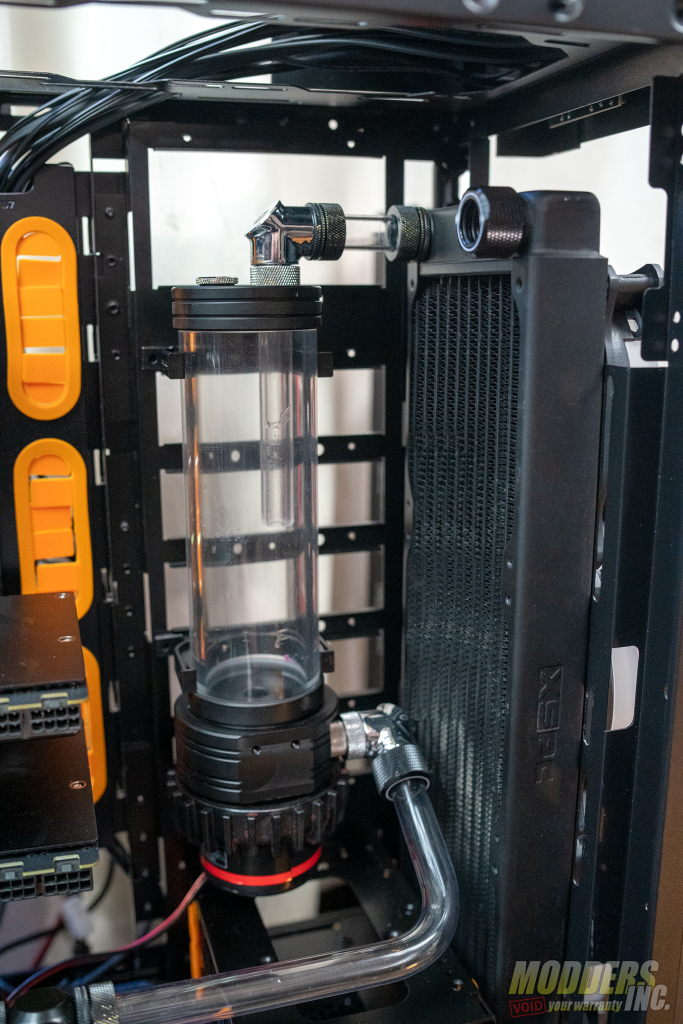
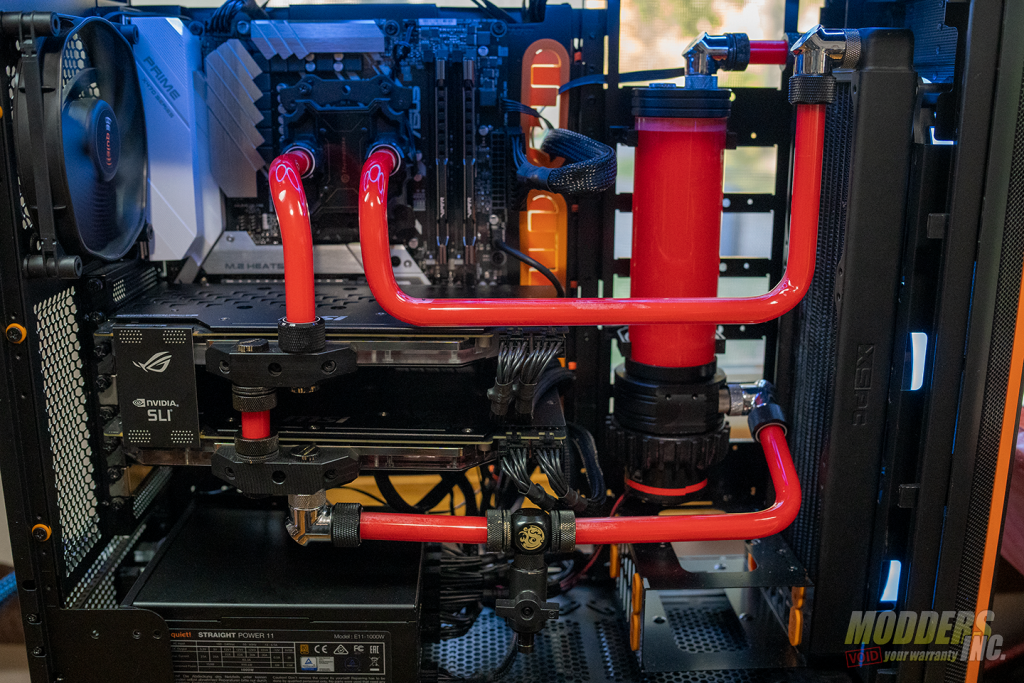
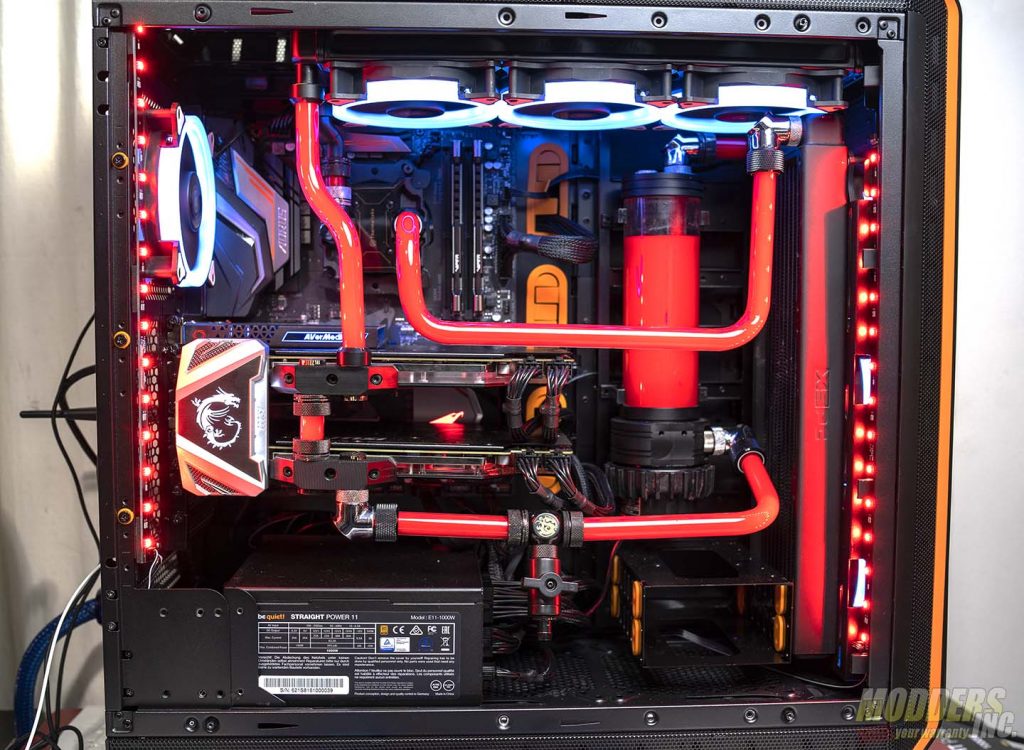
The first step to the installation process was to install the first 360 mm radiator in the front of the case. Next, we removed the drive bay panels to mount the Thermaltake Pacific D5 pump and reservoir combo. There are two mounting options. The first being to mount the pump and reservoir combo to the floor of the case. However, with the drive cage in the way, we went for option two. We used the reservoir clips included with the pump to mount the pump and reservoir combo to the back wall of the case, where the drive cages would go if they were installed.
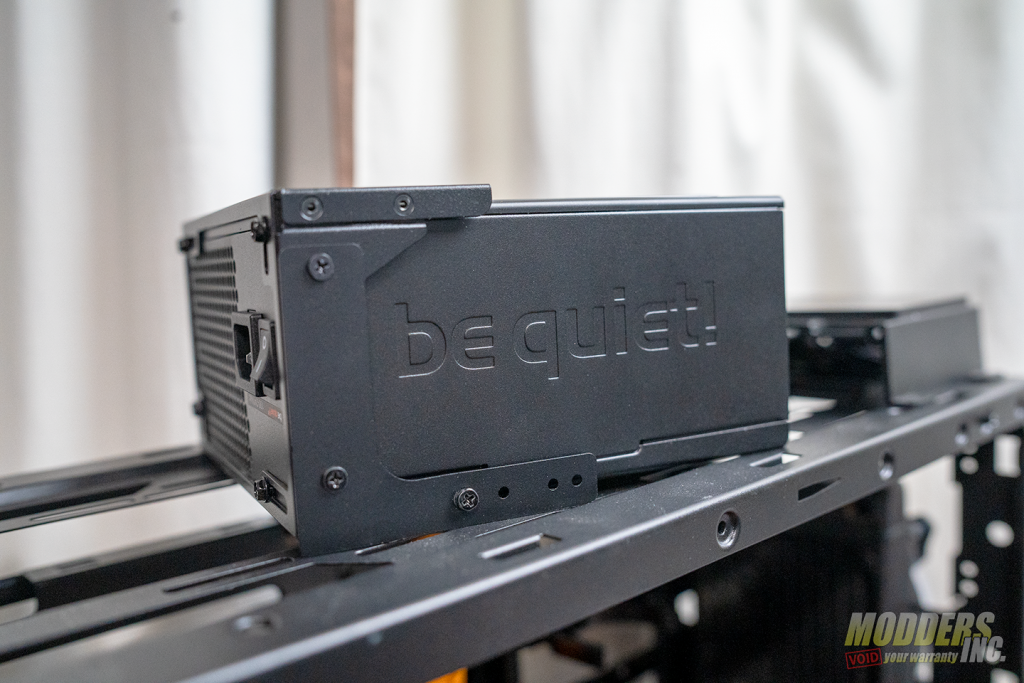
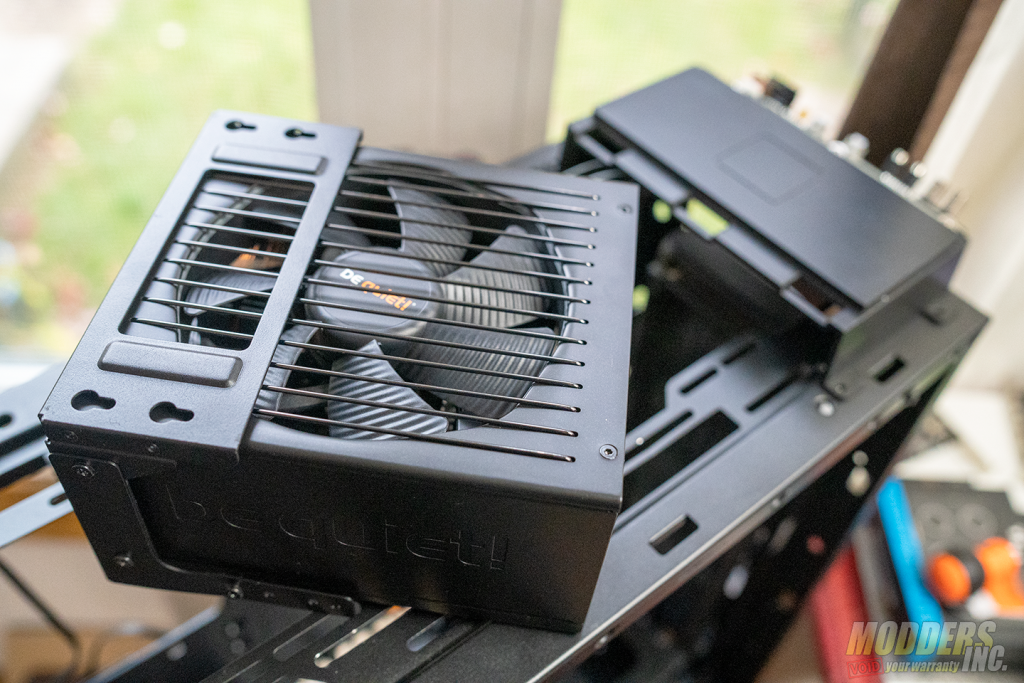
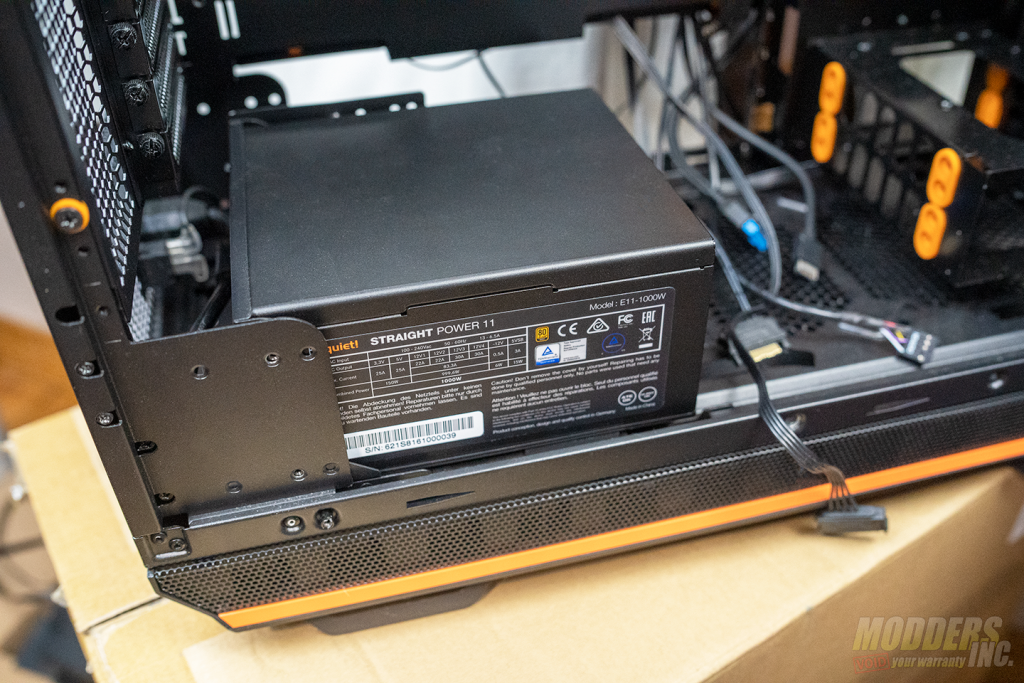
The next step was to install the Straight Power 11 1000 watt power supply that BE Quiet kindly provided for this build. There is a power supply bracket that has four slotted holes cut into it. This allows you to attach the bracket to your power supply and simply snap it in place. Just make sure your power switch is in the on position before installing the PSU, and that the pigtail extension is plugged in. Once the power supply is locked in place, it’s rather difficult to access the plug and power switch.
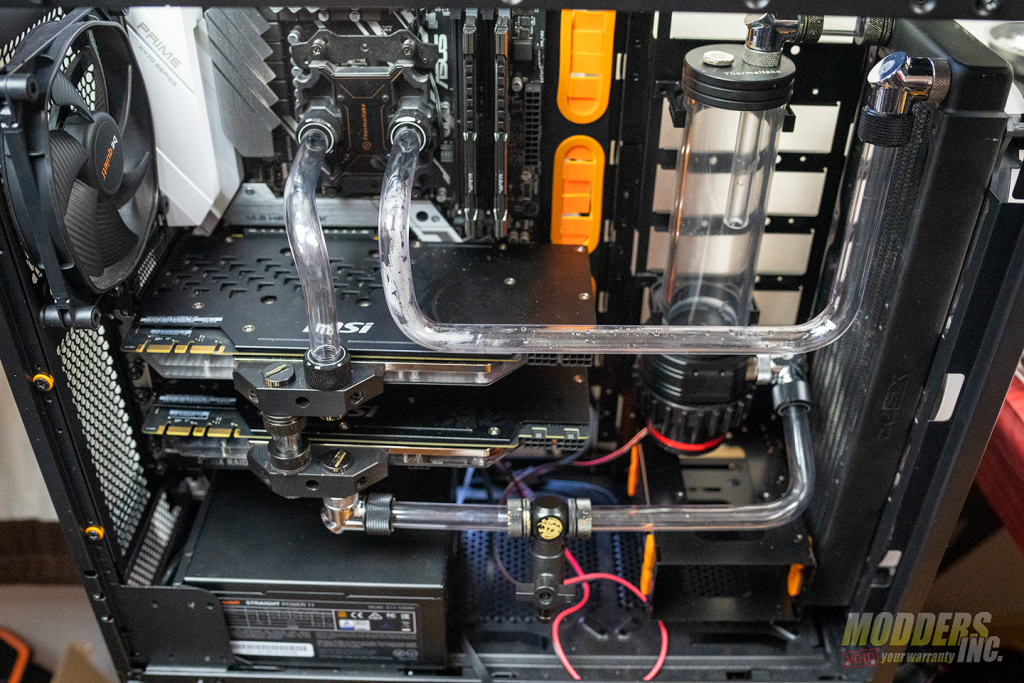
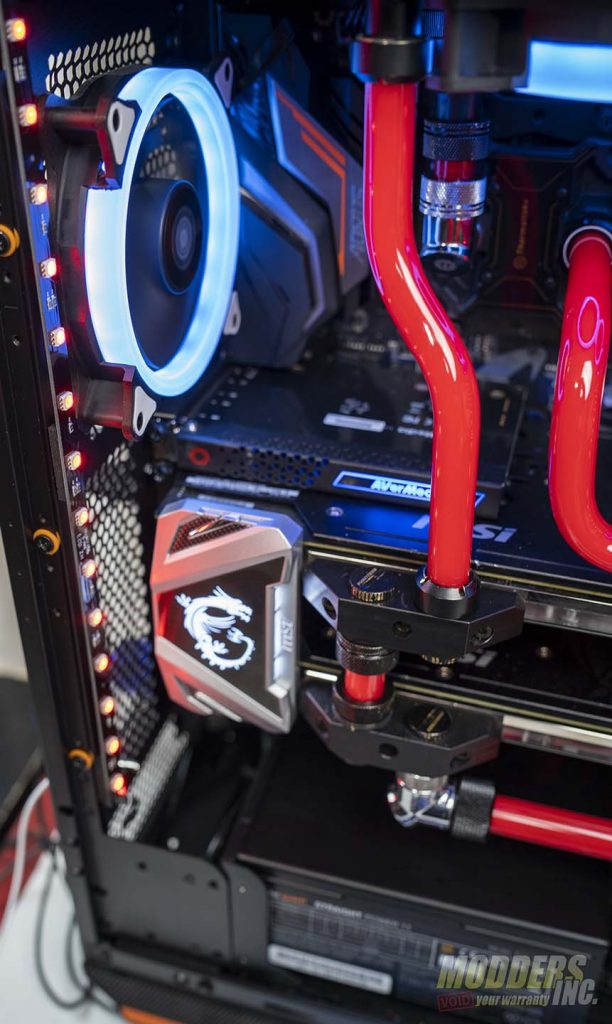
Once the power supply was installed, we installed our Ryzen 7 2700x and Thermaltake water block on the motherboard. Then the motherboard was installed on the removable motherboard tray. I just wish I had remembered it was removable before the board was put in. Now, its time to start bending tubes for the hardline build and attaching the different components of the loop.
The first step was the easiest. Attaching the pump and reservoir combo to what ended up being the first of two 360 mm radiators. However, there are multiple options for radiators in the Dark Base Pro 900 rev. 2. These options are as follows.
Front (mm): 120 / 140 / 240 / 280 / 360 / 420
Top (mm): 120 / 140 / 180 / 240 / 280 / 360 / 420
Bottom (mm): –
Rear (mm): 120 / 140
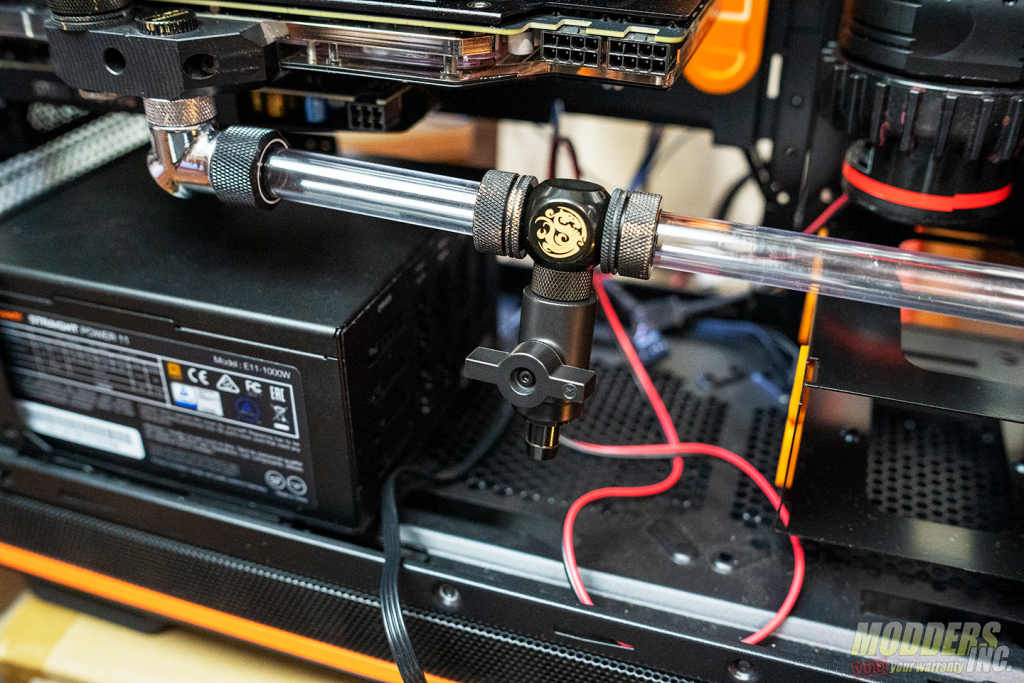
With the power supply shroud removed, there was plenty of room in the basement of the Dark Base Pro 900 rev. 2. So much room we were able to add a drain near the bottom of the case. This drain came in very handy as the first board used was dead and the loop was drained no less than 5 times trying to troubleshoot the system.
With all the tubes bent, it was time to pressure test the system and it held pressure for well over 30 minutes. Then, we decided that although a single 360 mm radiator should be enough to cool the system, we should add another radiator. So, the system was drained and pulled apart.
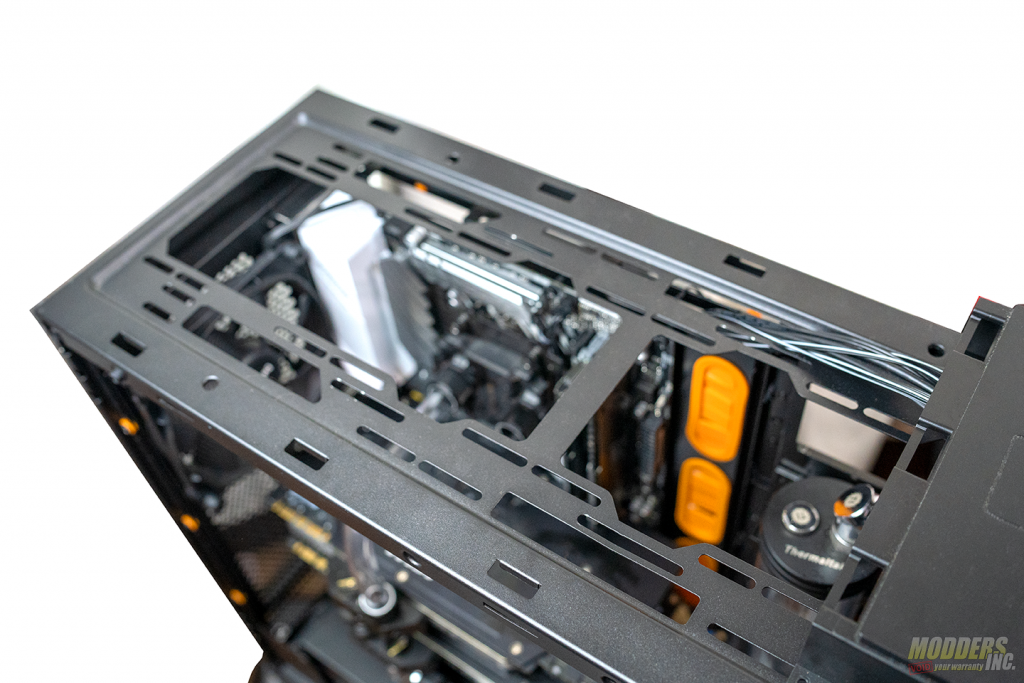
Due to the heatsink on the motherboard, we were not able to mount the 360 mm radiator in the spot it was intended. However, due to the versatility of the Dark Base Pro 900 rev. 2, we were able to mount the radiator closer to the glass and we managed to squeeze it in.
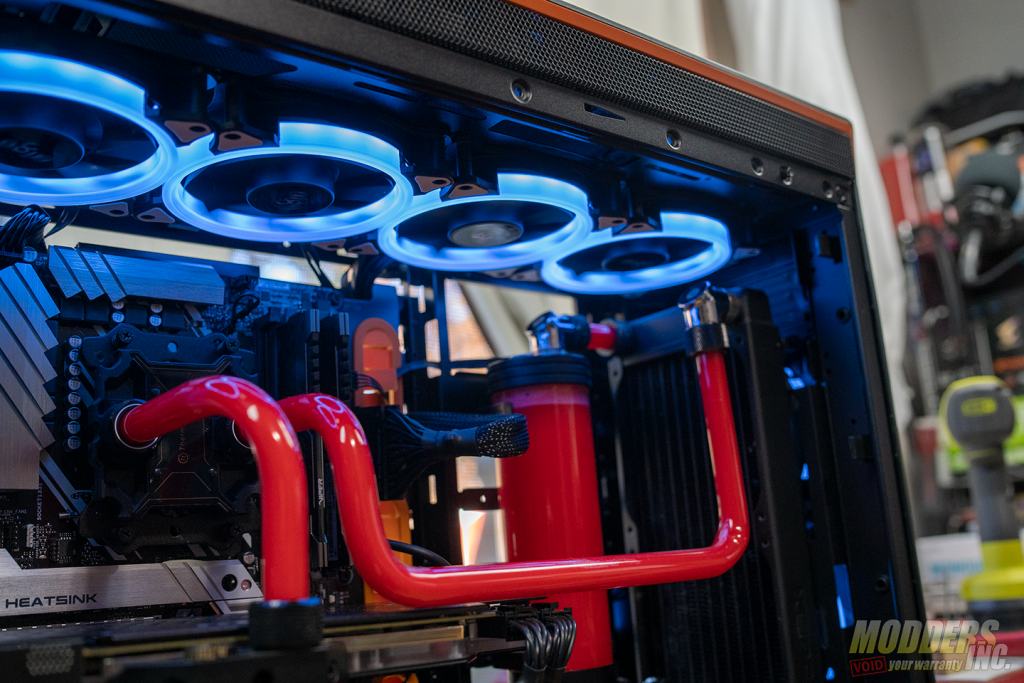
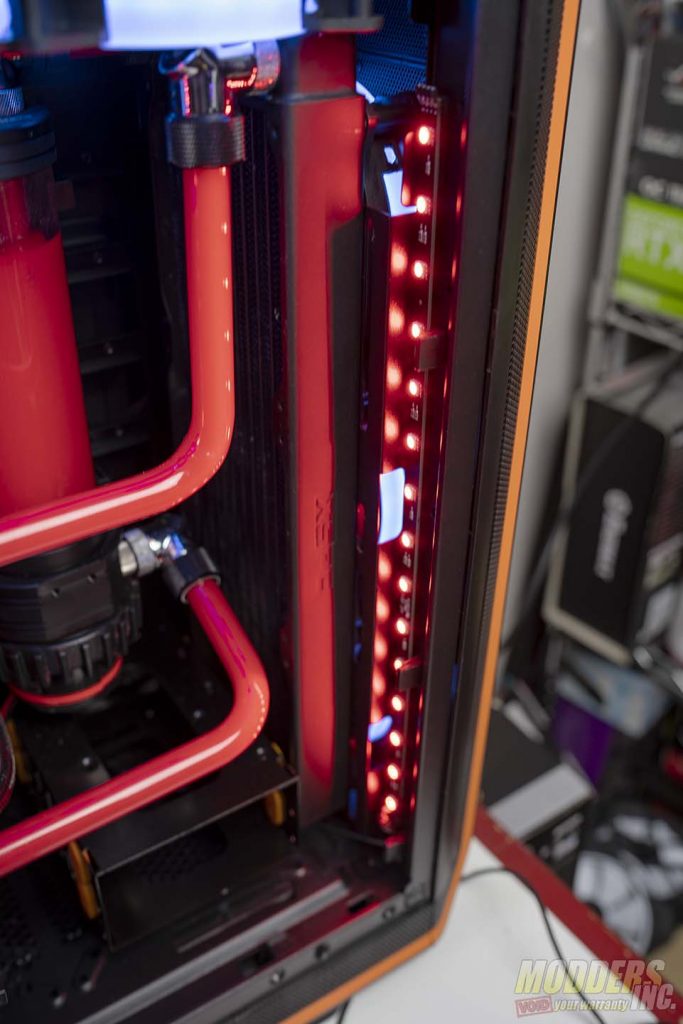
Once the second radiator was installed, we slapped the MSI high bandwidth SLI bridge, pressure tested again and now its time to boot the system up. We also installed the included RGB LED strips on either side of the case.
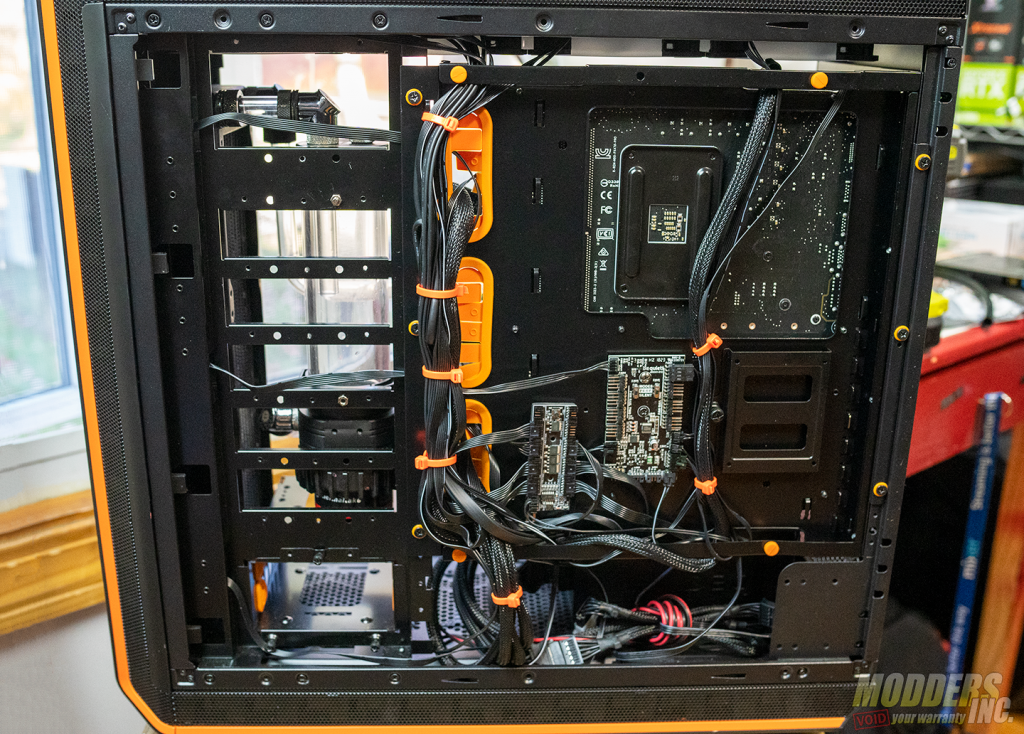
The last and final step was to tie up the cables behind the motherboard tray. There is ample room behind the motherboard try for cable management. I do apologize for the mess my cable management is. It’s not my strong suit, especially when using stock cables.
