AzzA Z Mini-ITX Gaming Case Review
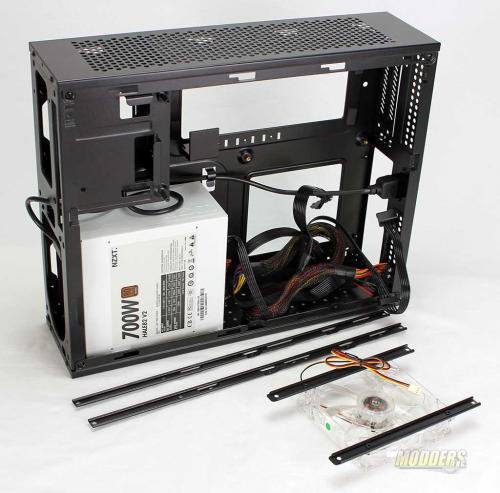
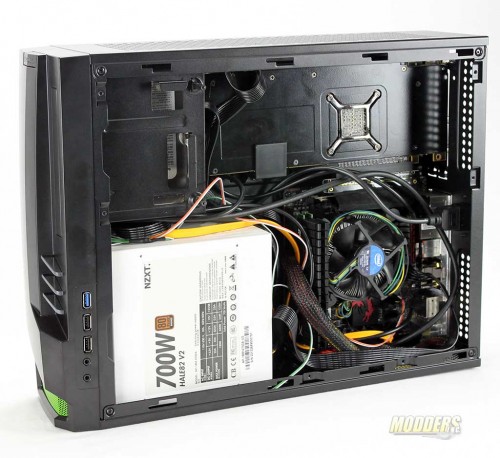
In order to install the hardware in the Azza Z case you will have to remove all the rails that I showed you before. With theses out of the way you actually have a good amount of room to get the hardware in to the right places. Now if you think that you can maybe place a micro-itx motherboard in the case and all with be good, you better think again. There is no extra space at all to stuff in the larger motherboard. I would highly…scratch that…you WILL need a modular power supply to maximize the lack of room you have have to work with.
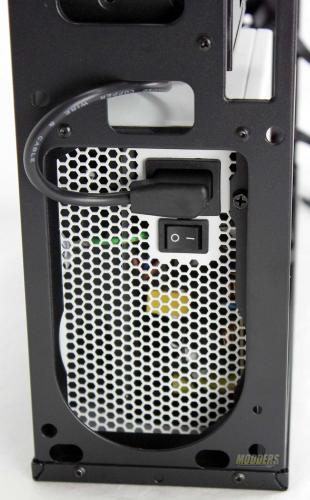
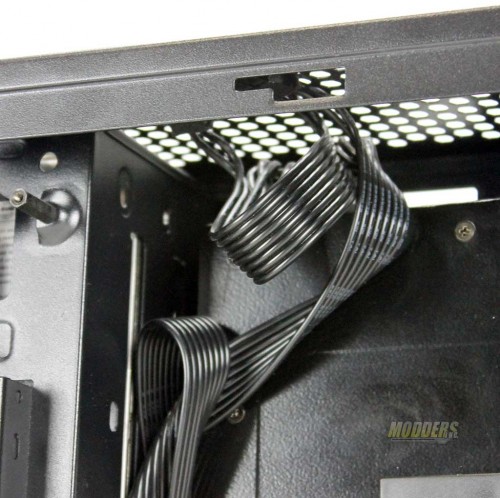
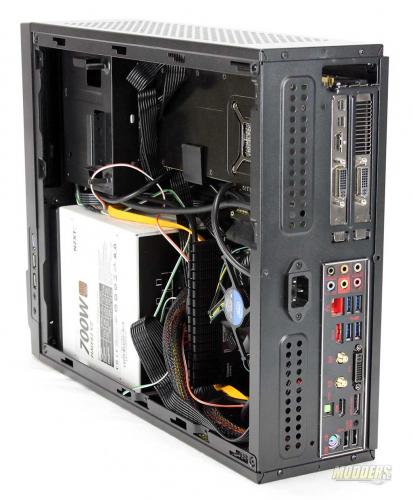
With the power supply installed and we can now see why the female plug is located on the back side of the case. From that plug we saw a cable and that cable runs the length of the case and plugs into the power supply.
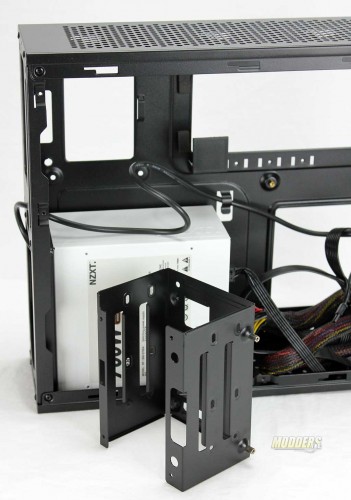
Here we get to see the drive cage removed from the case. A total of six screws have to be removed in order for the cage to come out. Installing the drives is just like any other cage, but I would suggest that you connect the power and data cables before you reinstall the cage back into place. If you don’t you will have some troubles trying to blindly plug in the cables.
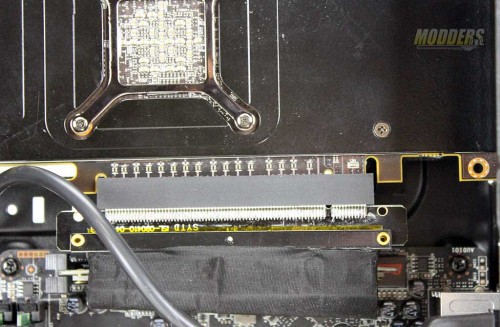
As I stated before the graphic card will be placed in the case in a vertical position, which means that it cannot plug directly in to the motherboard. The included PCI-e ribbon cable make this all possible.
Power to the graphic card can be a tricky tight fit. Like the storage drives you must install the power to the card before you install the card into place.
When the video card is put into place with the power and the ribbon installed you can see that it could use some support. Azza knew that and they created a plastic bracket that will help keep the card from sagging. This bracket can be adjusted to fit different length cards.
Well it is a tight fit but you can get a lot of stuff into the Azza Z case. The maximum size graphic card you can install into the case is 10.5 inches long and the biggest power supply that you can squeeze in is a regular PS2 ATX.
You can see that even with pretty much zero wire management (done on purpose) there is not a lot of extra space, but it did seem like it had just a bit more than other mini-ITX cases I have dealt with.
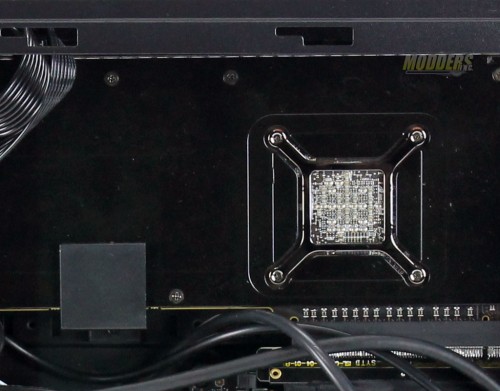
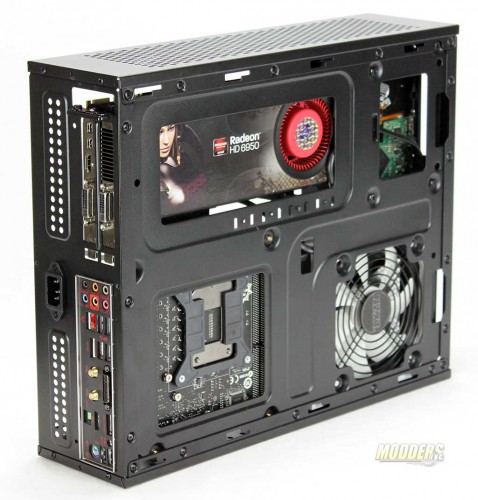
With all the hardware installed we can now see where all those cut outs come into play.
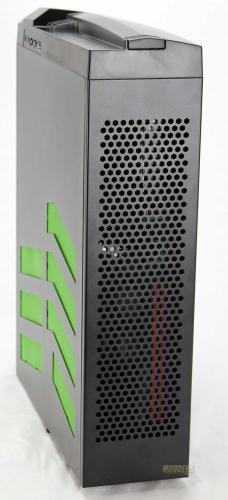
With the Azza Z a put back together we can slightly see where all the hardware is and how it gets its air flow. From this angle we can see that the video card is at the very top of the case can get rid of a lot of heat. According to Azzatech they claim that you can place in an AIO (All-In-One) 120mm water cooling set up for the CPU. I think you will really be pushing it with all the extra hoses inside the case, but if that is the road you want to go down then I would minimize the amount of wiring inside the case.


Love this review. Far better than a lot of others. I was wondering if you knew the size of the LED’s, as well as the thickness on the vents? I plan on doing an LED swap and putting acrylic sheeting over the vent holes and just wanted to make sure that 1/8″ think sheeting wouldn’t compromise space.