AzzA Z Mini-ITX Gaming Case Review
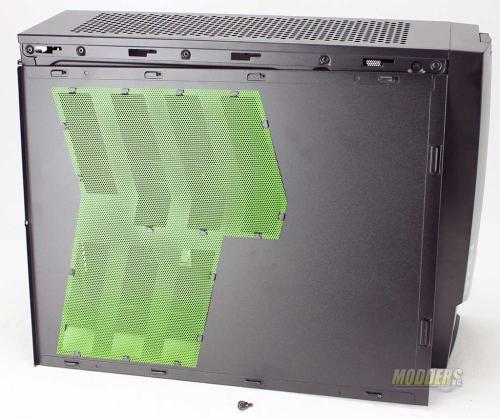
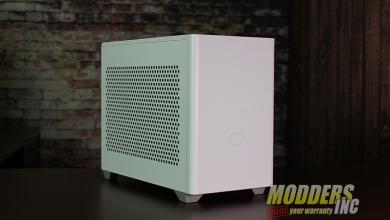
Both side panels are removed in the oh-so too familiar way. By removing a single thumb screw at the rear and then apply some pressure to the panel and push towards the rear the panels will slide about an inch and it will be free. Large pieces of perforated metal are used to keep the air flowing and from items falling into the Azza case.
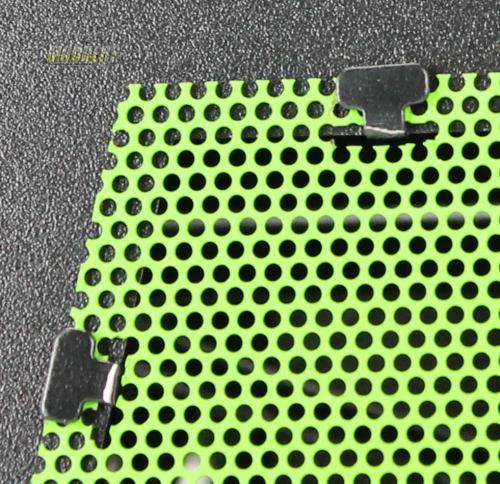
Yes, the perforated air vents can be removed. Slots have been placed in the metal that allows a tab from the side panels to go threw and be bent over to hold the piece into place. This is good news to everyone that wants to remove the “Nvidia Styling” and make it fit their needs.
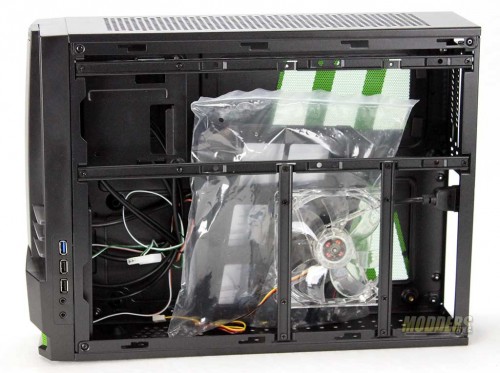
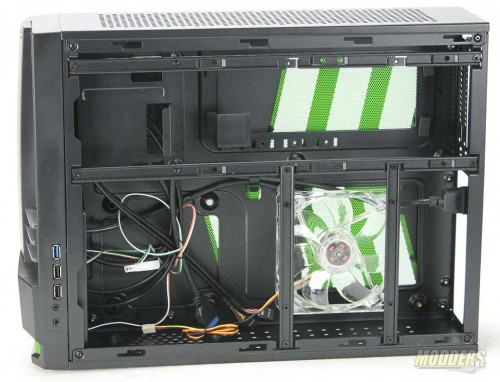
I was able to get the right side panel off so that we can take a look inside. All the parts that go into case are install from the right side of the case , unlike the way we are use to doing from the left side. Inside are all the things that come with the case so we will have to remove them to get a better look.
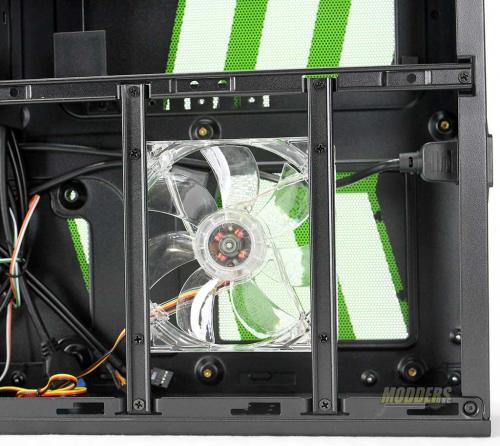
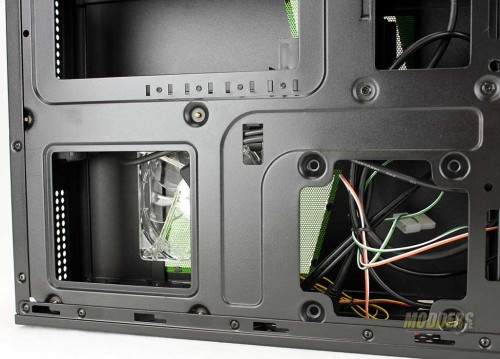
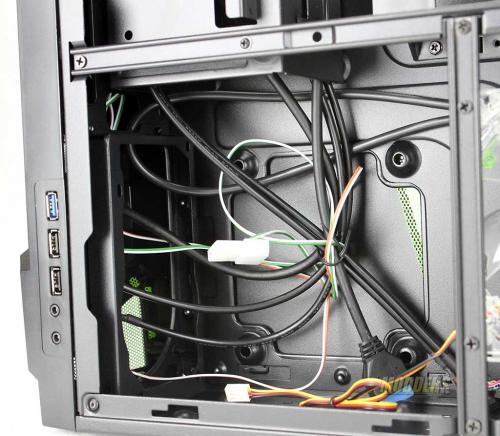
This close up image shows us a few things about the case. First we can see that the 120mm LED cooling fan is attached to two vertical brackets which are screwed in. The brackets are attached to the lower part of the case itself and a longer horizontal bracket that reaches from the rear of the case to the front. The brackets help keep the case rigid and a place to attach stuff too. And there it is again, the female plug in of the power supply, but it has a cord attached to it.
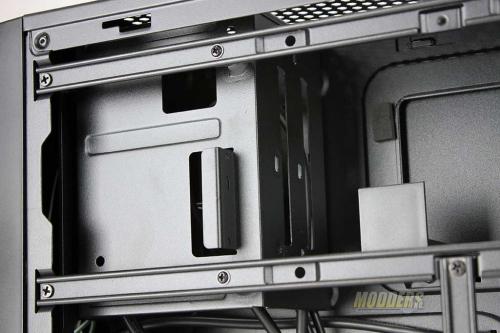
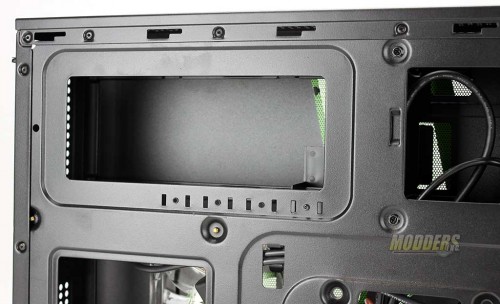
Here we see where the storage drives and slim optical drive call home. All three items, when placed into the brackets, will be in the vertical position. We can also see that the drive cage uses the brackets that run from the rear of the case to the front for support and are kept in place with screws.
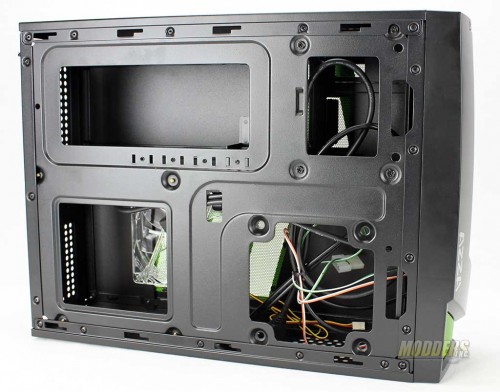
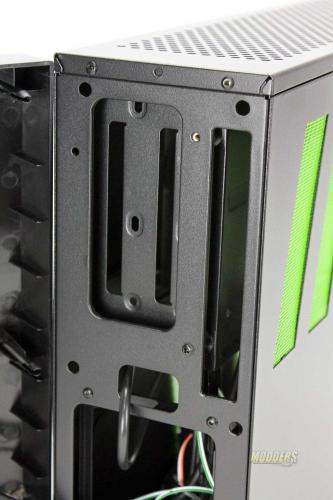
Removal of the left panel gets a look at the backside of where the motherboard with be placed. We also get to see all the cut-outs that the Azza has to offer.
Now remember this is a mini-itx case and the lower left cut out is where the motherboard will sit. This cut will give you plenty of room to remove and install all sorts of CPU coolers without having to remove the motherboard to do so.
So why the large rectangular cut? Hmm, lets think about it… if the graphic card has to sit vertically above the motherboard then it needs a place to rest and have air flow.
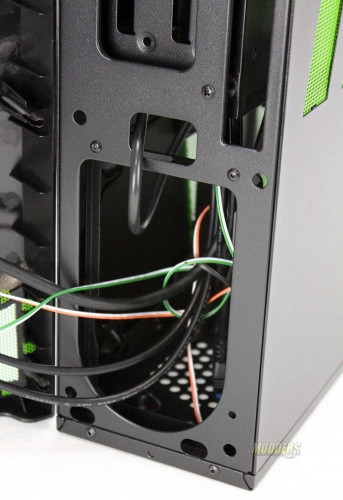
At the lower front of the case we see an odd shaped opening that serves a purpose for air flow that we will look at in the next images.
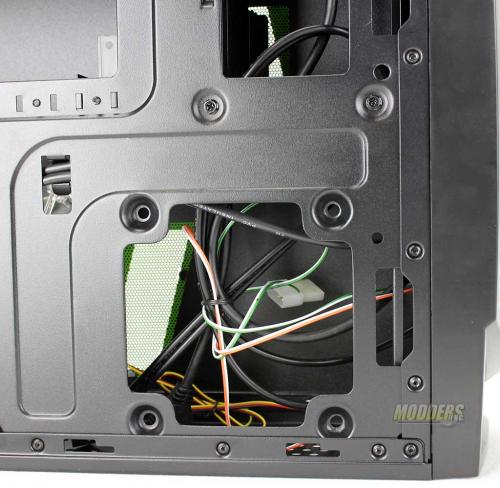
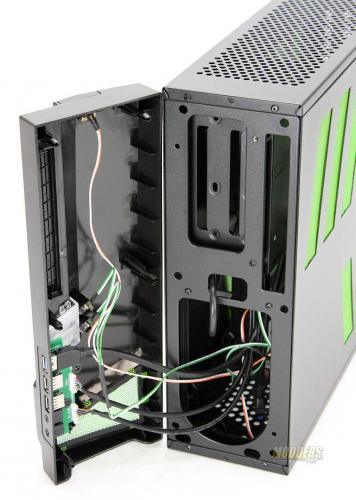
At the lower front part of the case it looks like most of the case will be routed somewhere in this area. For shipping the cables are routed through a large hole that looks oddly familiar.
Removal of the plastic front bezel shows us the secret about the Azza case.
You see the case, even though it is a mini-itx case, will allow you to install a regular sized PS2 ATX power supply.
Above the power supply is where the storage drives and a single optical drive (slim type) are placed in the Azza Z.


Love this review. Far better than a lot of others. I was wondering if you knew the size of the LED’s, as well as the thickness on the vents? I plan on doing an LED swap and putting acrylic sheeting over the vent holes and just wanted to make sure that 1/8″ think sheeting wouldn’t compromise space.