Autonomous ErgoChair 2 Black Edition
ErgoChair 2 Assembly
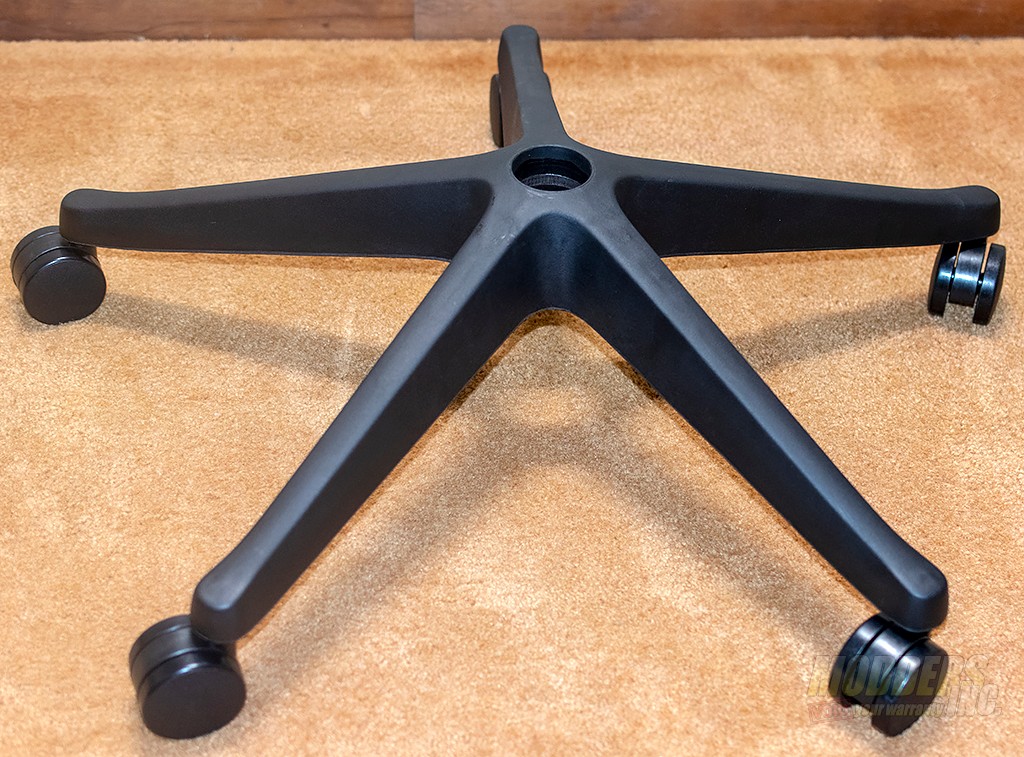
To start the assembly process, first, you’ll need to insert the casters into the base of the chair. The casters just pop into place at each of the locations.
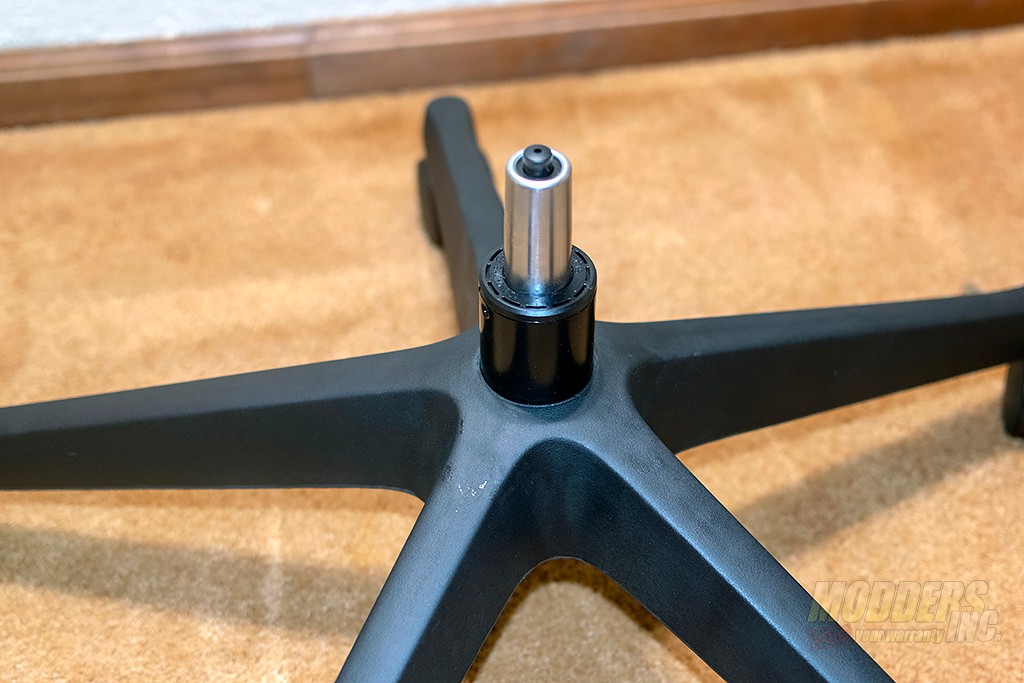
Next, you’ll need to insert the gas lift cylinder. To install, simply slide the cylinder into the center hole.
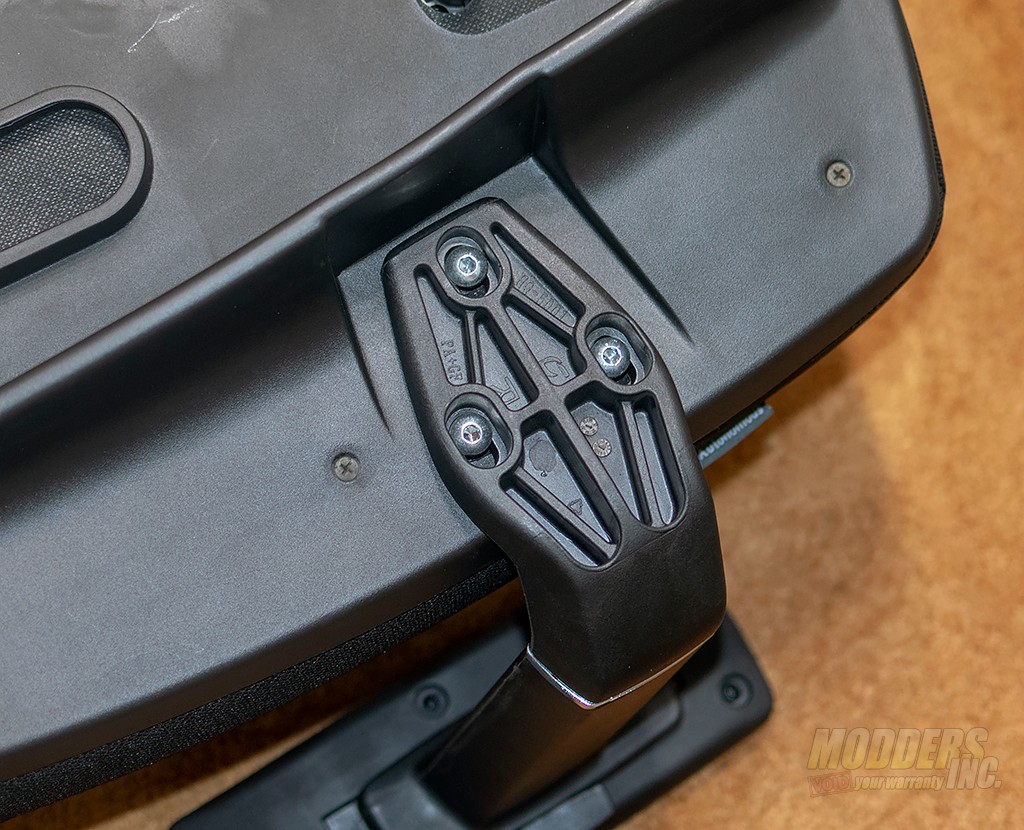
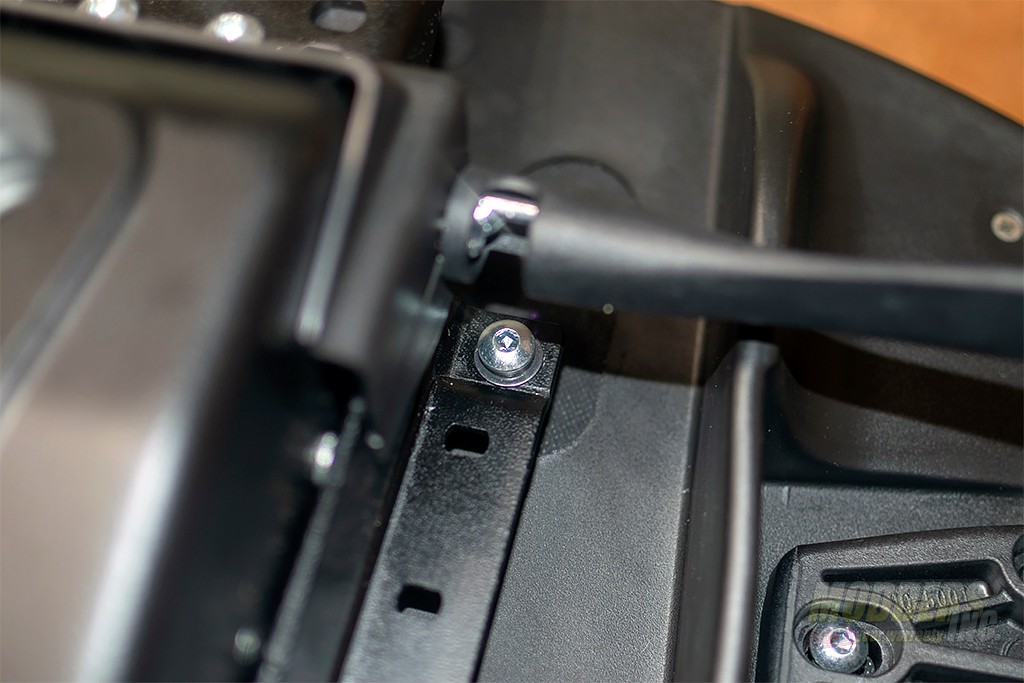
Next up we’ll move on to installing the armrests onto the seat base of the ErgoChair 2. Three screws are used to secure the bottom of the armrest to the base fo the chair. Take note, there is a little bit of adjustment in the armrest installation as the holes are slotted.
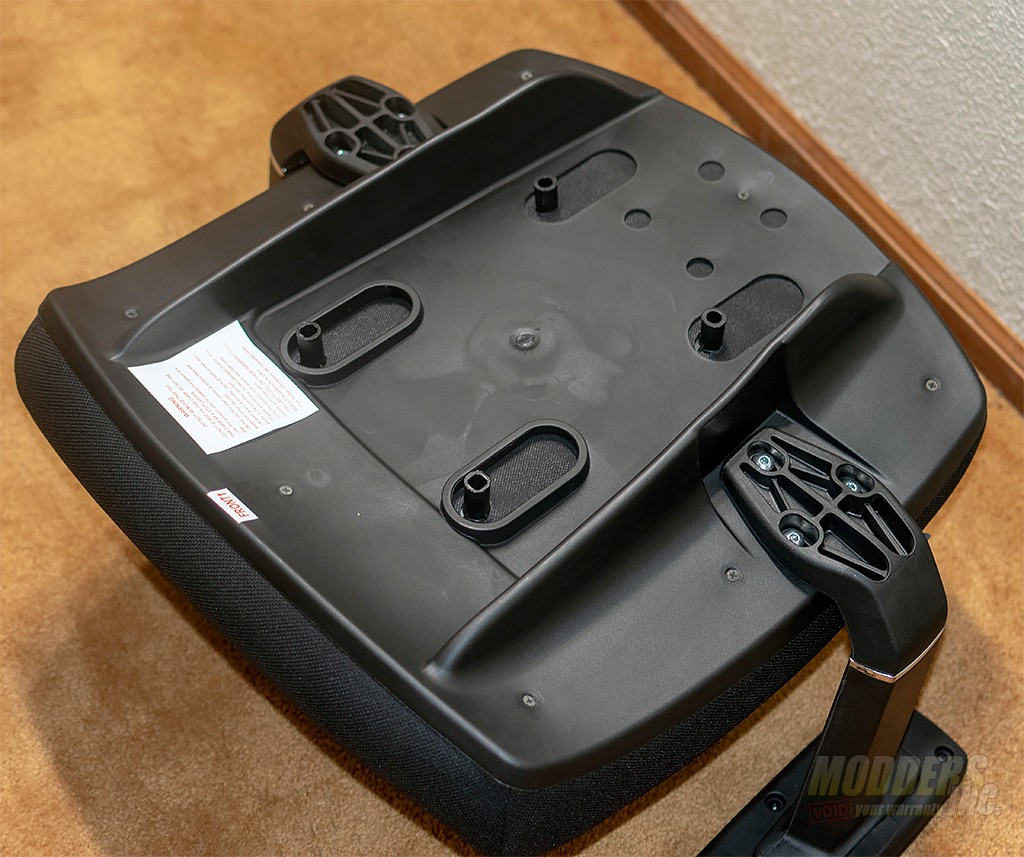
Once the armrests are installed, the seat base will balance on the top of the armrests. This makes installing the multi-function unit easier.
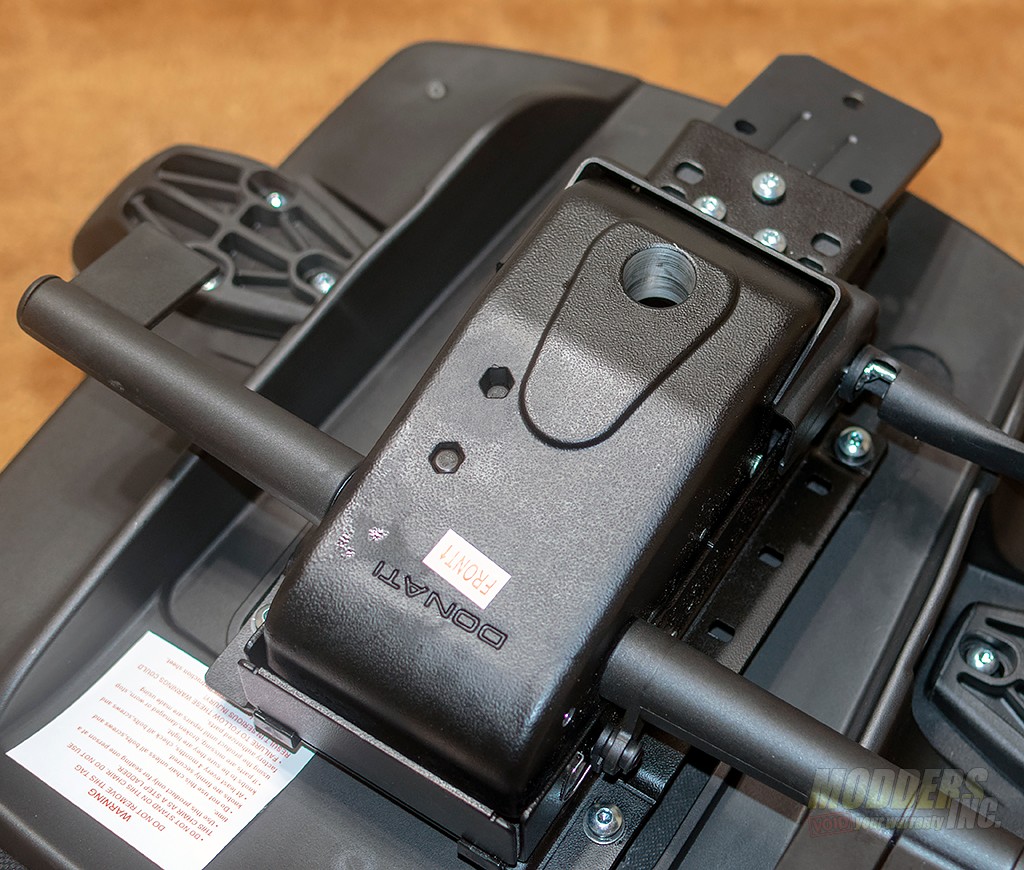
When installing the multi-function control unit there will be one screw that you’ll need to insert before you put it on the seat base. While Autonomous slotted the lever just above, the screw head is still too large to fit through the slot. I found it much easier to install this particular screw 1st then install the rest.
You’ll finish tightening the screws in an X pattern.
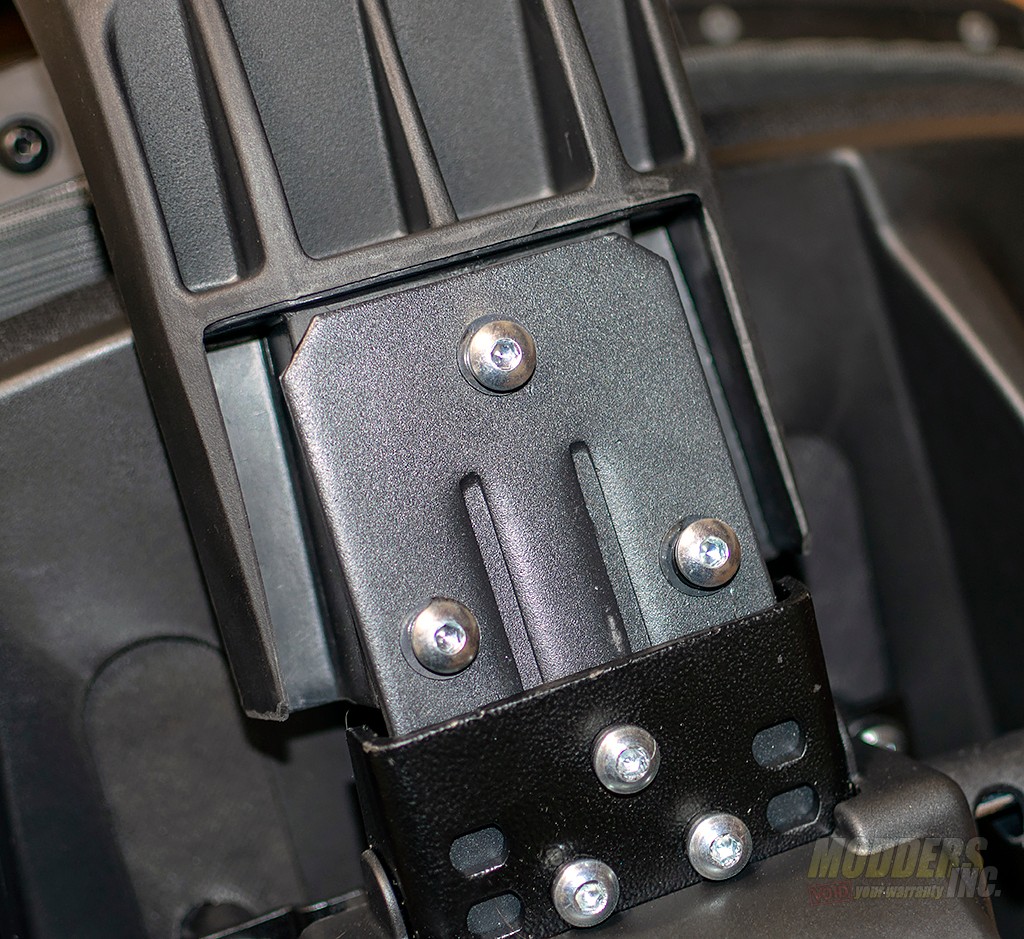
Next up, you’ll attach the backrest to the back part of the control unit. Three screws are needed here.
You are now ready to install the assembled seat base onto the assembled chair base. Align the hole in the control unit with the gas lift cylinder and press down.
Finally, insert the headrest into the slot at the top of the chair back and secure with two screws.

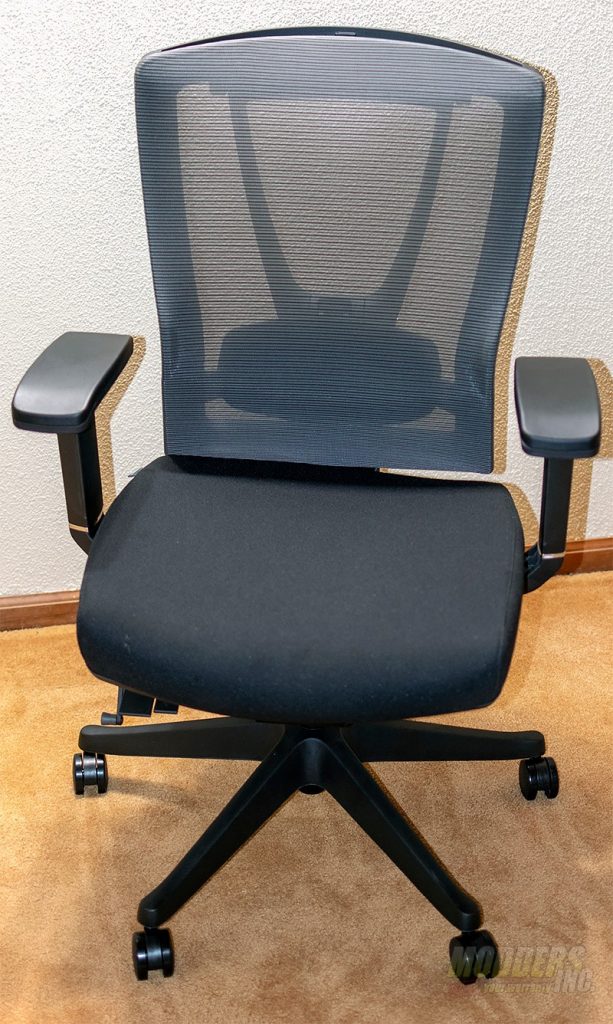
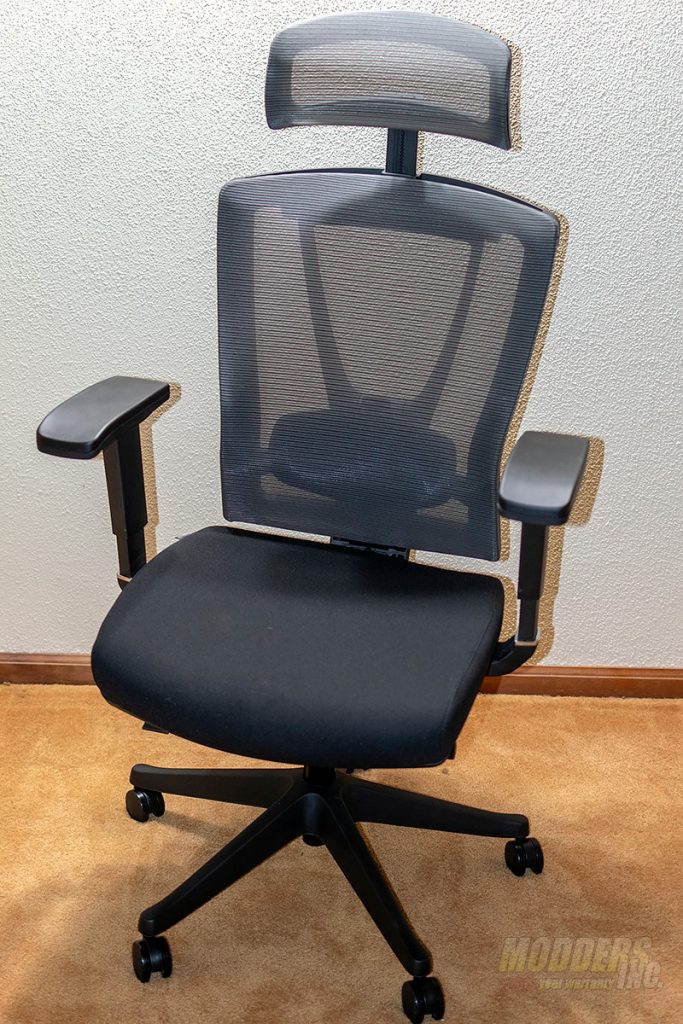


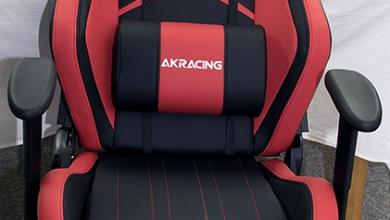

I’ve had one of these for a couple of years, and for the most part really like it. But since this is “Modders Inc”, I’ll share a few lessons learned:
1. Do not attempt to upgrade the castors to the roller-blade style ones, or you’ll learn first hand what “shear force” means. In my case, it meant two of the legs breaking simultaneously. You’ll need to upgrade to an all-metal set of legs.
2. The memory foam arm pads are a very nice after market upgrade.
3. Over time, the chair will start to creak when you lean back. Turn the chair over and re-tighten the bolts.
4. After a few years, if the chair starts sinking on its own, you’ll need to replace the gas piston. Do not follow the bone-headed advice to jam a PVC pipe around the piston. Get a replacement piston with a removal kit (a set of special clamping collars). Attempting to remove the piston with a hammer is an exercise in frustration. Alternately, remove the retaining pin and disassemble the old piston. It’s a little greasy, but not the horror show some guides make it out to be.
5. If the chair starts clicking when you turn, you need to grease or replace the thrust bearing in the piston. The repair kit is only about $10, and took me no more than 20 minutes to complete (and I’m not mechanically inclined).
Hope these tips help.
Thanks for the heads up. It’s nice to have a little history and know what may need some love in the future.
At the start of the pandemic, I was in need of something better than my dining room chair for my new office. I was looking at different office chair options and ended up going with the MyoChair from Autonomous.
I would straight up pay extra $$ for someone to make a headrest extension mod. This chair is amazing for tall people and so adjustable but the headrest is still too short!