Autodesk ReMake: Fast Photogrammetry
Photography Process
The first step is to prepare your photography station. Solid backdrops and even light is best. For this review, I sloped a piece of posterboard against a wall to make a featureless white background, and grabbed a lamp as a light source. For the camera, I used point and shoot Canon PowerShot SD1200IS.
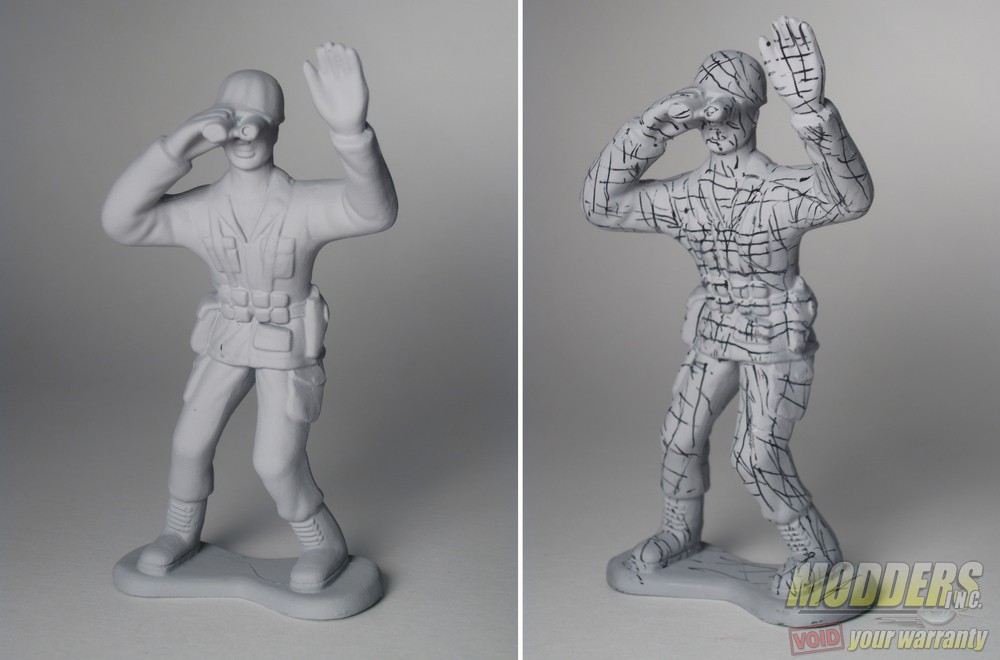
Next, prepare the object. I chose a 4″ tall army man made of glossy green plastic. To prevent any issue with reflections, I painted it with some Rust-Oleum Gray Filler Primer. Alternatives like chalk paint and matte paint will also work. If you want finer details to show up in the mesh, add a rough grid pattern with a thin-lined pen or marker in another color.
This grid adds extra data to each photo, allowing the software to have a better understanding of what is going on. From my experience it seems like thin, crisp lines are better than fat marker lines. To see the quality difference between grid and no grid, see below:
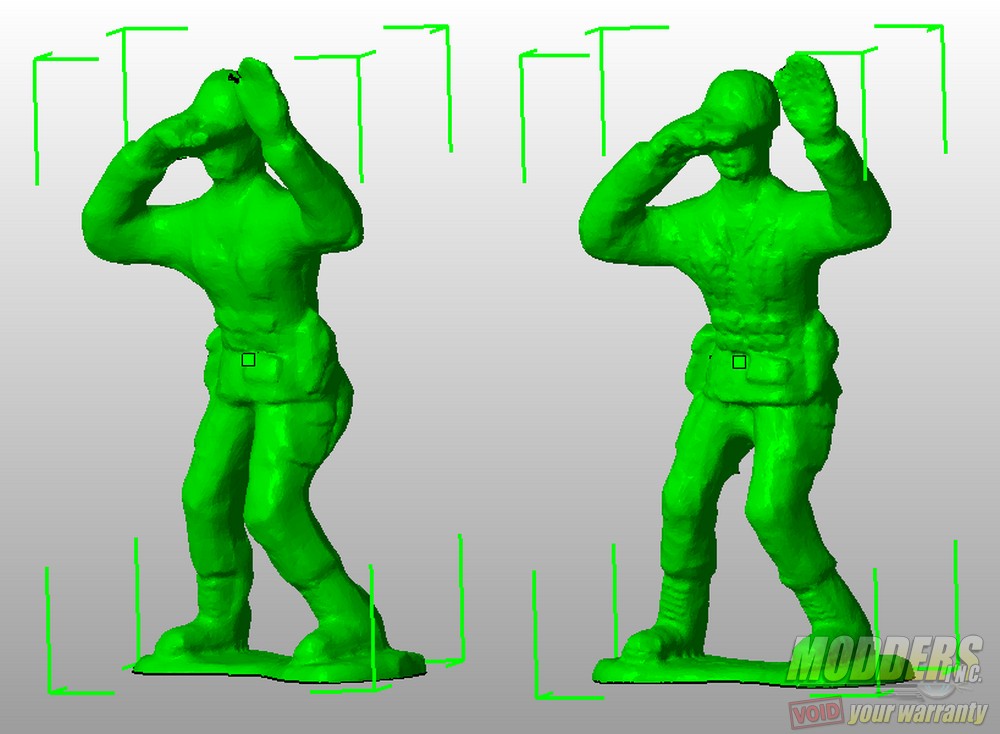
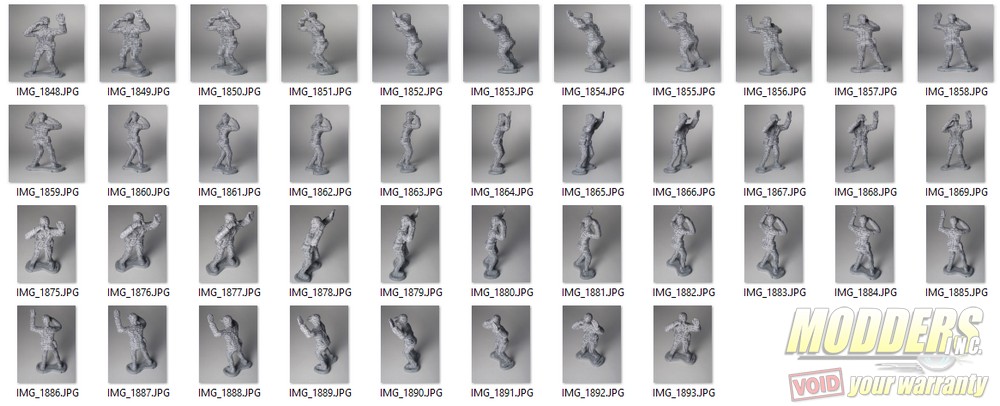
Finally, photograph the item from many items and angles. I took 45 photos, ~20 from a low angle, ~20 from a higher angle. Make sure all parts of the object are in focus.

