Asustor AS3204T NAS Review: Style and Affordability
Asustor ADM Overview
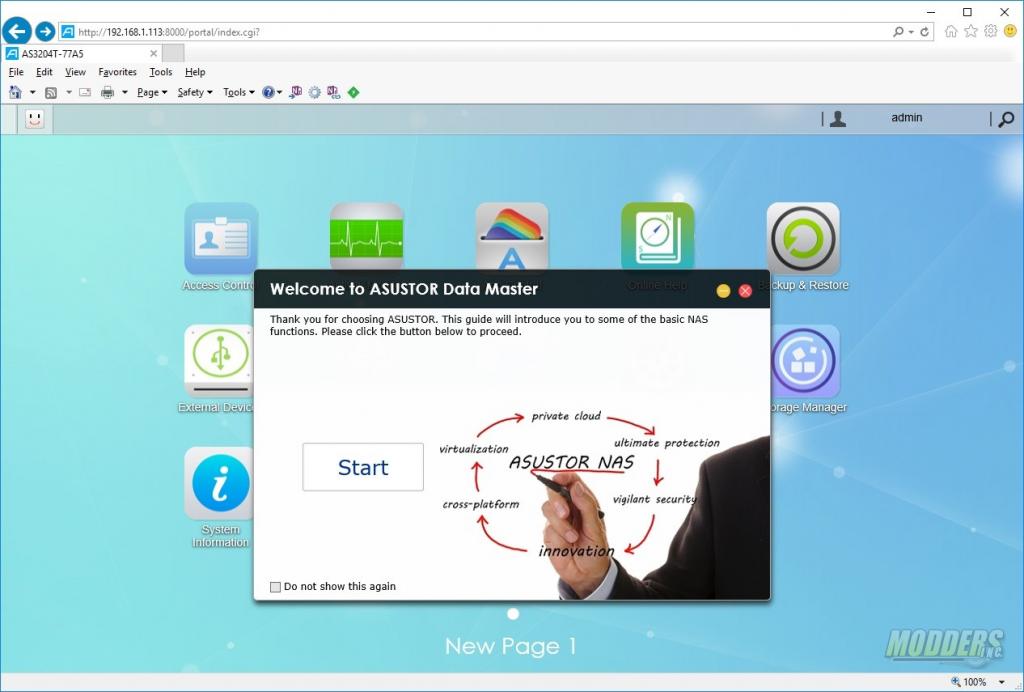
ADM is the management interface that you will use to manage and monitor the Asustor AS3204T. The management interface is presented as a web page and is accessed through a web browser using the IP Address of the NAS. When you log in for the 1st time, you’ll be presented with a users guide that will introduce you to the functions of the NAS.
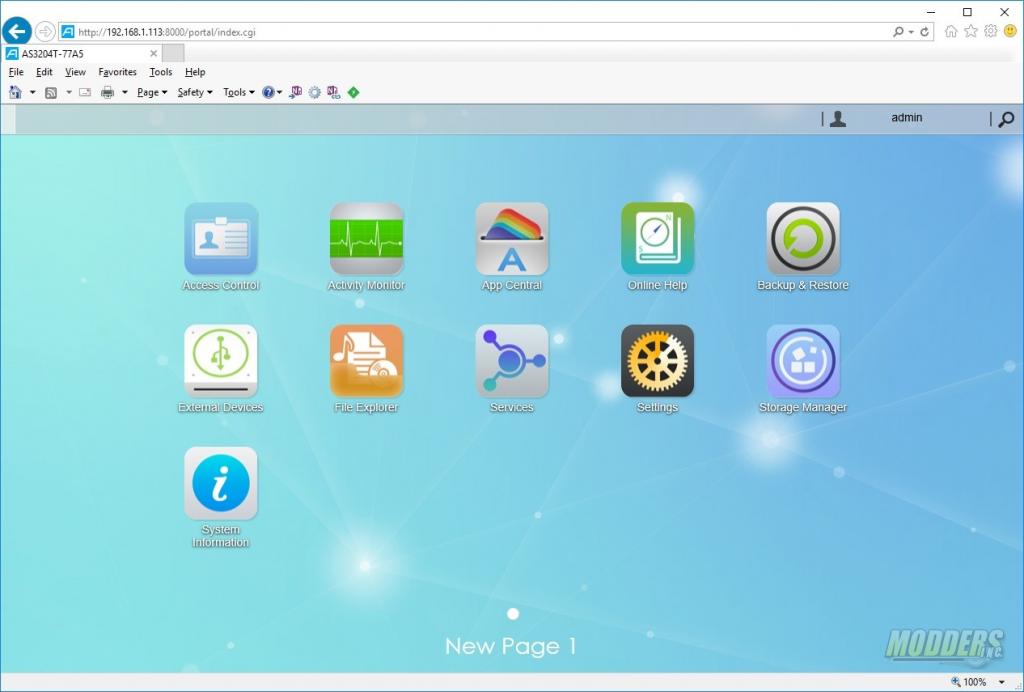
Once you’ve logged in, you’ll be presented with the desktop. The desktop functions similarly as it does in Windows. There are icons on the desktop that represent different applications or accesses settings of the NAS.
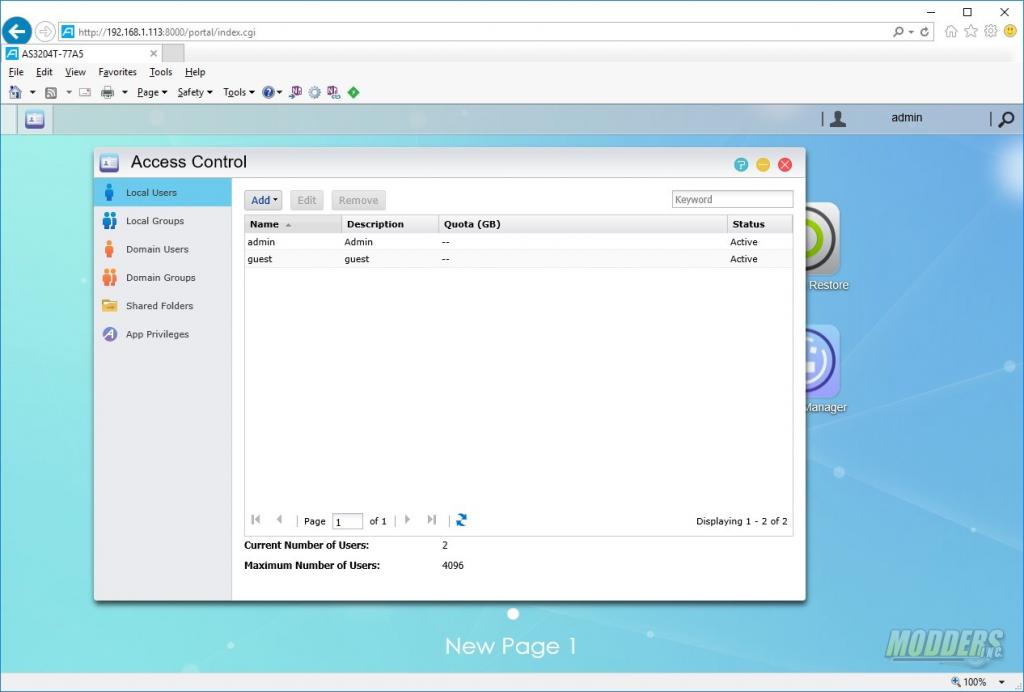
The first icon on the desktop is access control. In access control, you can create users and groups as well as assign those users and groups access permissions to shared folders.
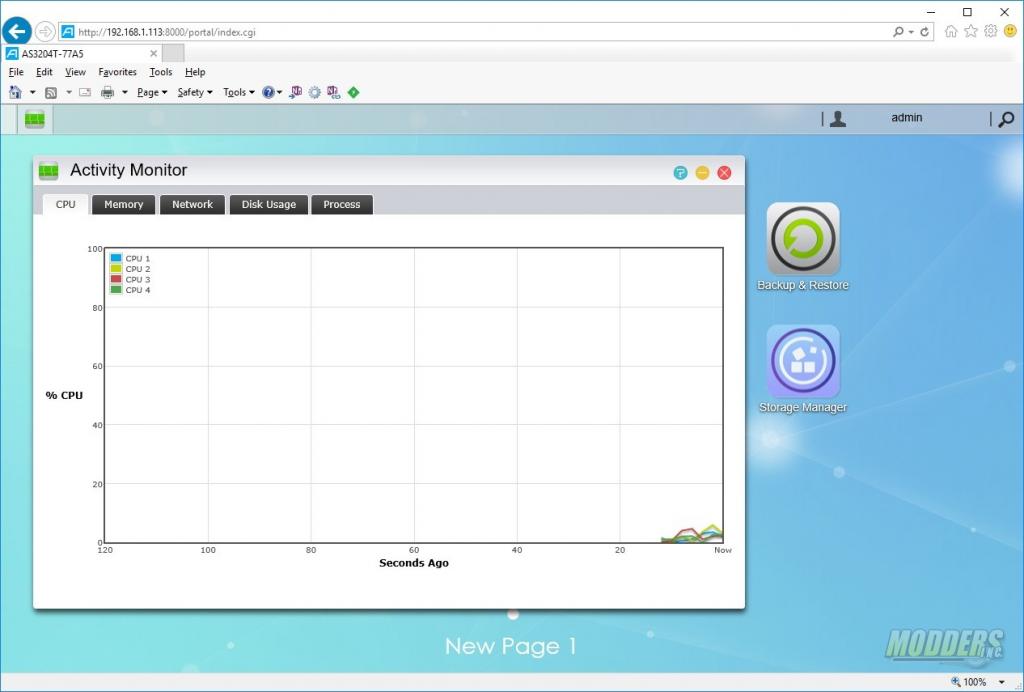
Activity monitor allows you to monitor the CPU, memory, network, and disk utilization of the NAS. The process tab is very similar to task manager in Windows and you can kill or end processes if they are hung up or not responding.
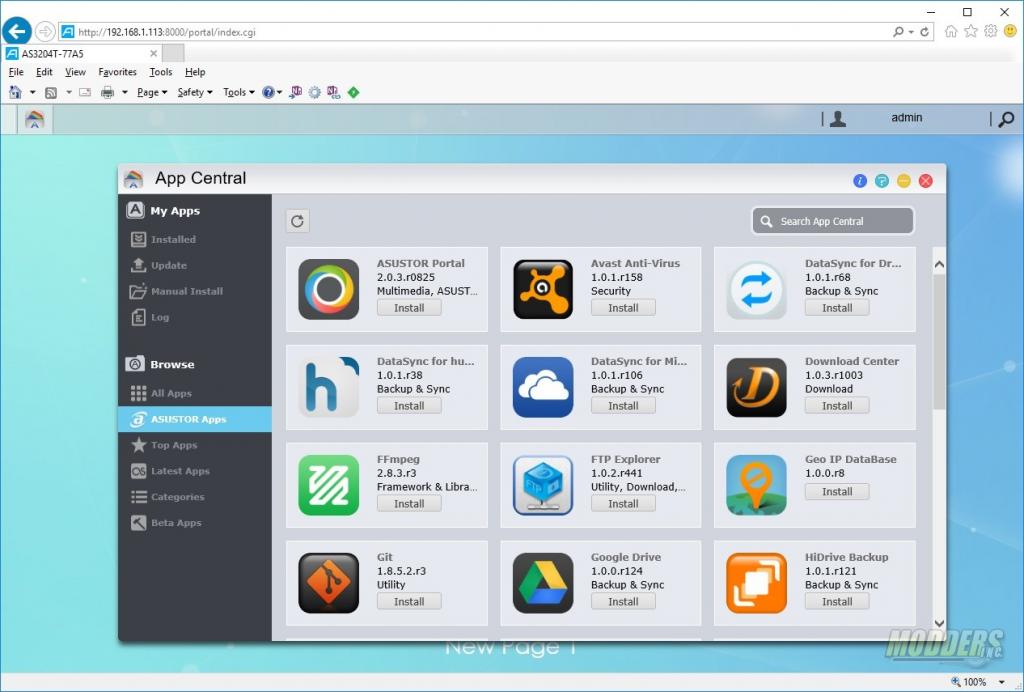
App Central is where you can install additional applications. Think of it like the store on modern smart phones. Simply find the application that you want to install and click on install. There are applications that may have prerequisites. If so, the description of the application will list which additional applications are required.
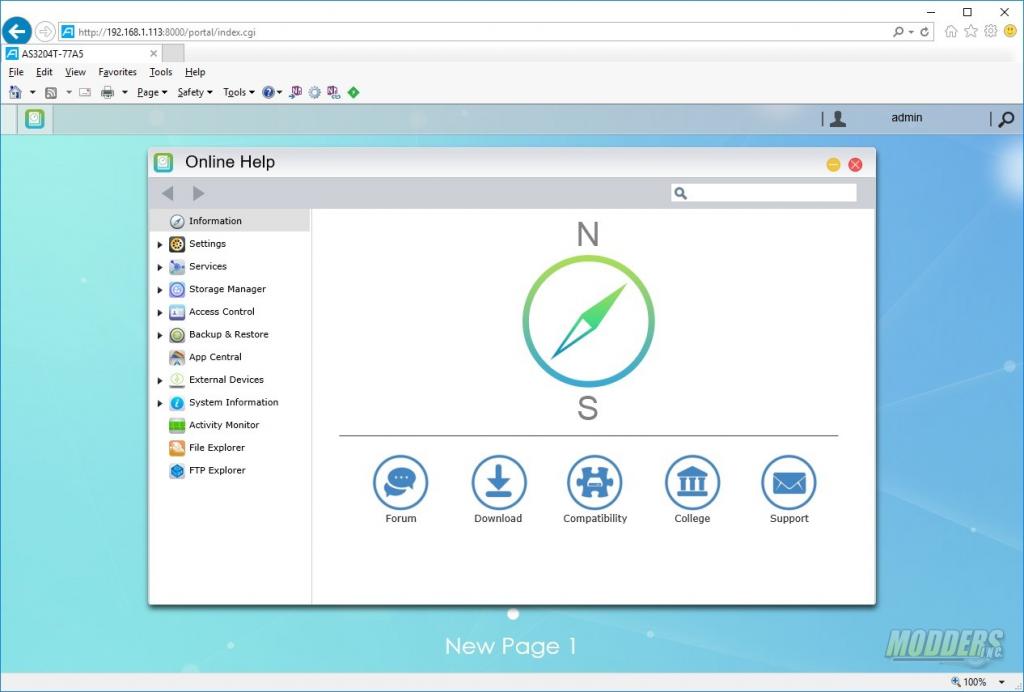
If you’re stuck or are having issues with your NAS, online help can be utilized. Here you can find help on what each section or setting of the NAS does and how it can be configured.
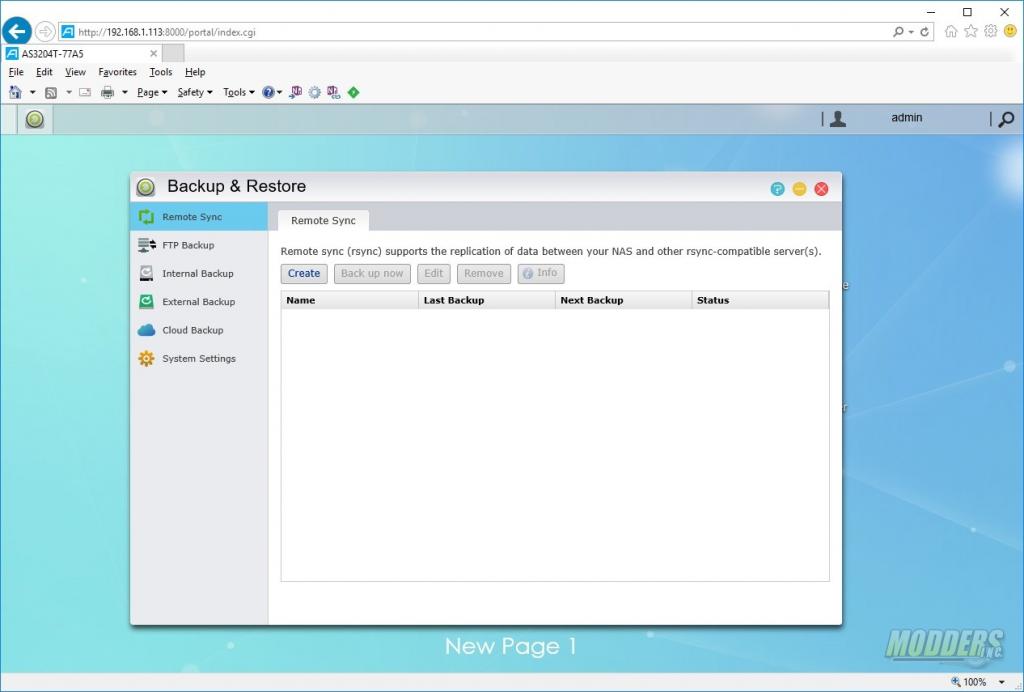
Just relying on the NAS and its RAID level is a recipe for disaster. You should at least perform a back up. In Back up and restore, you can choose how you want to back the NAS up as well as restore previously backed up items. Remote Sync (RSync) allows you to back up from one network device to another. Such as NAS to NAS. You can also use FTP or cloud back up to keep your data safe.
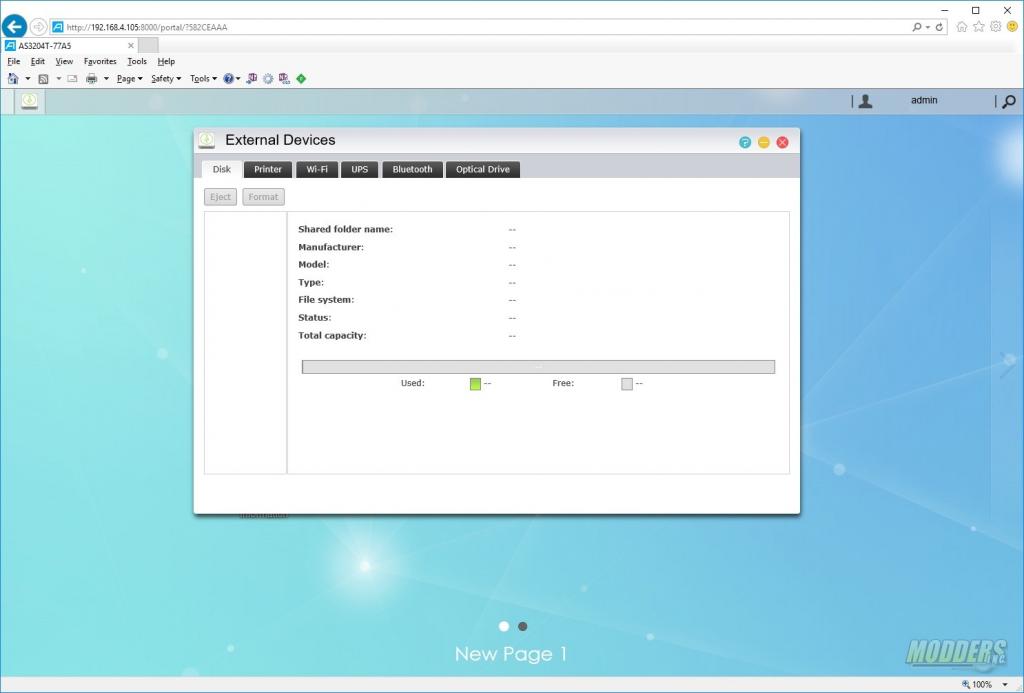
You can manage the devices that are plugged into the USB ports by using the External Devices icon. External devices can be a USB hard drive, Wi-Fi, Bluetooth, optical drives or a UPS.
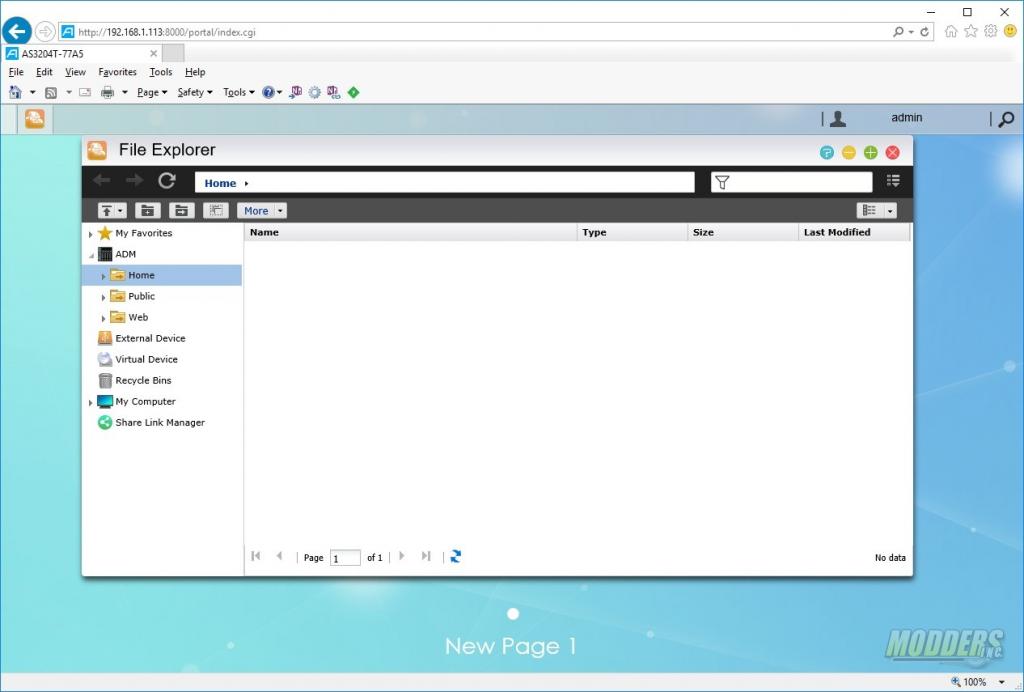
File explorer allows you to create and manage files and folders on the NAS. You can choose to have a local folder on the NAS as well as share that folder. You can also connect to other network shares as well as access files and folders on external drives.
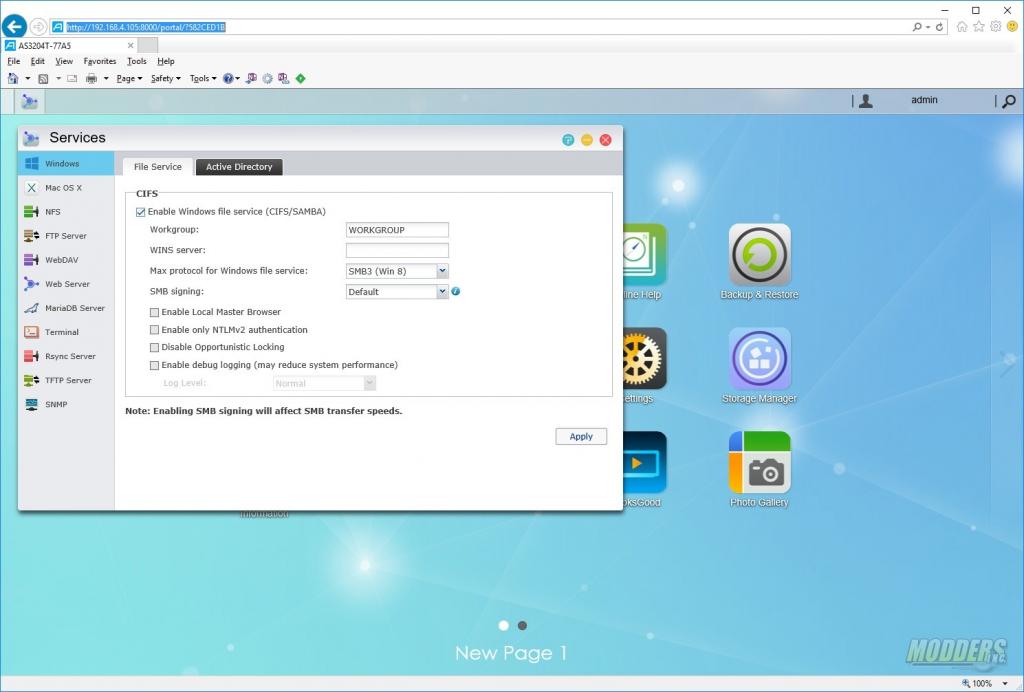
In the Services you can enable/disable network services such as Windows and Mac file sharing, FTP server, Web server, and Rsync services.
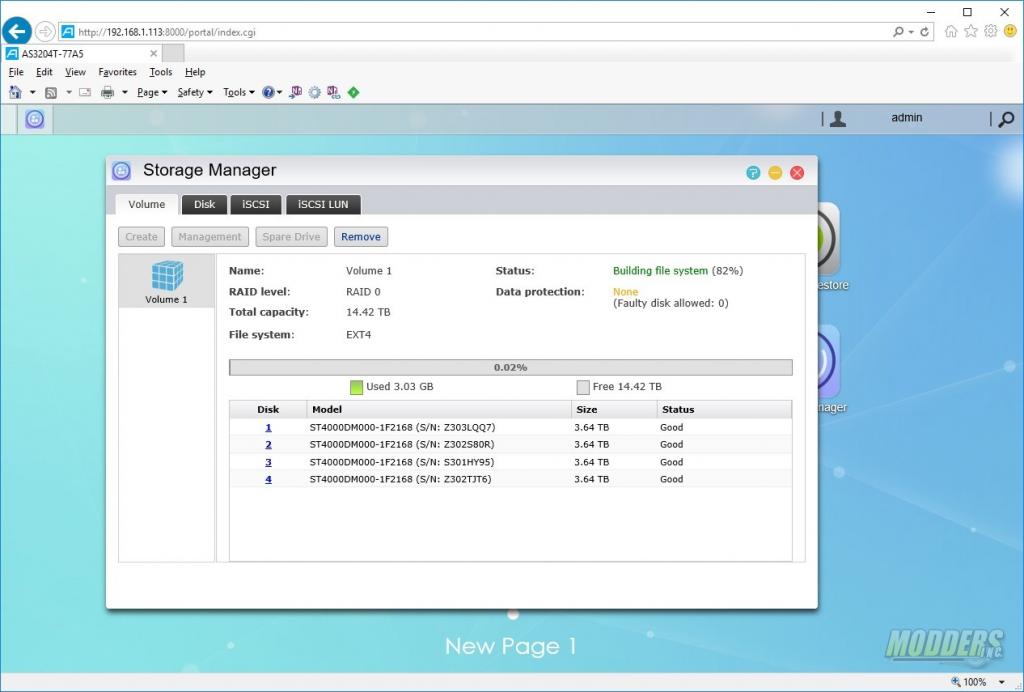
Storage Manager is where you can make changes to your RAID array and enable iSCSI. If you change RAID levels, the array will be destroyed and all data will be lost. It will take some time for the array to fully synchronize but storage should be usable after about 20% synchronization.
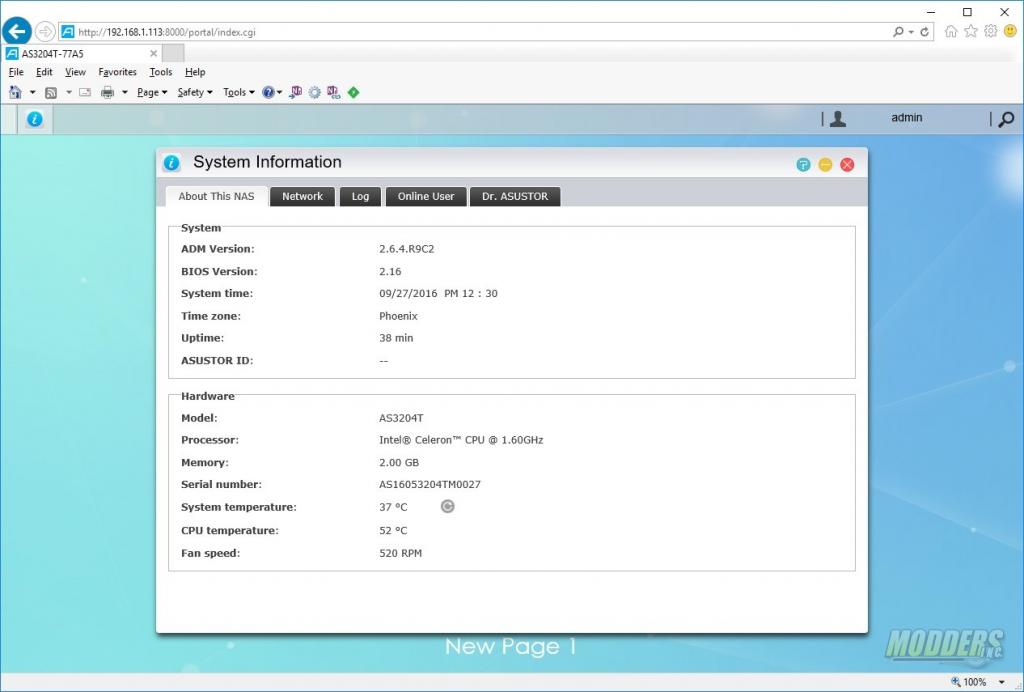
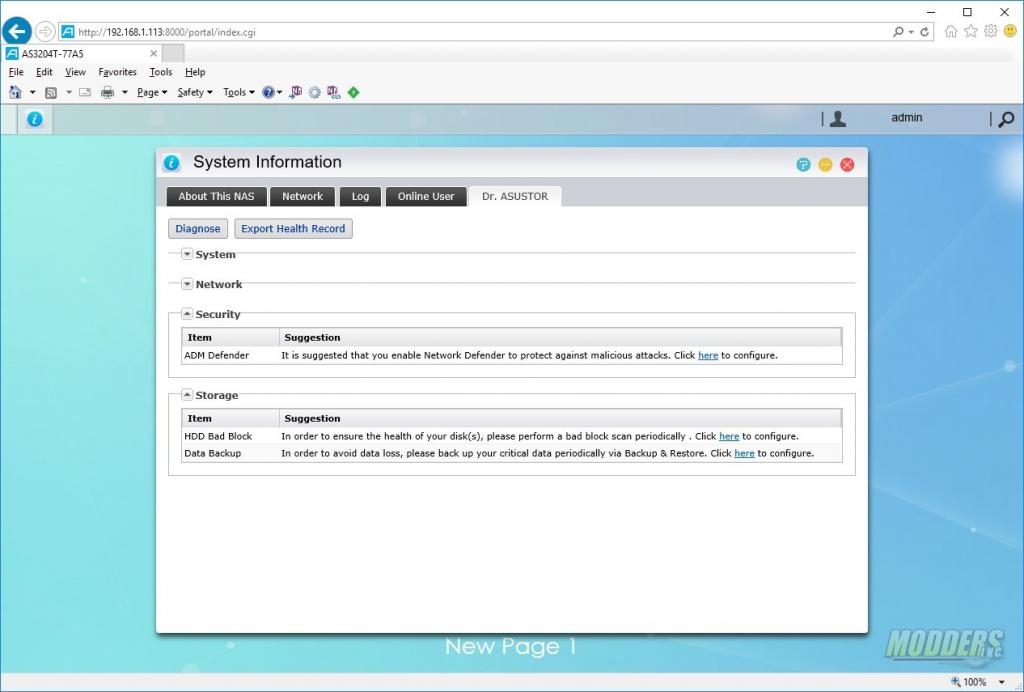
System information give you detailed information on the NAS hardware and network configuration. You can also view the NAS logs. For troubleshooting there is Dr. Asustor. Dr. Asustor allows you to execute diagnostics that can be sent to support for troubleshooting.
HDMI Out-
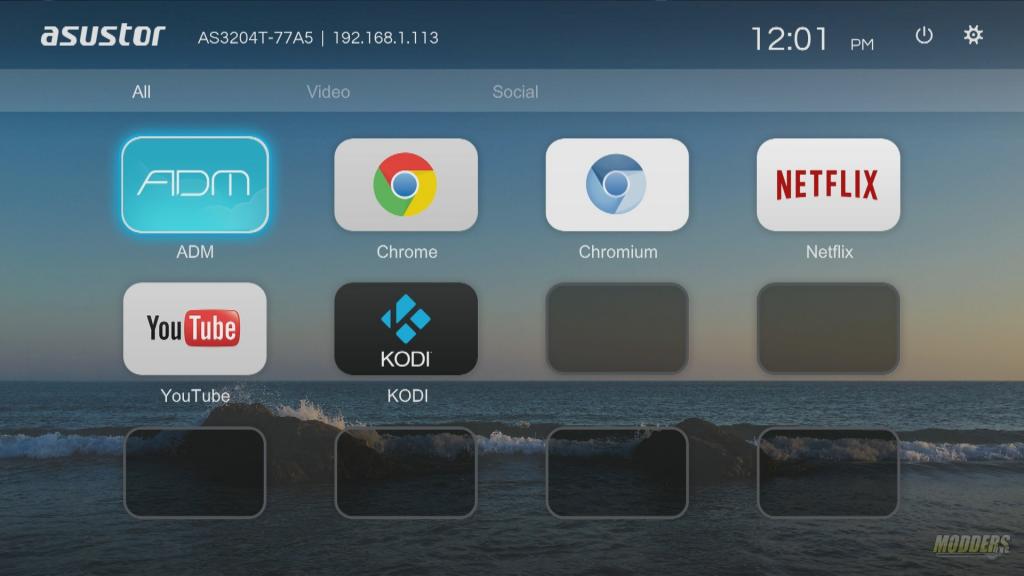
The Asustor AS3204T comes with an HDMI output that allows you to connect the NAS to a TV or monitor. This provides an interface to allow you to use the NAS as a media center or as a light weight desktop for web browsing. For control and optional IR remote can be purchased or you can connect a keyboard and mouse via USB. In order to get HDMI to display, you will need to install X.org and the prerequisite software from App Central. The applications that display via HDMI are different than the applications on the web browser desktop. Items like Chrome, Netflix, and KODI will need to be installed via the web browser (App Central) before they can be accessed through HDMI.
