Asustor AS3204T NAS Review: Style and Affordability
Initial Setup
After you’ve installed the hard drive, the next step is to perform the initial set up. First, you will need to plug in and power up the NAS. Then you can use the software on the CD or an IP scanner to get the IP address of the NAS. Either way, set up happens in a web browser.
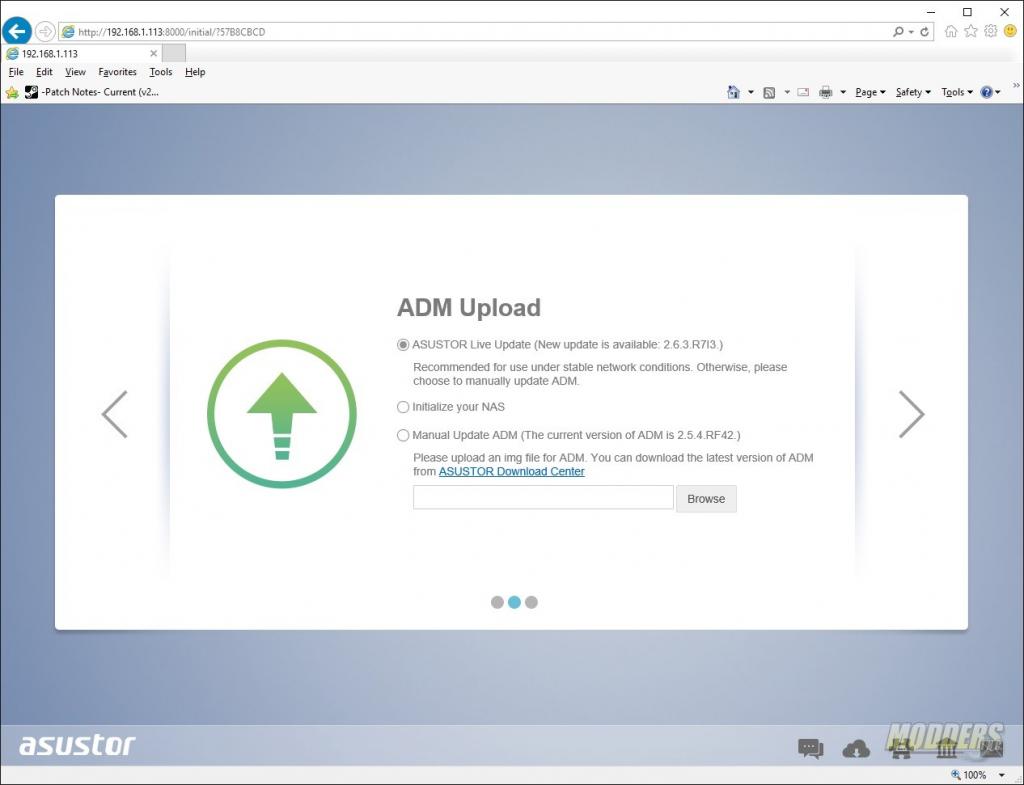
Once the IP Address of the Asustor 3204T has been entered in the browser, you’ll need to perform the 1st time set up. These steps include downloading the latest ADM (Asustor Data Master operating system) as well as choosing which RAID level you’d like to choose.
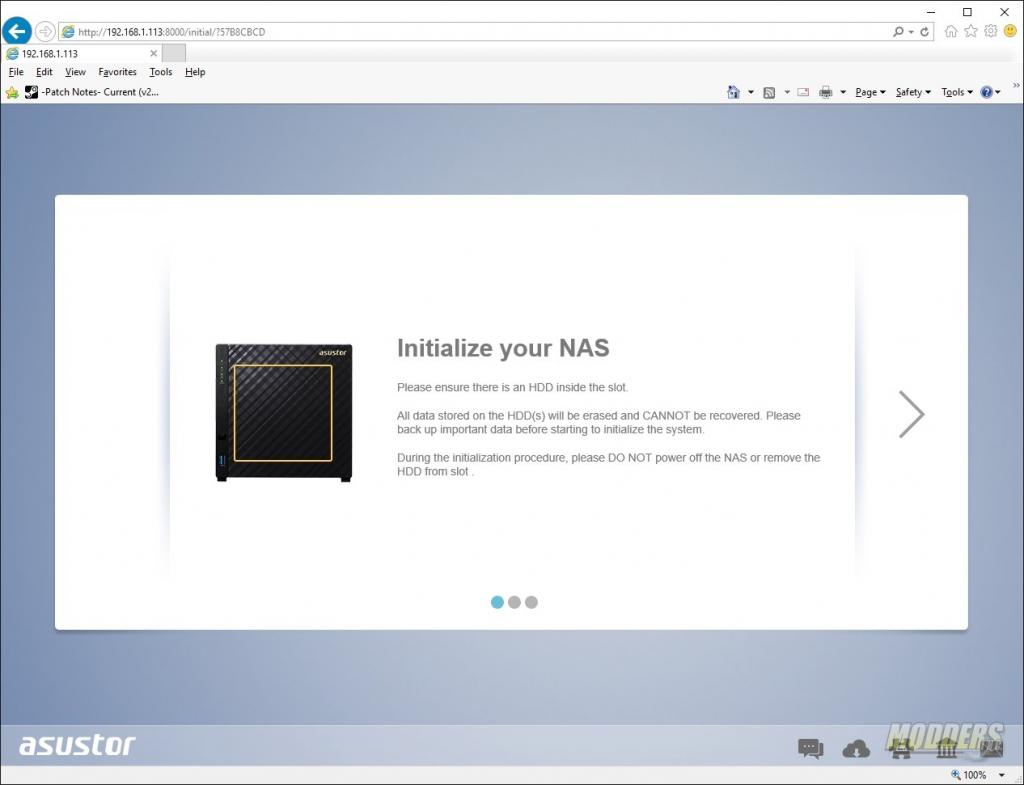
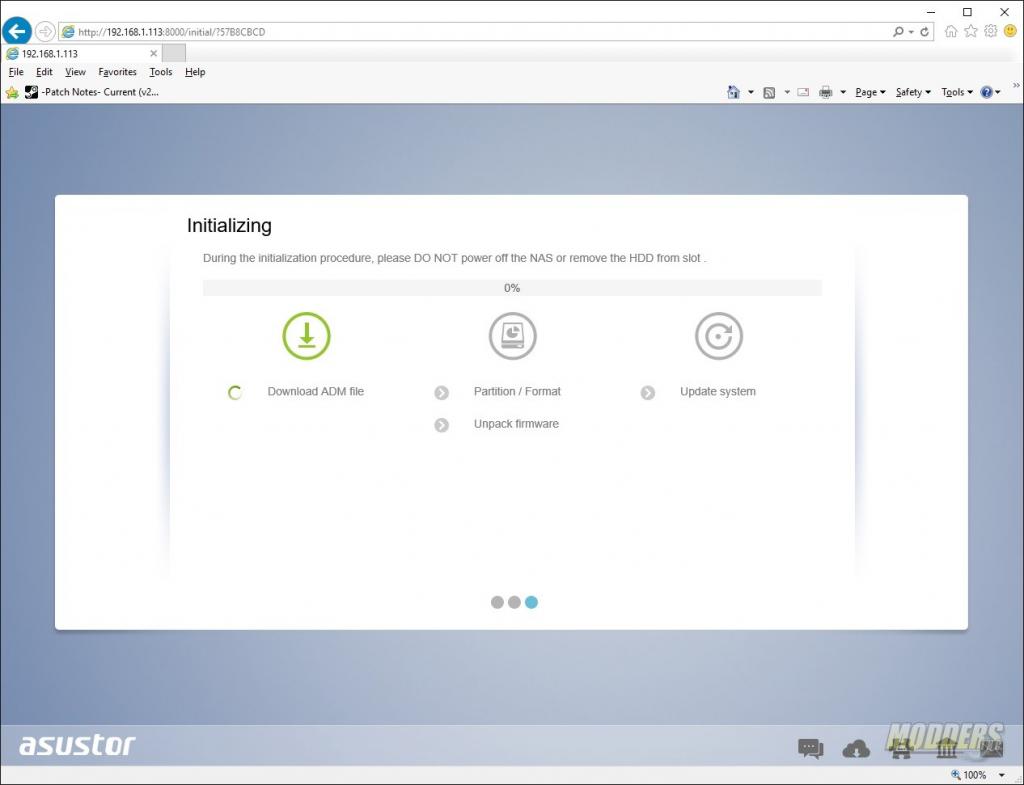
As long as the NAS can connect to the internet, the wizard will download and install the latest DSM. If internet access is not available, you can choose to initialize the NAS with the ADM that the NAS shipped with or, you can upload the ADM manually if you previously downloaded the latest version.
Once download or upload process is complete, the NAS will unpack and install the firmware and reboot the NAS.
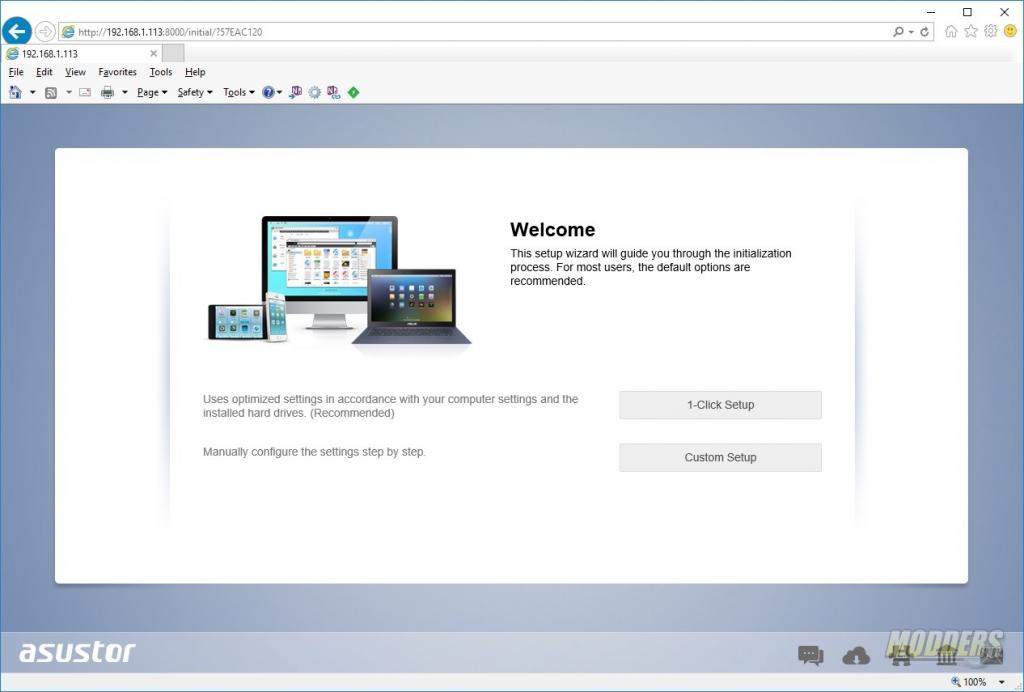
After the reboot, you will be asked to select a RAID level and complete the set up. You’ll have the choice to have a 1-click set up or you can choose to customize the rest of the installation.
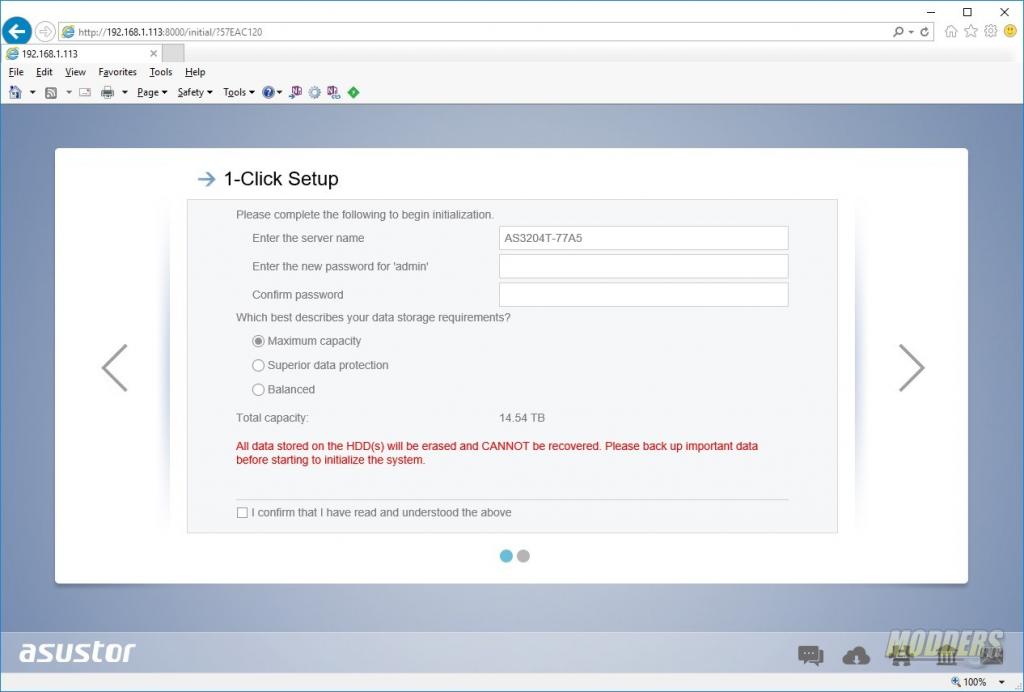
The 1-Click set up limits the options you can choose and is designed to get you up and running as quick as possible. Here you will be asked to enter the name of your NAS, the administrator password and the storage requirements. The options presented are Maximum Capacity, Superior data protection, and balanced. You’ll need to click on the box that states you’ve read and understand that all data on the drives will be lost and cannot be recovered.
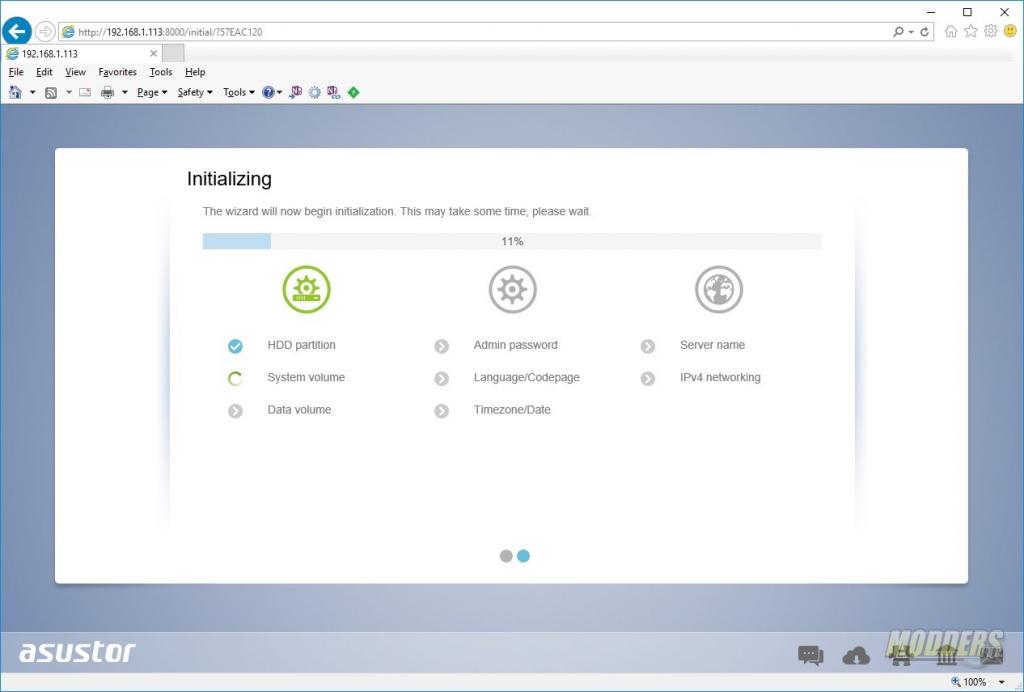
The last step is just watching your NAS apply the settings that you chose. During my testing, it took about 15 minutes to apply the settings and get the the desktop of the NAS.
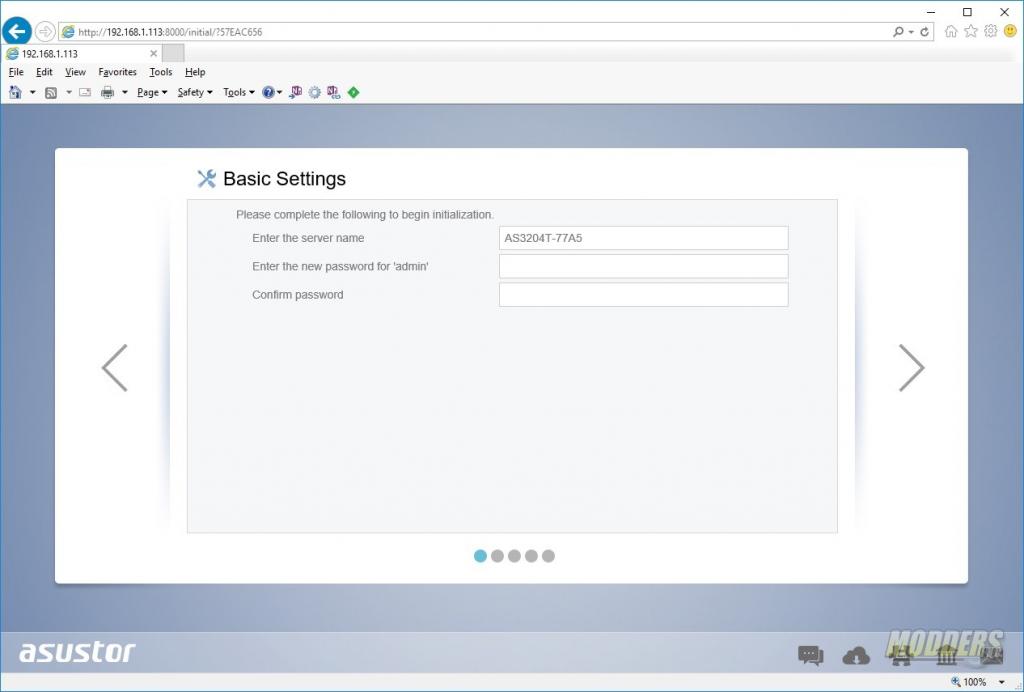
If you choose the custom option, you’ll be presented with more pages with more questions to answer. The 1st page of the custom setup allows you to set the NAS name and the administrator password.
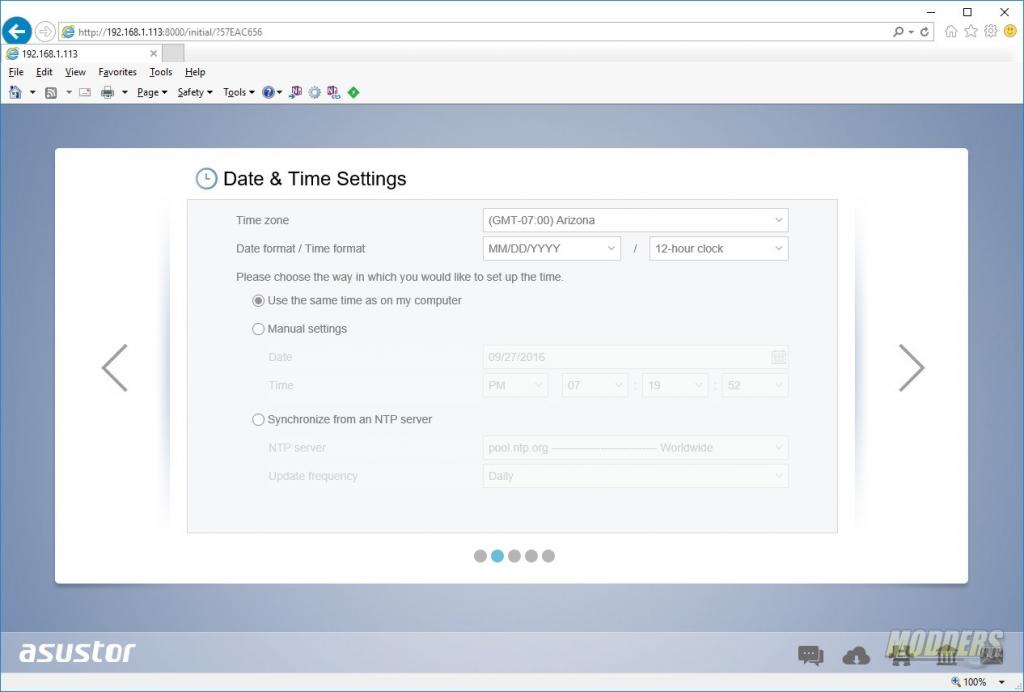
The second page asks you to fill out the Time and Date settings.
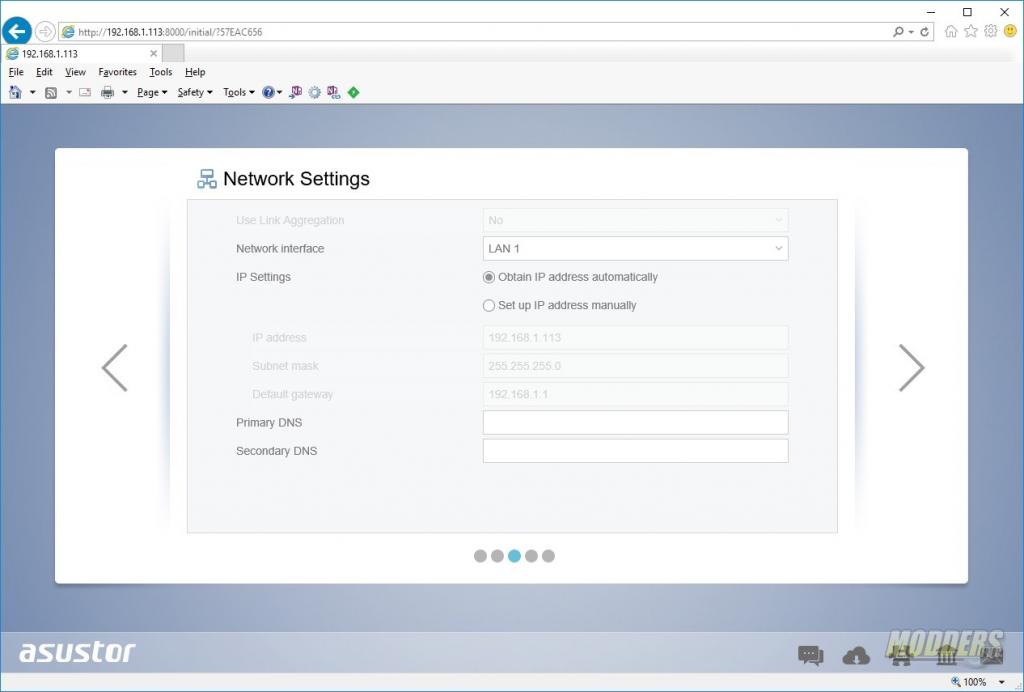
On the third page you will fill out the network settings. You can choose to use DHCP (automatic) Ip addressing or set the IP address of the AS3204T manually.
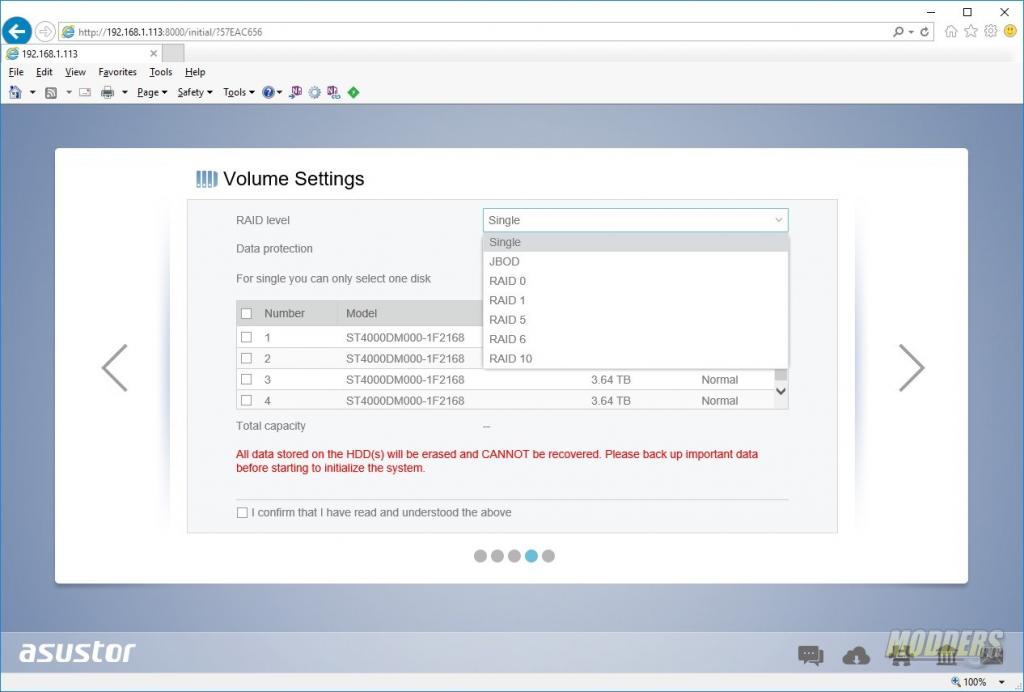
The next page allows you to set the RAID level you’d like to run. Unlike the 1-Click set up, the custom options allows you to be more granular. First you’ll need to select the number of hard drives in the Array and then the RAID level. The choices are Single, JBOD (Just a bunch of disks), RAID 0, 1, 5, 6, and 10. Again, you’ll have to confirm that you understand that all data will be erased and not recoverable.
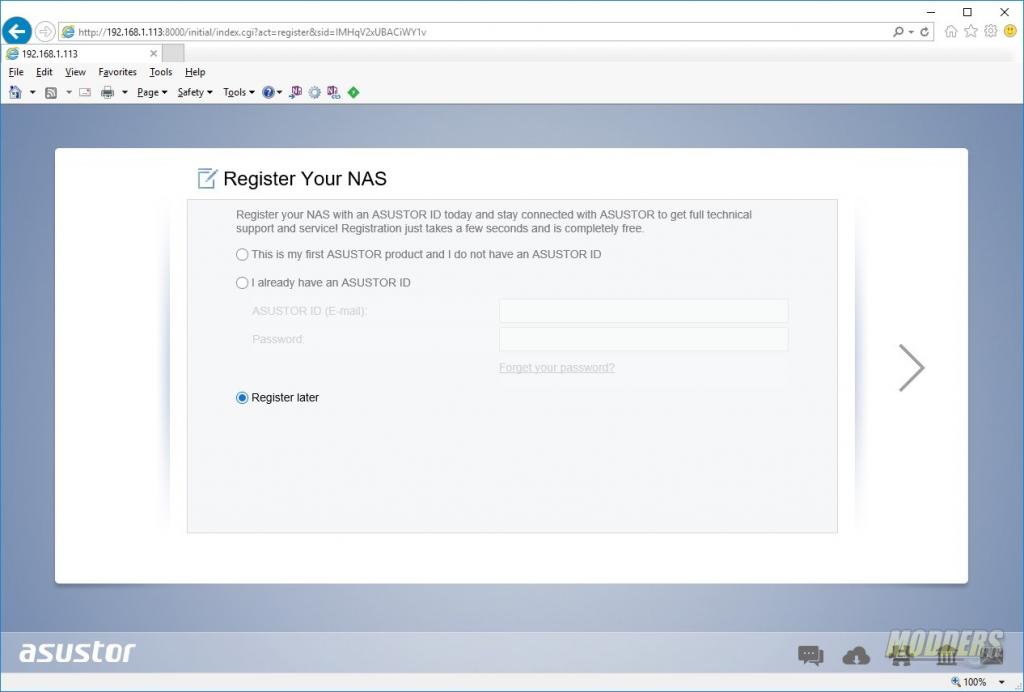
After you’ve chosen the RAID level, you’ll be asked to register the NAS.
