ASUSTOR Start-up Wizard
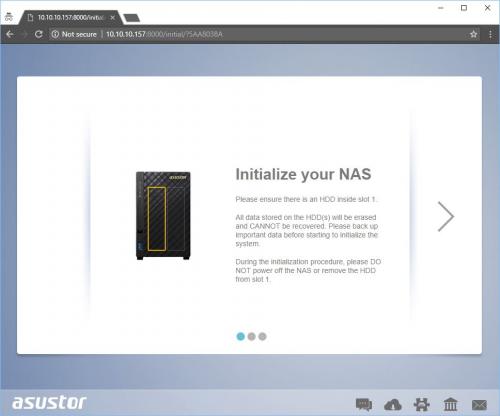
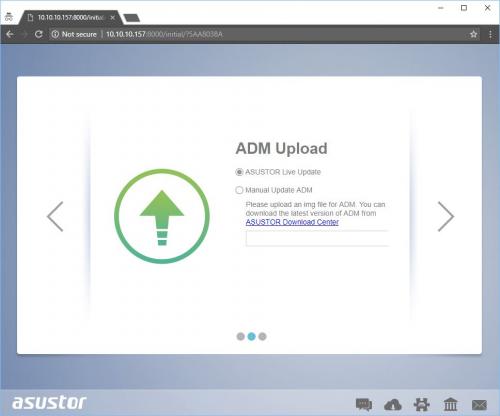
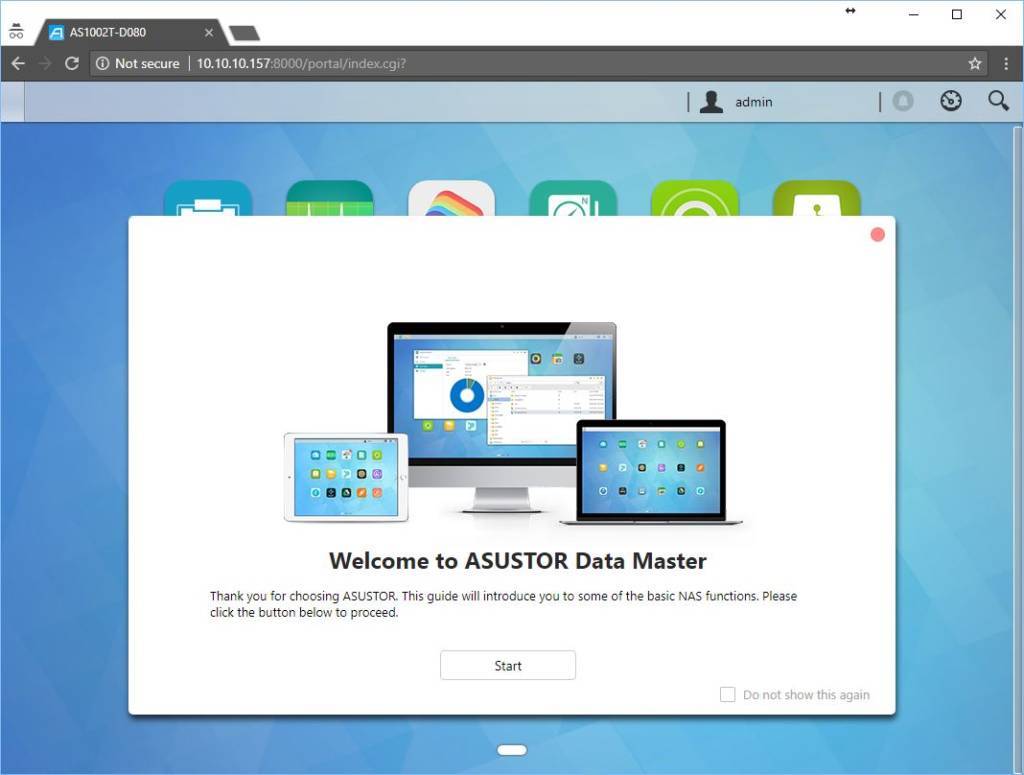
Configuring AS1002T is straightforward. After you have installed your drives and powered on NAS used ASUSTOR Control Center to locate your device on the network. In my case, my DHCP leased IP address of 10.10.10.157. If you navigate to this IP address via the browser you can get started. You have two choices to install ADM on the device, ASUSTOR Live Update or Manual Update ADM. With Manual Update, you will need to provide a valid .img file.
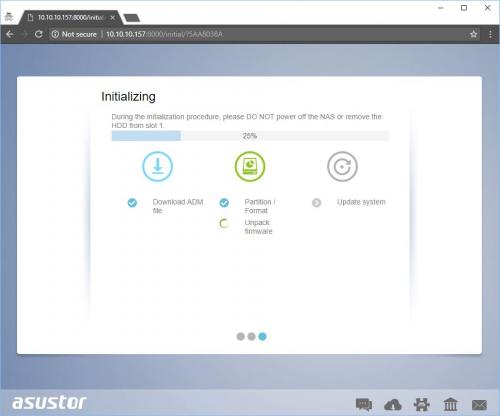
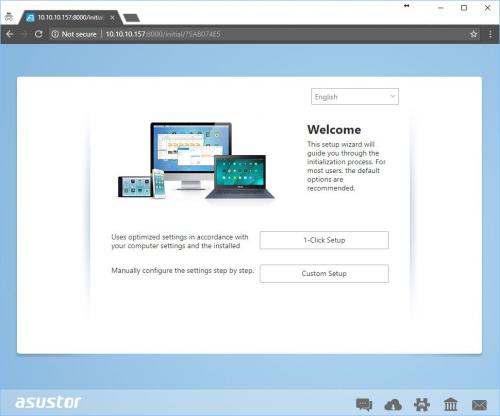
Download of the ADM, partitioning of the drives and, the update takes roughly two minutes. After the successful Initialization, a Welcome screen is presented with a couple of options on how to proceed.(1-Click Setup or Custom Setup).
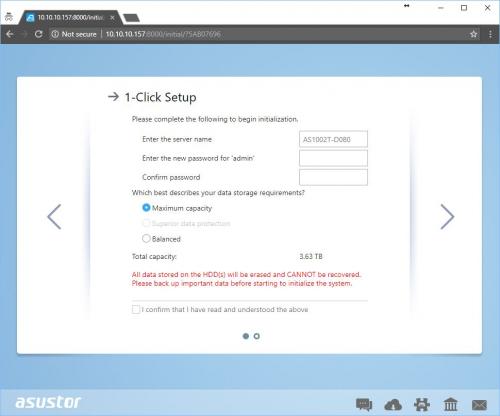
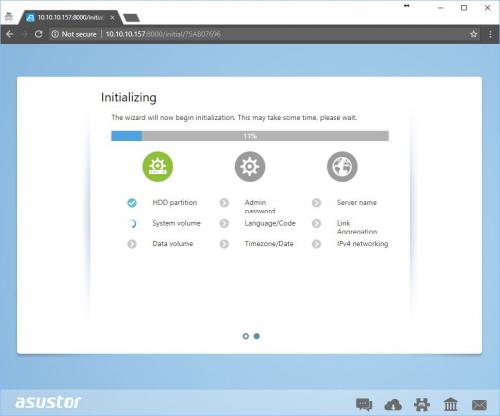
1-Click Setup allocates Maximum capacity to be used with provided drives. In the Custom Setup, you have the option to choose RAID levels in a multi-disk NAS. Once you have chosen your protection level Partitioning and set up will continue on the next screen. This process can take up to 5 minutes.
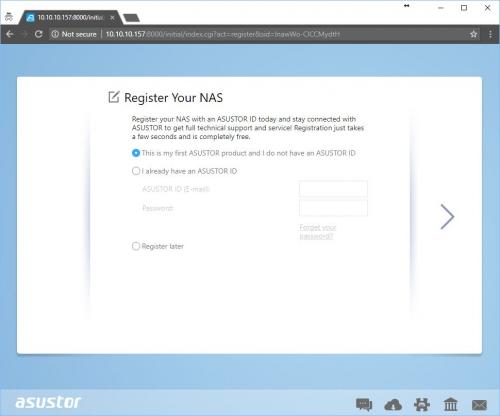
If you would like to (I strongly recommend) Register you NAS you can do it on this screen. If you prefer to Register at a later time, you can do that as well.
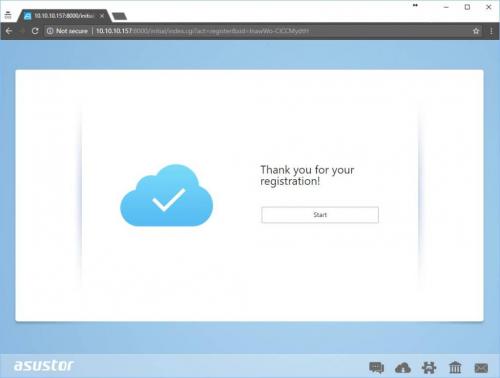
Once the installation is complete you will be presented with ASUSTOR Data Master Welcome screen.
