ASUS Z97-A Motherboard Review
UEFI Overview and Overclocking
***UPDATE***5/12/2014 – 7:00PM EST. I made a mistake and did not check my e-mails properly and missed a critical BIOS update before launch which fixed the issues I had encountered in the overclocking page. The numbers will be re-benched with the new BIOS and the results will be updated by tomorrow. Sorry for any inconvenience. –Ron
***UPDATE***5/14/2014 – 05:00 AM EST. Auto-OC experience and results with 0702 BIOS posted in the UEFI section. Also added TPU OC with integrated video, and other EZ Tuning profile results.
***UPDATE***5/14/2014 – 11:00 PM EST. Benchmark Results updated.
Typically in motherboard reviews you will read a canned disclaimer statement here about how overclocking is risky and can damage your system. Risky is walking barefoot on a landfill. In comparison, modern overclocking is a walk in the park. The gains outweigh the risk in modern overclocking by a mile, as long as you do not do anything stupid like attempt to load ridiculous voltages without proper cooling. The processor itself will throttle or shut down when it reaches a limit so do not be too concerned. The Core i7-4770K is an unlocked processor meaning overclocking it will be even easier since its multiplier can be adjusted without touching the rest of the other settings. Simple BCLK overclocking is also possible with the use of CPU straps. When paired with a capable motherboard like the Z97-A, the effort is much more difficult in screwing up your system than to get an overclock, especially since you can overclock safely on the Z97-A with a single click or two.
A few notes about the Intel Core i7-4770K CPU before proceeding, just in case you are not familiar with Intel Haswell CPUs:
- A retail Intel Core i7-4770K CPU was used for this review. Unlike engineering samples which are handpicked and overclock further with less voltage, a retail Intel Core i7-4770K shows a more realistic overclocking experience.
- Voltages over 1.3V when pushing the frequency to 4.5GHz is usually too hot for normal air coolers. If you can hit 4.5GHz before needing 1.3Vcore, then you have a decent chip. If you can’t, you will most likely need a custom water loop or better to get a higher OC.
- Each retail i7-4770K is WILDLY varying in their overclocking success and voltage requirements. Much more so than any other previous Intel processor. On air, most motherboards will pretty much reach that CPU’s thermal limit before it can realize its OC potential. Unless a motherboard’s VR is really inadequate, the same chip will OC on air on a budget Z87/Z97 LGA1150 board as it would on a high-end one. The CPU lottery is really crucial when it comes to getting a successful high overclock on air with an unlocked Haswell processsor compared to any previous Intel processor.
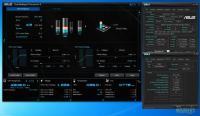
Overclocking is possible through the UEFI or through AI Suite III. It is completely up to the user as both provide excellent options. TPU is also a time saving auto-overclocking feature for those who want to get a good overclock without wanting to spend hours trying to find which settings works. On the desktop, two options are available as part of the 5-way Optimization for the TPU:Fast Tuning and Extreme tuning. Between these two, users also have the choice of only ratio overclock or ratio plus BCLK. Even Fast Tuning is very good, able to overclock the i7-4770K used in this review up to 4.3GHz with 1.18Vcore (adaptive, per core). The RAM was also overclocked from the JEDEC floor of 1600MHz CL9 to 2000 MHz CL11. This was weird though as the RAM used had a perfectly fine XMP of 2100MHz CL11, so I have no idea why TPU did not try to load the XMP. The Fast Tuning BCLK result was a little less at 4.25Ghz (125×34)with 1.2Vcore and the same 2000Mhz CL11 memory adjustment.
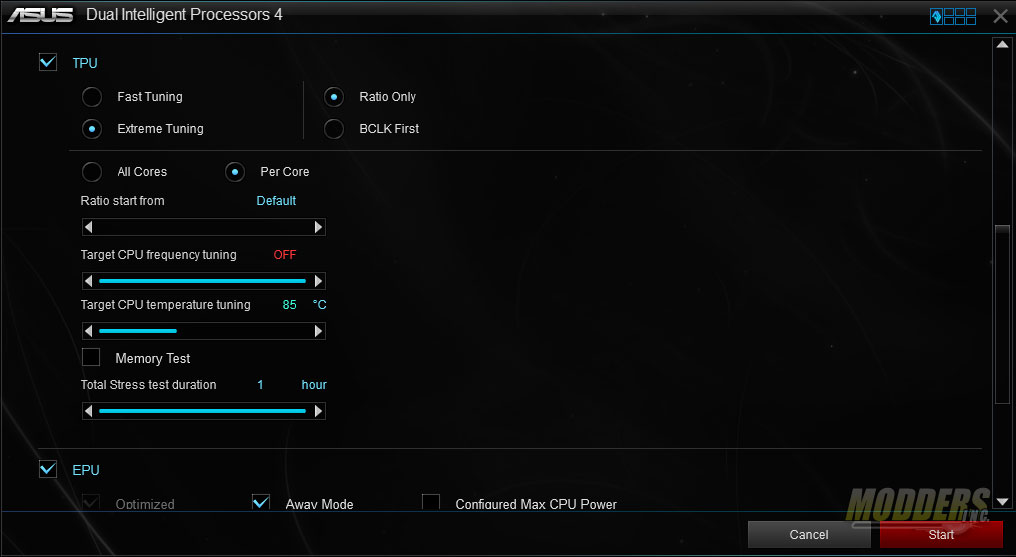
The advanced TPU settings under 5-way optimization is actually very flexible. Target CPU and/or CPU temperature can be set and the built-in stress duration can be adjusted up to 1 hour or as low as a few seconds. I prefer the CPU temperature tuning so we can see what TPU is capable of. Set it to 85C just in case, since I don’t know yet how accurate the ASUS temperature sensor is.
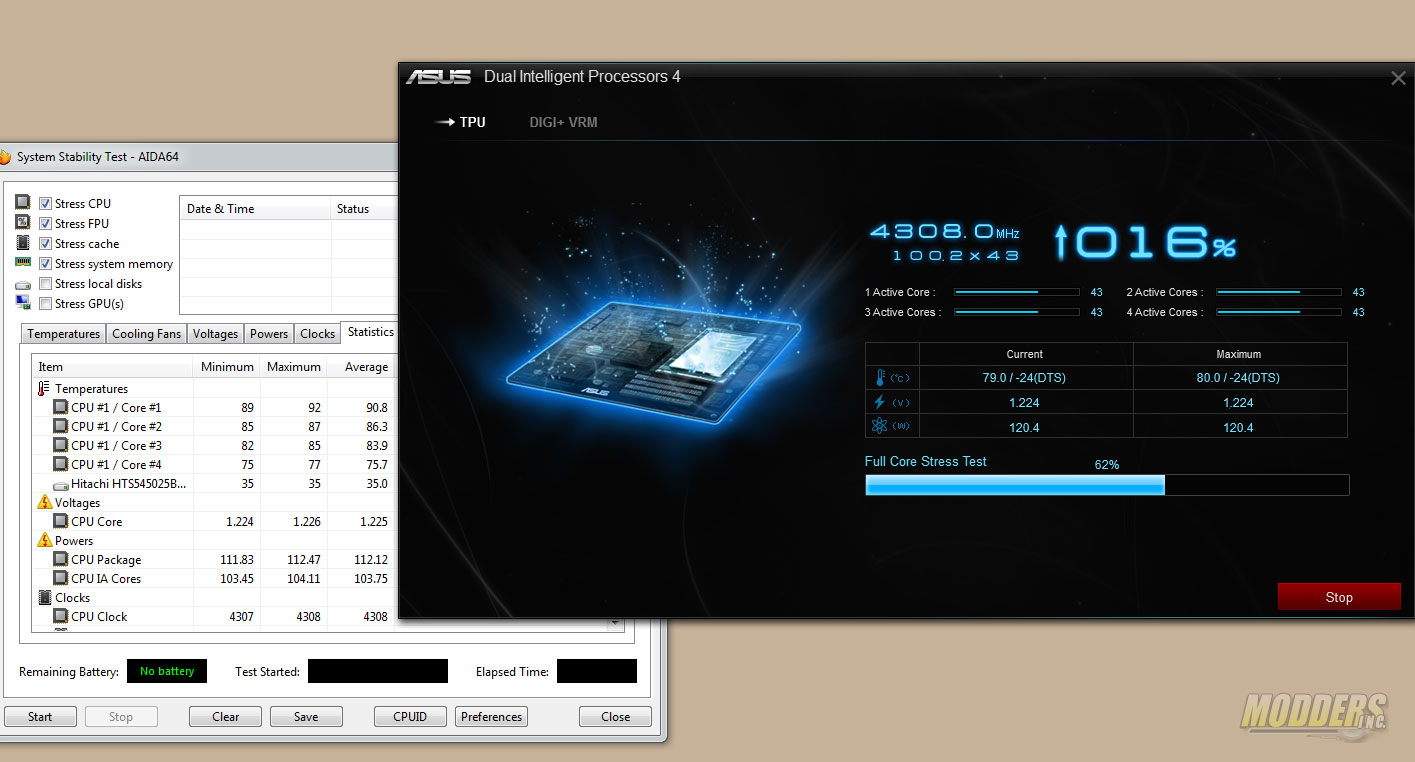
Fired up AIDA64 (which is used for our heatsink reviews here at Modders-Inc as temperature monitor) and compared the temperature readings with what the AI Suite TPU is reading. The ASUS temperature assessment is on the convervative side with a 10-degree celcius difference. I am not actually running the AIDA64 stability test, I am just using its Stability Test Window as a monitoring window since it will not only show me min, max and average, but it will also show me voltages, and whether the CPU is being throttled or not.
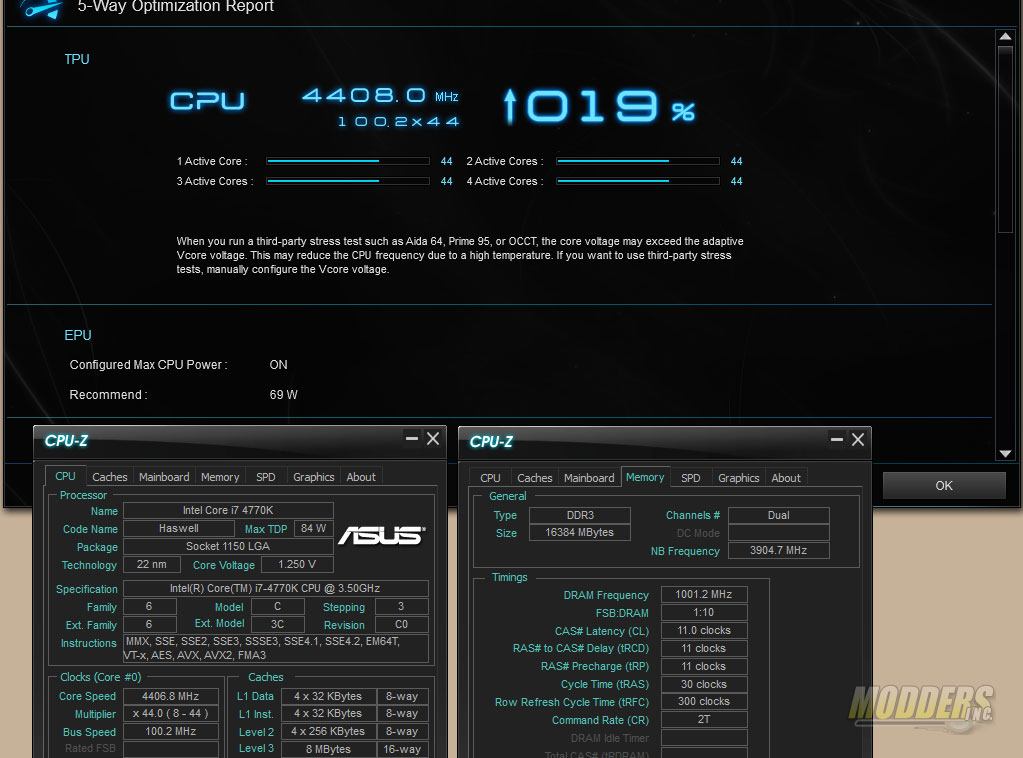
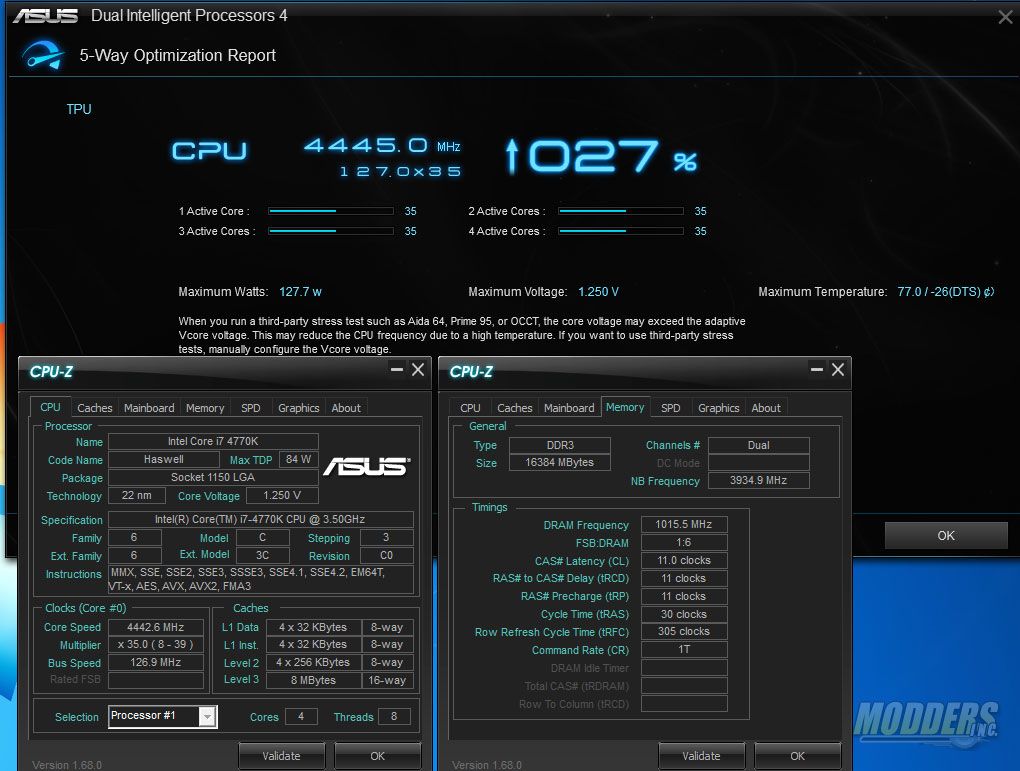
TPU tests both 2-core load and full core load to see how the processor takes it. Unlike the alternative wavy load seen on the AMD A10-7850K with the ASUS A88X-Pro, the TPU load on the 4770K and Z97-A is a constant 100% CPU load. Final result with ratio only is 4.4GHz with 1.25Vcore (adaptive) and the same 2000MHz CL11 memory.
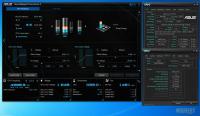
Now let’s try with BCLK adjustment with the same target CPU temperature (85C), same stress length (5 minute maximum). It was doing fine until it rebooted and the monitor was black, meaning there was no signal but the system is running. I can see the red LED of the PCI-E lit up when it tries to boot so I held down the power button to shut down the system and wait for the Z97-A to recover automatically when it tries to boot. Windows recovery countdown is 7 seconds which indicates that AI Suite will resume after the recovery and it does.
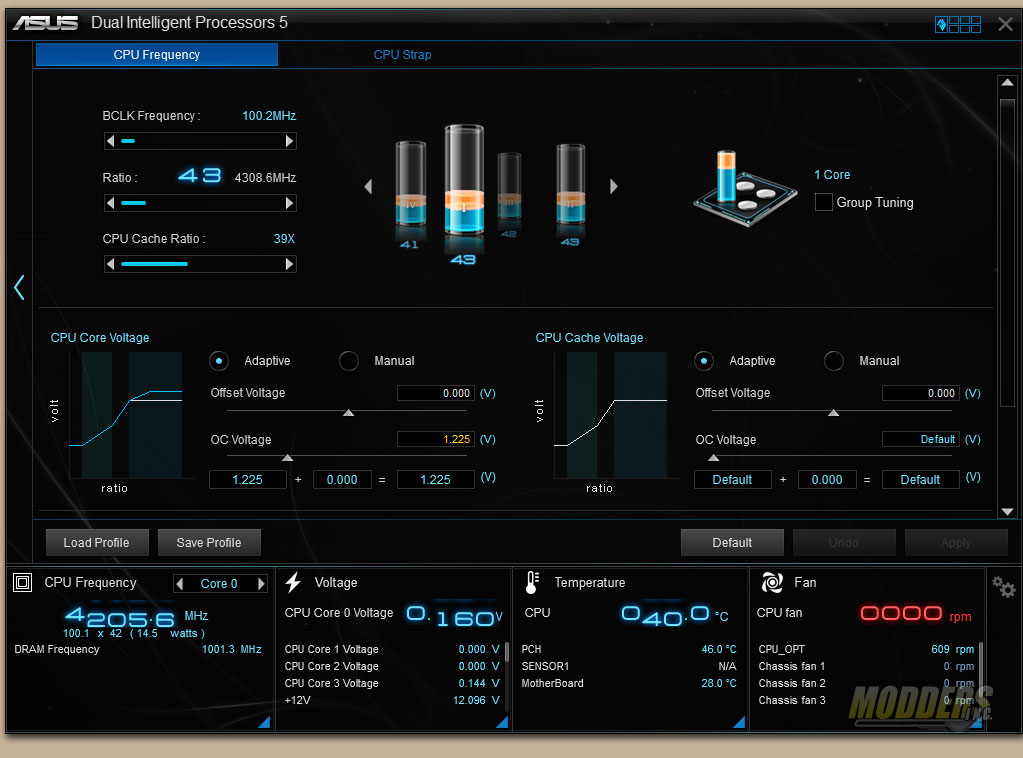
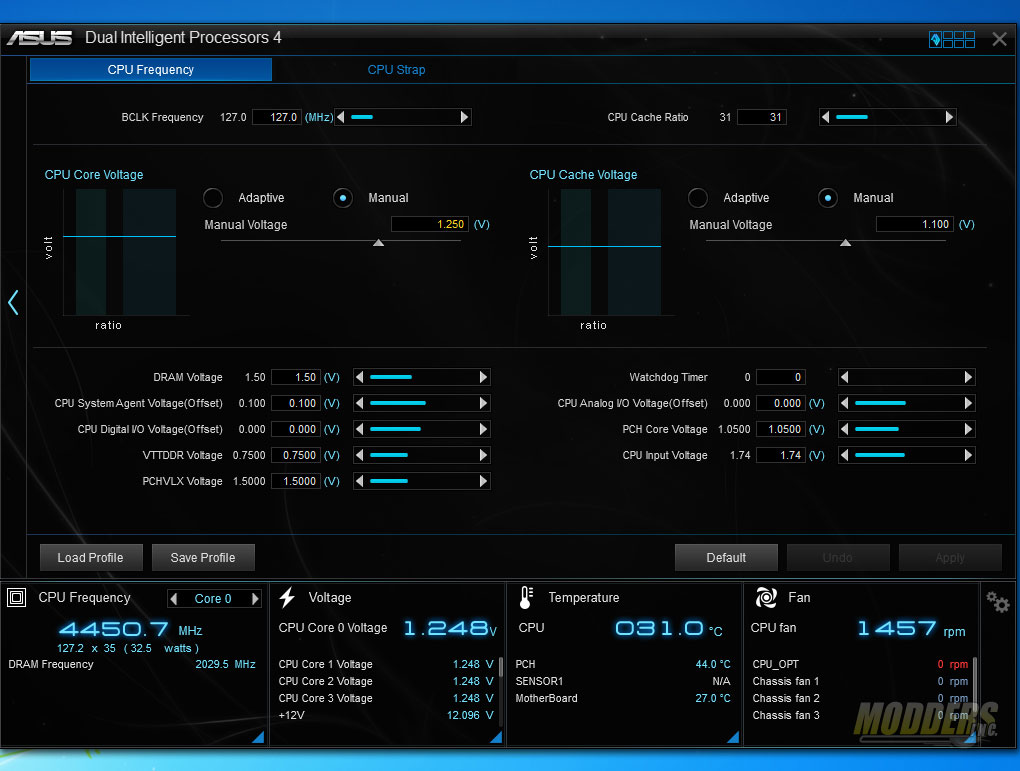
The result is slightly higher than the Ratio-only TPU OC and the same voltage. When CPU strap OC’ing in AI Suite, the TPU’s CPU Frequency screen changes after rebooting. The top now has a BCLK frequency slider and a CPU Cache ratio slider beside it with voltage control at the bottom. Users can choose between manual and adaptive voltage and the graph illustrates how this voltage is applied.
Now let’s try it without a video card and just the integrated Intel video to see how AI Suite auto-OC behaves:
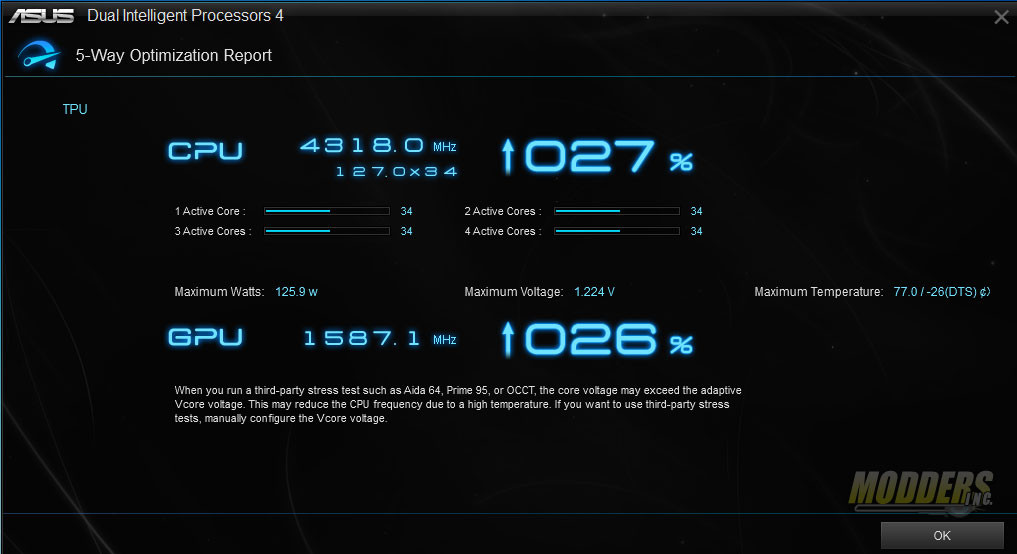
No black screens this time, Z97-A recovered by itself after a few restarts and the integrated GPU has also been overclocked 26% up to 1587Mhz.
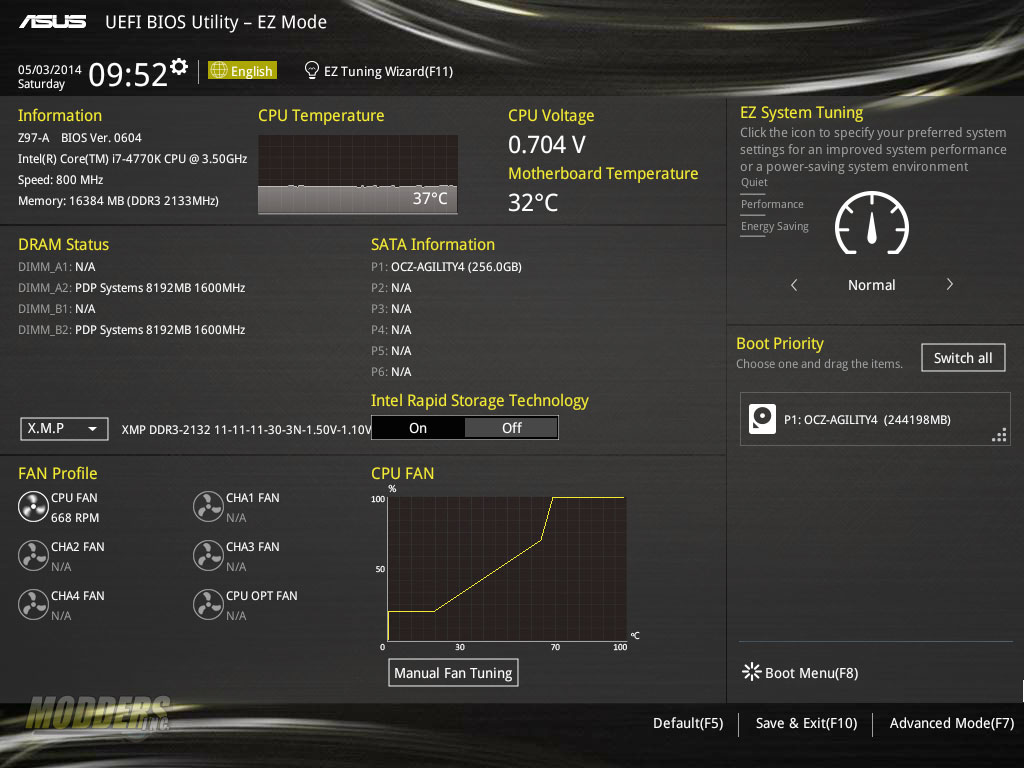
Auto and manual overclocks can also be done with AI Suite but it can also be done in the UEFI which is a new look for ASUS, leaving the core UEFI design introduced during the release of the X79 chipset motherboards. The new look looks very slick and modern as well with a gray and bright yellow-green theme going. It is not in HD, only 1024×768 resolution unfortunately, but it nonetheless looks like the right step evolutionarily with less wasted space on the screen. The new revamped EZ-mode contains all the relevant information and one-click access to the most necessary settings such as XMP loading, Intel Rapid Storage toggle, and fan control. The Quiet, Performance and Energy saving profile of the old UEFI has now been relegated to the right side and integrated in the new EZ System tuning function.
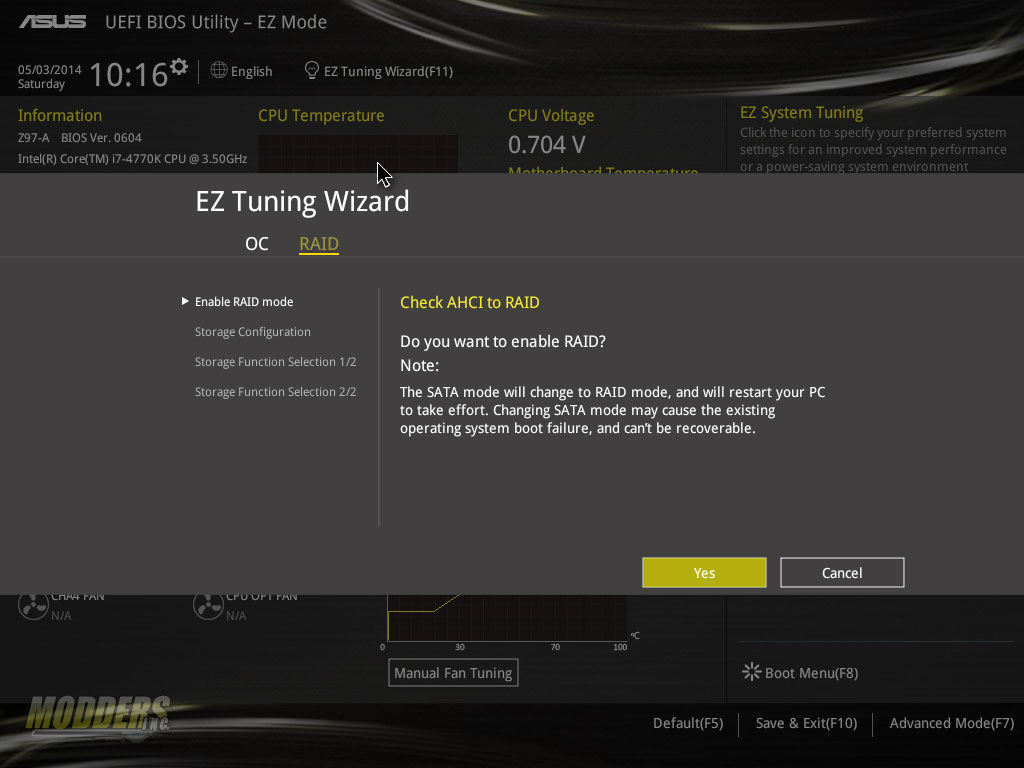
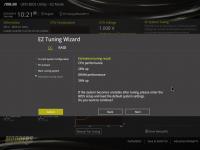
EZ Tuning Wizard does two things: Overclock and automated RAID.
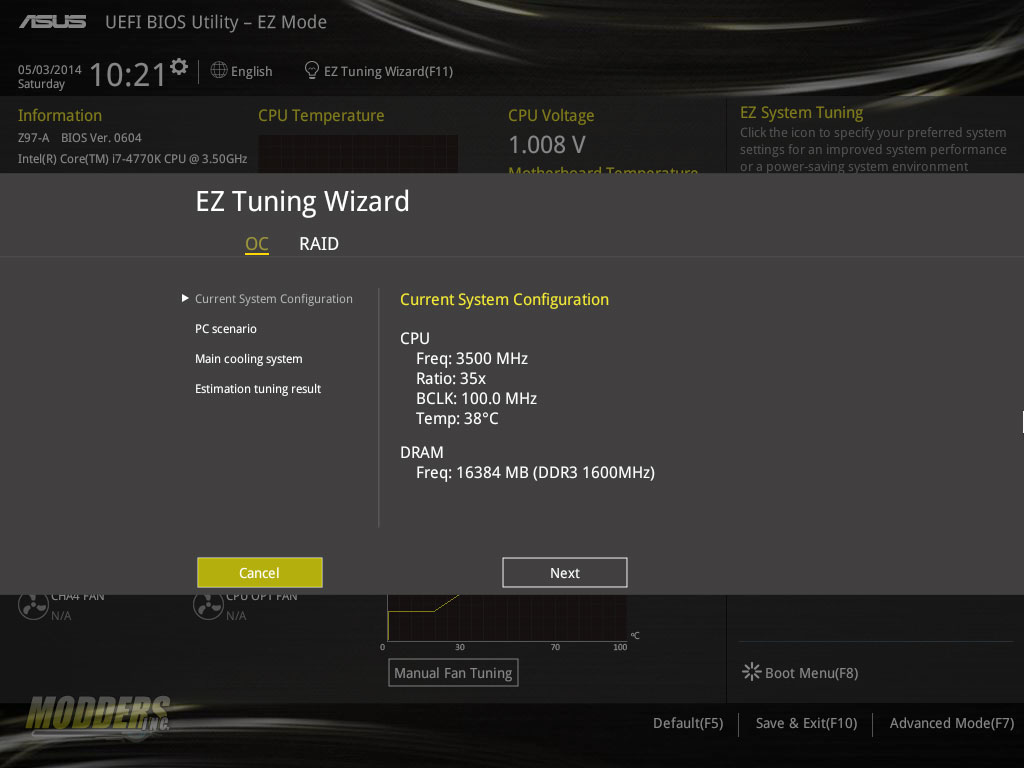
The auto-OC in here is a 4-step process that requires input from users. First it takes the current system configuration into account, asks users what kind of activities the PC is for whether it is just for basic daily computing or for gaming/media editing. Then three options are provided for what kind of cooler is installed so that EZ Tuning Wizard can figure out how much to push the system without frying your CPU. Box Cooler is the first one which I am assuming should result in zero overclock other than memory since even stock load on that reaches can reach 95C, or maybe ASUS is optimistic, either way I won’t waste time trying that so I selected the Tower Cooler option since I have a Noctua NH-D15 installed. The third option is a water cooler, but I’m assuming it is referring to a custom loop rather than a closed loop system since those are highly overrated anyway. There is actually a fourth “I don’t know option” which will probably do a conservative guess factoring in temperature readings. The last step gives users estimation tuning results in percentages like Babe Ruth pointing at the bleachers where the homerun ball is going to land. EZ Tuning Wizard even warns the users twice to load BIOS defaults just in case before proceeding.
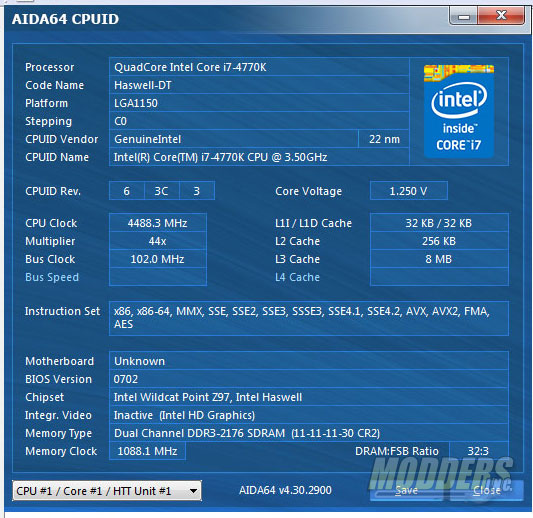
The result…Success! Here are also the other results for Daily use with box cooler, Daily use with tower cooler and Gaming use with box cooler.
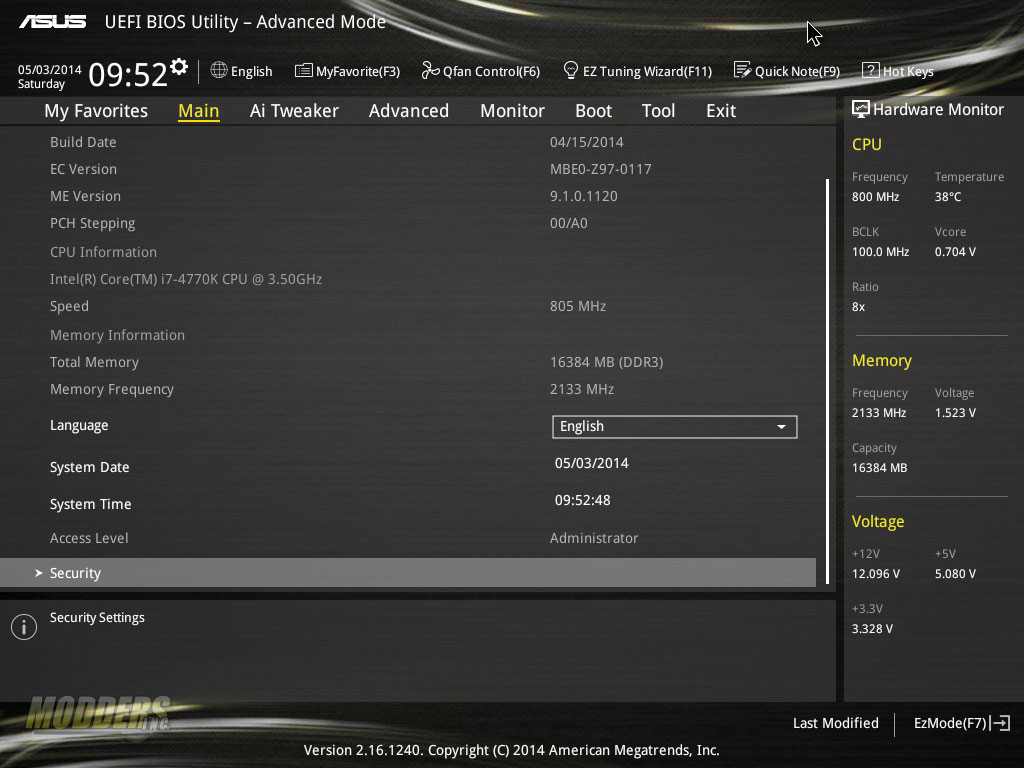
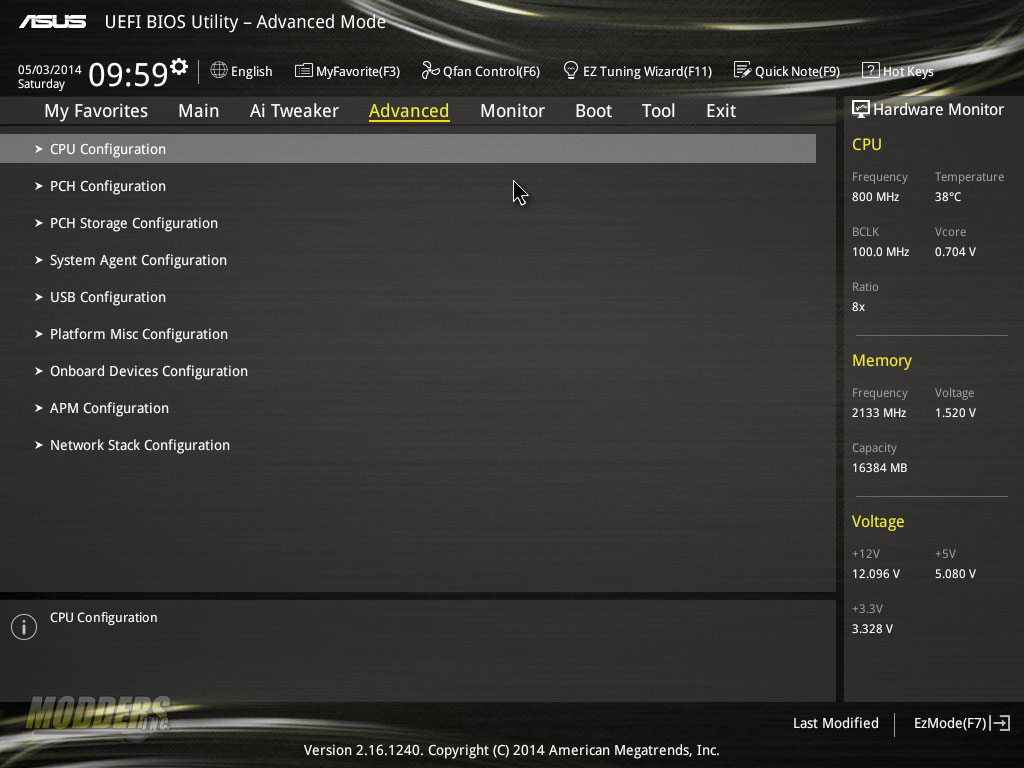
The advanced mode UEFI screen is similar to the original ASUS UEFI with a few key improvements. The tabs are still organized with Favorites at the beginning although the Main tab is the first default landing page, followed by Ai Tweaker, Advanced, Monitor, Boot, Tool and Exit tabs. A persistent Hardware Monitor is now available on the right side displaying CPU/RAM frequency, temperature, BCLK, voltages, memory capacity. A shortcut menu that used to be located at the lower right hand corner of the UEF is now at the top on the same line as the date and time. The Main tab obviously for adjusting the date and time as well as selecting language as well while summary of the motherboard version and current CPU/Memory settings are also availble.
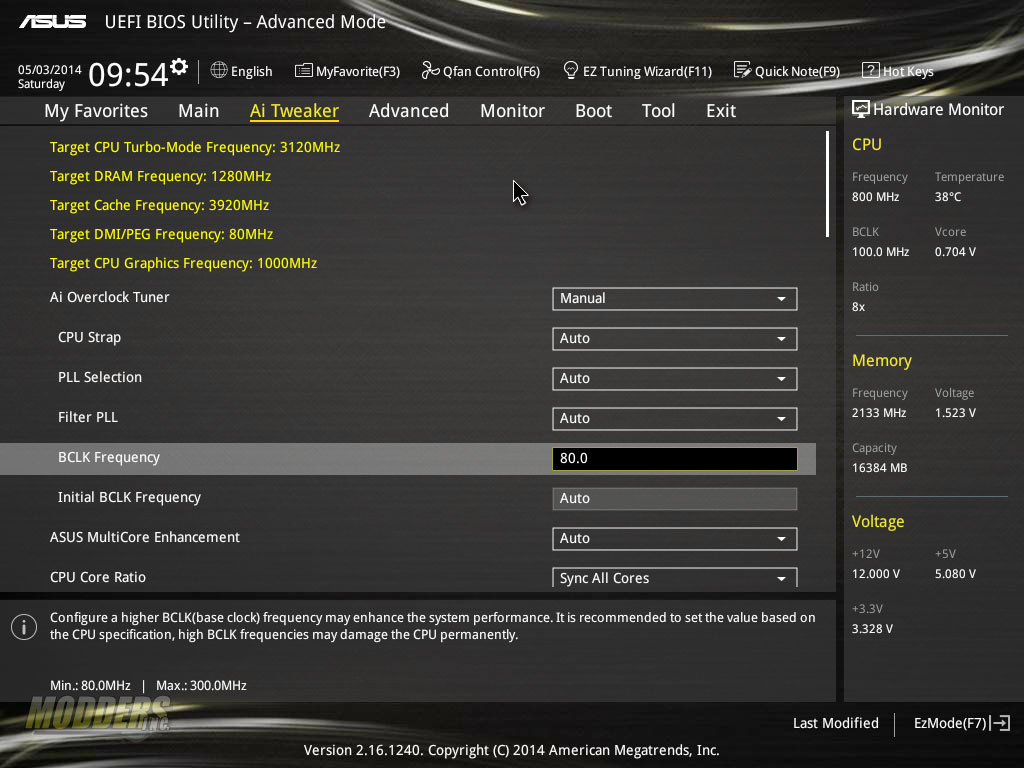
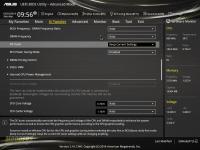
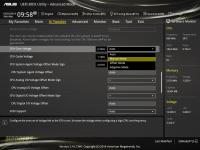
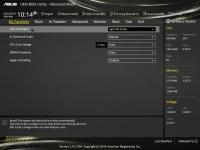
To manually overclock, simply go to the Ai Tweaker page which contains every single overclocking option for the Z97-A motherboard. It remains similarly arranged as it was in the original UEFI design with the target values up top and the rest of the options in drop down menus or can be manually adjusted. The status info section at the bottom explains the setting function and lists the minimum and maximum value if available.
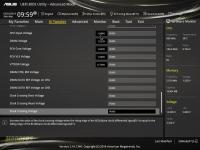
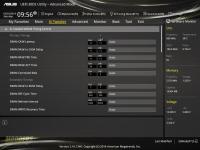
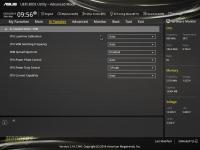
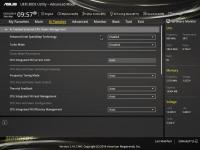
Below the drop down adjustments are three nested options for DRAM Timing, DIGI+VRM and Internal CPU Power management. If you did not want to load the XMP profile, the DRAM timing page will allow you to change primary and secondary timings while also showing the current timing values for comparison. DIGI+ VRM is for adjusting CPU load-line calibration and other VRM controls. As mentioned in the overview, the DRAM uses a Richtek controller instead of an ASUS DIGI+ VRM so there are no options here for memory phase control. The CPU Power Management sub-menu is for processor specific power adjustments instead of PWM controller like the DIGI+VRM section including speed step and turbo controls, IVR management and more.
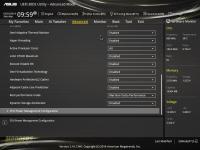
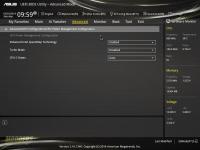
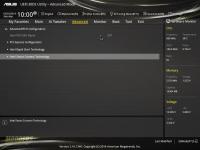
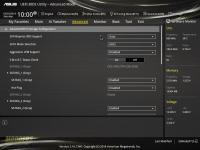
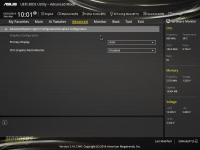
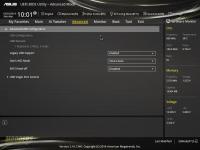
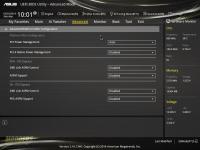
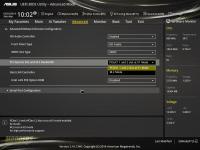
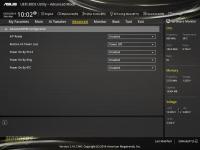
The Advanced page provides several sub-menus for individual components including the CPU, PCH, PCH Storage, System Agent, USB, APM, etc.
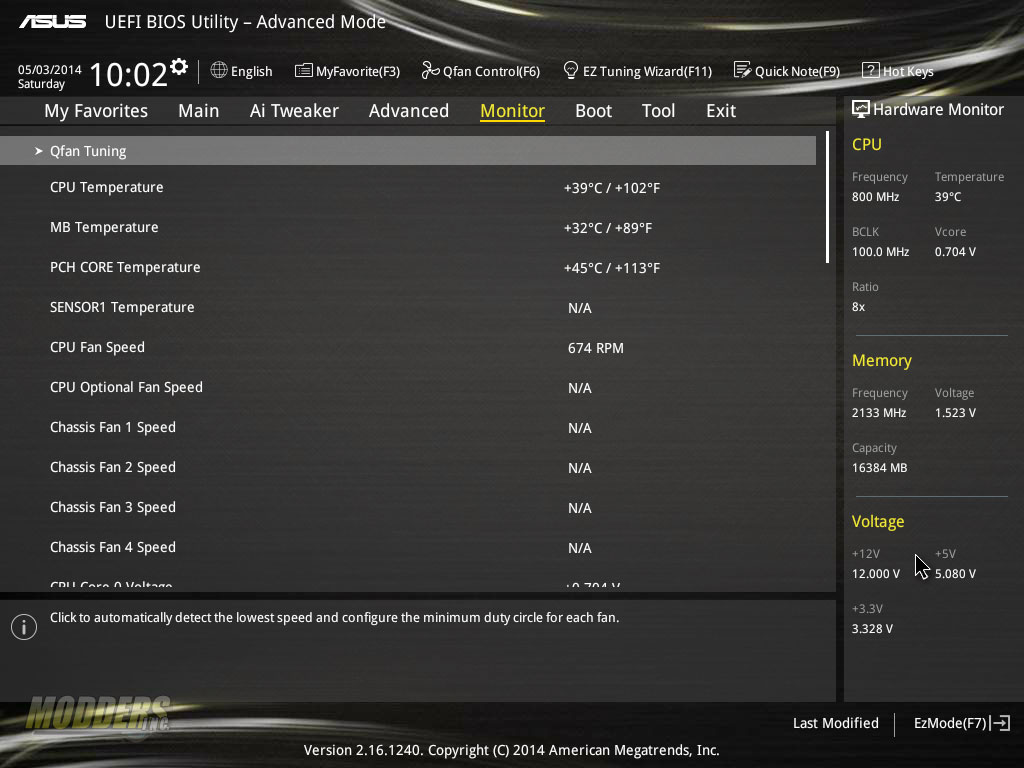
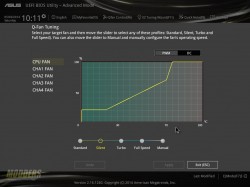
The Monitor tab adds a new feature called QFan Tuning right at the top (also F6 in the keyboard shortcut). This this a graphical fan tuning control for all fan five headers (the CPU_OPT is just a mirror of the CPU fan header so it cannot be controlled individually like the other fan headers). Users can choose between PWM or DC mode and plot out the fan curve for each profile at the bottom.
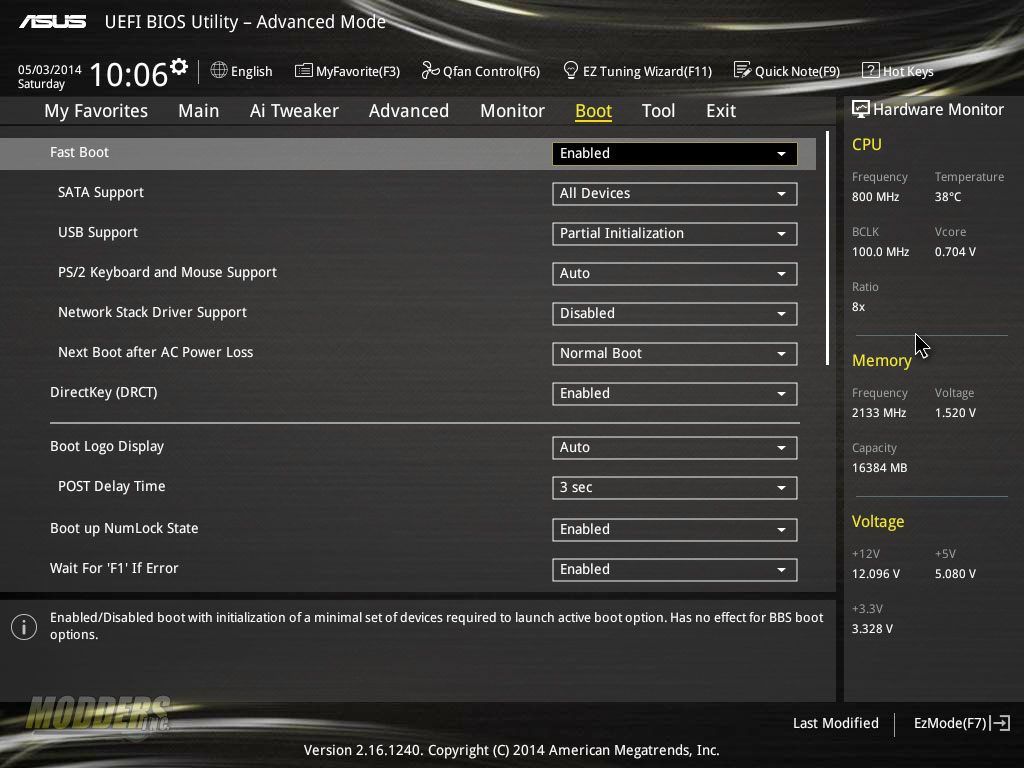
The boot tab on the other hand has a lot more selectable options including disabling and enabling certain features for boot. The boot sequence priority can also be adjusted here.
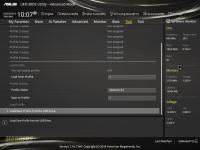
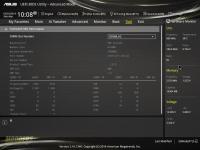
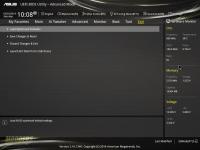
The last page is called the Tool page which contains the EZ Flash 2 utility that launches a separate stand alone interface for updating the UEFI. Unlike other flash utilities which can only update if the BIOS file is in the root directory of the USB drive, EZ Flash 2 Utility can actually browse the drive and find the BIOS file that needs to be loaded. ASUS SPD information is available for viewing module values as well as an OC Profile bank where users can save and load up to 8 overclocking profile settings. Before exiting, the ASUS UEFI also notifies users of what changes have been made before saving, very handy just in case you made changes by mistake. The built-in Quick note also allows users to save important info, especially when overclocking while in the UEFI.
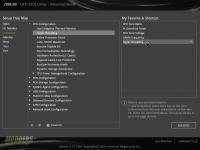
For those who do not like the layout of the ASUS UEFI, they are also in luck since the favorites function allows users to save shortcuts to UEFI options that are frequently used without going through several nested menus. It is a very solid UEFI all around and is still the best UEFI interface in terms of stability and function I have ever come across.



Boughts one!
I hope they imrpove the board’s gaming performance by bios, i have read a review where this board resulted to lag behind some old boards like GA-z87x-d3h and MSI gaming series…