ASUS Z390 ROG Maximus XI Apex Motherboard Review
The Apex of Performance on Z390
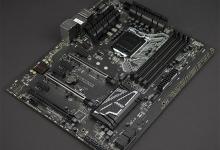
A Closer Look at the Z390 ROG Maximus XI Apex
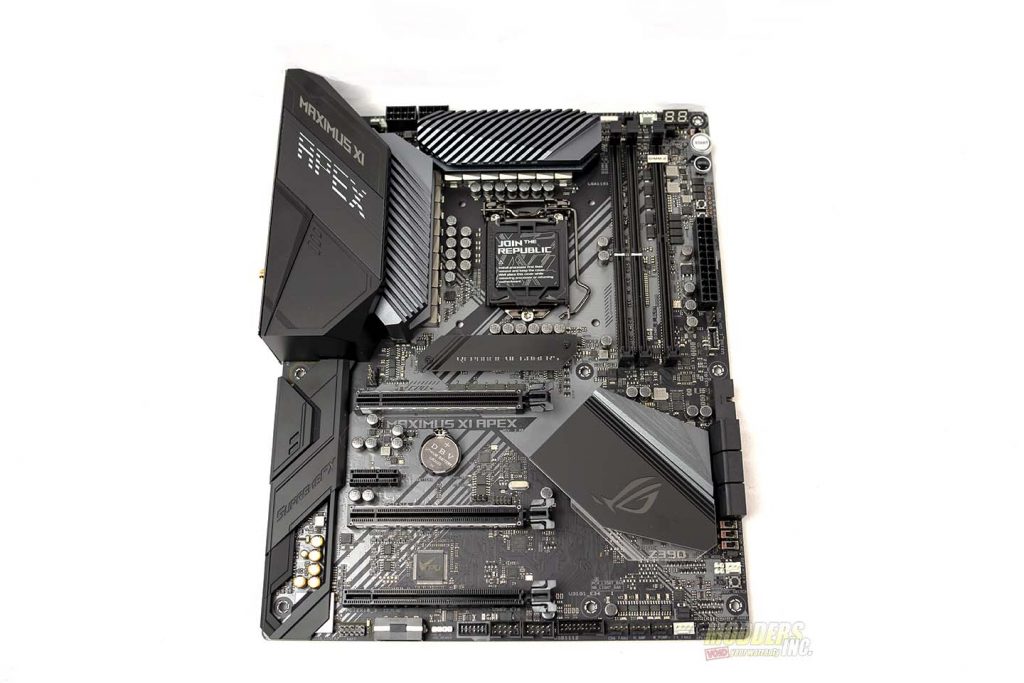
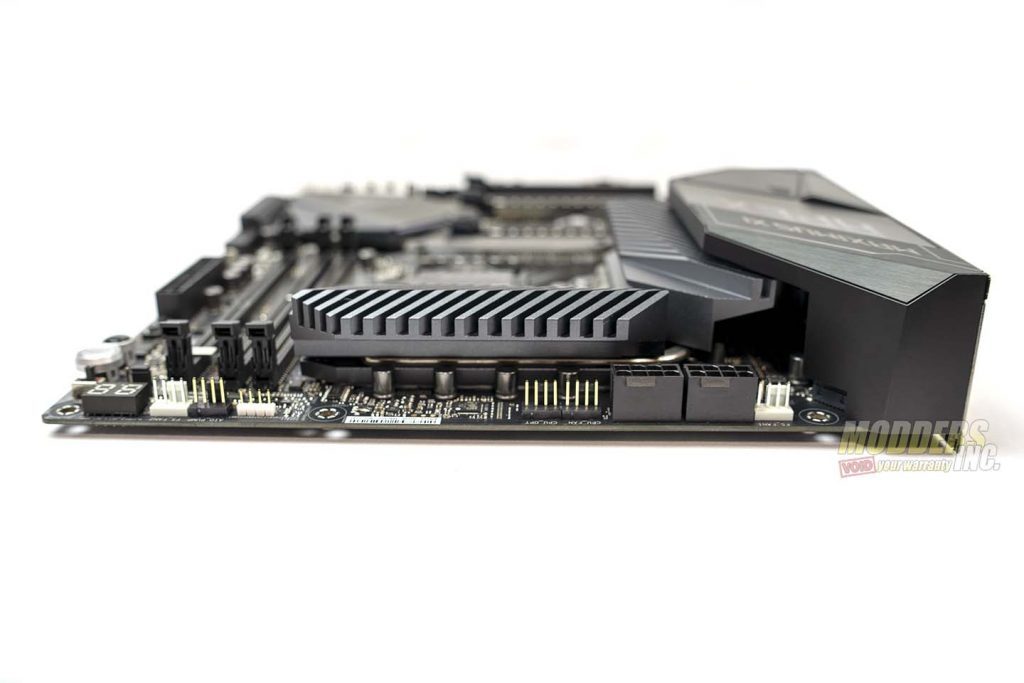
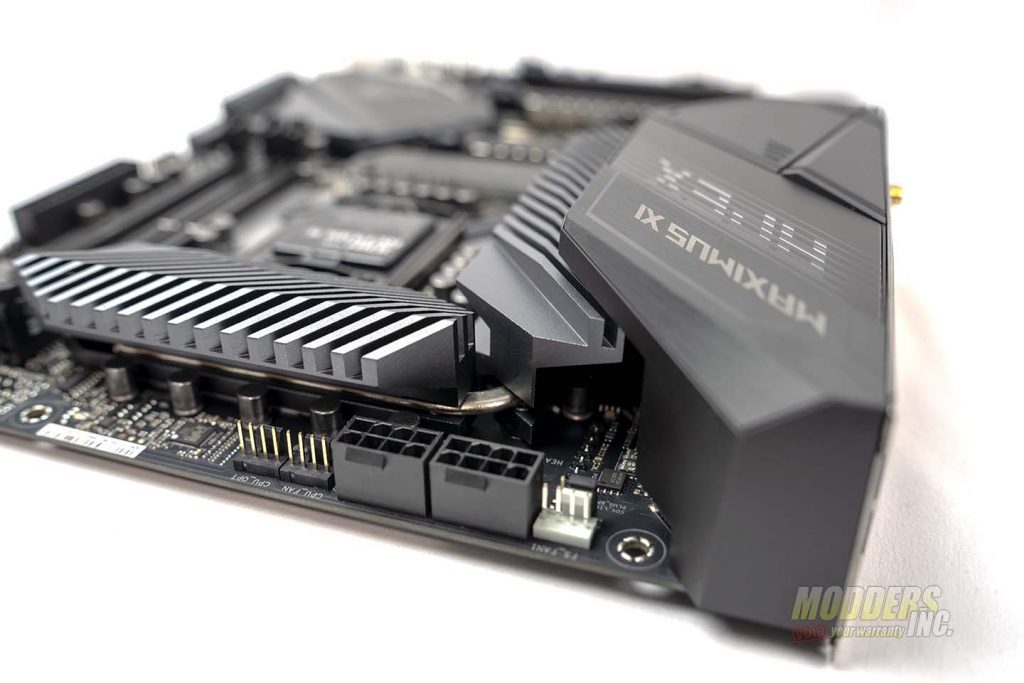
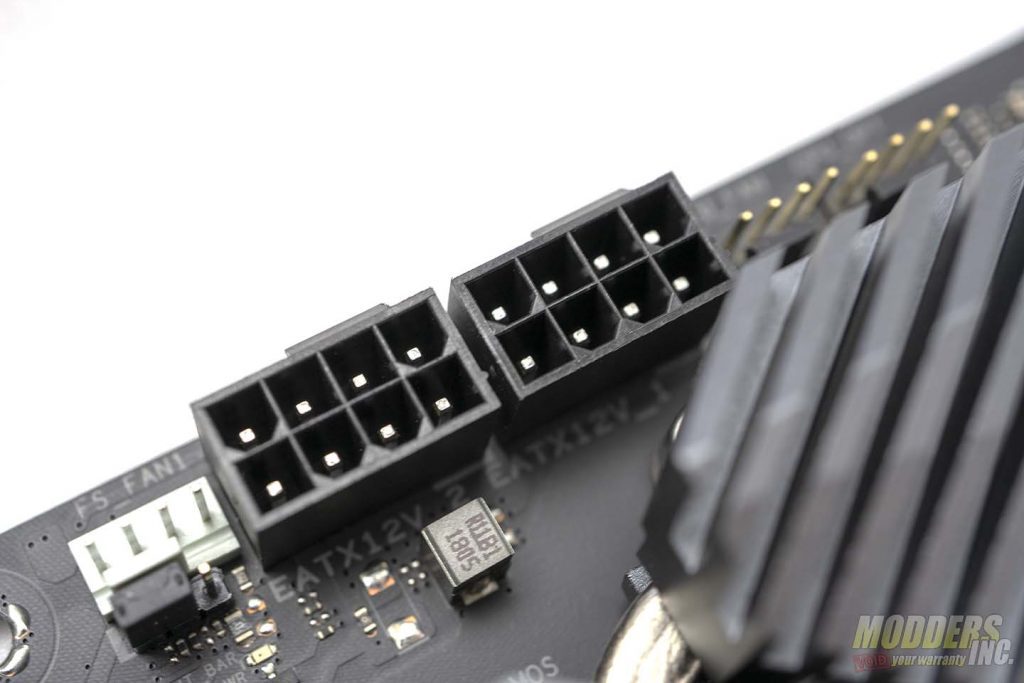
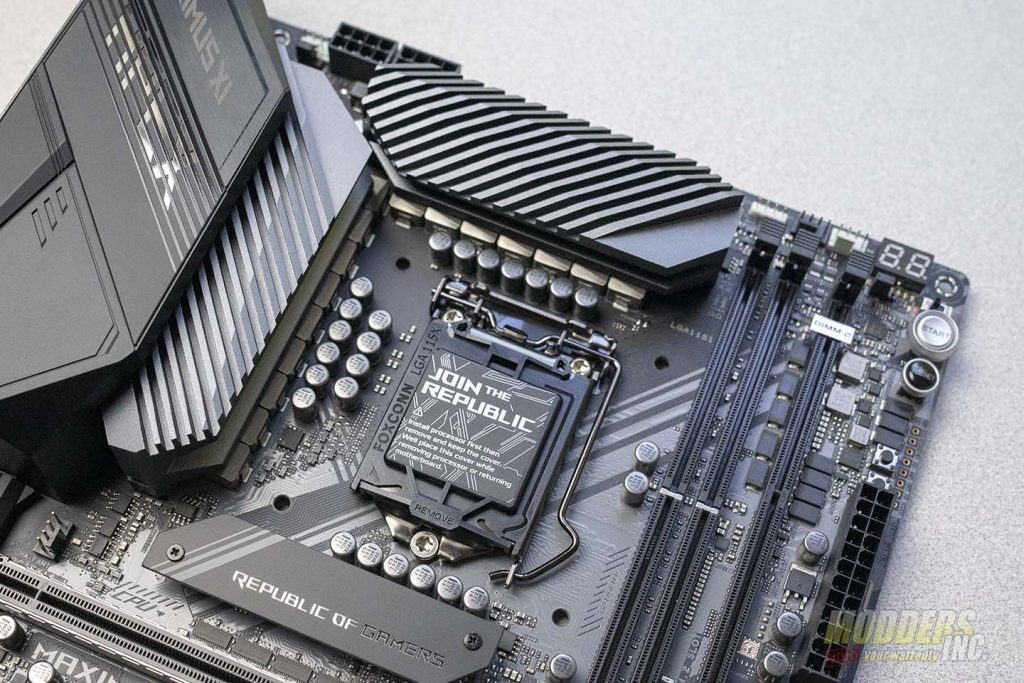
Across the top of the Z390 Maximus XI Apex are the dual ProCool 8-pin power connectors. In total, there are five 4-pin fan headers across the top of the Z390 Maximus XI Apex. From left to right, you’ll find FS_Fan 1 then the dual 8-pin power connectors. Next, we find the CPU_Fan and CPU_Opt headers followed by a 4-pin RGB header, AIO_Pump header and FS_Fan 2. Last, the postcode display is on the top right-hand corner of the board.
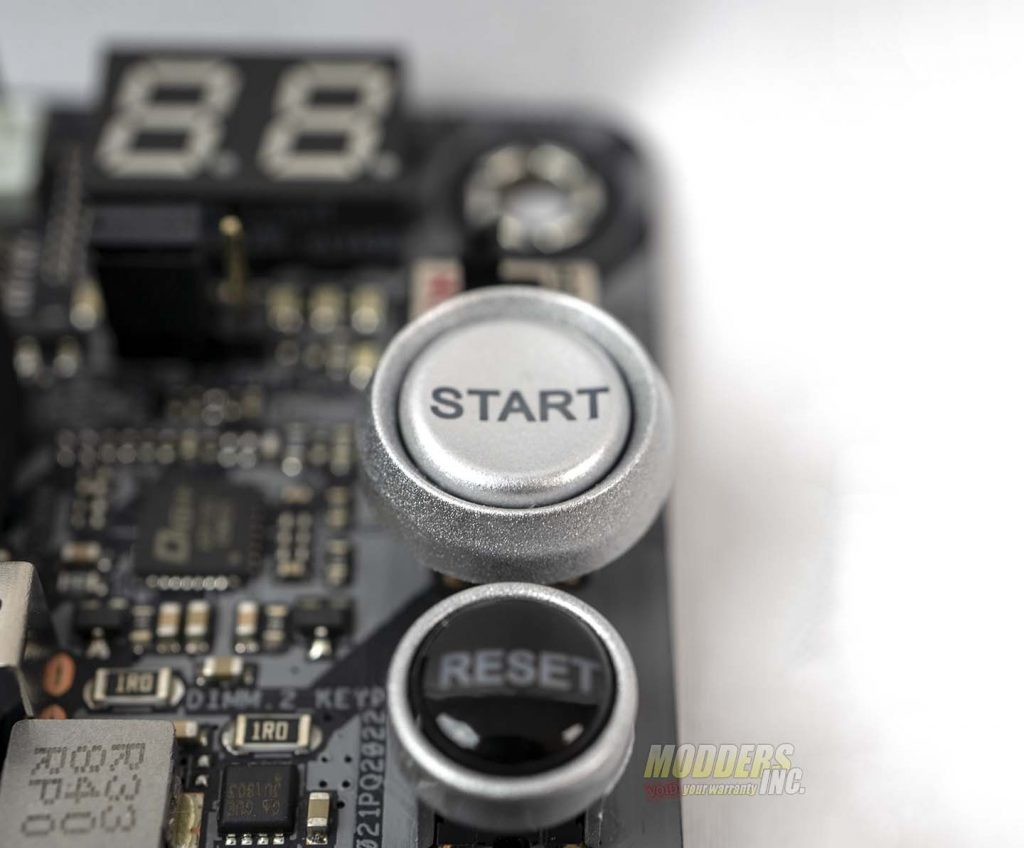
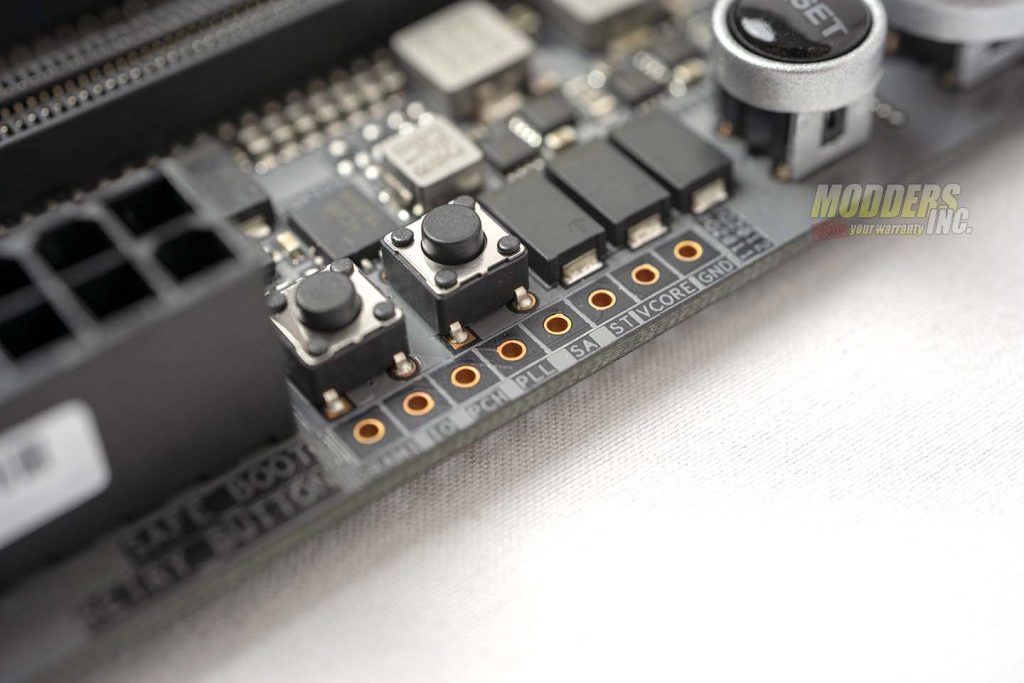
Going down the right, the Z390 Maximus XI Apex has a feature that I look for in a motherboard. That feature is a power button, or in this case a start button, as well as a reset button. Since I prefer using an open-air test bench, I like having the power and reset right on the board. This eliminates the need for messing around with any front panel connectors. The ROG Maximus XI Apex has what ASUS refers to as their Overclocker’s Toolkit. This has nine core components that all run down the right side of the motherboard. Just below the postcode display, there are four LED’s that show the current boot status. Just above the start button, there is the Memok II switch that allows you to re-tune the memory settings with the flip of a switch. Just below the reset button is the Probelt that allows you to check the voltage via integrated measurement points. Just before the 24-pin connector is the retry button that initiates a hard reset and the Safe Boot Button that allows you to reset the PC and boot into safe mode.
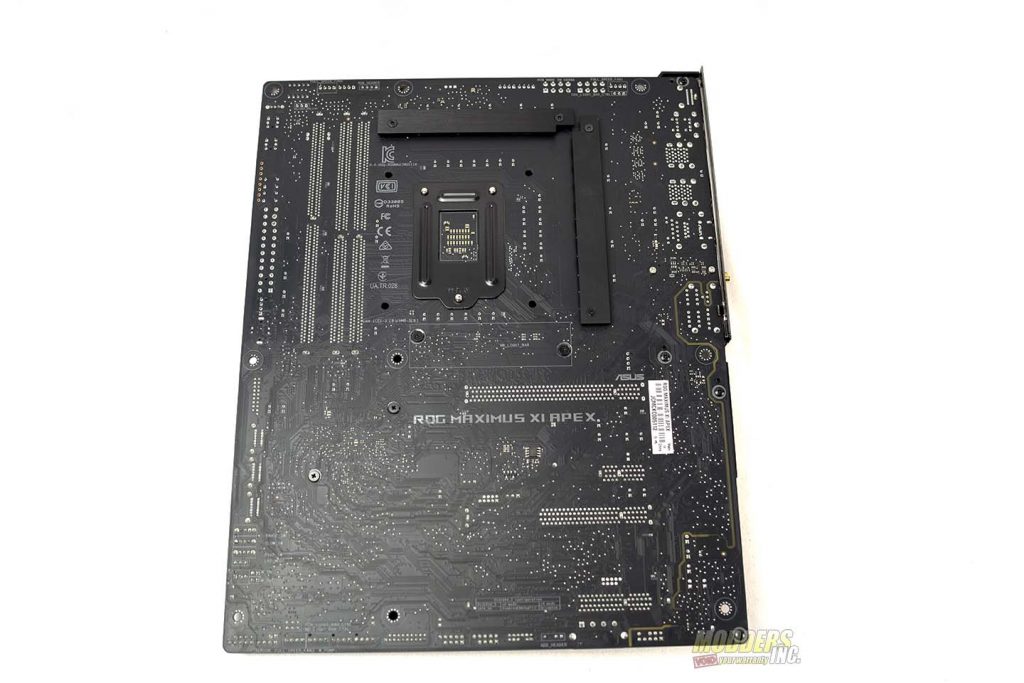
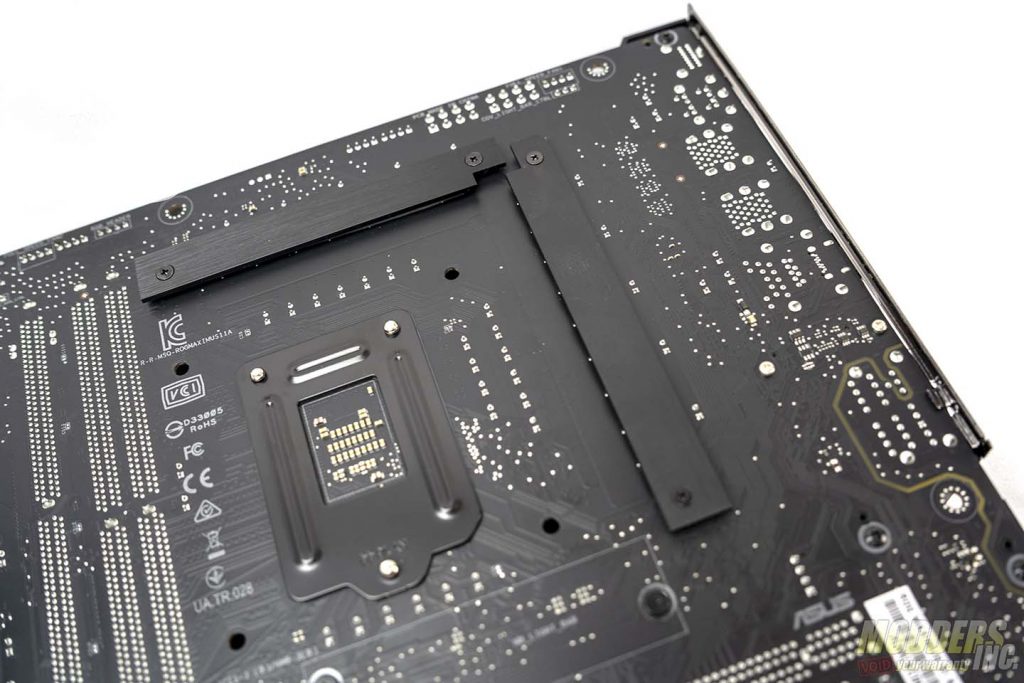
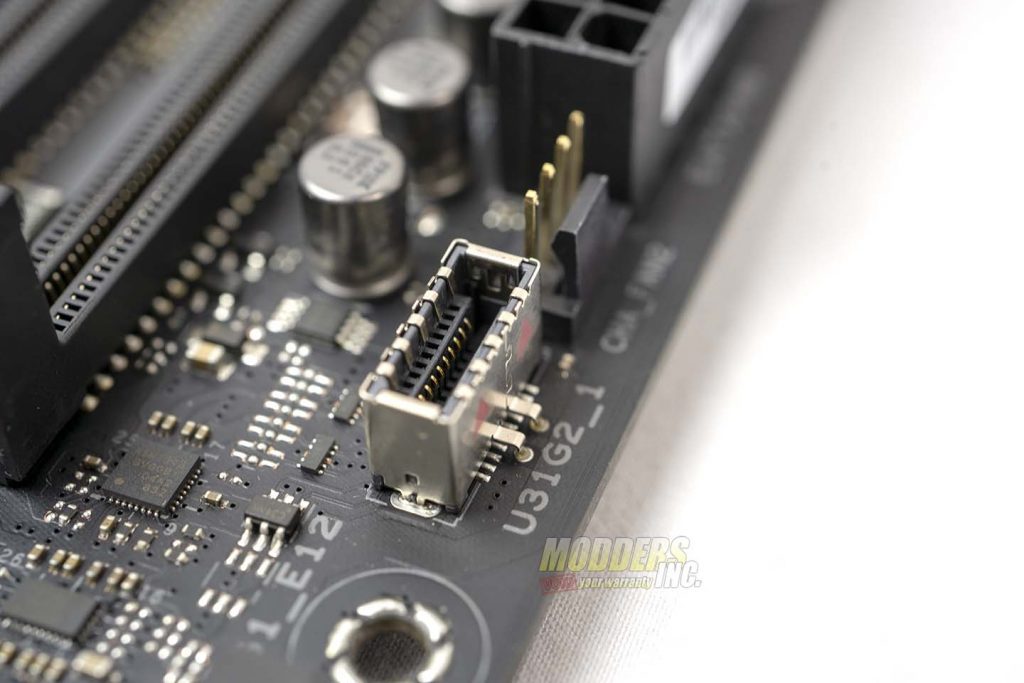
For those that like to do extreme overclocking (LN2), the Maximus XI Apex also has condensation detection. The sensors are located on the back of the board, near the socket. The condensation detection is divided into three sections. These sections are CPU, DRAM, and PCIe. The LEDs under the postcode display LEDs illuminate to let you know when an area may be at risk of short-circuiting. The ROG Maximus XI Apex has both the front USB 3.0 and front USB 3.1 headers on the right side of the motherboard.
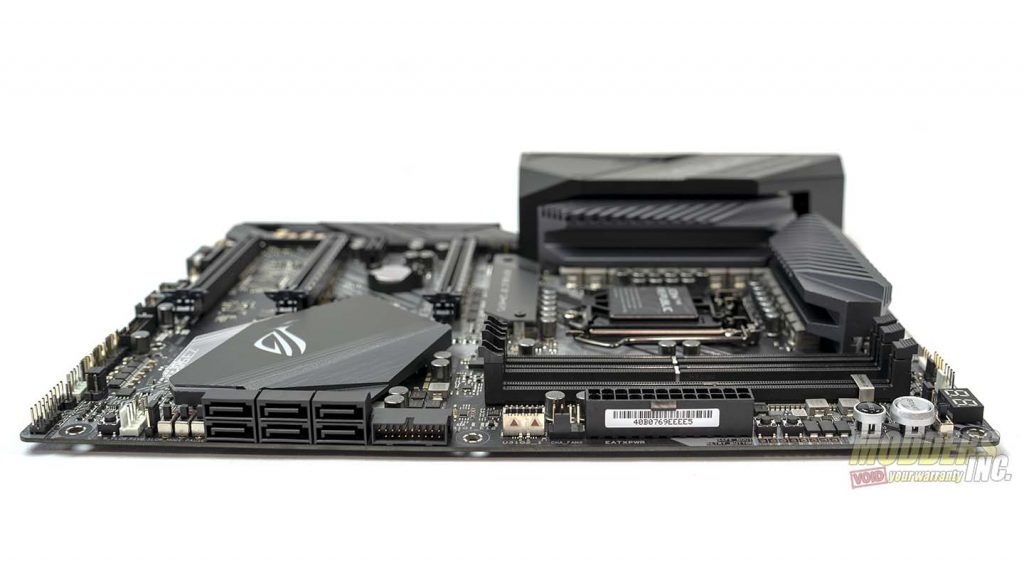
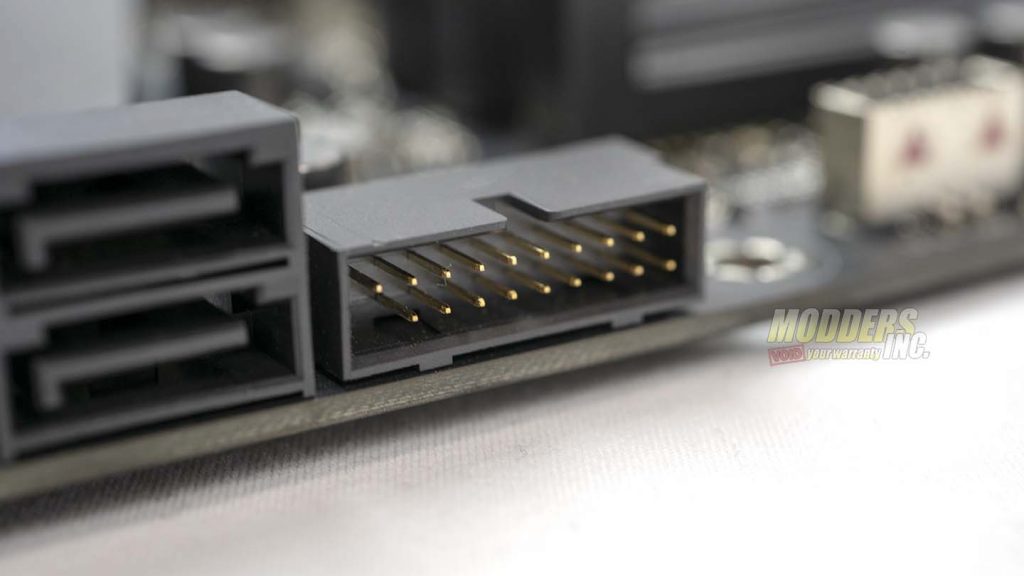
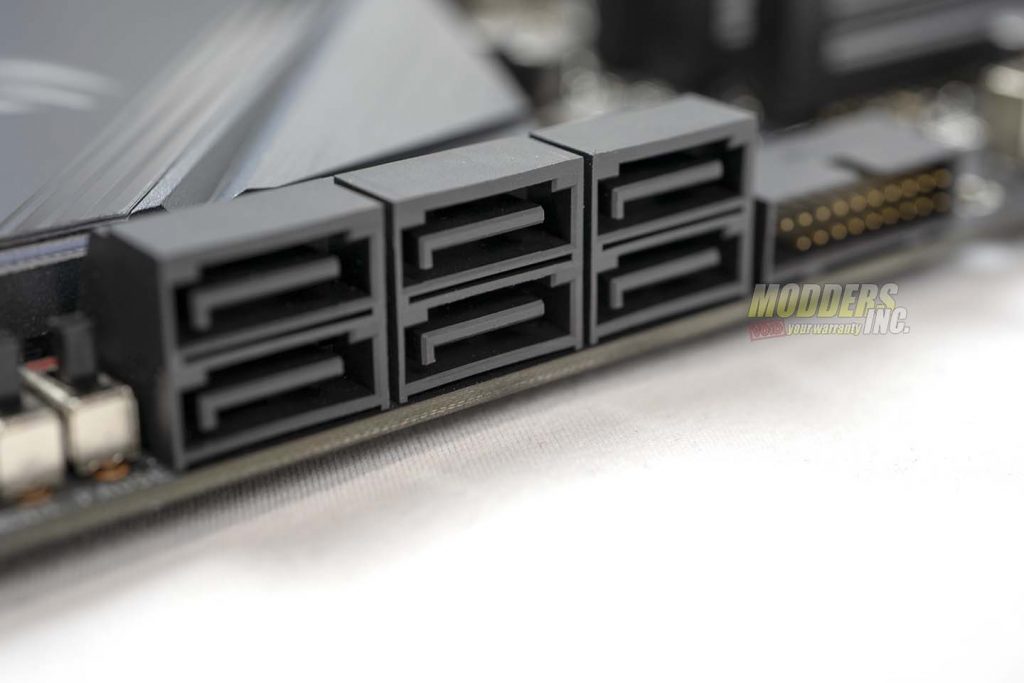
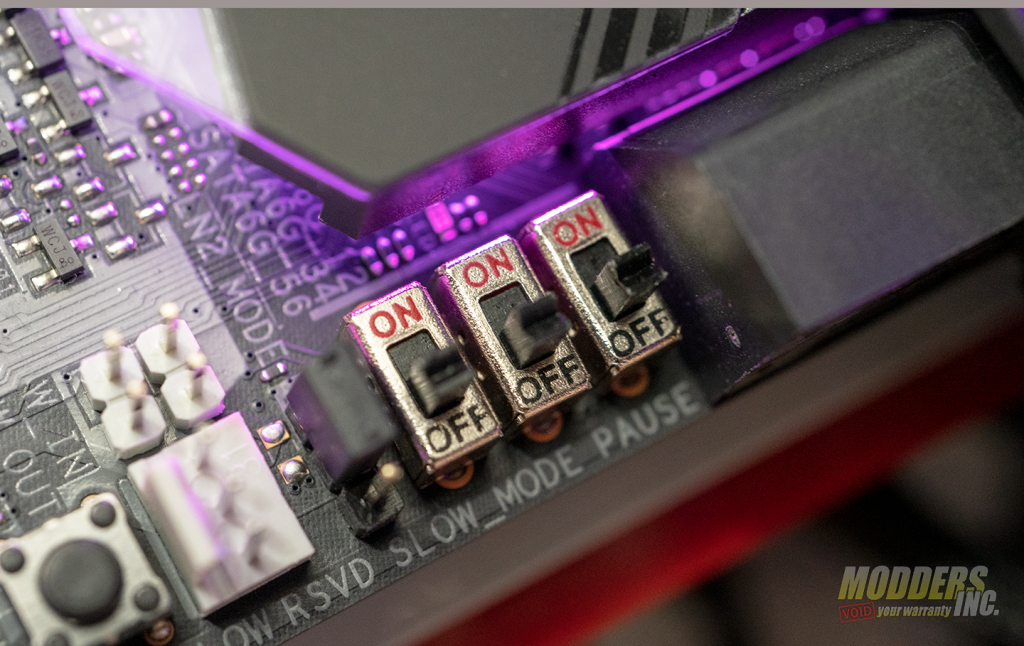
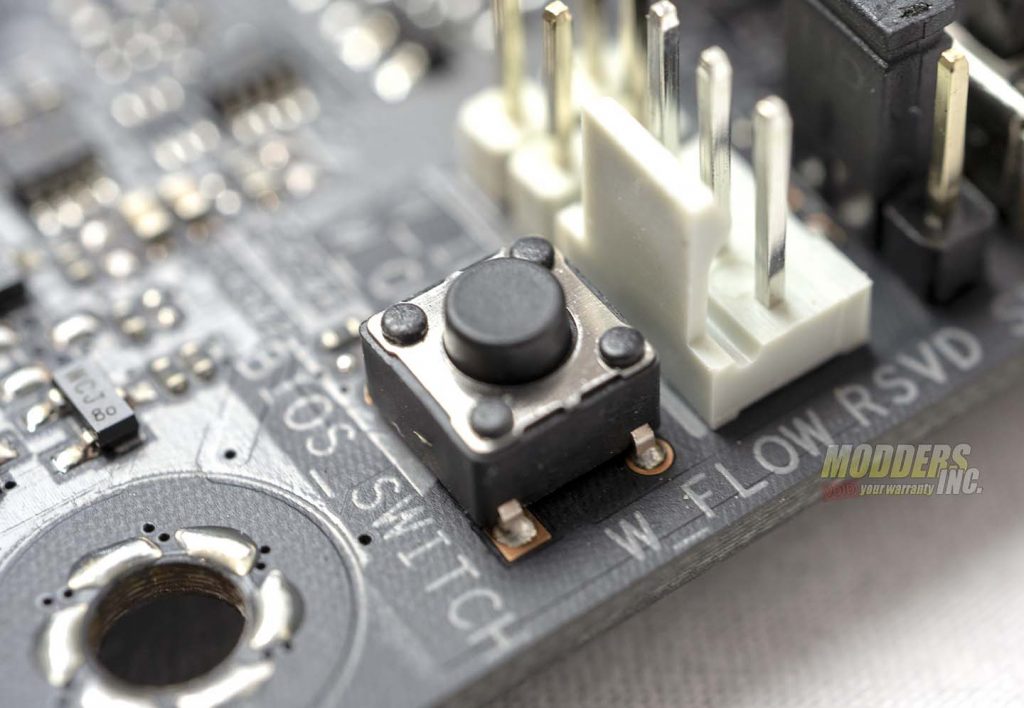
The ROG Maximus XI Apex has six SATA 6 ports next to the front USB 3.0 header. Next, there are a series of three switches. Two of these switches are part of the Overclocker’s Toolkit mentioned earlier. From right to left, the first switch is the Pause switch. this will pause the system and fine-tune OC parameters mid-benchmark. Next is the Slow Mode switch that reduces the CPU ratio to 8X to bypass touchy benchmark passages. Next to the three switches is the LN2 Mode jumper that enables special options and functions for liquid-nitrogen (LN2) overclocking. The last thing of note on the right side of the board is the BIOS switch for swapping between the two BIOS on the Maximus XI Apex.
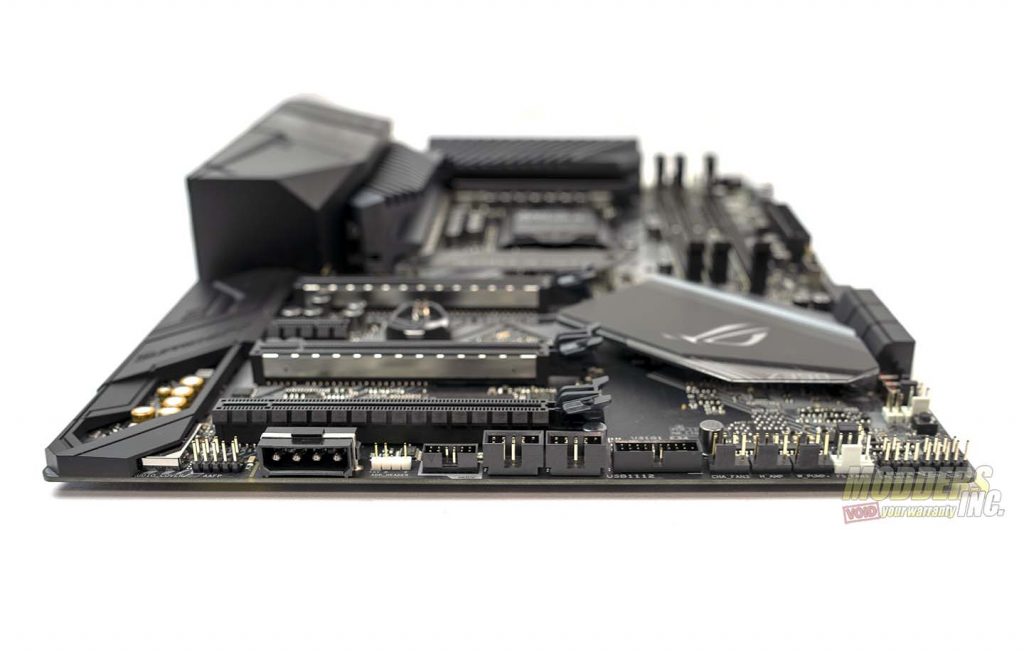
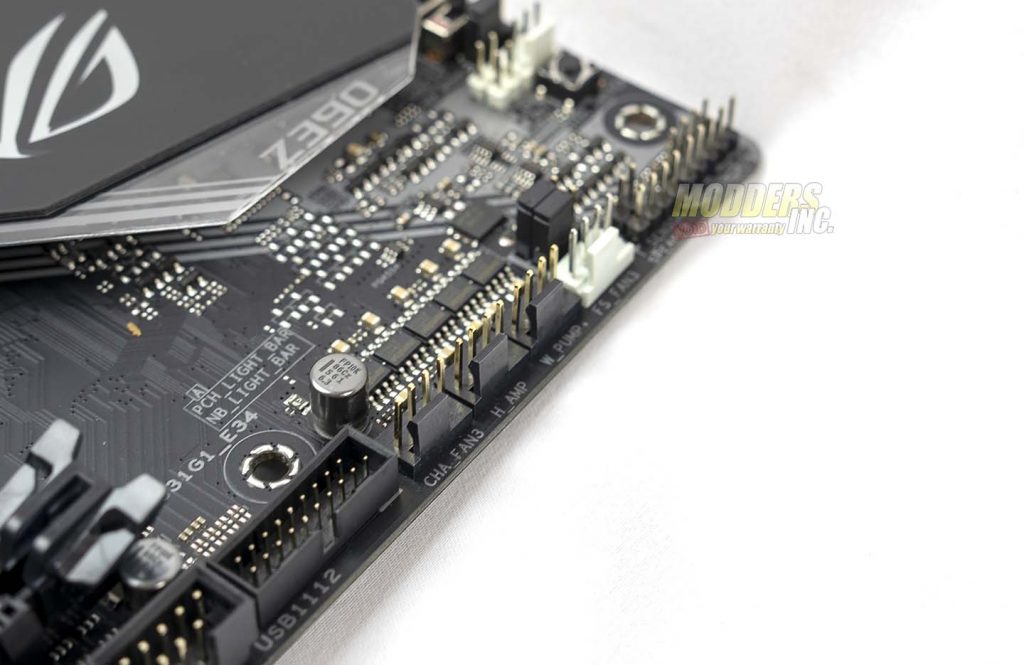
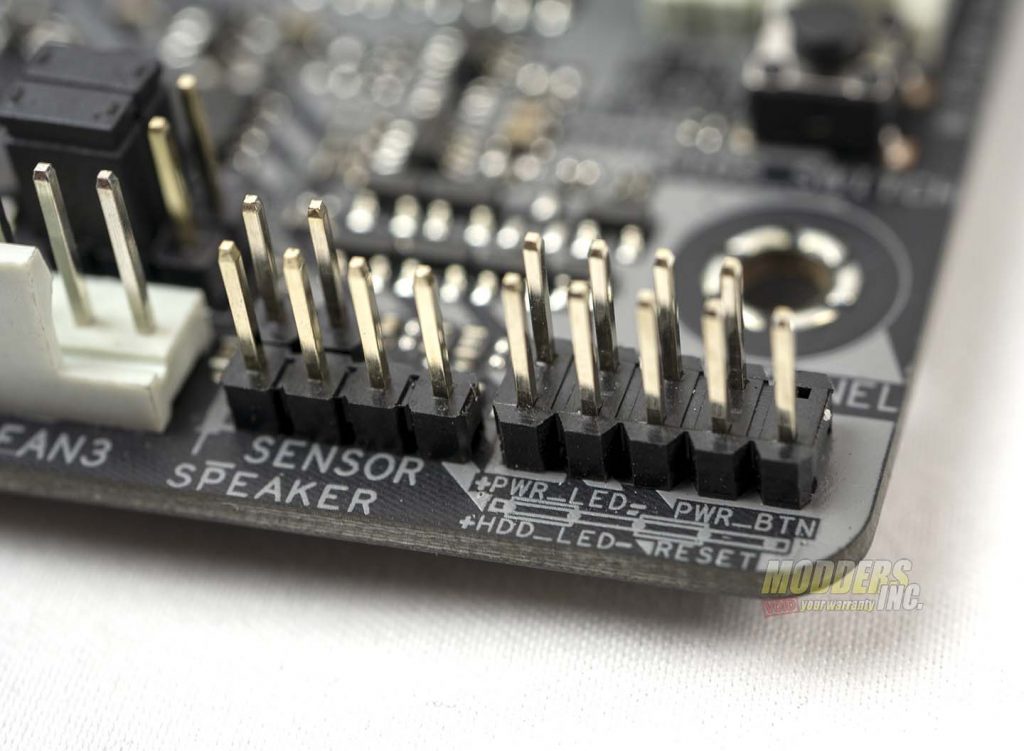
Along the bottom of the motherboard, we find what you’d expect to find on an average motherboard. From right to left, there are the front panel connectors followed by the headers for a temp sensor and a speaker for postcode beeps. Next, are four fan headers. Specifically, FS_Fan3, W_Pump+. H_Amp, and CH_Fan3. The H_Amp header being a high amperage fan header. Continuing along there is another front panel USB 3.0 header followed by two front USB 2 headers. Next, there is a Node port, an RGB header, a 4-pin Molex connector, and the front panel audio header.
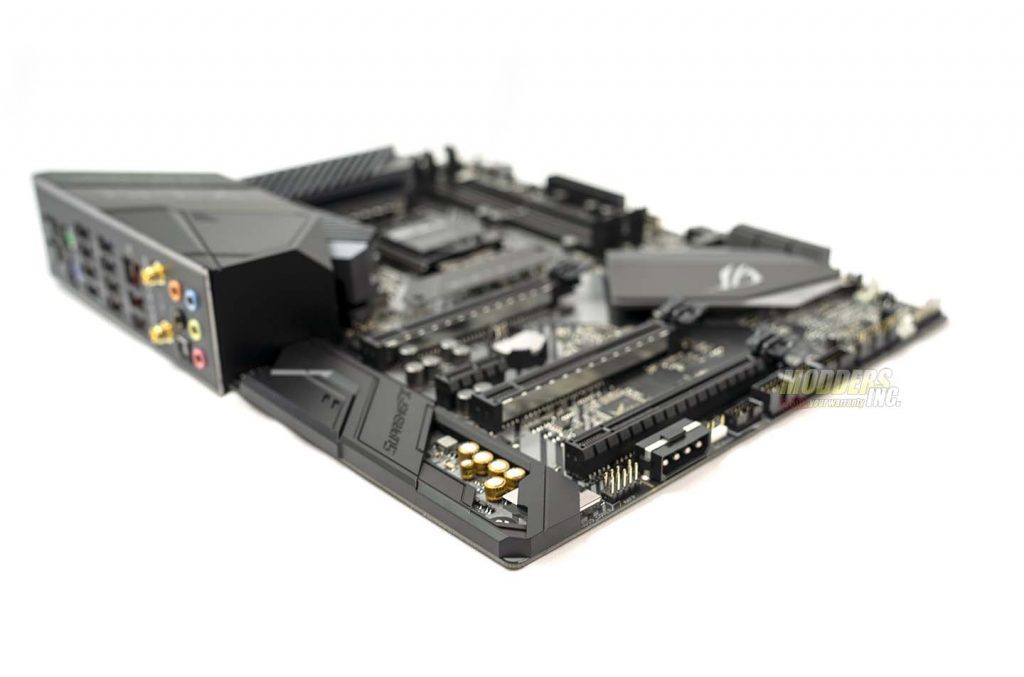
The ROG Maximus XI Apex uses the ROG Supreme FX controller and uses only premium Nichicon caps for its onboard audio. Supporting up to 8 channels, the ROG Supreme FX features 113dB SNR line-in and 120dB SNR line-out for near noiseless audio. The Supreme FX audio also features a 600 Ohm headphone amplifier.
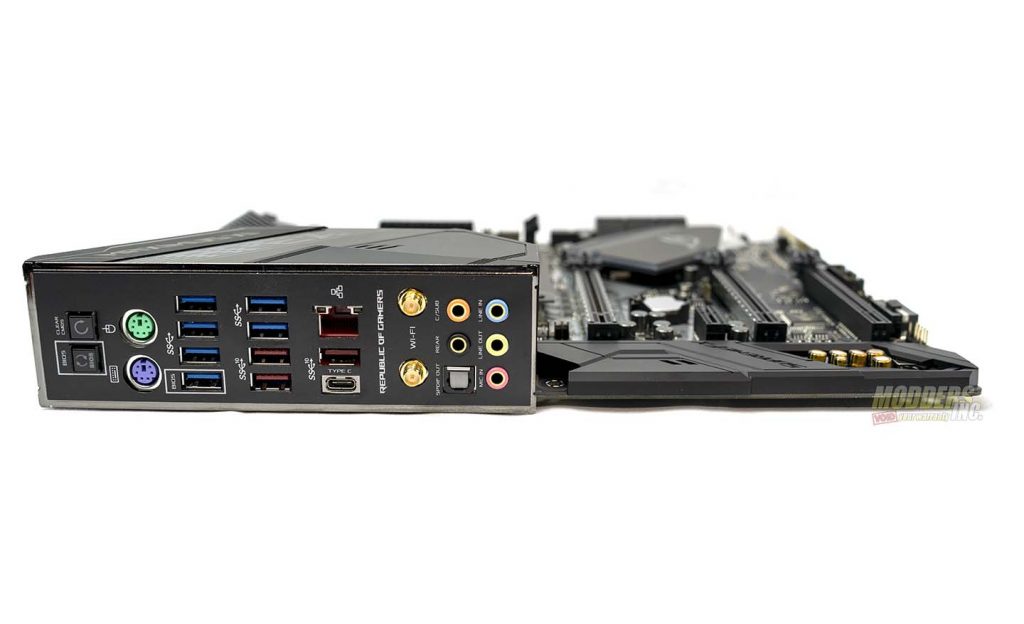
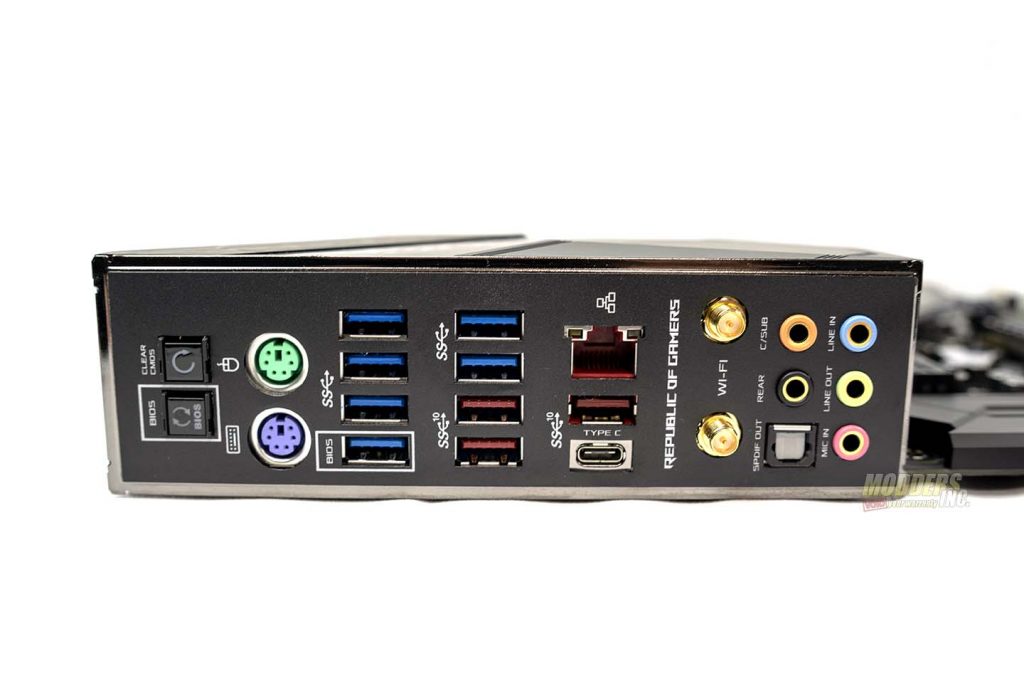
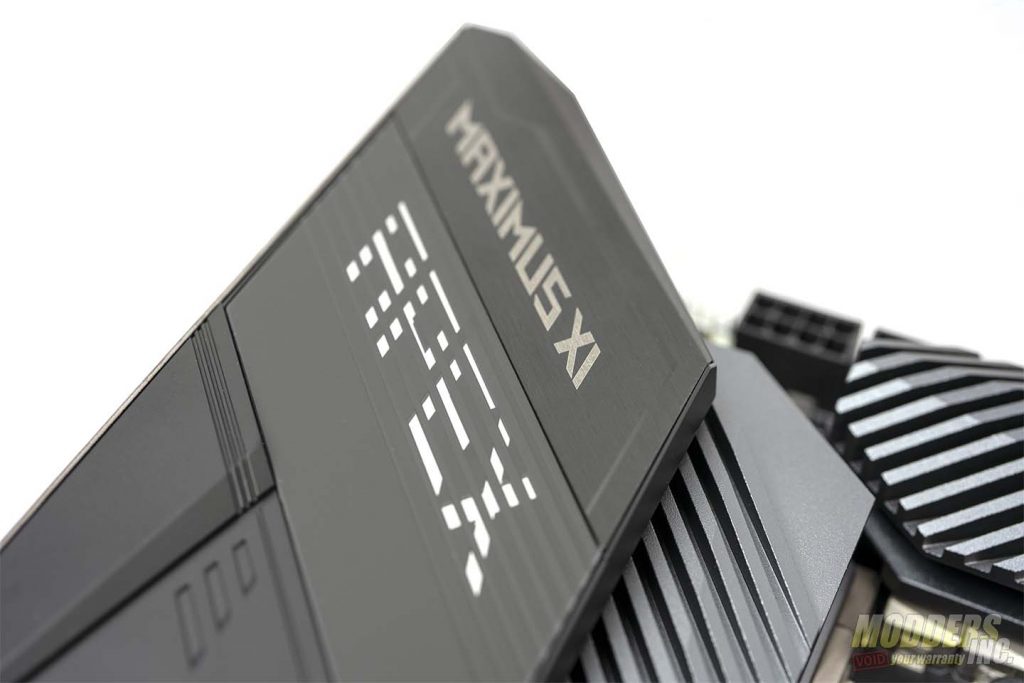
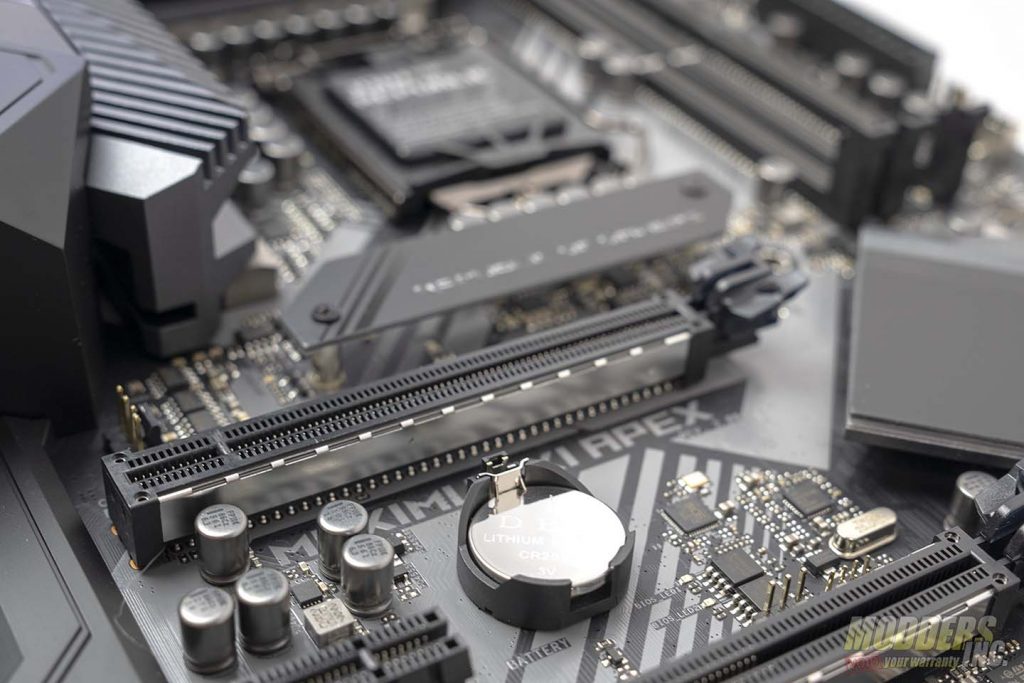
The I/O on the ROG Maximus XI Apex has it all. For starters, it has both a BIOS flash button and a clear CMOS button. I love both these features as they eliminate the need to remove the battery when clearing of CMOS is necessary. Especially since removing the battery on the Apex would require removing of the GPU. Next, are my absolute favorite parts of this board. Not one, but two PS/2 Ports. One green, for a mouse and the other blue, for a keyboard. Next, are a total of ten USB ports. there are six USB 3.1 gen 1 (USB 3.0), then four USB 3.2 gen 2. Three are Type A, one is Type C. There is a single Intel I219V Gigabit LAN. Next is the dual connectors for the WiFi antenna. The Apex uses Intel’s Wireless-AC 9560 Wi-Fi 802.11 a/b/g/n/ac card for the boards WiFi. Last, there are five 3.5 mm jacks for the 8.1 surround sound and as optical or SPDIF port. The shroud over the I/O has the Maximus XI Apex branding illuminated by RGB LEDs. The LAN, USB, and audio ports are protected with ESD Guards. This provides increased protection from electrostatic discharge when plugging or unplugging anything on the rear I/O on the board. The ROG Maximus XI Apex also has an integrated I/O shield. This is a great feature and will prevent me from constantly forgetting to install the I/O shield. Full disclosure, Not one of my system has had an I/O shield since the Z97 days.
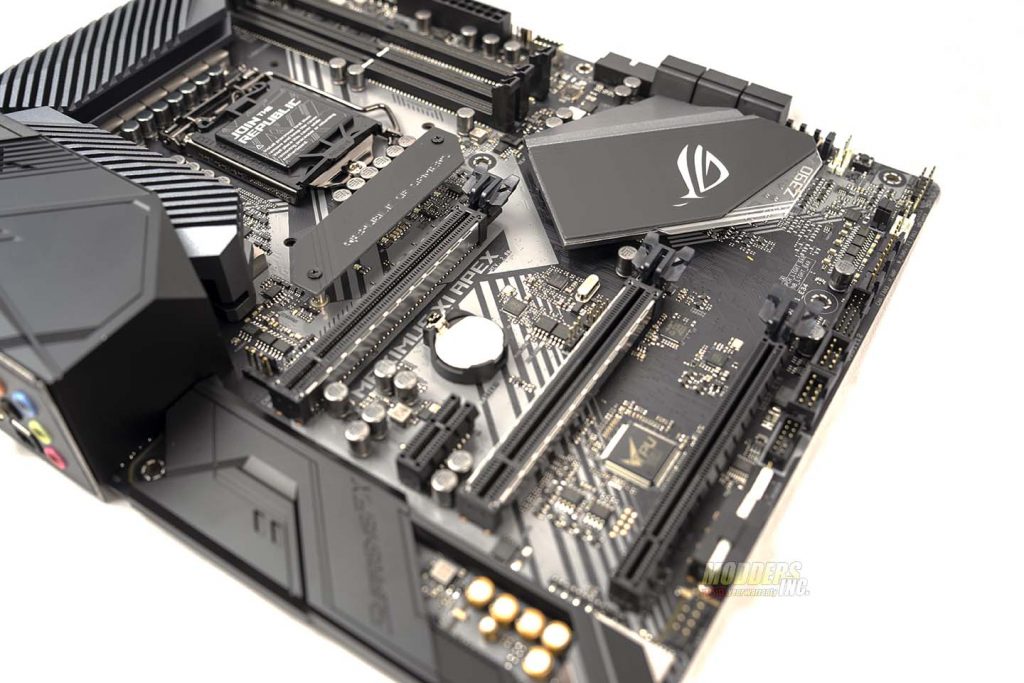
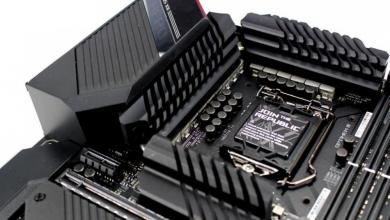
The ROG Maximus XI Apex uses the same LGA 1151 socket in use since the 6th generation of Core Processors launched. However, like the Z370 chipset, the Z390 chipset only supports 8th and 9th generation Core Processors. There is also a small decorative plate with the ROG logo directly under the socket. This plate can be swapped out with other plates that can be 3D printed. This is a cool feature but I’d rather the option for a third M.2 slot right on the board. However, the decorative plate does add the already beautiful aesthetic of the ROG Maximus XI Apex.
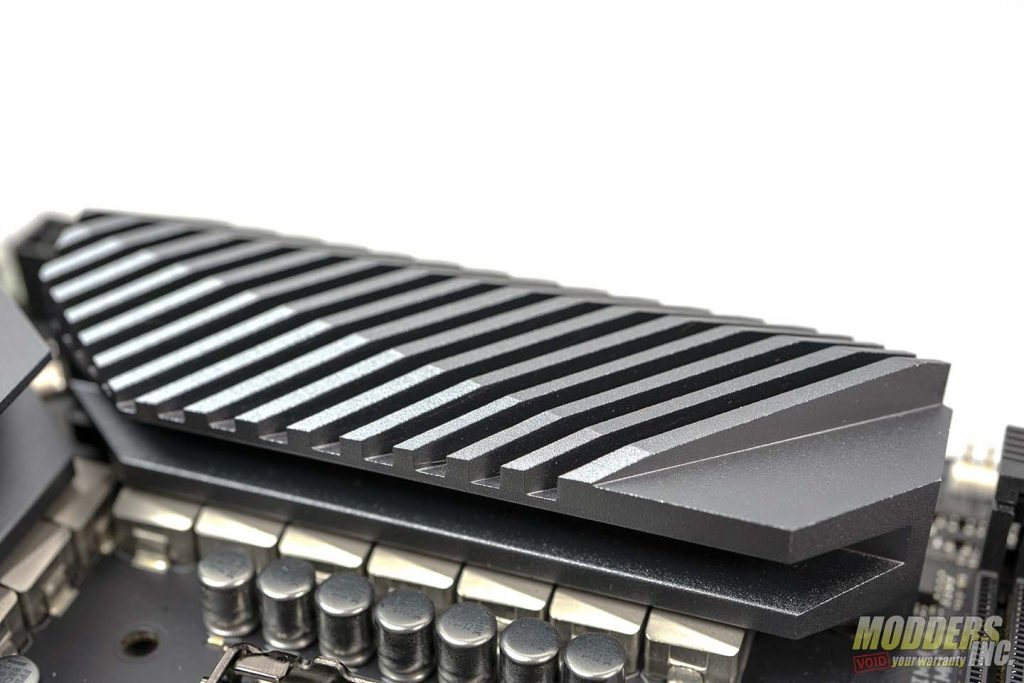
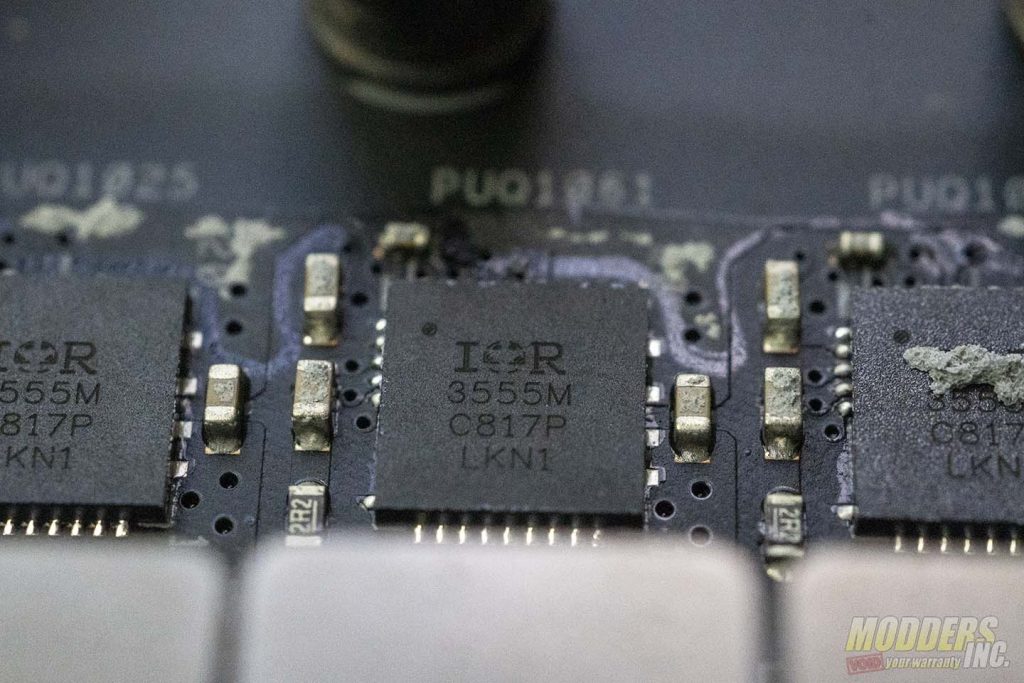
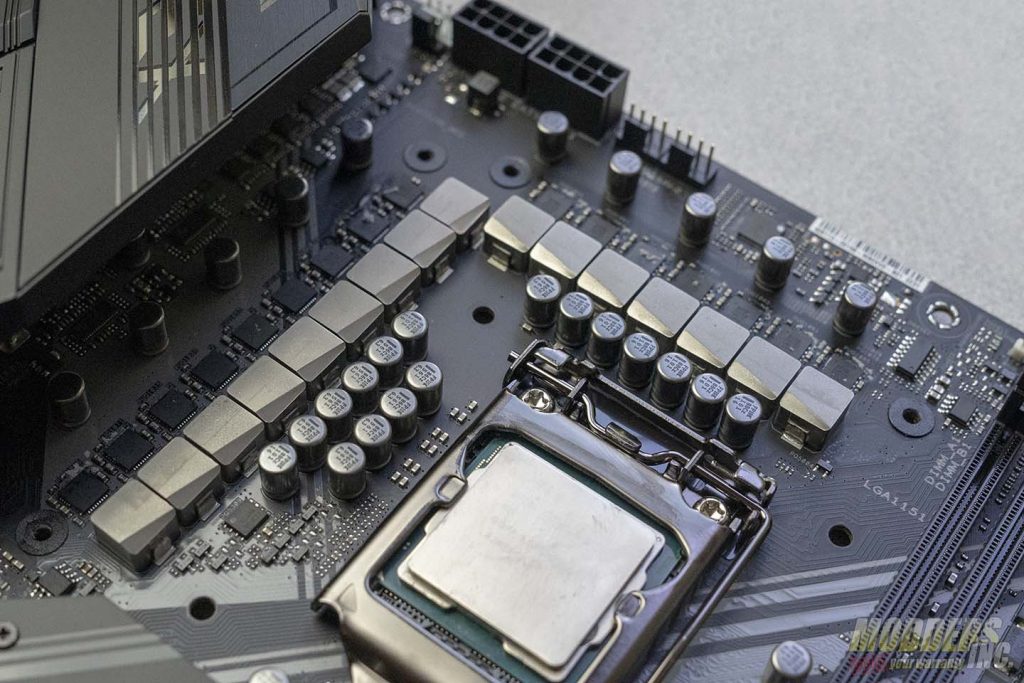
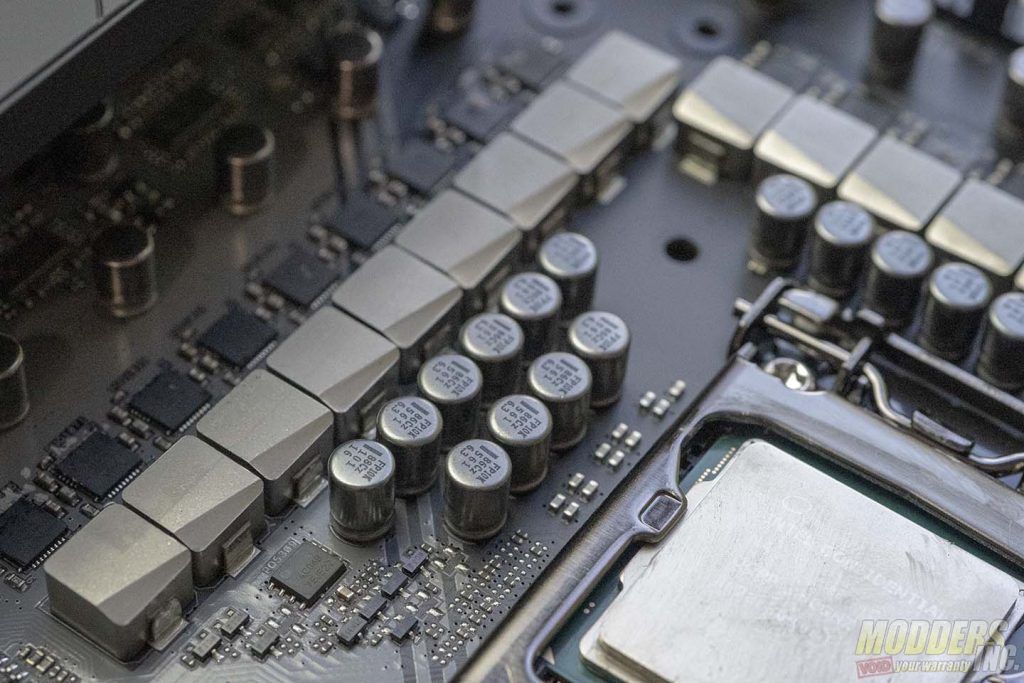
The ROG Maximus XI Apex uses the Extreme Engine Digi+ technology to provide clean power to your CPU. The Apex has a beefy 16-phase power delivery. However, the Maximus XI Apex doesn’t use traditional MOSFET. Instead, the Apex uses PowlRstage MOSFET. Where a traditional power design starts with the PWM controller then follows this path, MOSFET Drivers, High then Low Side MOSFET, Choke, Capacitor then CPU. The PowlRstage MOSFET is a single chip that includes the MOSFET driver, one high side MOSFET, and either one or two low side MOSFETs. PowlRstage MOSFETS are made using a newer, more advanced manufacturing process that leads to them being more efficient than the traditional process. However, they are also more expensive to produce which is why they are usually used on higher-end boards. The MOSFETS are cooled by 2 fined heatsinks with a heat pipe going through them both.
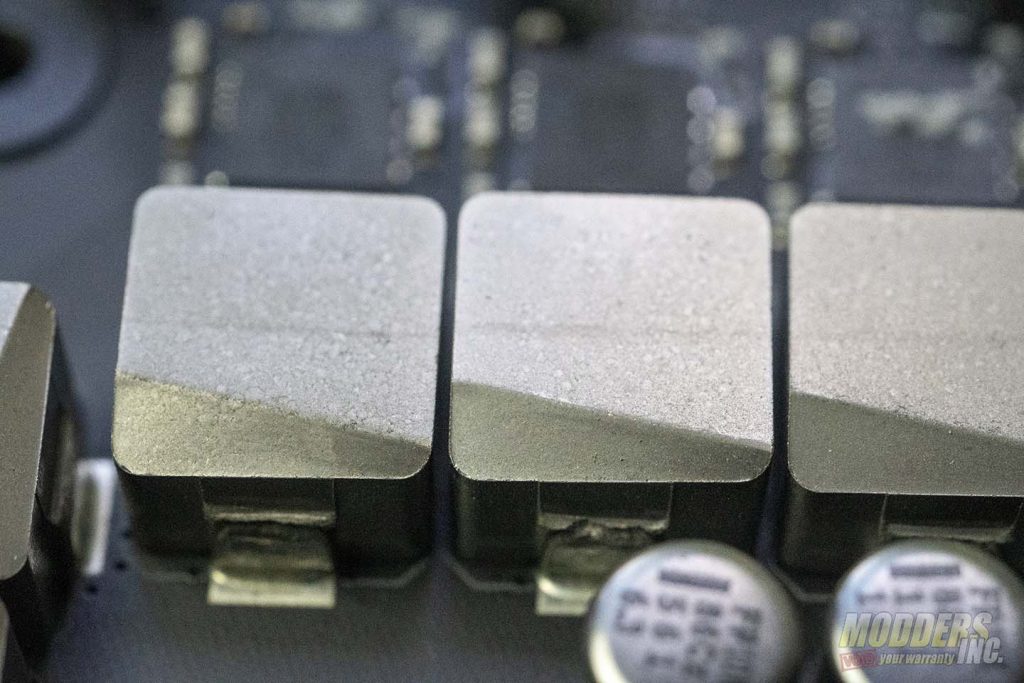
The ROG Maximus XI Apex uses Microfine Alloy Chokes. These chokes use smaller granules than the traditional chokes. These granules are densely packed and designed to be more uniform. The granules in the MicoFine Chokes are three times finer than the average choke. This allows for more evenly distributes air gaps and makes the chokes more permeable. The Alloy chokes were designed to increase the rate of inductance loss by up to 50% when compared to your average choke. The Alloy chokes also run at a far lower temperature than traditional chokes, about 30% cooler on average. All around, the Microfine Alloy Chokes on the ROG Maximus XI Apex is just far superior to your traditional choke.
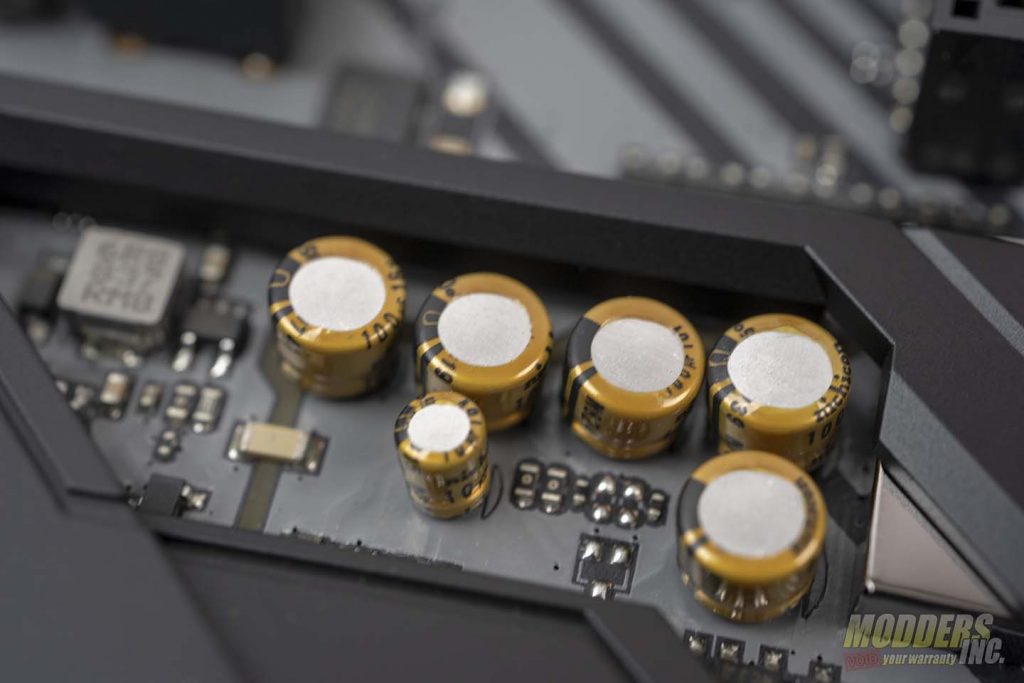
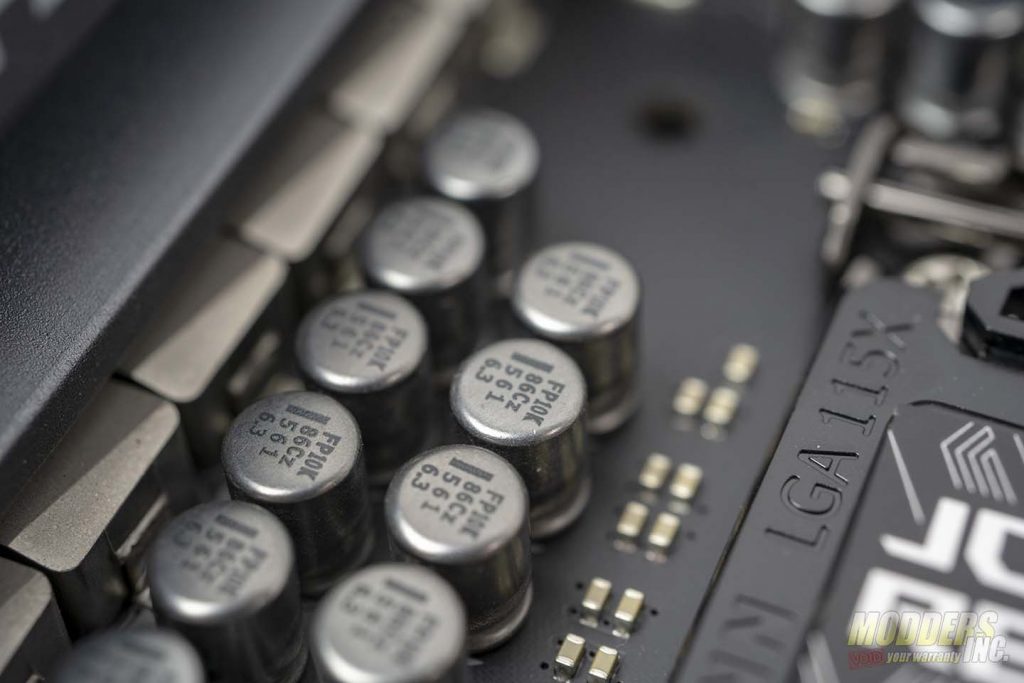
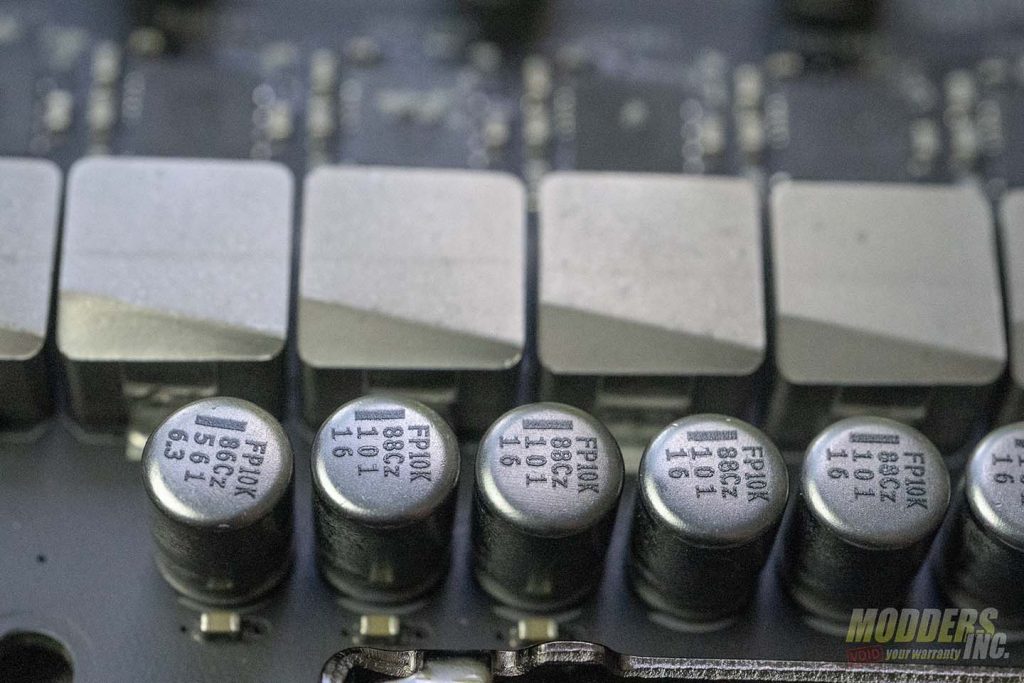
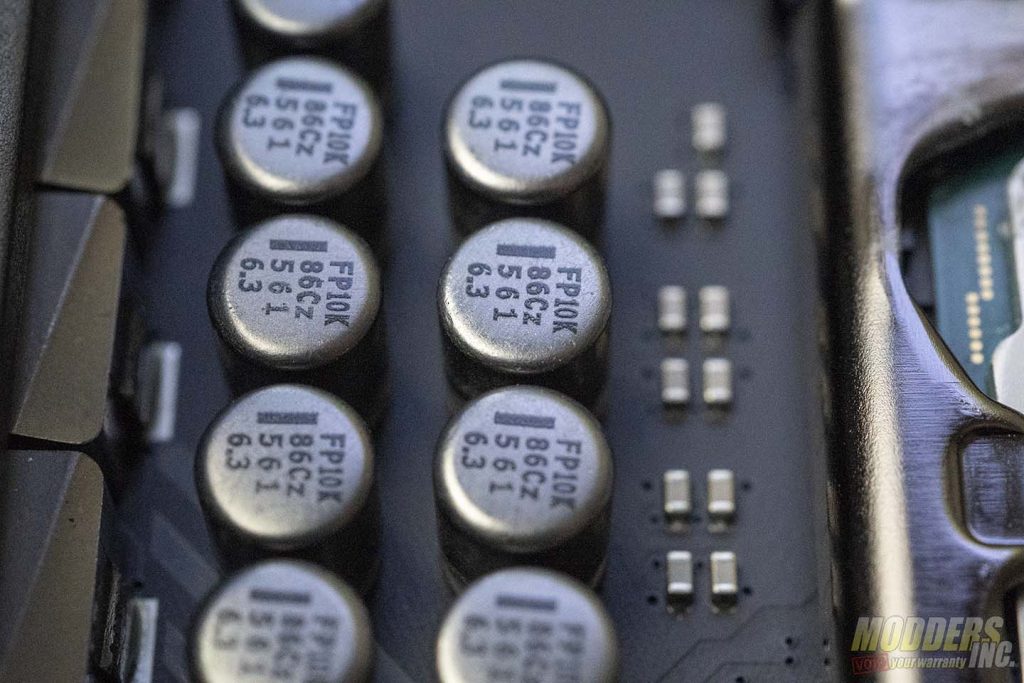
The ROG Maximus XI Apex uses Japanese made 10k black capacitors. With a life span of 10,000 hours, these capacitors have fives times the like span of your industry standard 2k caps. Capacitors are rated for a specific amount of time, in this case, 10,000 hours, running at 105°c. This is far above the average operating temperature of the average PC, hopefully. These components combined with the Digi+ PWM controller on the Apex deliver clean and stable power to your processor for the best overclocking and performance.
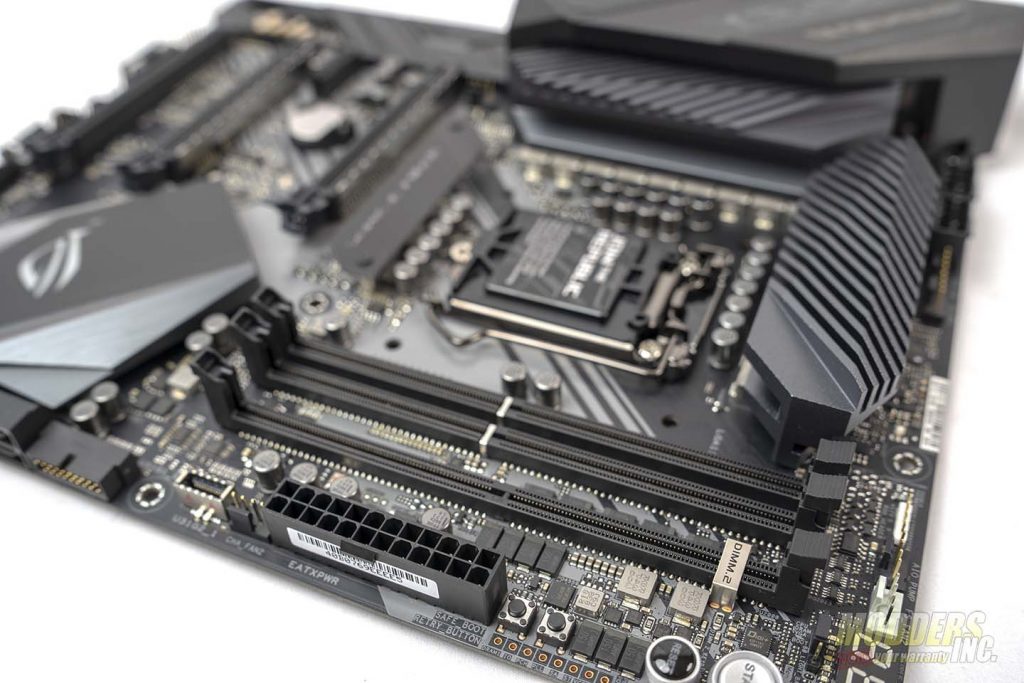
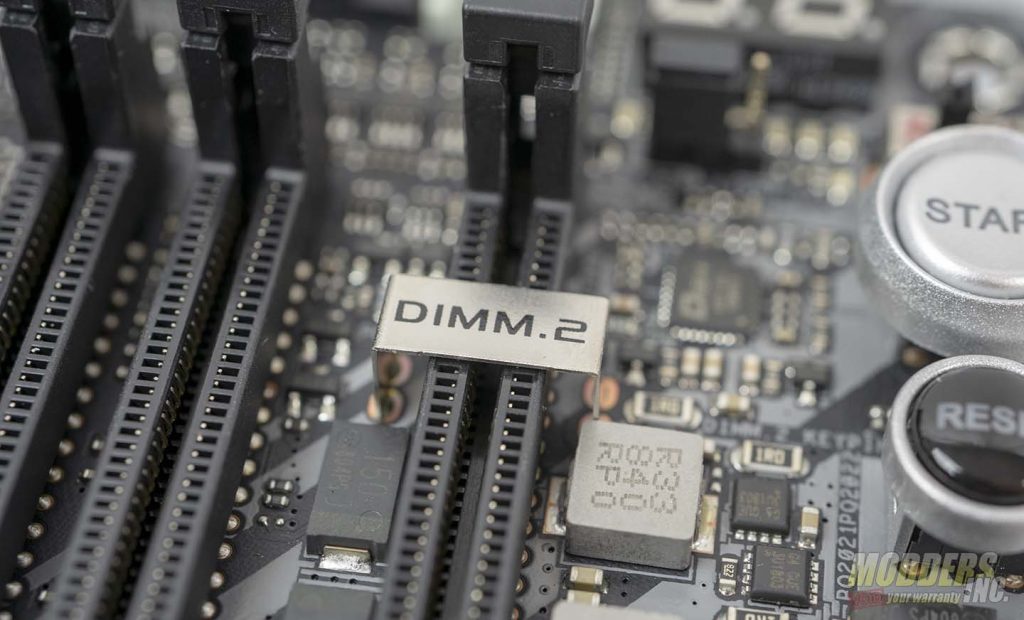
Unlike your average motherboard on Intel’s consumer platform, the ROG Maximus XI Apex has only two DIMM slots. However, these two DIMM slots are optimized for DDR4 4800MHz+ overclocking support and are also double capacity DIMMs. This means the slots support up to 32 GB DIMMs. So if you’re like me and feel dirty using less than 64 GB of ram, ASUS has you covered with the Z390 Maximus XI Apex. The use of only two DIMM slots allows for a shorter memory trace layout and better control over impedance to reduce signal interference. The Apex uses ASUS Optimem II to preserve the integrity of the memory signal. It does this in part to the routing the memory traces through the optimal layers on the PCB to reduce vias and add shielding zones that reduce crosstalk. These features help to provide increased headroom for better overclocking and better stability. This allows the user to achieve overclocks of 4800 MHz and higher on the ROG Maximus XI Apex. ASUS uses its Q-DIMM locking mechanism to lock the memory modules in place. At first glance, the lack of M.2 slots threw me off. That’s because, in place of your traditional M.2 slots on the board, the ROG Maximus XI Apex uses a DIMM.2 Slot that is exclusive to ASUS.
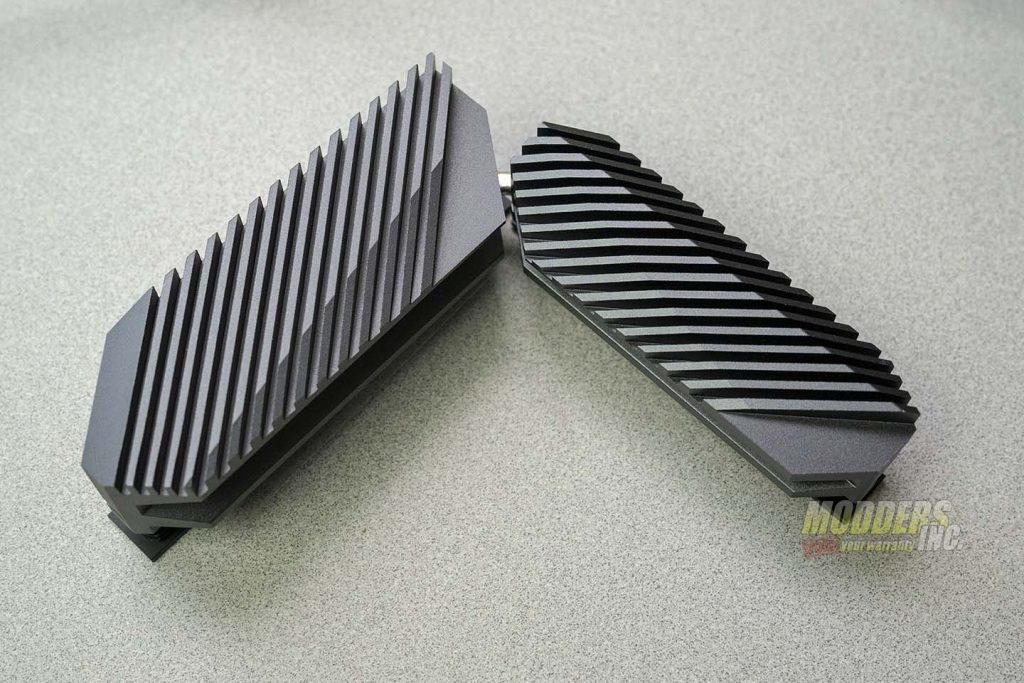
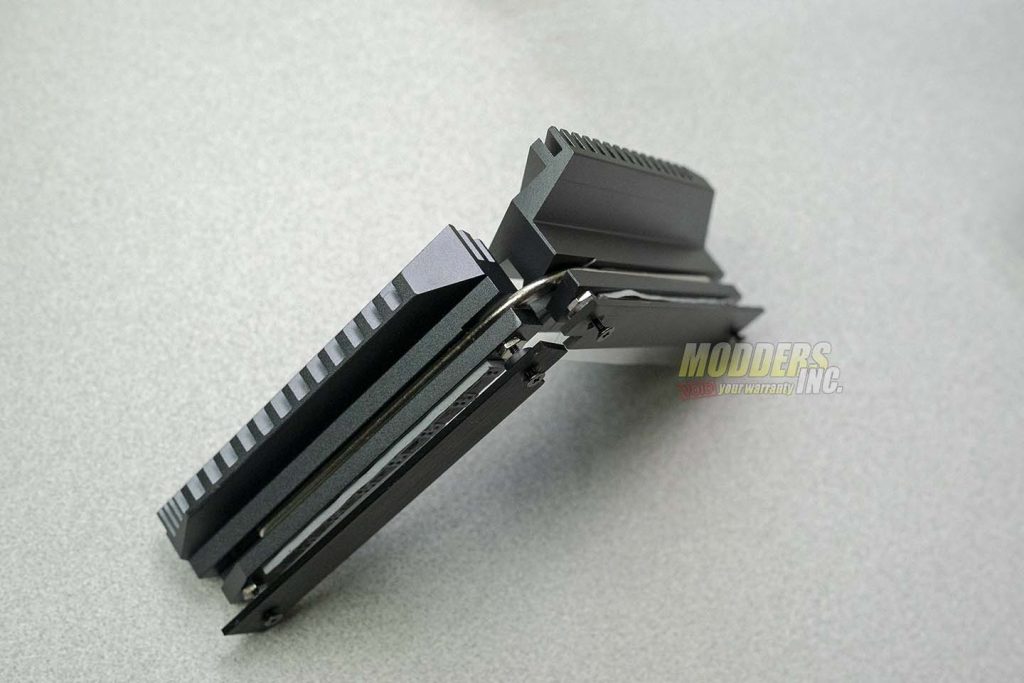
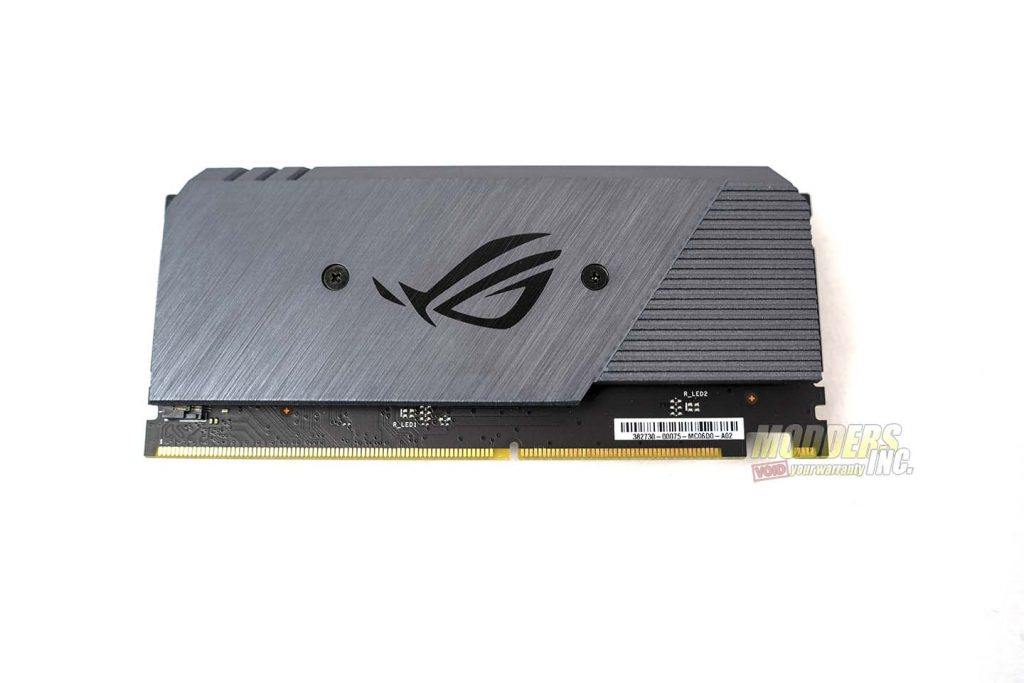
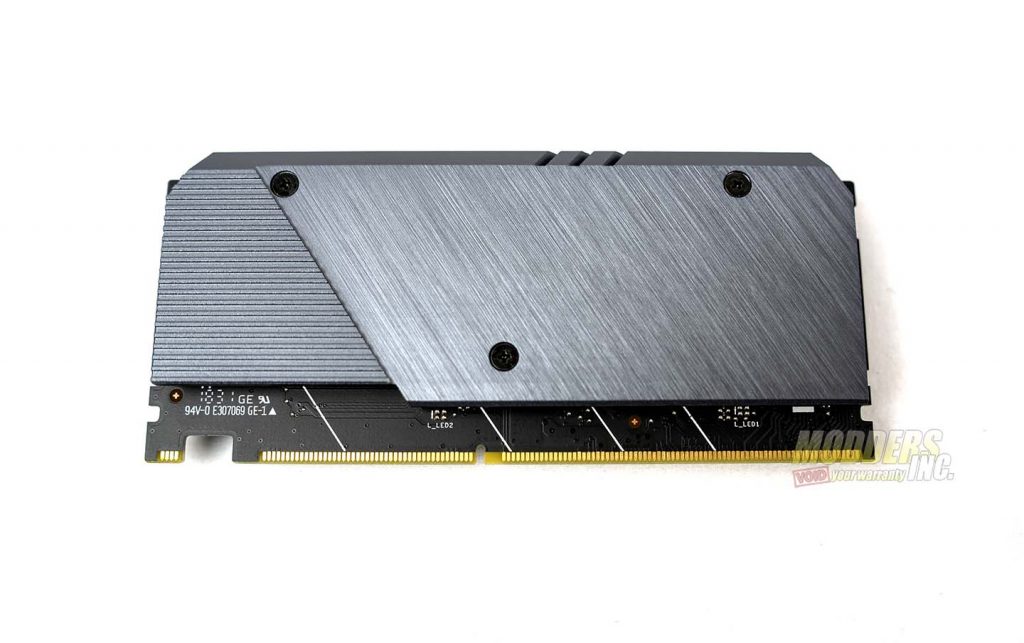
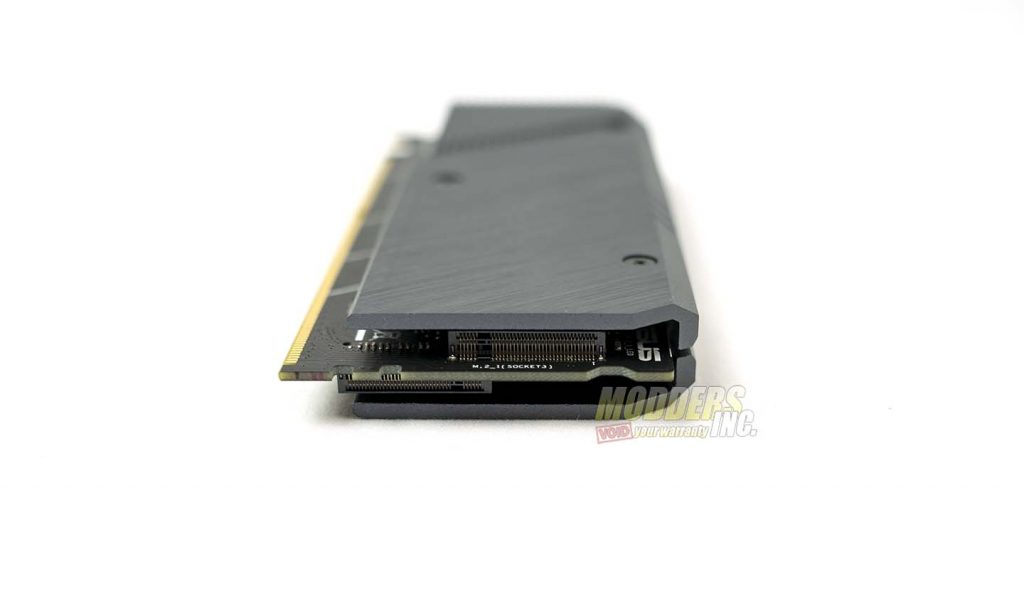
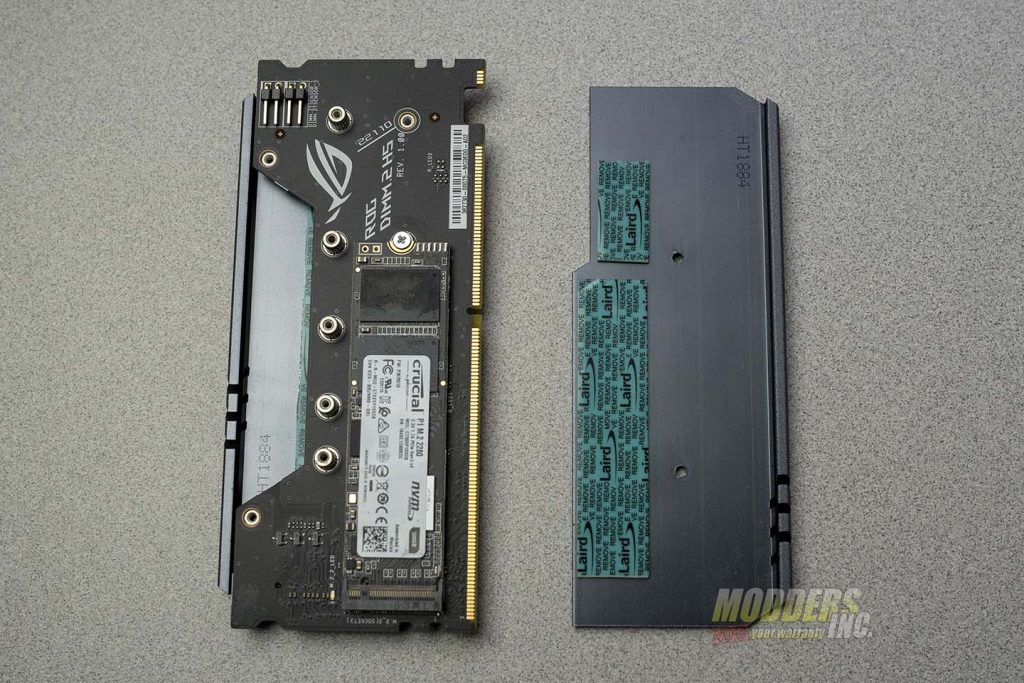
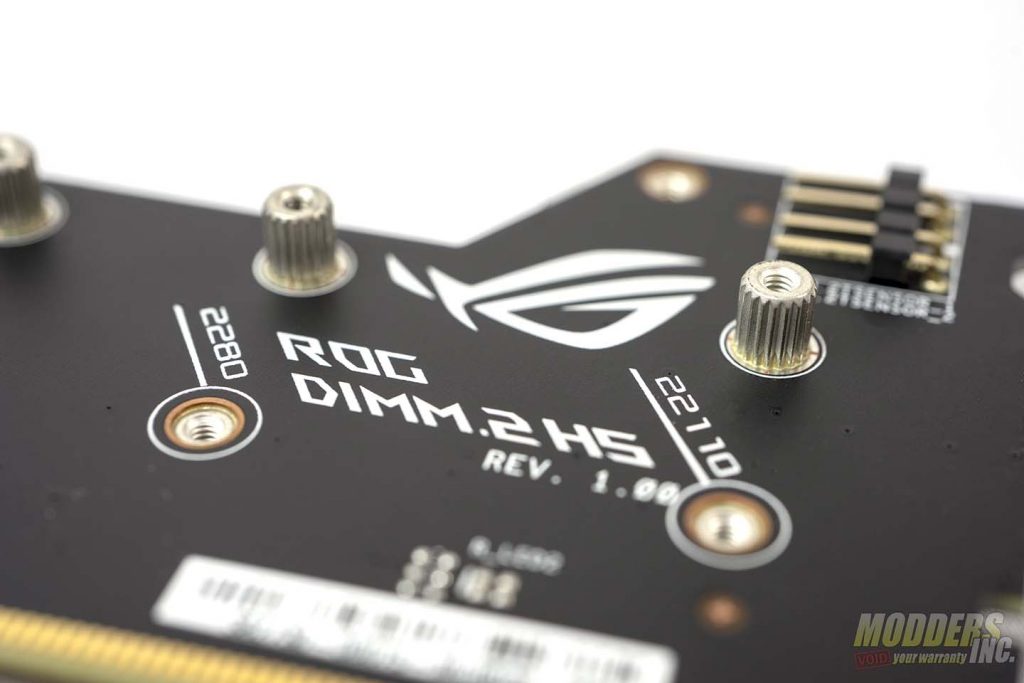
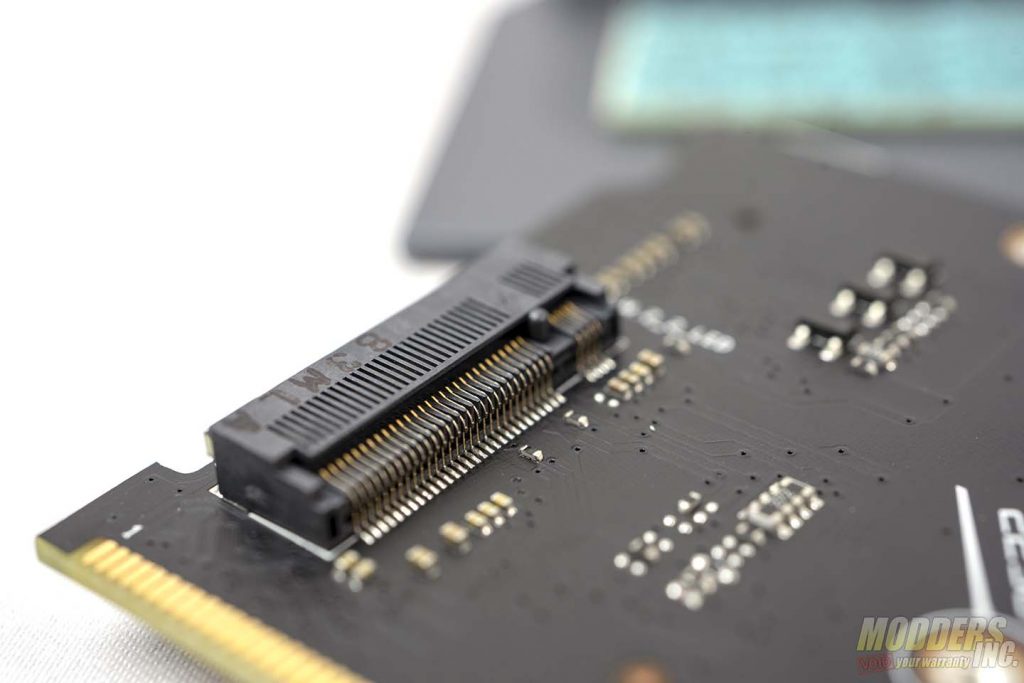
The ROG Maximus XI Apex uses the ASUS DIMM.2 expansion card for a total of two M.2 SSDs. One side of the card can support up an M Key Type 22110 PCIe 3.0 x 4 M.2 SSD. The opposite said of the card supports up to M Key Type 2280 PCIe Gent 3 X4 M.2 SSDs. The DIMM.2 card has heat sinks on either side that not only look good but help to keep the SSDs cooler. A cooler running SSD may not increase performance per se. However, lower temps over the life of the SSD can help to extend the lifespan of the drive. A quick, but important side note. When installing or uninstalling the DIMM.2 card, power MUST BE disconnected from the PC by either shutting off the power supply or preferably disconnecting the power cord altogether. Failure to do so can result in irreparable damage to the motherboard and or drives. I learned this the hard way on the Z270 Maximus IX Apex.
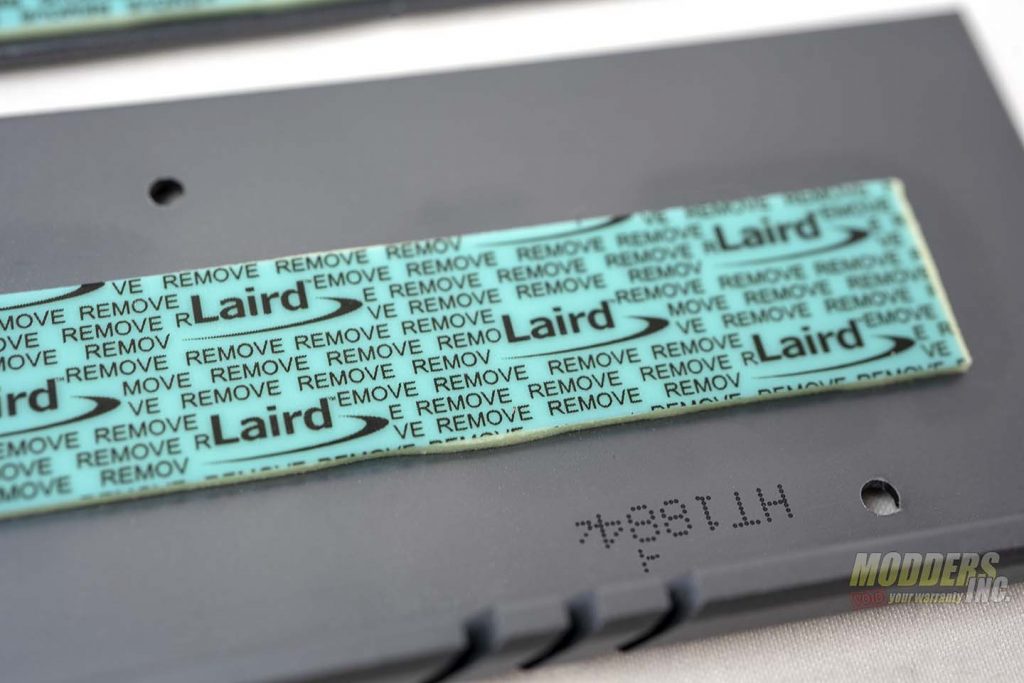
The heat sinks are connected by a series of screws on either side of the expansion cards. On each of the two heat sinks, on either side, there are thermal pads. One side has a single thermal pad for up to a Type 2280 M.s SSD and the other has two thermal pads. One larger one that will cover up to a Type 2280 M.s SSD. The other thermal pad is a far smaller one. This is only used in the case of a Type 22110 M.2 SSD as they are longer than the Type 2280. In the accessories, the ROG Maximus XI Apex comes with two standoffs and two screws for mounting two drives to the DIMM.2 card. To use a PCIe Gen 3 X4 SSD, you’ll have to go into the BIOS and set it to X4 to be able to use most PCIe M.2s as the default setting is X2. The DIMM.@ expansion card also allows for an NVMe Raid. The Z390 ROG Maximus XI Apex supports RAID 0,1 and 5.
The ROG Maximus XI Apex has three PCIe X16 Q-Slots. The locking mechanism on the Q-Slots allows for an easier installation of your graphics card. Just a light push will pop out your card as opposed to traditional PCIe slots that take a bit of force to unlock. The Q-Slots release your cards far easier. The top two slots are what ASUS calls “SafeSlots” This means the PCIe slot is reinforced with a metal brace to provide better retention and help prevent heavier cards, such as the Strix cards, from sagging. SafeSlots are 1.6 times stronger than your traditional PCIe slot when it comes to retention and 1.8 times stronger when it comes to shearing resistance.
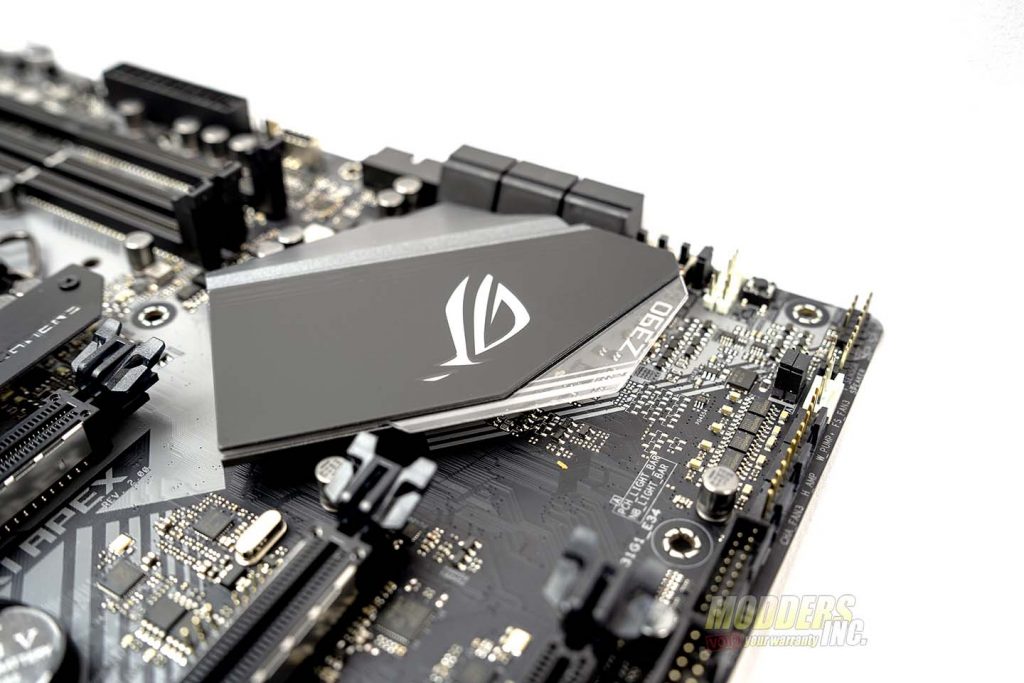
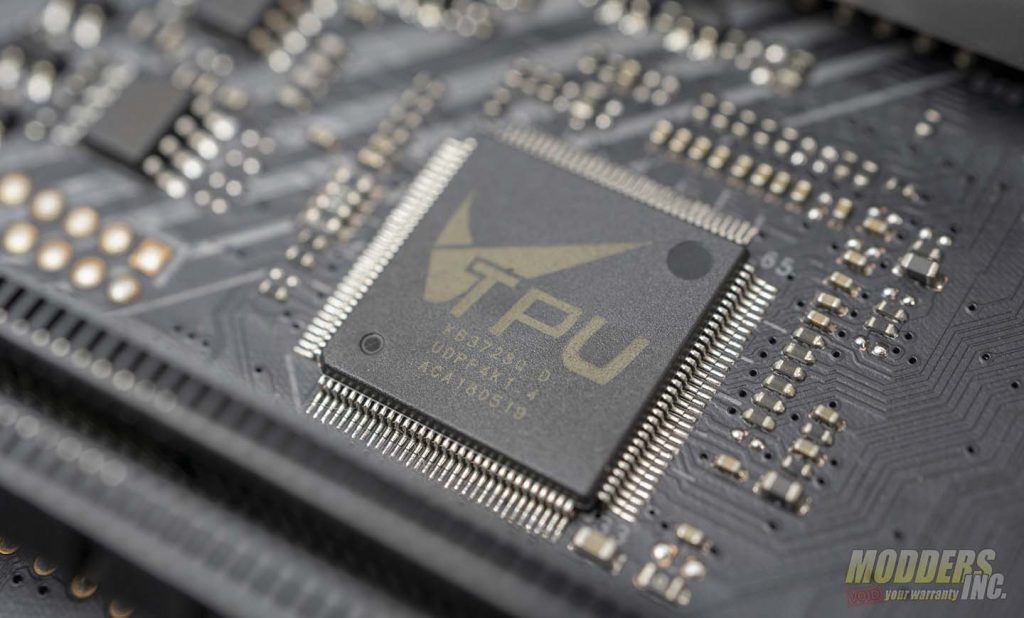
The heatsink over the PCH is RGB backlit and like many other features of the ROG Maximus XI Apex, just look good. The Z390 ROG Maximus XI Apex features the TPU or Turbo Progress Unit from ASUS. TPU allows you to manually adjust the CPU frequency, core ratio, DRAM frequency, and related voltages in the AI Suite as opposed to just in the BIOS.
The Z390 Maximus XI Apex has a very comprehensive cooling design with dedicated headers for almost every component in a full custom loop. This includes headers for six 4-pin PWM and DC fans, a single water pump header, an AIO pump header, three full speed (FS) headers, a header for a flow sensor and a header for a temp sensor. This allows you to set up a full custom loop with temperature sensors and all that can be monitors by your motherboard,
