ASUS A88X-Pro FM2+ Motherboard Review
UEFI Overview and Overclocking
A few notes about the AMD A10-7850K APU before proceeding:
- Kaveri APUs throttle down to 3GHz dynamically during 3D graphic workloads. This seems to be part of their design and there is no option available in the UEFI to disable or change this. It does not seem to affect overclocked performance too much.
- Even overclocks that passed hours of Prime95 or AIDA, launching Battlefield 4 can crash a system, so I ended up testing it with games/graphic test first before running other tests. If you are running it without a discrete card and overclocking, make sure to try graphic loads first.
- Lots of random problems observed with Catalyst 14.2, 14.3, 14.4RC, and 14.4WHQL drivers to the point that it took a painful amount of time just trying to figure out what was going on making me think I had a faulty processor or mobo. Ended up using 14.4RC as it was the only driver not giving me a black screen randomly on game loads, even at stock settings. Also, some drivers produce artifacts on screen and flickering even in 2D mode. Make sure to test out drivers at stock APU settings before overclocking so you can rule out errors and crashes related to this.
Overclocking manually can be done either via AI Suite III which is respectable but UEFI overclocking provides a more refined tuning opportunity. Automatic overclocking can be conducted via AI Suite III’s 4-way optimization, via the physical TPU switch or via OC Tuner in the UEFI.
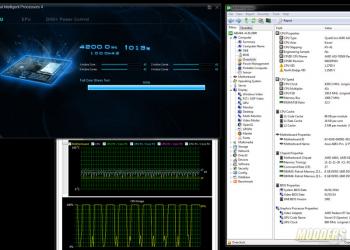
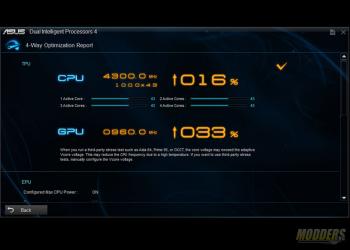
The auto-overclock via AI Suite III is extremely capable, adjusting the GPU clock to 960MHz (from 720MHz stock) and the CPU clock at 4.3GHz with the 2133MHz AMP profile of the memory modules loaded. It even stress tests the overclock (built into AI Suite III) to make sure it is stable. The stress test lasted around 6 hours for the 4.3GHz result. The stress test itself cannot be interrupted outside of closing AI Suite (either by right-clicking on the tray icon and closing or by forcing it closed in Task Manager), but when you do it safely shuts down windows and proceeds with the optimization with the last working CPU value tested before being interrupted (which in this case was 4.2GHz because it thinks that 4.3GHz was unstable since the program closed). It is completely stable and does not hang-up while in the middle of the optimization and even when forced to close so kudos to ASUS for having a smooth optimization program.
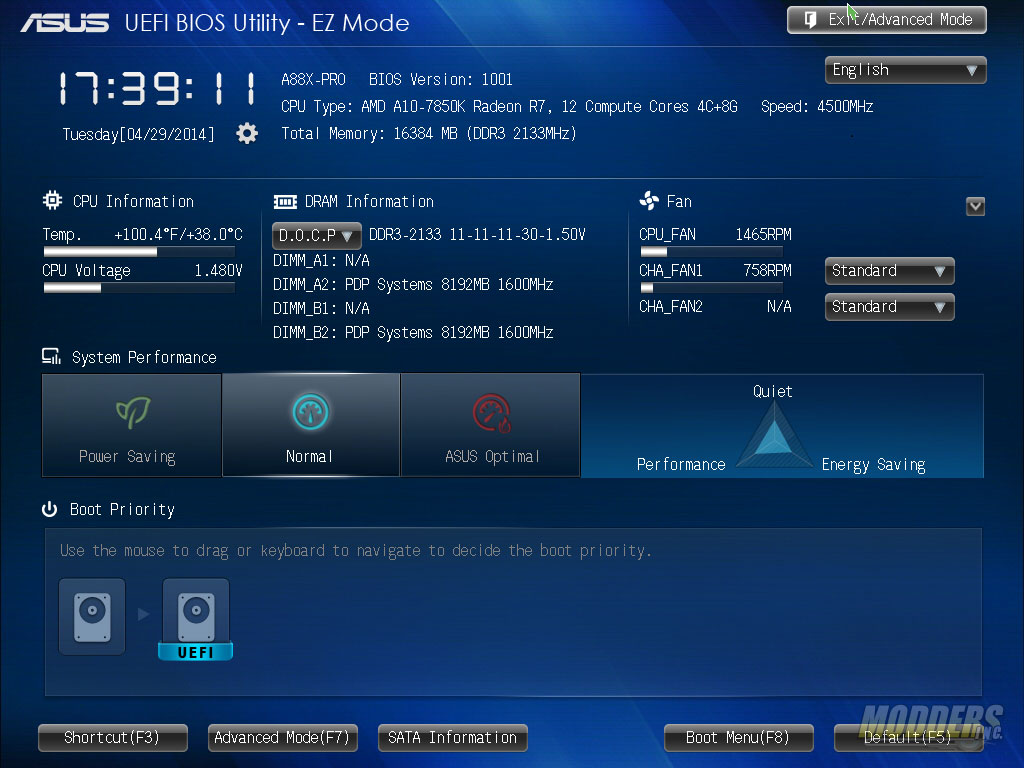
While the UEFI defaults to EZ Mode, advanced mode is only one tap of the F7 key away or if you prefer using a mouse you can click the button. ASUS has actually made some improvements on the EZ mode section including an easier date/clock adjustment and quick RAM and fan options. The EZ mode layout stayed primarily the same as it was when it was first introduced, just with a different graphic. All the basic information is listed with drag-and-drop boot priority settings at the bottom, power profiles in the middle and system functions at the top.
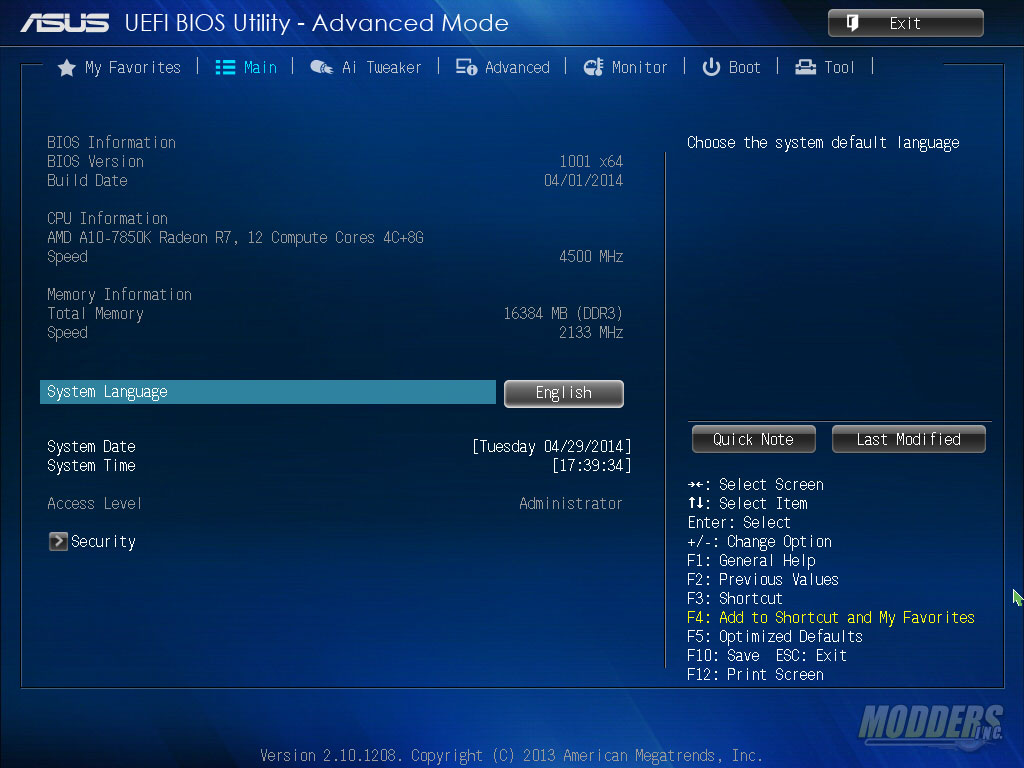
The first tab on Advanced mode is the “My Favorites” section although the default is actually the Main screen which has grayed out information, a security sub-menu and selectable language with date/time options.
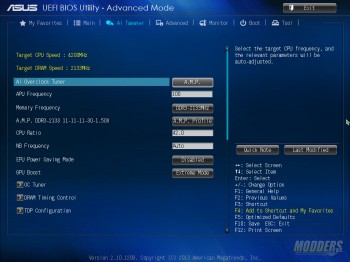
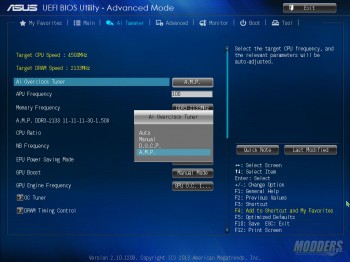
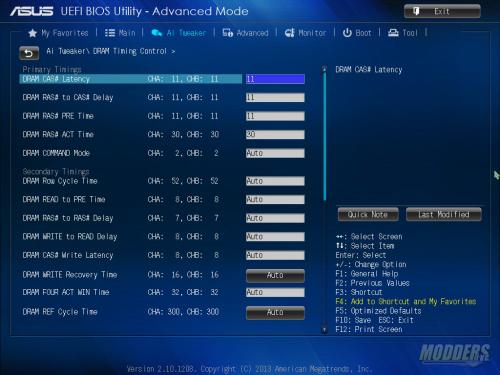
The AI Tweaker tab is where we will do the bulk of the overclocking. All the options are adjustable in this tab except for the target values in yellow at the top for the CPU speed and DRAM speed. Ai Overclock tuner provides several options: Auto, Manual, D.O.C.P and A.M.P. The A.M.P. profile only shows up if your memory module has an A.M.P. profile, otherwise, the custom D.O.C.P. profile is selectable. This is the most basic way of overclocking your system since technically loading a memory profile will run the memory module beyond the standard JEDEC spec. When the profiles are loaded, the voltages will be set in the DRAM voltage automatically as well as the timings in the DRAM Timing Control sub-menu to the values in the profile. When a profile is loaded, the value is listed underneath the memory frequency.
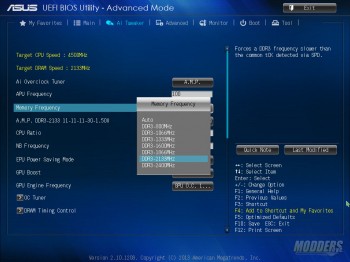
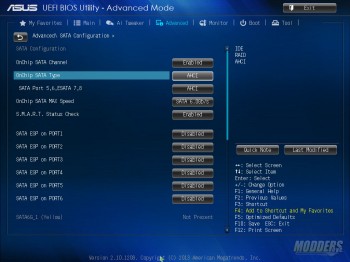
Users can also use manual settings for the memory frequency with a dividers ranging from 800MHz to 2400MHz. For memory higher than 2400MHz, NB frequency has to be adjusted beyond stock/auto and APU frequency has to be used. If you must use APU frequency to set high memory settings, use IDE mode for SATA since AHCI will limit APU frequency adjustment to 105. With a Kaveri A10-7850K though, adjusting the CPU ratio, GPU frequency and memory speed produces the best gains and adjusting NB and APU frequency is not a priority.
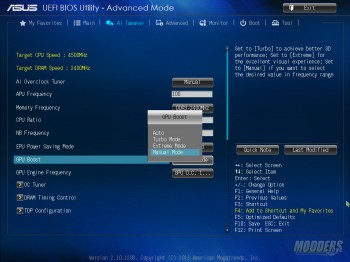
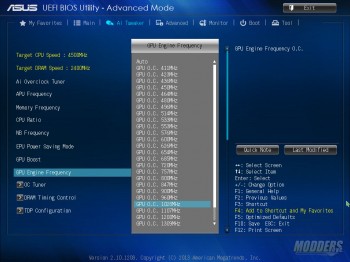
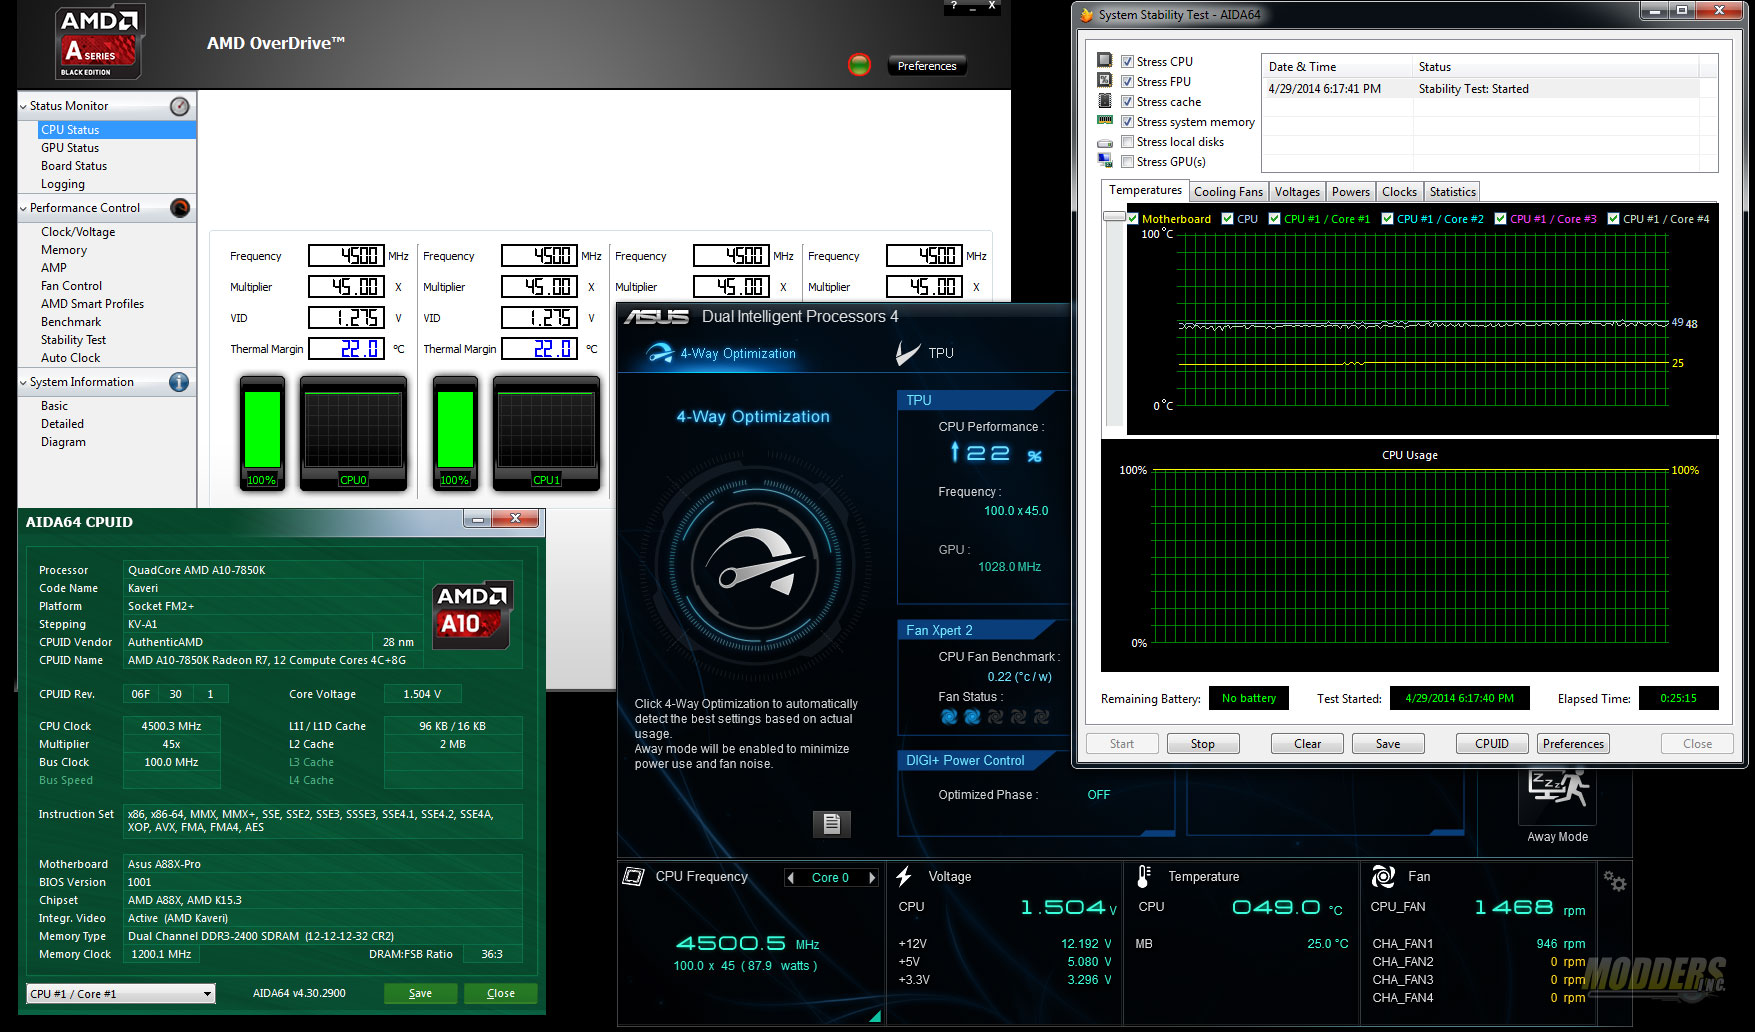
To overclock the CPU speed, adjust the CPU ratio by typing a value multiplier (multiplied to the APU frequency) such as 45 for a 4.5GHz CPU speed. GPU overclocking like in AI Suite, has Turbo and Extreme modes in the GPU boost setting, which can clock up to 960MHz. For greater speeds, the GPU boost has to be set to Manual which opens up the GPU Engine Frequency option directly below it. GPU Engine Frequency has settings for as low as 411MHz and as high as 1800MHz. GPU overclock was able to be set manually to 1028MHz stable, additional voltage and adjusting NB for higher GPU OC just resulted in instability.
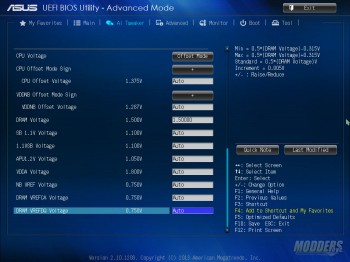
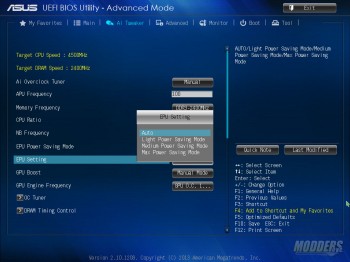
Obviously, voltages play an important part in getting that system to boot, let alone run stable. The lower section of the Ai Tweaker page is dedicated to adjusting such voltages. While CPU voltage is adjusted with CPU voltage options, GPU frequency on the other hand does not have a direct voltage setting but relies on VDDNB voltage instead. If you are not sure about adjusting voltages, I recommend leaving the voltages at default auto since the Auto rules on the A88X-Pro is fairly effective. In fact, I recommend using Offset voltages rather than constant voltages for CPU since it is easier. Leaving it at auto is just slightly higher than what AI Suite TPU voltage uses and thermals are very manageable with an air cooler. Leave TDP configuration and EPU settings to Auto unless you want to underclock. CPU voltage around 1.5V on load is still manageable with most tower-air coolers. With the Noctua NH-U12S, temperatures were still 20C away from thermal limit according to AMD Overdrive.
For those who are going for high-OC with more precise voltage control, the DIGI+ Power Control allows for load-line calibration adjustments. Overclocking is primarily a balance between the frequency or multi being attempted and the voltages set. Sometimes, the voltage supplied “droops” on load which can disrupt stability, even though it may be only momentarily. Load-line calibration (or LLC for short) basically adjusts the voltage range to combat the voltage droops (or vDroops) and with the current adjustment, extend this range further. This results in higher voltage on higher setting while the lower setting is the most power efficient. Different motherboards have different ways of implementing LLC but for the ASUS A88X-Pro, LLC settings can be adjusted to Regular (0%), Medium (20%), High (40%) and Extreme (100%). For 4.5GHz manual OC on air, Medium or High is advised. CPU/NB LLC is similarly adjustable for the DRAM.
Final manual overclock was stable at 4.5GHz and 1.4885 Vcore, 1280Mhz GPU and memory pushed to 2400MHz but timing loosened to CL12. This was completely stable under prime95, AIDA and OCCT but for some reason a single launch of BF4 would crash instantly or even running Firefox would freeze screen (as mentioned in the notes above). Instead of lowering the GPU OC, I decided to move back down to the AMP settings of the memory at 2133 MHz and was able to run all games and benchmarks without issues.
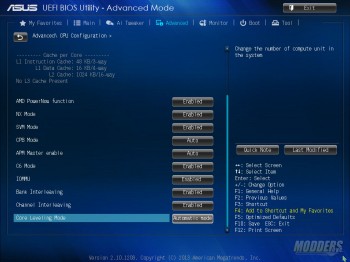
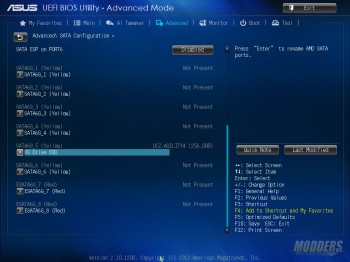
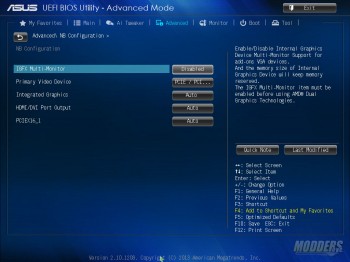
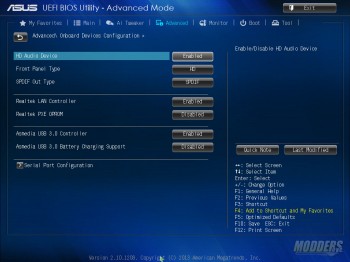
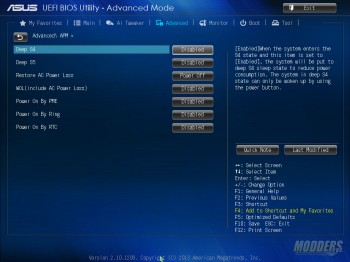
The Advanced page provides several sub-menus for individual components including the CPU, SATA, USB, NB, APM, etc. Under the CPU configuration is where you can disable AMD PowerNow and C6 functions. IOMMU is disabled by default but if you are going to turn it on, make sure to install AMD drivers after because Windows will display an error about a device detected without a proper driver.
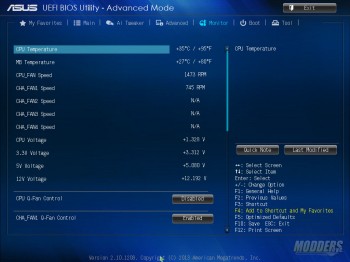
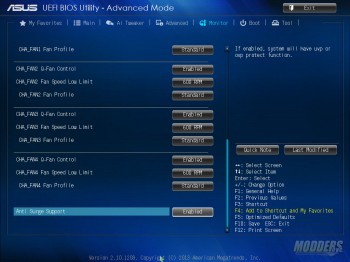
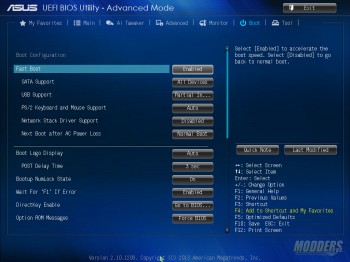
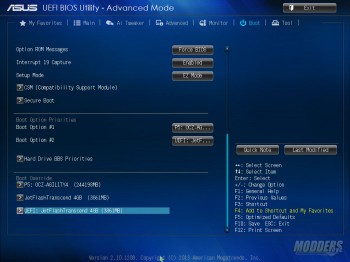
The monitor page is where users can adjust fan controls. CPU Q-fan is disabled by default but all other fan headers have it enabled. The boot tab on the other hand has a lot more selectable options including disabling and enabling certain features for boot. The boot sequence priority can also be adjusted here.
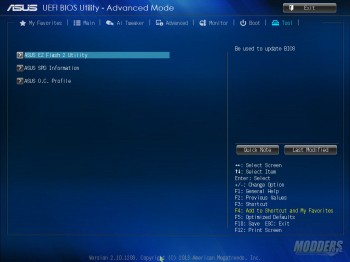
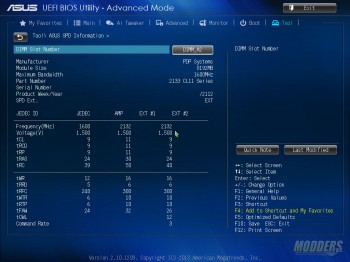
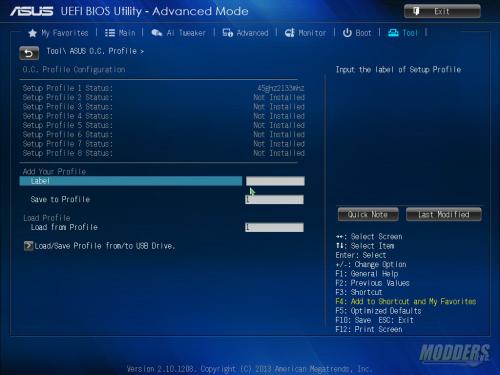
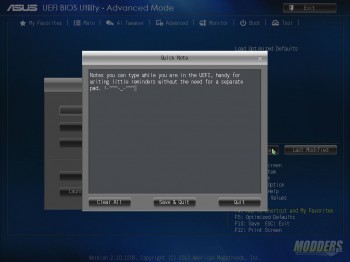
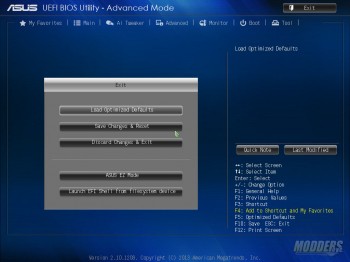
The last page is called the Tool page which contains the EZ Flash 2 utility that launches a separate stand alone interface for updating the UEFI. ASUS SPD information for viewing module values is also available as well as an OC Profile bank where users can save and load UEFI settings. Before exiting, the ASUS UEFI also notifies users of what changes have been made before saving, very handy just in case you made changes by mistake. The built-in Quick note also allows users to save important info, especially when overclocking while in the UEFI. For those who do not like the layout of the ASUS UEFI, they are also in luck since the favorites function allows users to save shortcuts to UEFI options that are frequently used without going through several nested menus. It is a very solid UEFI all around and is still the best UEFI interface in terms of stability and function I have ever come across.
