ASUS A88X-Pro FM2+ Motherboard Review
A Closer Look at the ASUS A88X-Pro Motherboard
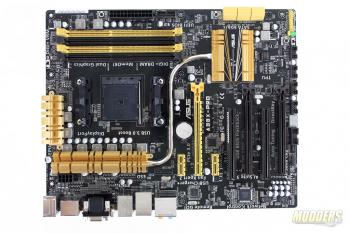
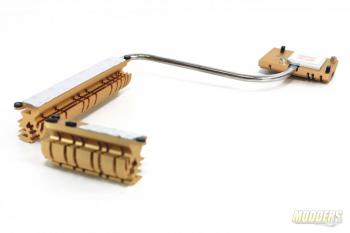
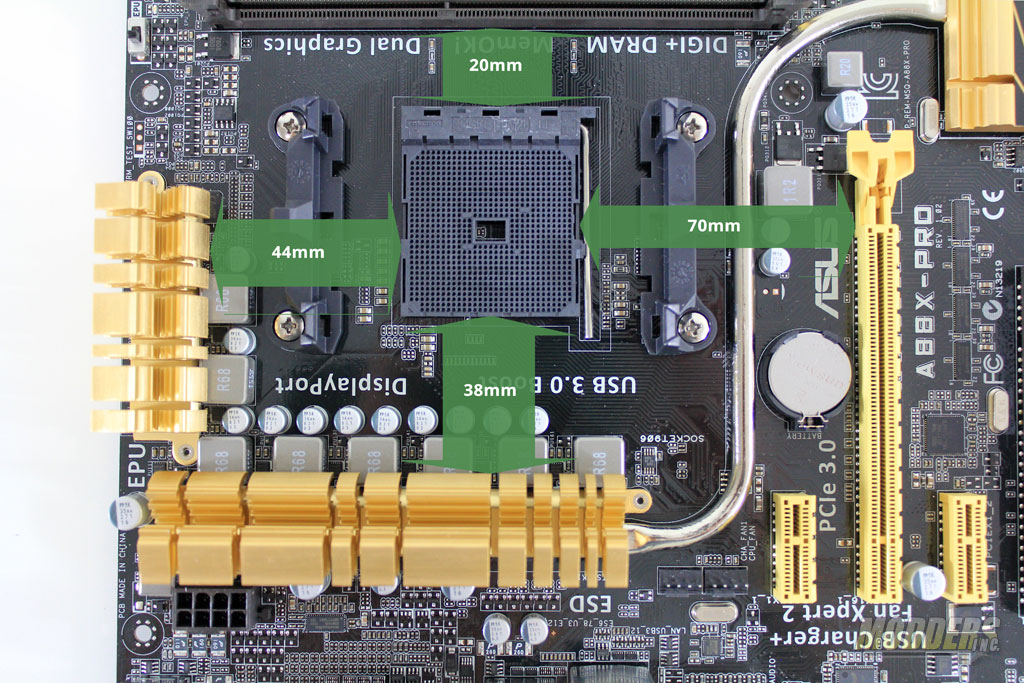
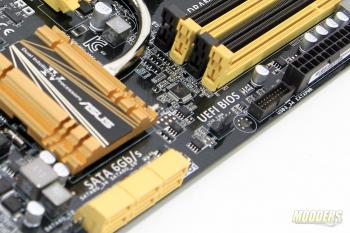
The ASUS A88X-Pro is has a standard ATX form factor measuring 305 x 244 mm on a black PCB with a black and gold color scheme. The main CPU voltage regulator heatsink is connected by a long 8mm thick heatpipe to the AMD Bolton D4 chipset heatsink on the lower right. The NB heatsink along the top edge is smaller and independent from the CPU VRM cooling.
The VR and chipset heatsinks are held in place by screws and have thermal pads on the contact surface.
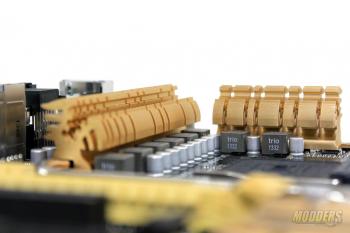
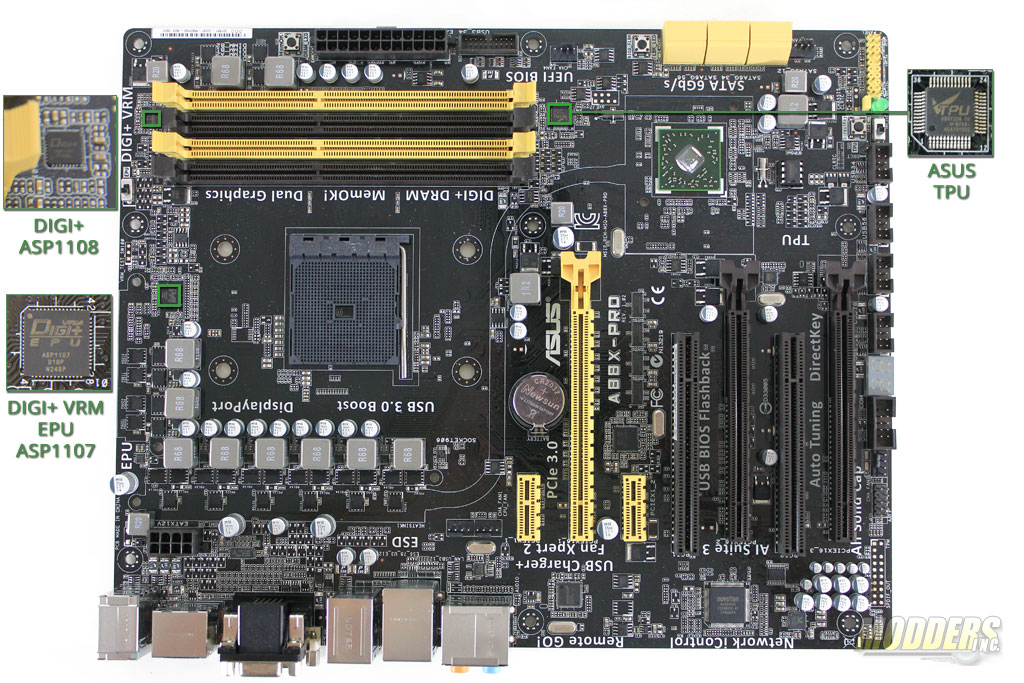
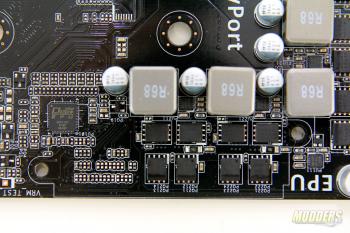
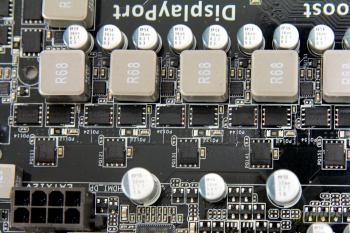
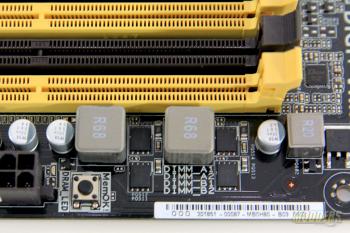
ASUS uses an all-digital design on their modern mainboards utilizing several VRM controllers “DIGI+ VRM EPU” energy processing unit for the CPU (marked ASP1107 located above the CPU socket), a smaller DIGI+ controller right above the DIMM slots and a chip marked TPU K73220 (TurboV Processing Unit) which handles the desktop overclocking (via AI Suite) and auto-overclocking features. The voltage regulator MOSFETs are more traditional compared to the high-end all-in-one NexFETs used on the latest Z87 RoG boards. ASUS has utilized all ON-Semiconductor LowRDS(on) Power MOSFETs with a CHL8510 driver: 6 phases for CPU main with one NTMFS4C09N high-side and a pair of NTMFS4C06N (stated with 30V, 52A and 30V,69A respectively from On Semi datasheet) low-side as well as two NTMFS4C09N high and two NTMFS4C06N low for the VDDNB (two phases for NorthBridge and for integrated graphics) at the top edge. The memory phase on the right side of the DIMM slots also has two pairs of NTMFS4C09N MOSFETs.
All the chokes on the A88X-Pro are TRIO Ferrite core inductors while all capacitors used are solid Japanese capacitors with a 5K or 5,000-hour rating at 105C. Compared to other motherboards with a 2000-hour rating at 105C (which last 200,000 hours at 65C typical), the 5K @ 105C rating translates to 500,000 hours at 65C.
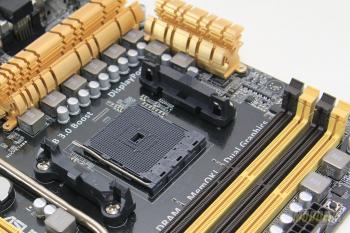
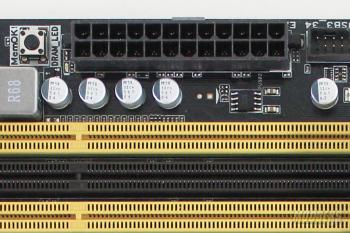
The A88X-Pro utilizes an FM2+ socket, which means it supports the latest 906-pin processors from AMD (such as the A10-7850K “Kaveri”) while being backwards compatible with previous 904-pin FM2 processors. Since Kaveri processors have two extra pins, they are not backwards compatible with older non-“plus” FM2 motherboards such as an ASUS F2A85. There are four DIMM slots, typical on a standard ATX mainboard, color coded in alternating black and golden yellow. The A88X-Pro supports dual-channel configuration up to 64GB in capacity and can run up to 2400MHz (via memory divider setting in the UEFI). Unlike the Z87-Pro board, the ASUS A88X-Pro’s DIMM slots are not single latch but are more of the standard dual-lock design. Thankfully, there is a bit of a gap between the PCI-E x16 slot and the bottom DIMM latches so removing a memory module when a video card is installed is not an issue. A debug LED is available right above the 24-pin connectors which indicates the DRAM check in sequence during bootup. This debug LED will stay lit if an error is found so it is a very convenient addition for easy troubleshooting.
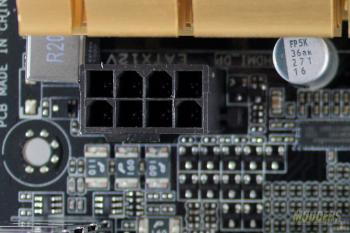
Power supply connectors are located on the right side edge for the 24-pin and right behind the CPU VR heatsink for the 8-pin. The 8-pin connector plugs in “vertically” since space can be tight between the rear I/O and the heatsink.
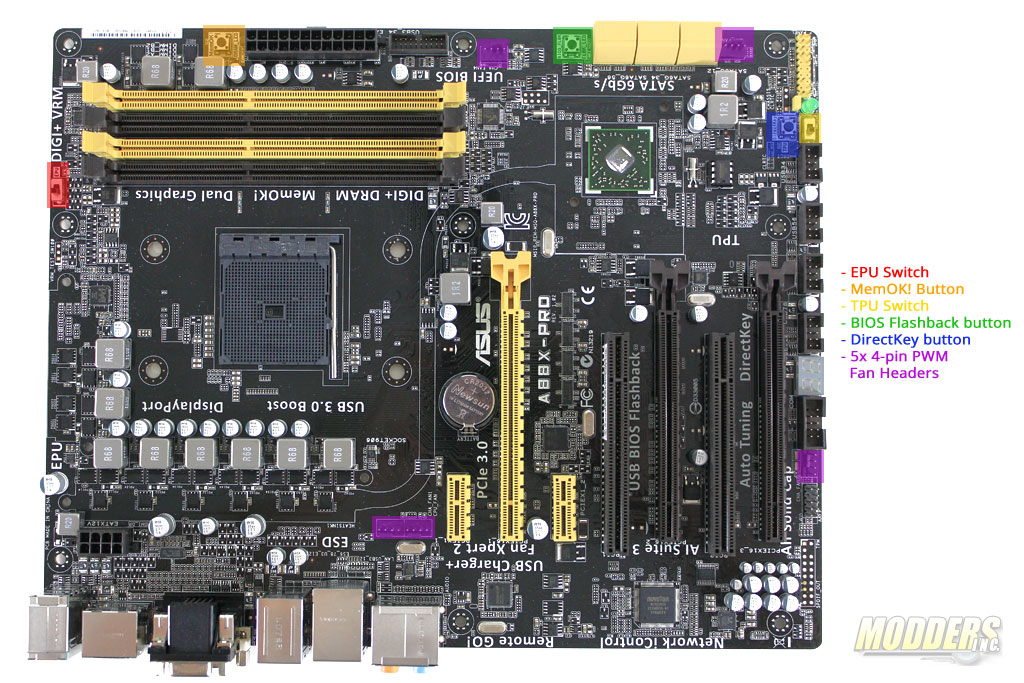
There are also several more ASUS exclusive features onboard the A88X-Pro highlighted in the image below for convenience:
RED – EPU switch = Manual toggle which enables power management features (I will explain this further in the Overclocking/Software page later). An LED indicator will stay lit when this switch is toggled ON.
ORANGE – MemOK! button = Automatically loads safe memory settings that are preventing a system boot.
YELLOW – TPU switch = Manual toggle which enables auto-OC features (I will explain this further in the Overclocking/Software page later). Unlike the ASUS Z87 boards, the toggle on the A88X-Pro is a two-way switch suggesting an OFF and ON position only for multiplier adjustment instead of an additional multi+BCLK (or in this case APU clock) option. An LED indicator will stay lit when this switch is toggled ON.
GREEN – BIOS Flashback button = BIOS Flashback is an extremely handy feature that allows users to easily upgrade their BIOS. In fact, all you need is a USB drive (FAT16 or FAT32 formatted), and a power supply for standby power. You do not a processor, a memory module, or any other drive to use this function. To use, simply plug in the power supply then place the BIOS file on the USB drive and plug it into the designated USB port on the back of the motherboard (usually designated white or green). When ready, simply press the BIOS Flashback button and observe the LED, once it stops blinking, flashing has been completed.
BLUE – DirectKey button with 2-pin front-panel header = DirectKey button with 2-pin front-panel header = this feature provides users with a direct access to the BIOS on bootup without having to mash the F2 or DEL key. The 2-pin front panel header allows users to access this function from their case button (recommended in place of the reset switch). When pressed on a Windows 7 or 8 system that is currently running, the OS will safely shut down and the next time the system is turned on, the UEFI screen will come up.
VIOLET – PWM Fan headers = All five fan headers on the ASUS A88X-Pro are 4-pin PWM fan headers. Fan control is top notch on ASUS boards and the A88X-Pro has four channel fans and one CPU fan header (for a total of five headers) which have very good controls on the UEFI and excellent controls via the AI Suite Software. Presets are also readily available on both UEFI and AI Suite software but users can benchmark and customize their cooling needs in AI Suite III’s FanXpert software.
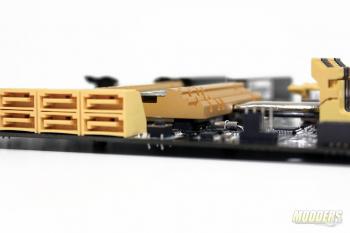
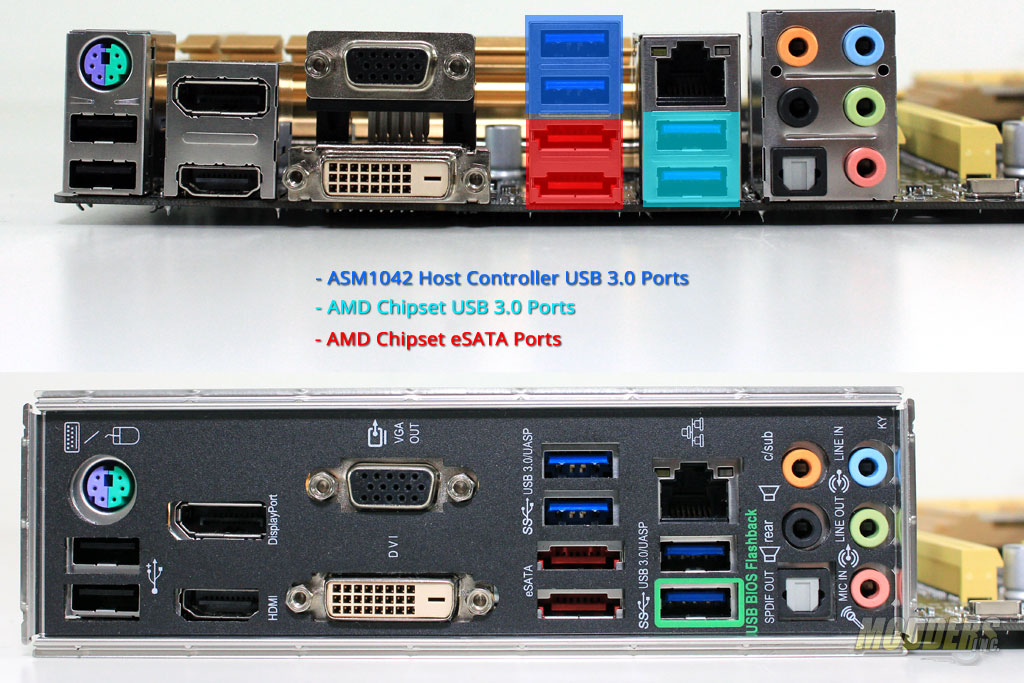
Along the right edge is a 19-pin USB 3.0 header (directly below the 24-pin power connector) and six angled SATA 3 (6Gb/s) ports. The AMD A88X chipset provides a total of eight with RAID options (supporting RAID 0, 1, 5, 10, JBOD) and the other two are used as E-SATA on the rear IO. As for USB 3.0, the A88X chipset natively provides four, two of which is from the 19-pin mid-board header and two are provided in the rear IO (located below the RJ-45 LAN port).
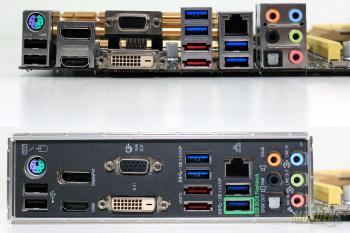
The bottom USB 3.0 connector in the rear IO highlighted green with the IO shield is the port with USB Charger+ functionality and the port used for USB BIOS Flashback as well.
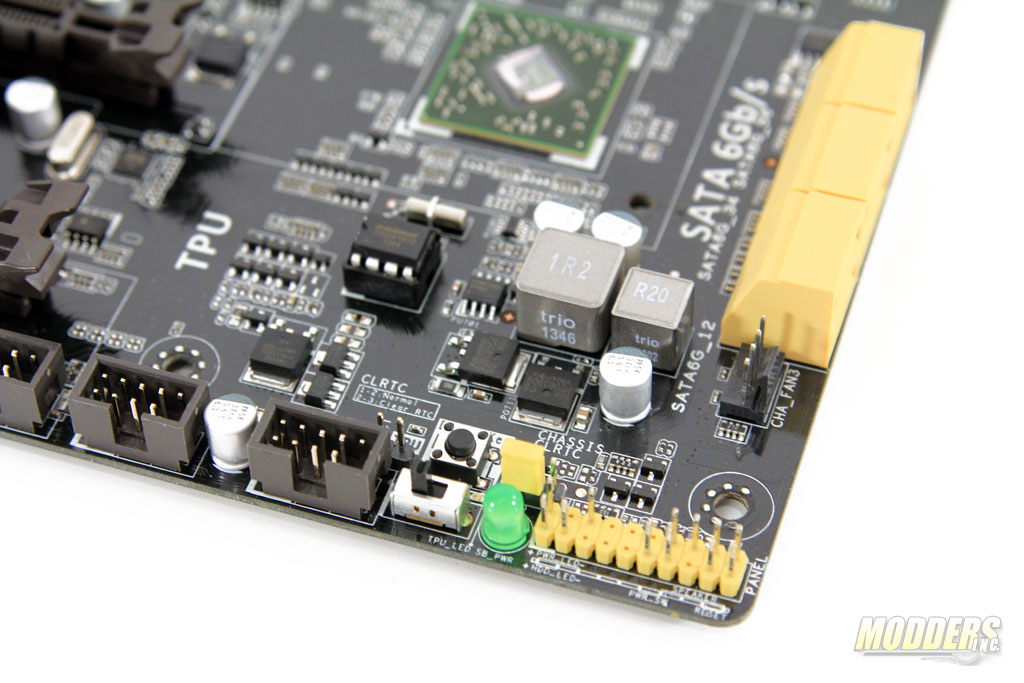
Along the bottom edge you have a series of headers and other features including a yellow front panel header where the yellow Q-connector attaches. The pin-out is also marked on the motherboard for users who want to connect front panel case cables directly. Right beside it is a simple LED indicator if there is standby power, which is handy for troubleshooting whether the power supply is even providing power even before you turn the system on. A socketed Winbond W25Q64FV 64-Mbit serial flash memory containing the firmware is located mid-way between the bottom edge and the AMD chipset.
Directly above the standby power LED is a CLRTC jumper for clearing the CMOS. To the left of the TPU switch and the DirectKey button is a USB 2.0 header with the DirectKey 2-pin header directly above it. Four USB 2.0 headers are available mid-board and with two more from the rear IO, totals to 10 ports which the AMD A88X chipset provides natively.
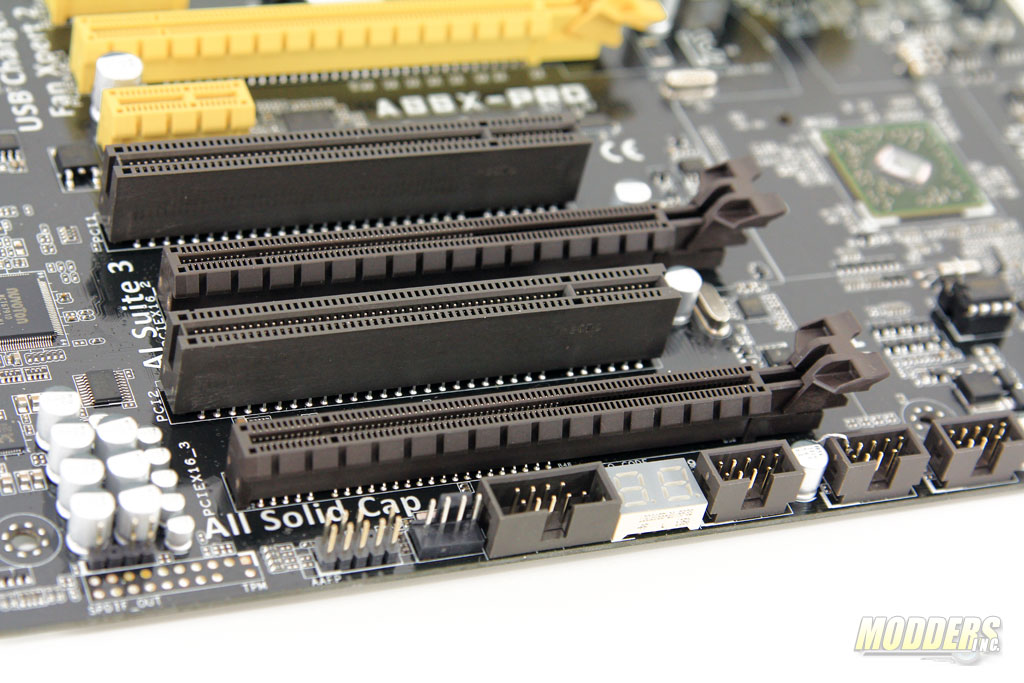
A two-digit debug “Q-code” LED is available right between the left-most USB 2.0 header and the COM port header. Beside the COM port is the 2nd channel fan header and right beside that is the front-panel AUDIO header, positioned a little bit closer compared to typical mainboards, presumably to alleviate issues with short front panel cables. You’d think that in 2014 case manufacturers would have worked this out but a lot of current Corsair and Thermaltake cases still have very short front panel audio cables so having ASUS move it a few centimeters further forward should help a bit. The SPDIF out headers are directly above where the TPM (trusted platform module) header is supposed to be. You will find a TPM header typically on workstation mainboards but it is not necessary on the A88X-Pro.
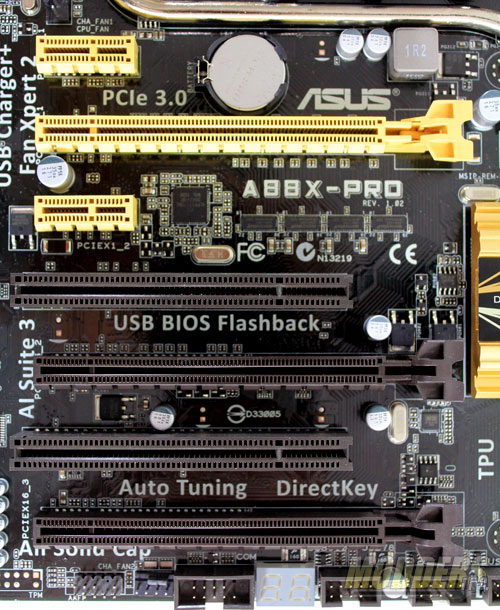
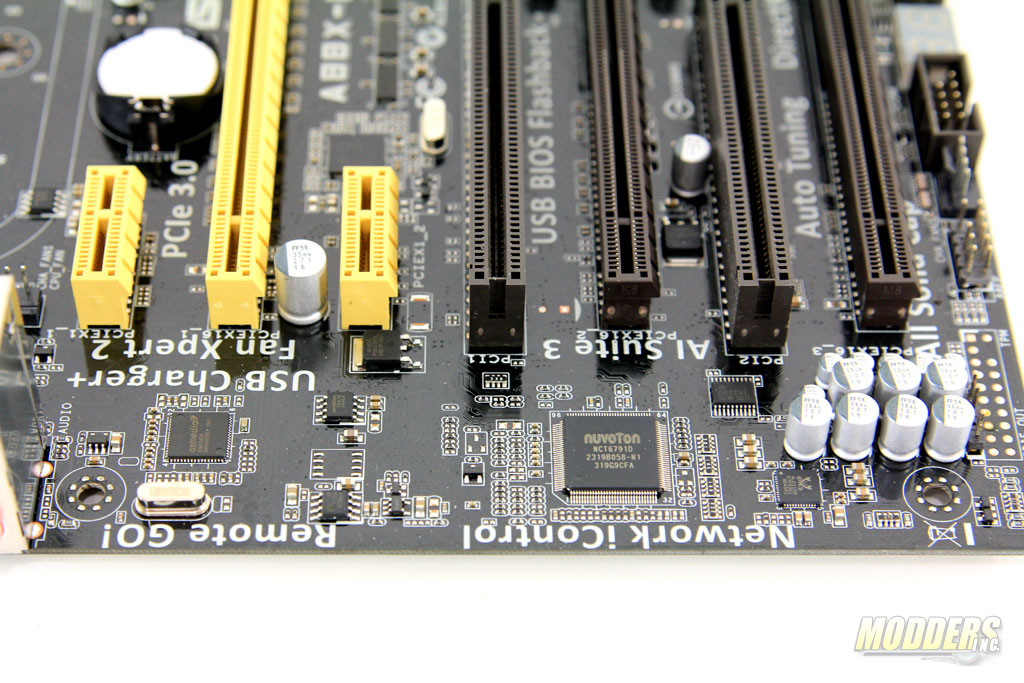
For the expansion slots, ASUS keeps the gold/yellow and black (closer to taupe) theme going and provides (in order from top to bottom):
- PCI-E 2.0 x1 slot
- PCI-E 3.0/2.0 x16 slot (operating at x16 single, or x8 in dual mode when the second PCI-E x16 slot is populated)
- PCI-E 2.0 x1 slot
- PCI slot
- PCI-E 3.0/2.0 x16 slot (operating at x8 in dual mode when the yellow PCI-E x16 slot is populated)
- PCI slot
- PCI-E 2.0 x16 slot (operating at x4 mode)
Note that FM2+ APUs are necessary for PCI-E 3.0. Right in front of the first PCI-E x1 slot is the CMOS battery. Beside the second PCI-E x1 slot, an ICS 9LPRS477DKL clock generator is situated alongside ASMedia ASM1480 PCI-E 3.0 switches.
The audio codec is a Realtek ALC1150 with five audio ports for 7.1 audio with mic-in (lime, pink, light blue, black, and orange) and an optical SPDIF out port. This is an excellent audio codec featuring 115dB SNR (signal-to-noise ratio) playback and 104dB SNR recording, used also on high-end ASUS Z87 motherboards. Users who want to utilize 7.1 speakers will have to re-assign the “Line In” port.
The big chip above the audio codec is the Nuvoton NCT6791D Super I/O responsible for hardware monitoring functions, fan speed control and legacy PS/2 port for mouse and keyboard.
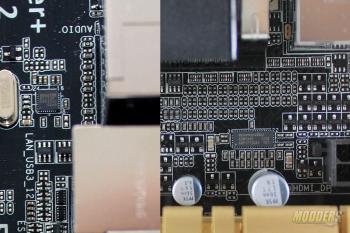
The two additional USB 3.0 ports in the rear IO located above the red E-SATA ports are via an ASMEDIA ASM1042 host controller supporting ASUS USB 3.0 Boost UASP functionality. It is not a magical chip that provides USB 3.0 ports out of nowhere. It uses a PCI-E 2.0 x1 and converts it into a pair of USB 3.0 ports. Since the A88X chipset provides a total of four PCI-E 2.0 x1 connections, there is no conflict when your expansion slots are fully populated. You can only use these ports when drivers are installed so make sure to connect your mouse and keyboard on a USB 2.0 port or on the PS/2 port for UEFI control.
The rear IO’s Gigabit Ethernet connectivity is provided by a Realtek RTL8111GR chip. As for the display outputs, ASUS provides a flexible 4-way option for the integrated Kaveri graphics. You have an older VGA/D-Sub/RGB (whatever you want to call it) support up to 1920×1600 @ 60Hz (not GHz as a typographical error printed in the manual) maximum resolution, a dual-link DVI port supporting a maximum resolution of 2560×1600 @ 60Hz, a DisplayPort that can output up to 4096×2160 @ 60Hz (4K!) and an HDMI that can also output 4K resolution up to 4096×2160 @ 24Hz but only when an FM2+ APU, otherwise it is limited to a maximum of 1920×1200 @ 60Hz. Users can mix and match and switch around these displays for up to three displays at the same time, aided by the presence of an Asmedia ASM1445 HDMI/DVI switch. All combinations work with the exception of running a DVI and HDMI at the same time for dual-monitor setups and running an HDMI, DVI and DisplayPort at the same time in a 3-way display setup.
