UEFI BIOS and ASRock Software
Like any other motherboard, you can enter the BIOS by mashing F2 or Delete to interrupt startup. However, ASRock motherboards have what is one of my favorite features of any board ever. The Restart to UEFI desktop icon. Open up this simple program and simply flip the switch to “Enter UEFI setup on next boot” and you’ll just boot into the UEFI on your next restart or boot up. I so wish every company had a feature like this. How many times have you spaced out and forgot you were going into the BIOS, only to have to reboot and try again. With this feature, this is no longer an issue.
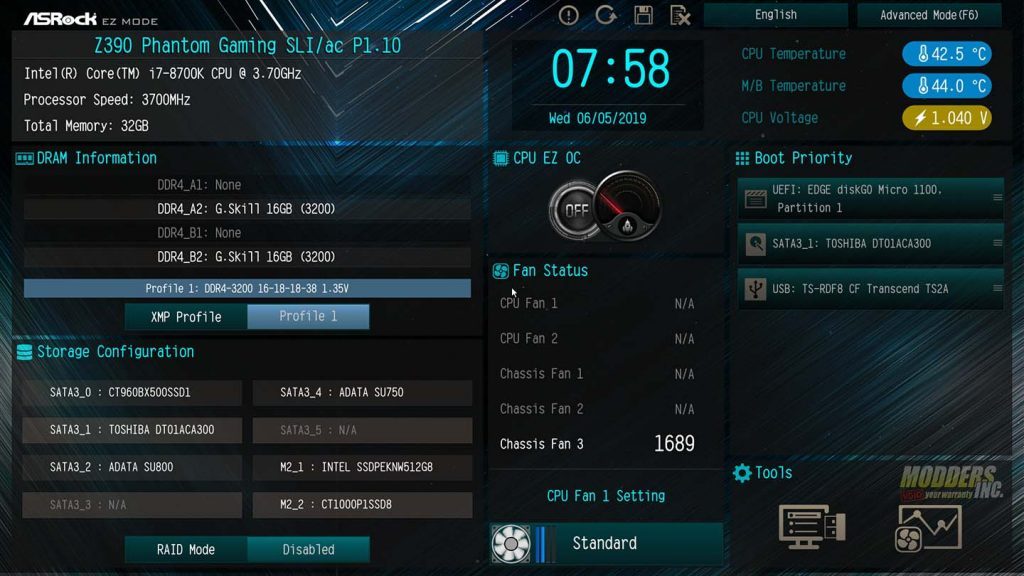
Like most other modern UEFI BIOS, the BIOS for the Phantom Gaming SLI/ac starts off on easy mode. Here you can change the boot order, monitor fans speeds and enable XMP Mode. You can also see your SATA configuration and enable and disable RAID mode. You can see the date and time. You can also view the temps for your motherboard and CPU, as well as CPU voltage.
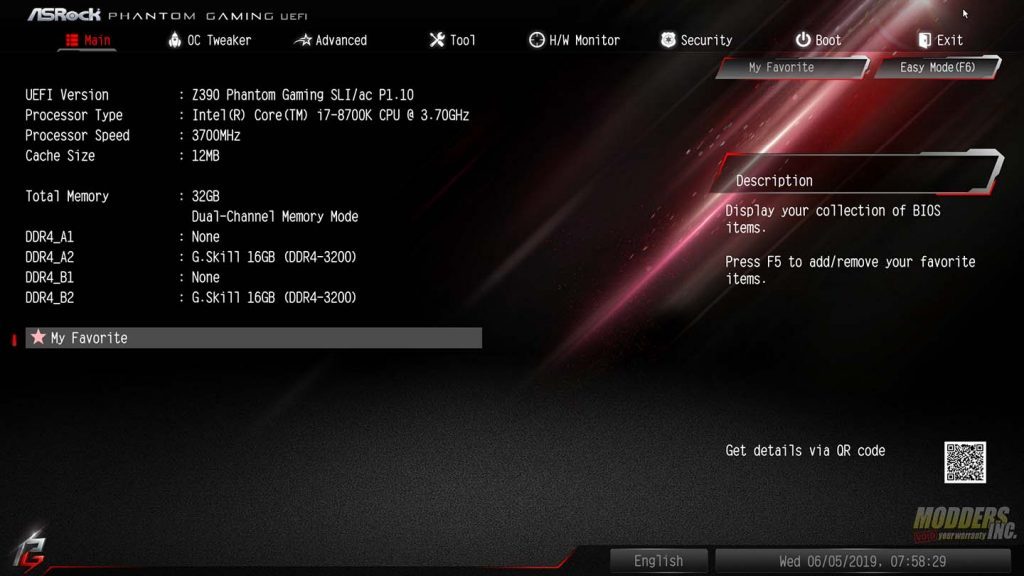
With advanced mode, you have far more options in the UEFI BIOS. Advanced mode has eight separate menus. These menus are Main, OC Tweaker, Advanced, Tool, H?W Monitor, Security, Boot, and Exit. We’re going to go through each section and give a brief overview of the UEFI Bios on the Phantom Gaming SLI AC. The Main section tells you the board, CPU installed, CPU frequency and the cache size of the CPU. It also tells you what memory is installed in what slots. In our case, this is the Z390 Phantom Gaming SLI/ac with an I7 8700k installed running at 3.7 GHz base clock with 12 MB of cache. With have out memory installed in slots A2 and B2 and our memory is running in dual channel mode at 3200 MHz in XMP Profile #1.
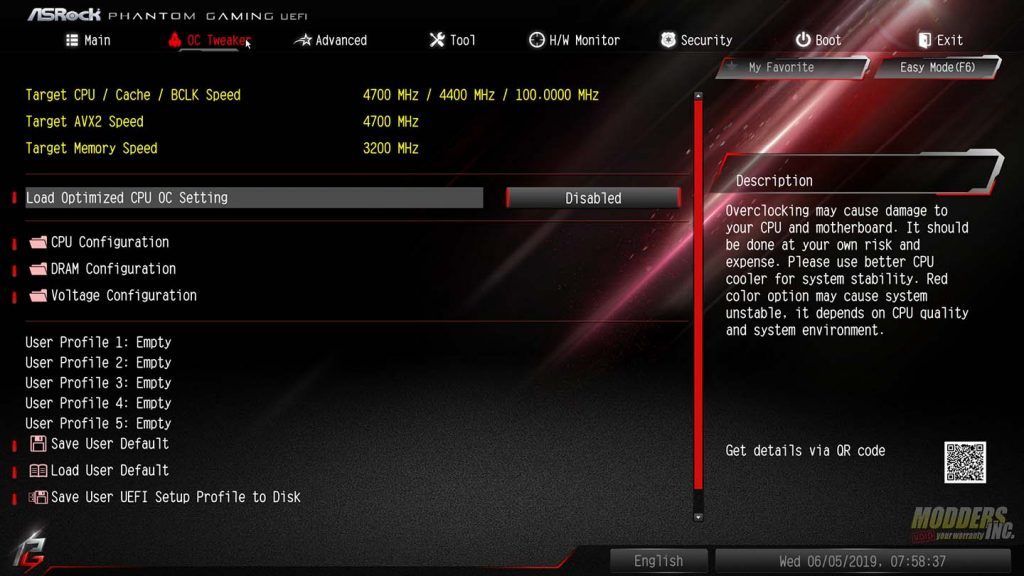
The OC Tweaker Section is where you can overclock both your CPU and memory. There are five user profiles that can be set to different overclocking profiles. You can adjust target CPU, cache, BLCK, AVX2 and memory speeds in the OC Tweaker. Once you have a stable overclock on your CPU and memory, simply save it to one of the five user profiles.
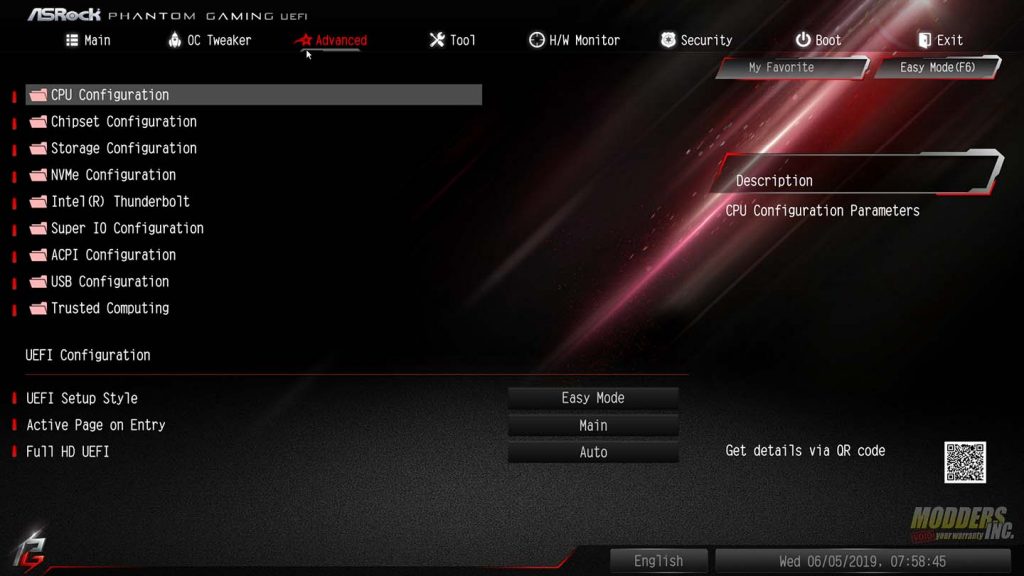
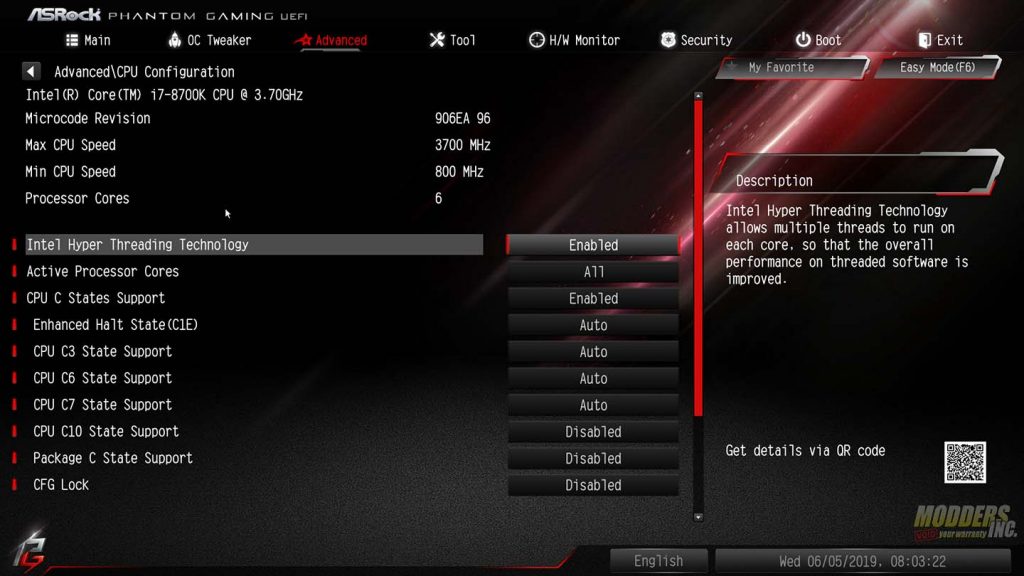
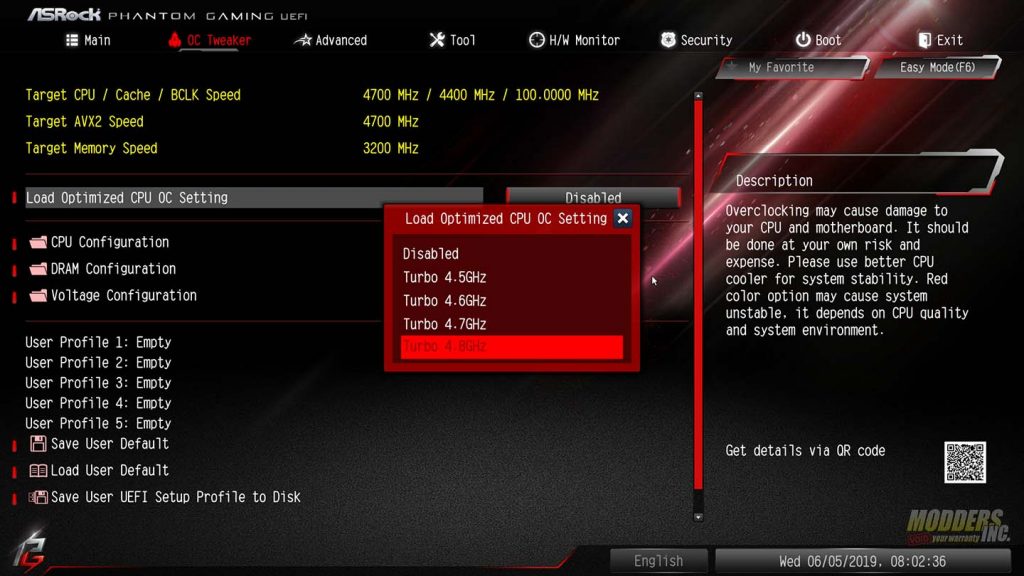
The advanced section of the UEFI BIOS is where you can get into the deepest settings of your motherboard. This includes everything from CPU and Chipset settings to Storage, NVMe and USB configurations. You can also set your BIOS to open to ether easy or advanced mode. There are even optimized overclocking profiles you can load.
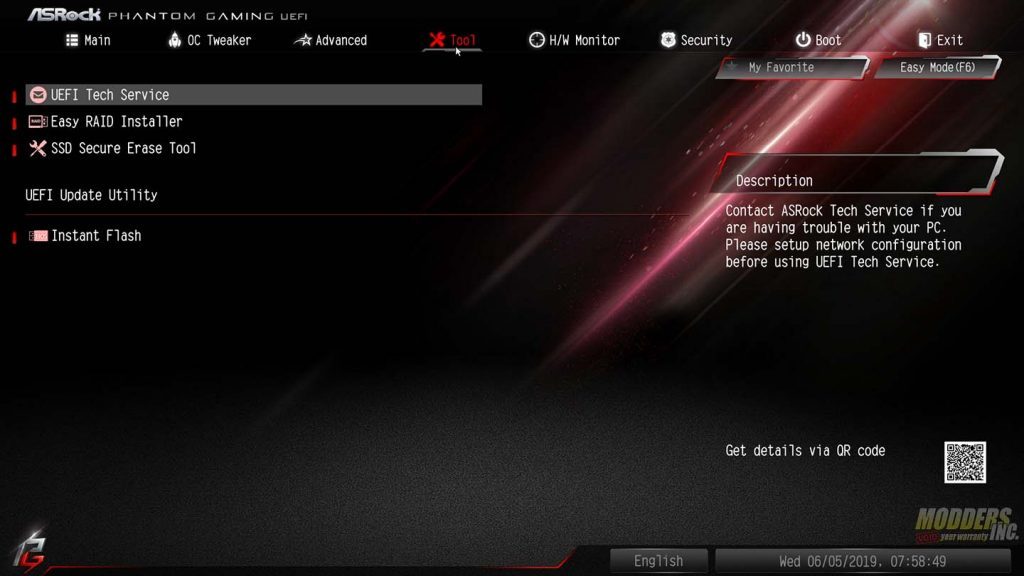
The Tool section of the BIOS is where you can set up Easy Raid or securely wipe an SSD. This is also where the Instant Flash for the BIOS can be found.
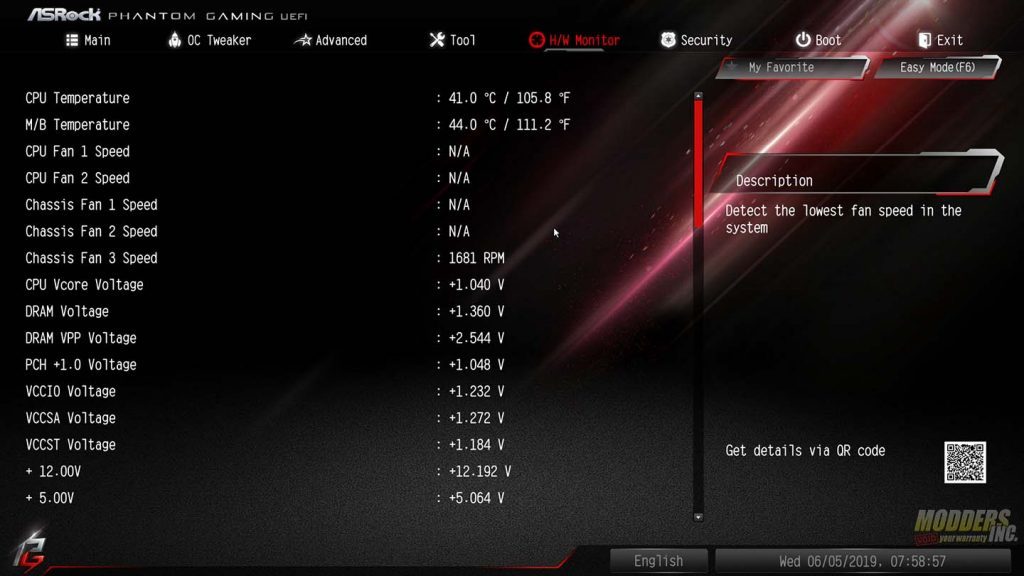
The H/W, or Hardware Monitor sections does exactly that. This is where you can measure the temperature and voltage of the various sensors on the Phantom Gaming SLI/ac.
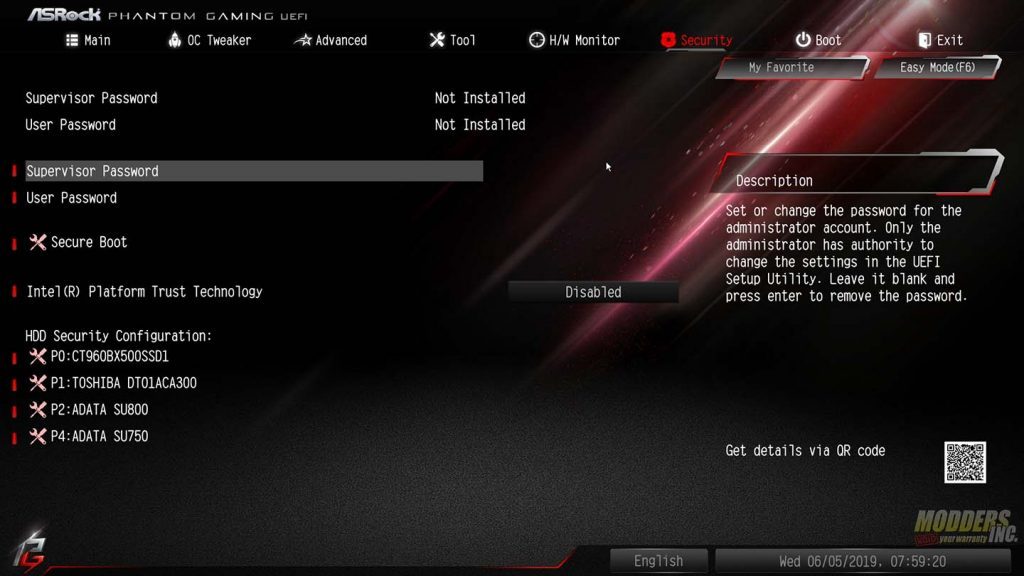
The Security section is where you can set and change supervisor and user passwords, as well as the HDD Security Configuration. This is also the section that most people will never touch.
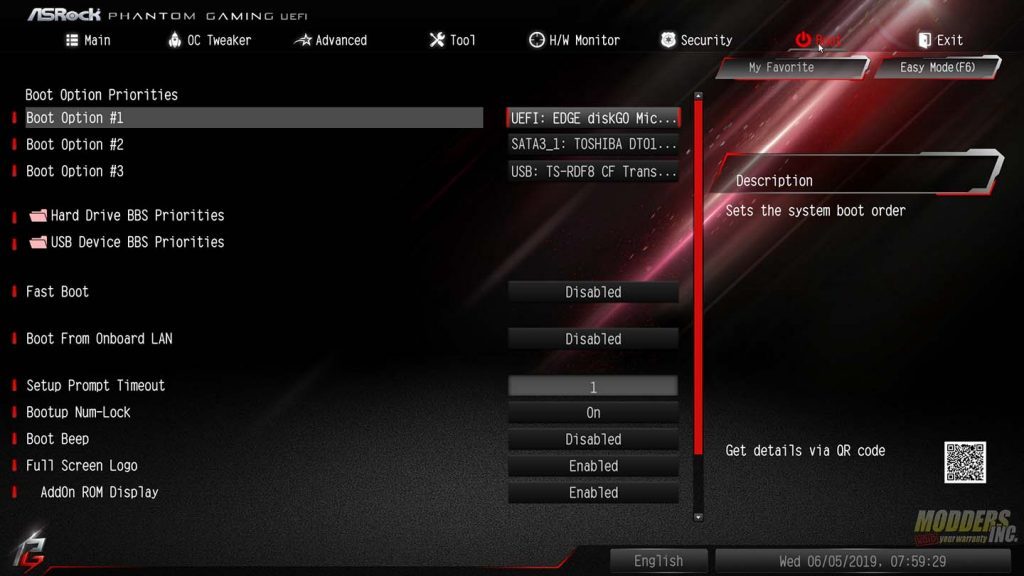
The Boot section of the BIOS is where you can set the boot order of your drives. You can enable fast boot and the ability to boot from the onboard LAN as well.
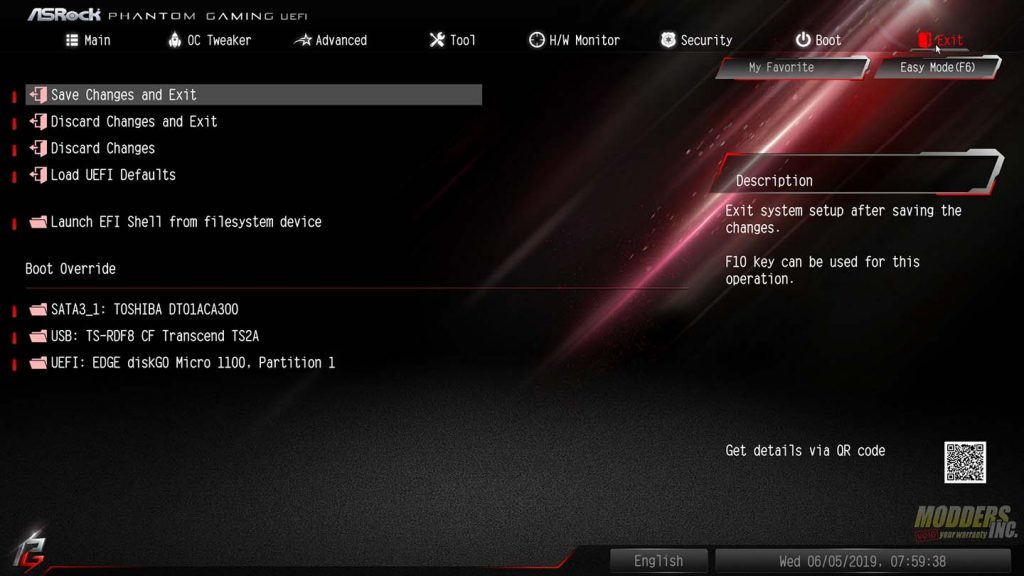
The final section is the save and exit section. Here you can save your current configuration, load optimized defaults and override your boot order.
ASRock Polychrome Sync Software
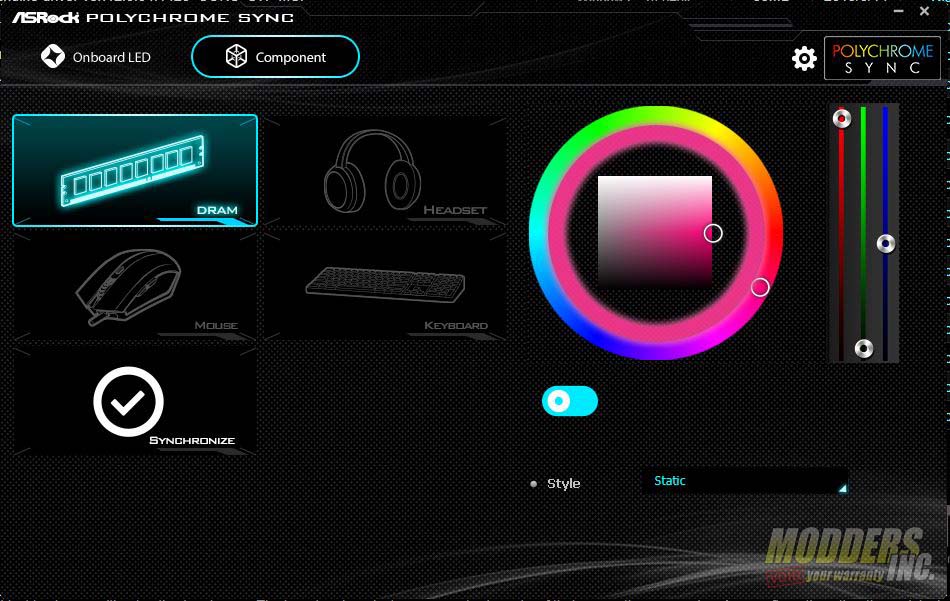
ASRock Polychrome Sync is their own RGB Software for controlling the RGB lighting on their motherboards, as well as supported peripherals. The Fist section in Polychrome Sync is the onboard section. Here, you can control the different zones and headers on the motherboard. On the Phantom Gaming SLI/ac, these zones include the PCH heatsink, the two RGB headers, and the single Addressable LED header. There are seven different settings in the Polychrome Sync software. These settings are Static (one color, no effect), Breathing, Strobe, Cycling, Random, Music, and Wave. If you go with a static color, there is a color wheel and three sliders. One slider for Reds, one for Greens and one for Blues.
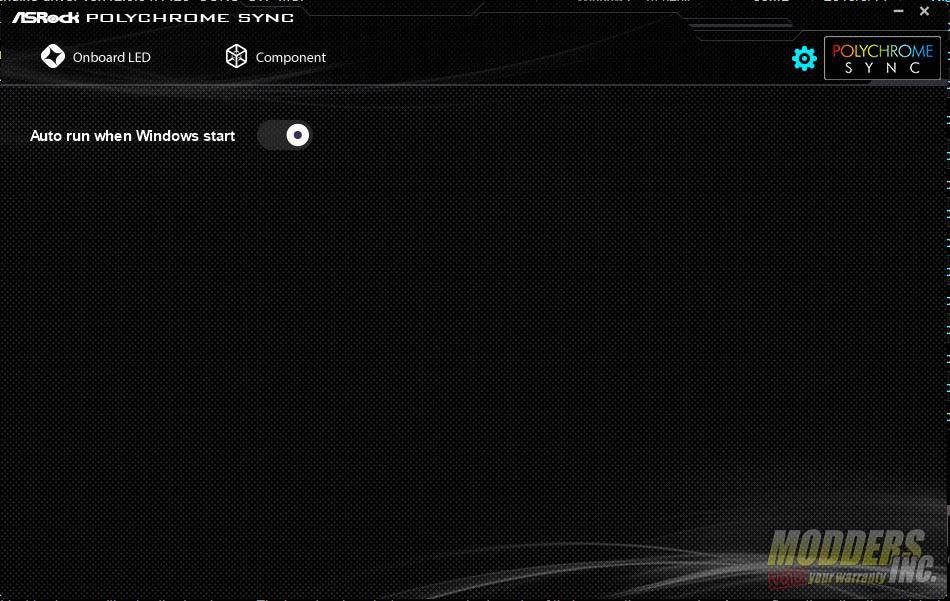
The second section is for component section. Here, you can sync the RGB lighting on everything from memory to peripherals. As long as they are compatible with the Polychrome Sync software. In our case, our memory was compatible with the Polychrome Sync software. You can also set the Polychrome Sync software to autorun when Windows starts.
Phantom Tuning
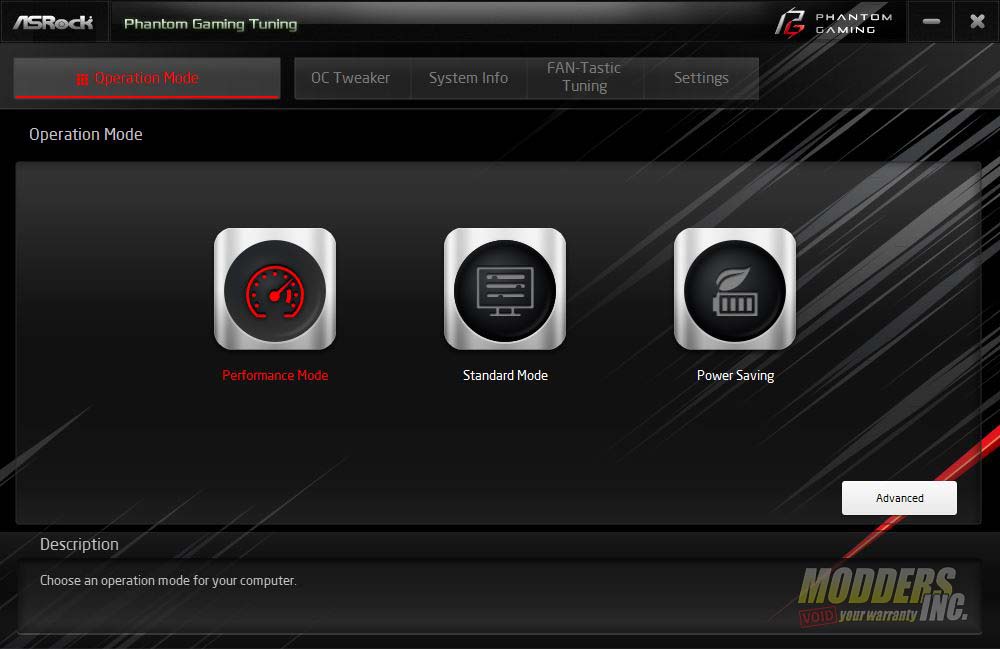
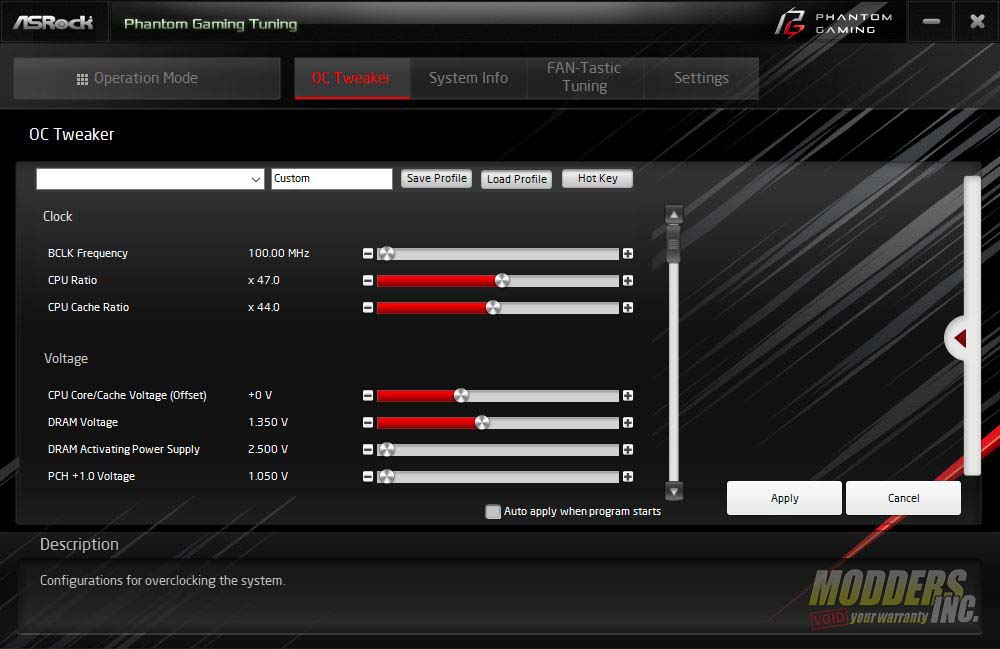
I had to briefly touch on ASRock’s Phantom Tuning Utility. I love utilities that allow you to tune your CPU without going into the BIOS. It works very much as Intel’s Extreme Tuning Utility does. It even has the same OC Tweaker that is present in the UEFI BIOS.
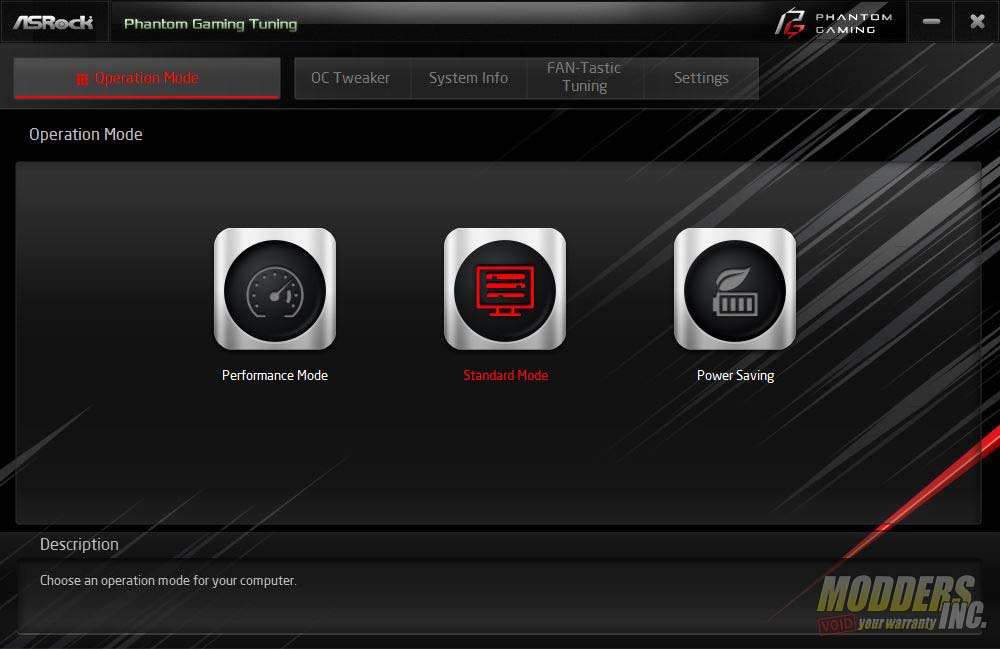
You can switch between Performance Mode, Standard Mode and Power Saving Mode with one click. Or, jump into the OC Tweaker and bump up the Base Clock, or BLCK Frequency, the CPU Ratio, cache ratio and even the CPU, DRAM, and PCH voltages.
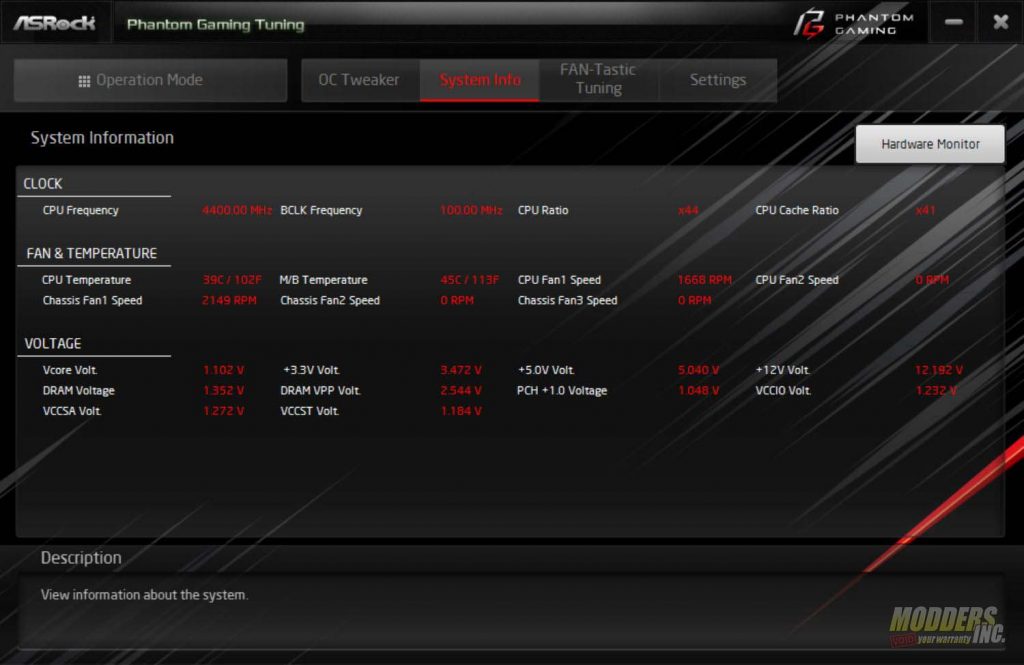
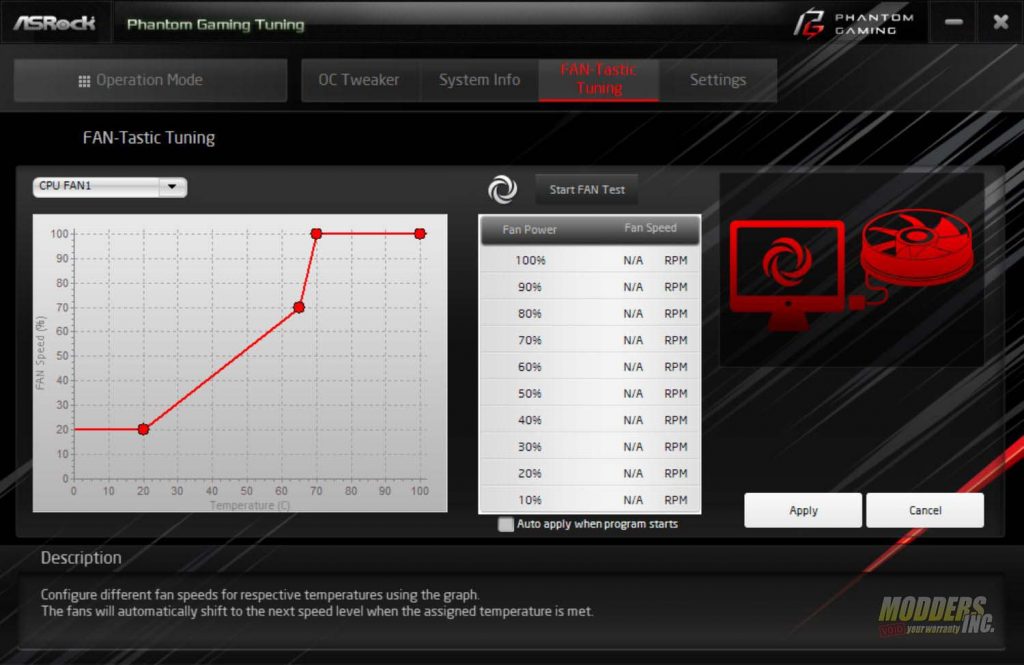
The System Info section allows you to monitor temperatures and voltages of the different sensors on your motherboard. The Fantastic-Tuning section allows you to set different fan curves to the different fan headers on your motherboard. Basically, the Phantom Tuning app brings parts of the UEFI BIOS to the desktop.

