ASRock Fatal1ty Z170 Gaming-ITX/AC Motherboard Review
UEFI Overview
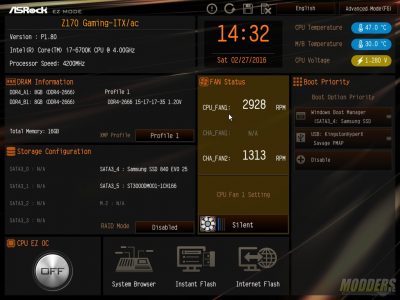
When it comes to the ASRock Z170 Gaming-ITX/AC UEFI BIOS, there are two modes available, Easy and Advanced. By default, when you first boot up the motherboard, the Easy Mode loads. With the Easy Mode version, most configuration settings can be changed with a click or two of the mouse. Memory and CPU overclocking are available but the depth of the configuration is limited with this interface. It is NOT that the Z170 Gaming-ITX/AC does not support manual overclocking, it is just not available in this interface. To get deeper into overclocking you will have to go into Advanced Mode by pressing the F6 key.
In advanced mode, all motherboard options become available in a familiar menu format. The first page of the ASRock BIOS is an informational page. It shows what CPU is installed as well as the memory modules, their speed, and what in which slots they are installed.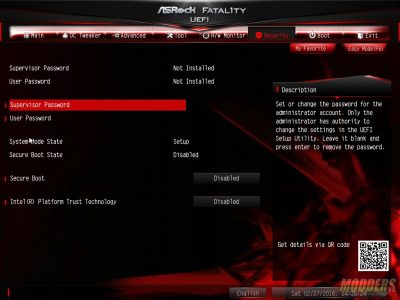
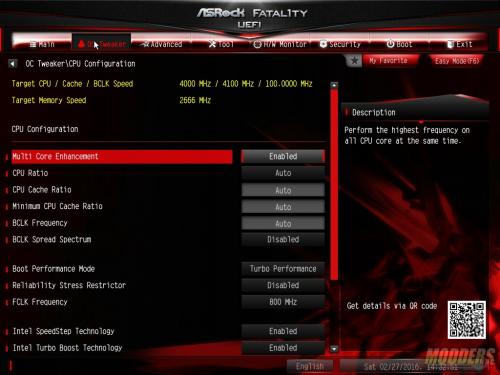
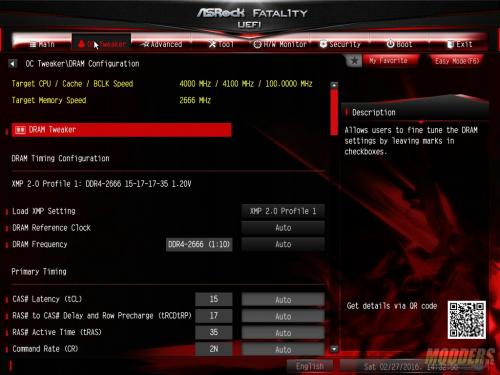
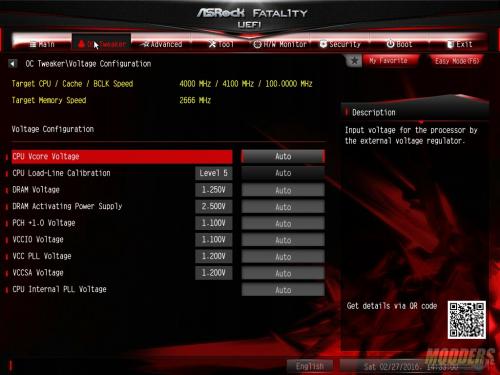
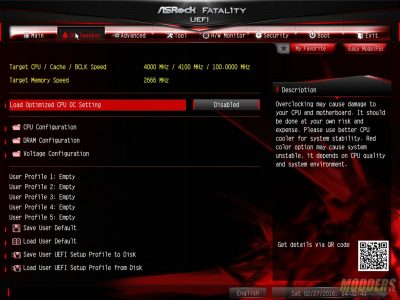
The OC Tweaker menu is where you’ll start tweaking the CPU. Under this menu there are sub-menus for CPU and DRAM configurations as well as Voltage for both.
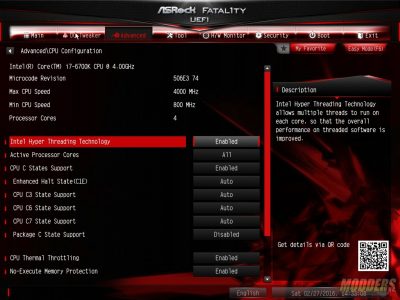
In the advanced menu, there is more CPU configuration options. You can enable and disable Hyperthreading, C states as well as disable thermal throttling in this menu. Additional sub-menus are available here as well to configure additional motherboard components such as storage, I/O, and ACPI, to list a few.
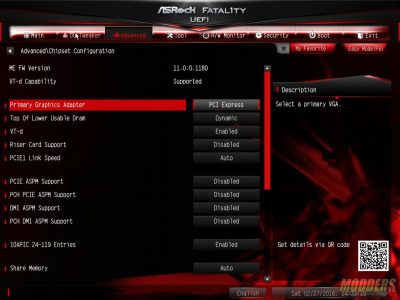
The Chipset Configuration sub-menu is where you can configure items such as which is the primary graphics adapter and the memory configuration of the internal Intel graphics adapter.
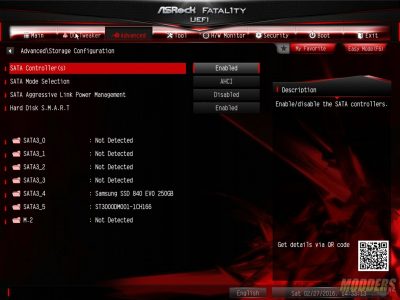
The storage sub-menu is for configuring the hard drives. RAID can also be enabled here.
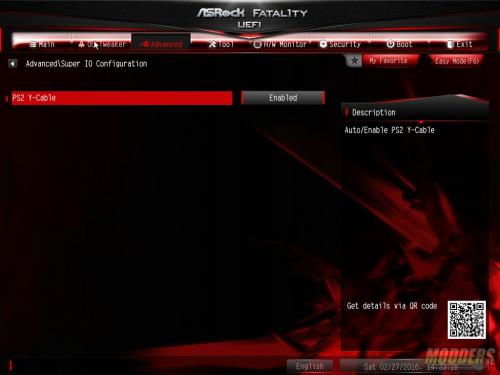
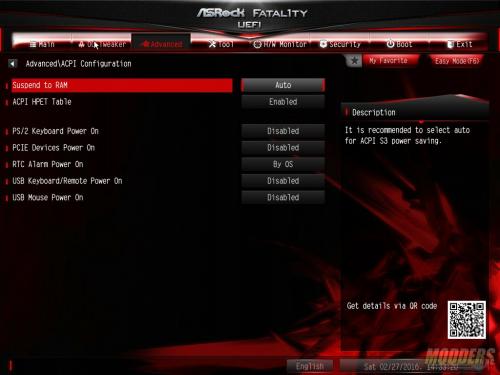
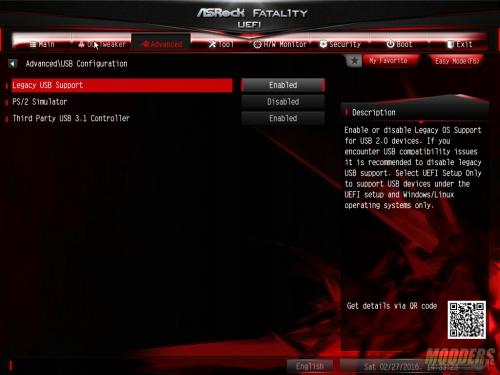
Since the ASRock Z170 Gaming-ITX/AC does come with a PS/2 port, a y-cable can be used to split out a single port to two ports and the motherboard can be configured to recgonize whether a y-cable is plugged in or not. The ACPI sub-menu is used to configure power management for items such as suspend to RAM or keyboard power on. The USB sub-menu is used to configure USB options on the motherboard such as disabling the USB 3.1 controller or, enabling USB legacy support.
The tool sub-menu has a few utilities that can be used without an operating system. From here you can update the BIOS directly from ASRock’s website without having to load an OS or, if you already have the update downloaded, you can install it from a USB drive. If you’re having an issue with the board, you can also submit a ticket to ASRock’s tech support from this menu as well by using the UEFI Tech Service option.
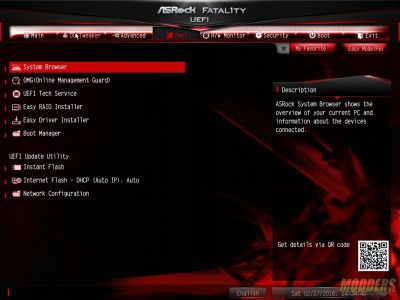
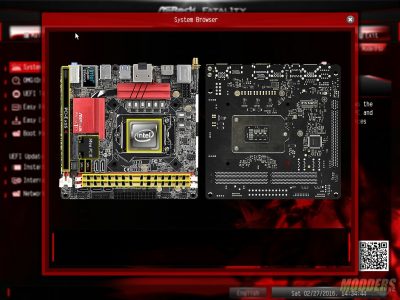
The system browser brings up a graphical representation of both the front and the back of the motherboard. Certain areas of the graphic are high lighted in yellow. You can click on each of these areas to get more information about that component. The CPU, Memory, mPCIe and PCIe slots highlighted in our example. If an M.2 drive was installed, the M.2 slot on the back of the motherboard would be high lighted.
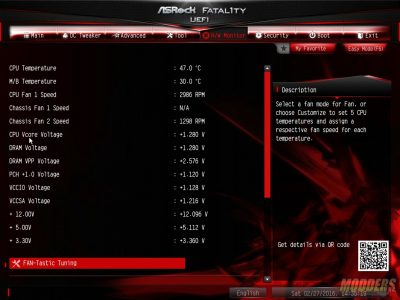
The H/W Monitor menu give you all the heath information on the CPU and motherboard. Temperature, voltage and fan speeds are all presented here. You can also tune your fans to match the available cooling too.
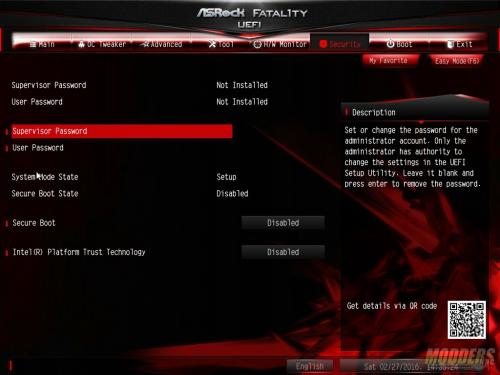
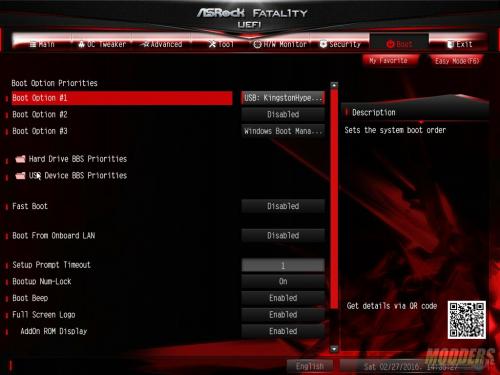
If you don’t want others mucking around in the BIOS and want to secure it with a password or want to have a boot up password, these options can be set in the security menu. Boot configuration is configured in the boot sub-menu.
