GIGABYTE App Center
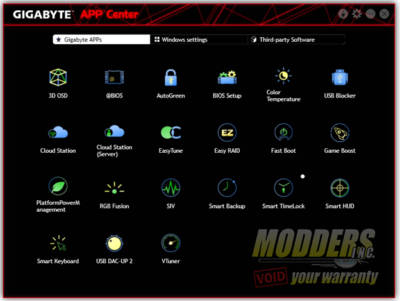
With a new motherboard comes a slue of software and utilities that can be installed. In most cases, this software is very useful. All utilities bundled with any AORUS branded motherboards are found in the Gigabyte APP Center once installed. The APP Center is where you’ll find programs such as RGB Fusion, EasyTune, EasyRaid and many more. All programs can be updated directly from the app center. There is even a section for third party apps in the APP Center as well. As great as the App Center is, I did have some issues with it. After the initial install, the App Center will not open unless I uninstall and reinstall. Hopefully, this is an issue the Gigabyte can fix because it happens on 3 different machines I own with the app center installed.
RGB Fusion
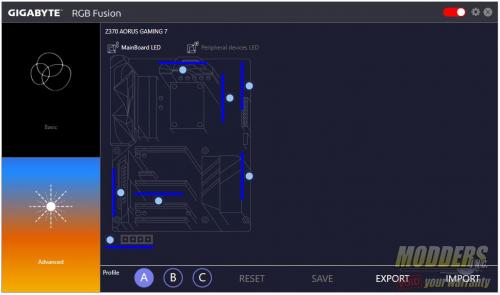
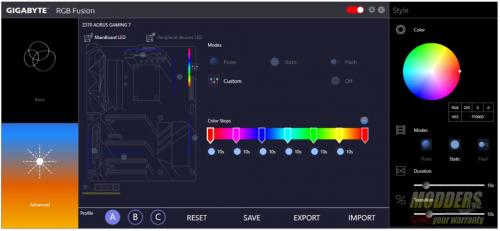
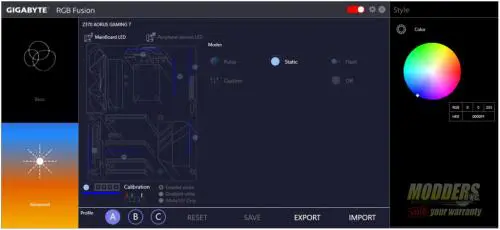
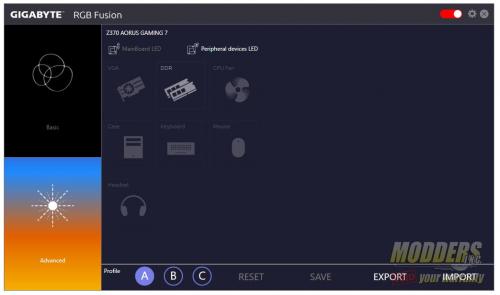
Love it, or hate it, RGB lighting has become a huge part of PC gaming and hardware. You can customize the RGB lighting through GIGABYTES RGB fusion app, found in the App Center. Using the RGB Fusion software, you can customize your motherboard with 16.8 million colors. The software has both basic and advanced settings. On the basic settings, you select one of 8 settings and go. On the advanced settings, you can set each of the boards six RGB zones separately and with different effects.
The Z370 Gaming 7 has six programmable RGB Zones in which you can set different colors and effects, or sync them all together. There are 8 different lighting effects. The effects are Pulse, Music, Color Cycle, Flash, Random, Wave and Intelligent. The RGB Fusion software can also control the lighting on any AORUS branded graphics card, as well as several different peripherals. RGB Fusion isn’t limited to just Gigabyte and AORUS branded peripherals either. For example, my G. Skill KM780R keyboard can be controlled by the RGB Fusion software. There are a ton of fans, headsets, keyboards, light strips and much more than can be controlled by the RGB Fusion software.
The UEFI BIOS
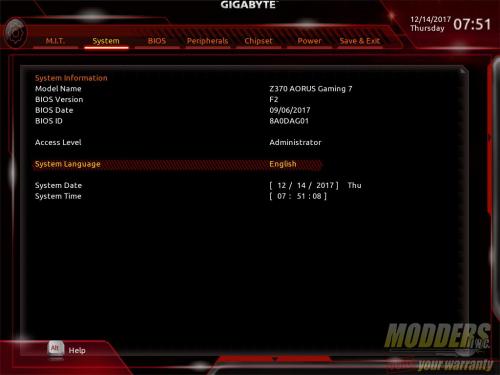
The Fist BIOS released for the Z370 Gaming 7 was BIOS F2, released on 9/7/2017. That is the BIOS version shown in the screen shots. However, for testing, we always use the most up to date BIOS. In the case of the Z370 Gaming 7, its BIOS F5h, released on 12/12/2017. This BIOS is designed to improve XMP DDR compatibility, as well as PCIe SSD compatibility. The UEFI BIOS has to settings, advanced mode and Easy Mode.
UEFI, or Unified Extensible Firmware Interface, a software interface between an operating system and platform firmware. UEFI replaces the Basic Input/Output System (BIOS) firmware interface used in older motherboard. In the UEFI, you can set the basic and advanced functions of your motherboard, as well as update the BIOS. You can set the boot order of specific drives, set fans curves for fans plugged directly into your motherboard and my favorite past time, overclock your CPU to name a few.
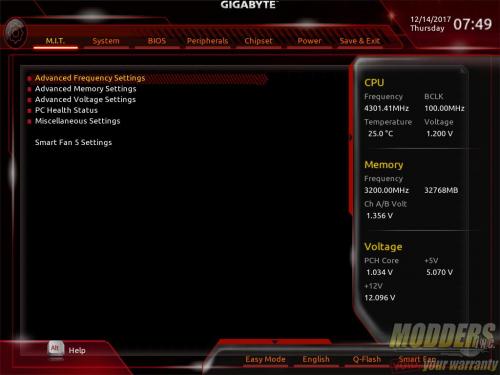
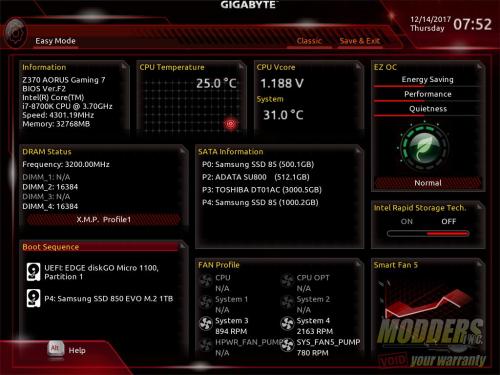
Gigabyte has always done a great job on their BIOS. Ever since they refreshed their BIOS and added features such as the Gigabyte App Center and their EasyTune software, the BIOS has gotten even easier to use. When your first set up your system, the BIOS is in Classic Mode. However, dragging the pointer to the bottom of the screen with pull up another menu with a few options. These options are Easy Mode, language select, Q-Flash and Smart Fan. There is another pop up menu to the right of the screen. This pop up displays the current frequency and voltage of the CPU and the memory.
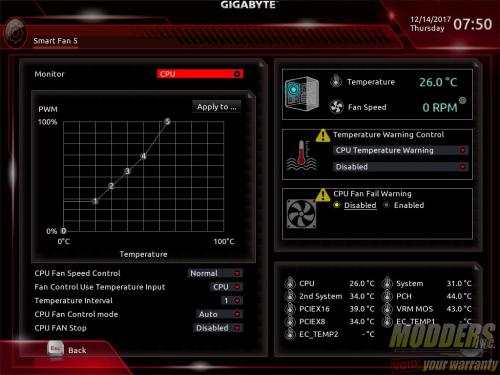
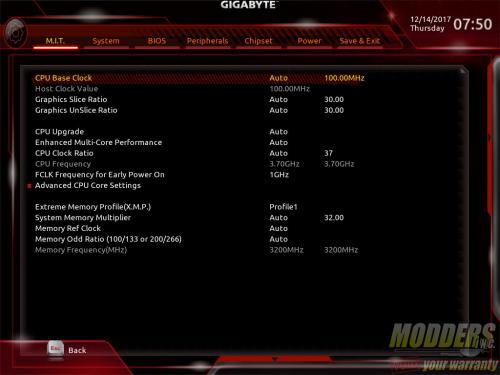
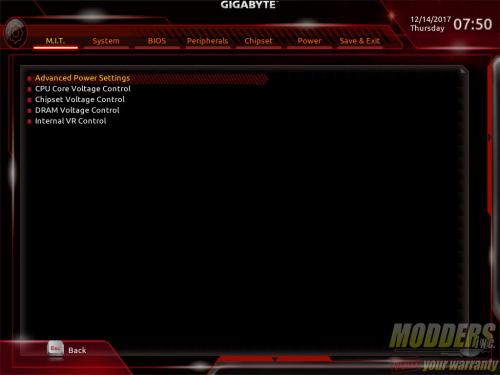
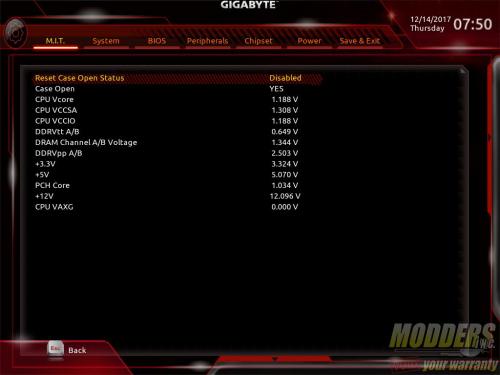
In Easy Mode, you can monitor system fans, rearrange the boot order, check temperatures and voltage, and enable or disable X.M.P. profiles. Advanced, or Classic Mode has seven main sections. They consist of M.I.T., System, BIOS, Peripherals, Chipset, Power and Save & Exit. Smart Fan 5 allows you to individually set fan curves for each fan plugged into your motherboard, including the CPU fan. You can also set a temperature control warning so, if a certain sensor gets above a set temperature, the corresponding fan will ramp up its rpms.
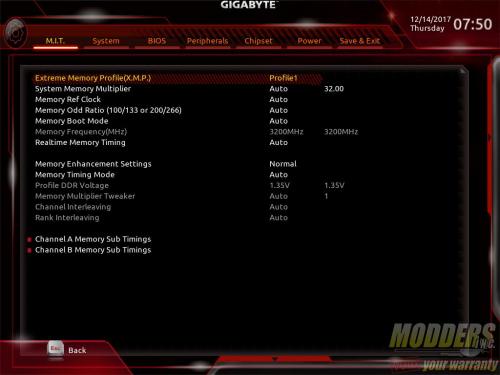
The first section is where you can set frequency and BLCK settings for the CPU. Essentially, this is where one would overclock their CPU. This is also where you can enable or disable X.M.P. profiles. This section is also where you would adjust memory timings and frequencies.
The system section displays basic system information. This includes things such as the current date and time. Here is also where you find the model number of the board. Lastly, this is where the BIOS version, date and ID can be found.
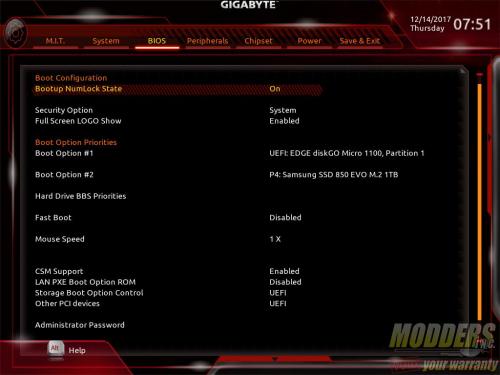
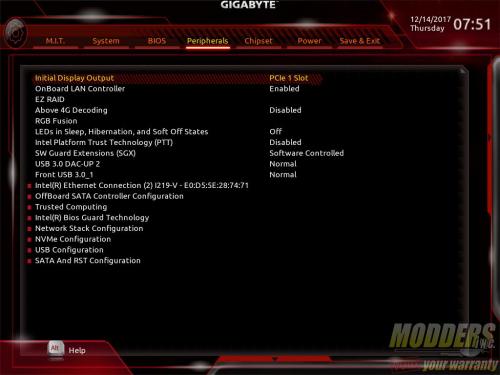
The BIOS section is where you can set boot priorities. You can also enable or disable fast boot, and set the mouse speed for the BIOS. The stock speed of the mouse in the BIOS is very slow. The next section is the peripheral section. This is where you can configure basically anything connected to your motherboard. For example, SATA, USB and NVME configuration just to name a few.
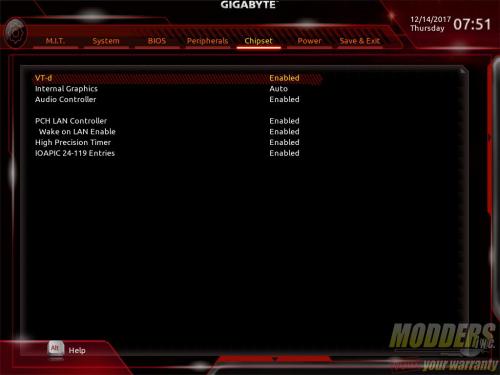
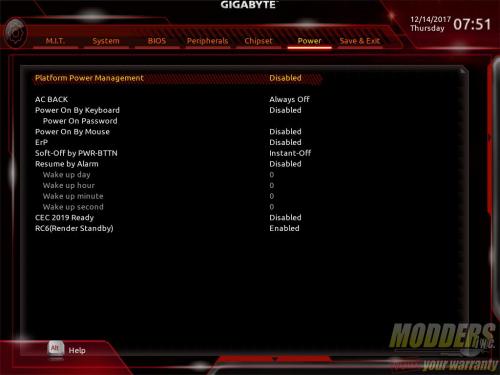
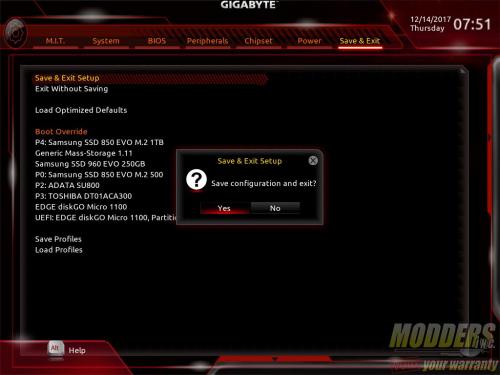
The Chipset section is where you can enable or disable things such as the on-board audio, the internal graphics and the different LAN controllers. The Power section has exactly what is say, several different power settings. The Save & Exit section is how you exit the BIOS. However, they give you several options before you do. This is also where you can over ride the boot priority, but just this one time. The next time you boot, it’ll go right back to your first in the boot order.



Good review Paul.
Nice looking board.