UEFI BIOS
We always use the most up to date BIOS for all testing. In the case of the Z390 Aorus Xtreme Waterforce, that was BIOS version F3 released on March 15th, 2019. Bios F3 added support for future 9th generation Core Processors such as the I9 9900 and I7 9700 non-K SKU processors. These processors were recently announced by Intel on April 23, 2019. Bios F3 also updated Intel IRST version and the CPU microcode. Bios F3 also added support for Intel Optane H10 and 32 GB memory DIMMs. UEFI, or Unified Extensible Firmware Interface, a software interface between an operating system and platform firmware. UEFI replaces the Basic Input/Output System (BIOS) firmware interface used in older motherboards. In the UEFI, you can set the basic and advanced functions of your motherboard, as well as update the BIOS. You can set the boot order of specific drives, set fans curves for fans plugged directly into your motherboard and my favorite past time, overclock your CPU to name a few.
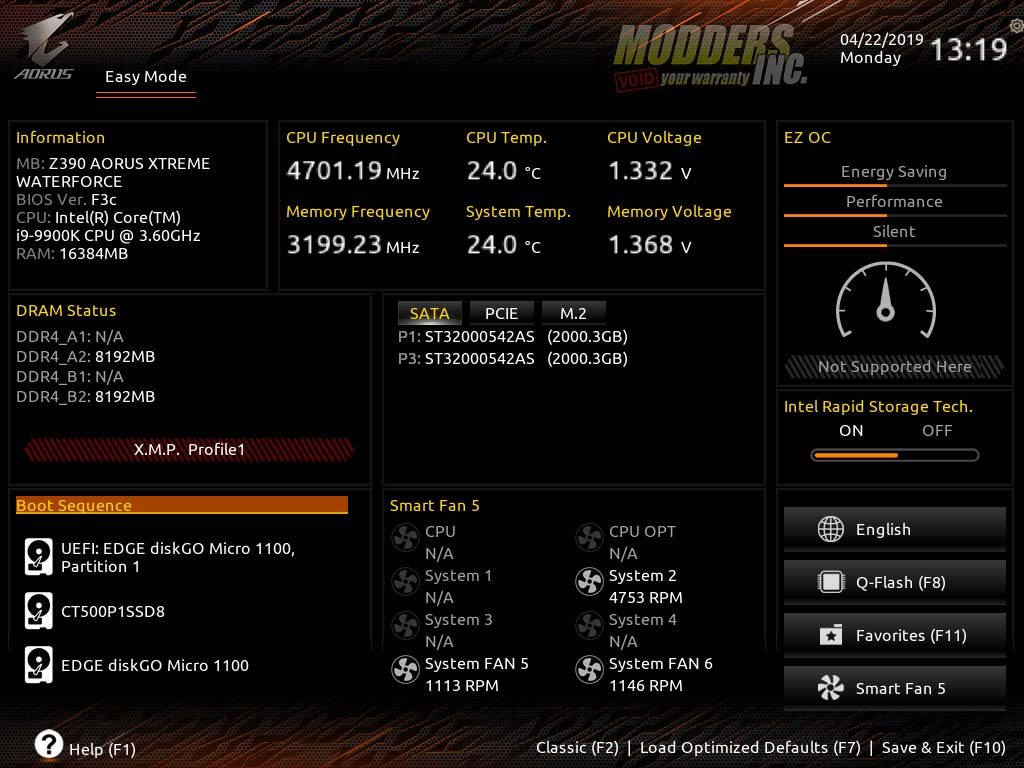
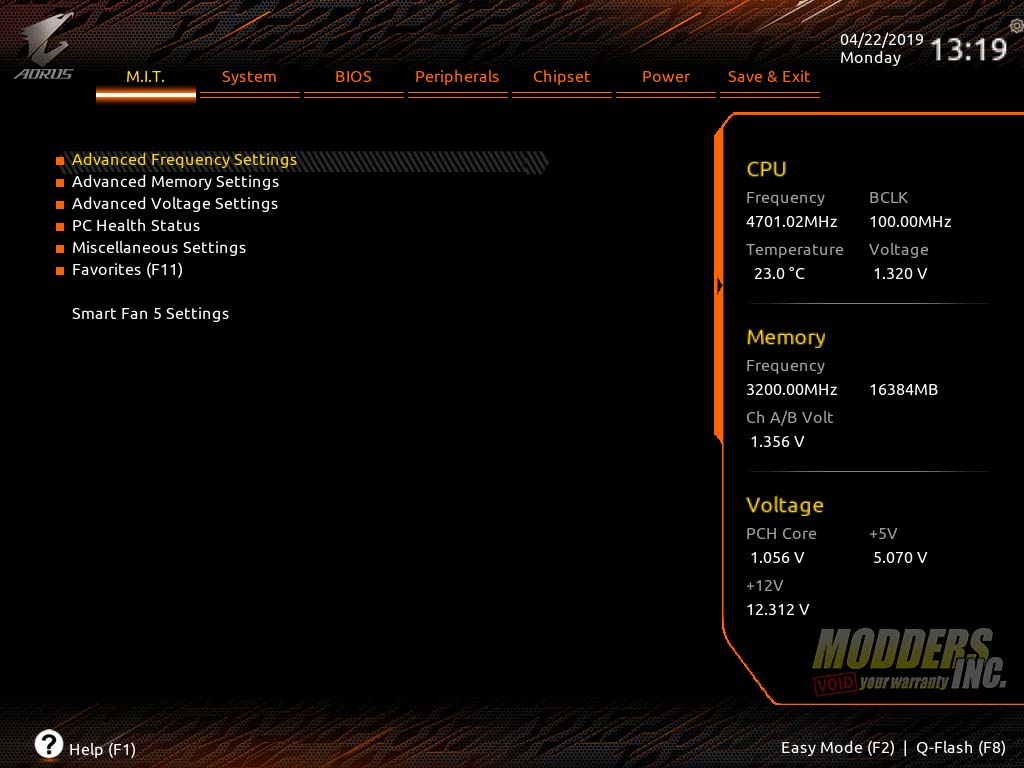
I’ve always been a fan of Gigabyte motherboards and a huge part of that is their BIOS. It’s very easy to navigate. When your first set up your system, the BIOS is in Classic Mode. However, dragging the pointer to the bottom of the screen will pull up another menu with a few options. These options are Easy Mode, language select, Q-Flash, and Smart Fan. There is another pop-up menu to the right of the screen. This pop up displays the current frequency and voltage of the CPU and the memory.
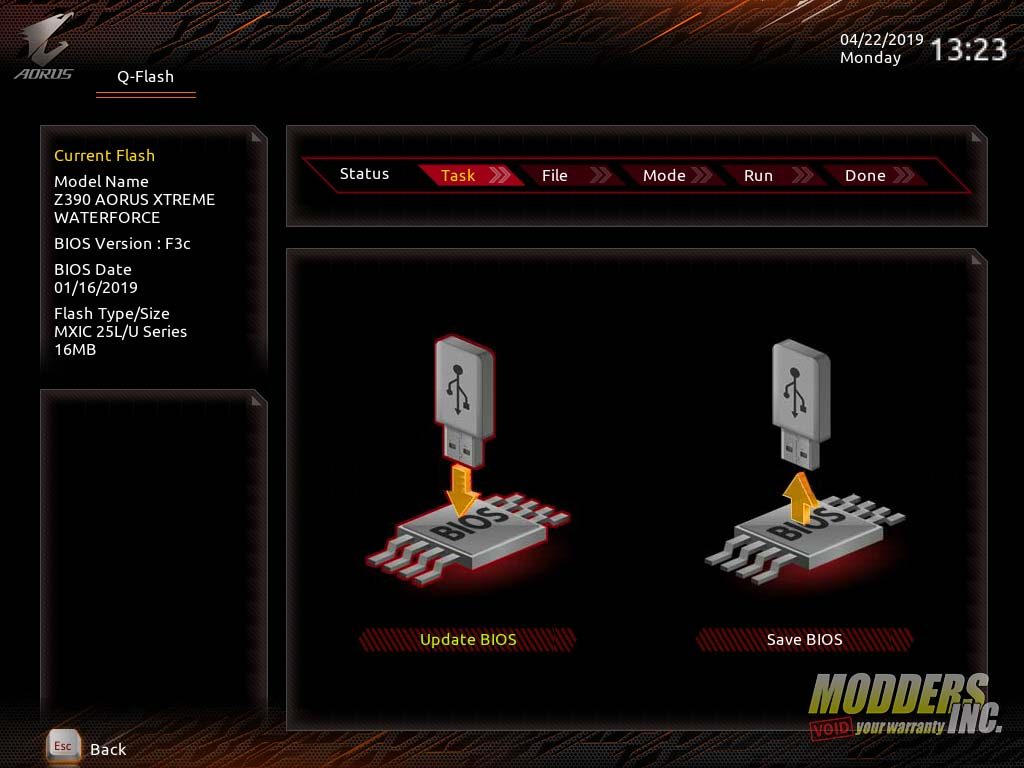
The Q-Flash menu can be accessed through a pop-up menu on the bottom right-hand corner of the screen. Here is also where you find Easy Mode, the language selection, and the Smart Fan 5 menu. The Q-Flash section is where you update the BIOS. There is also a section where you can save different BIOS settings.
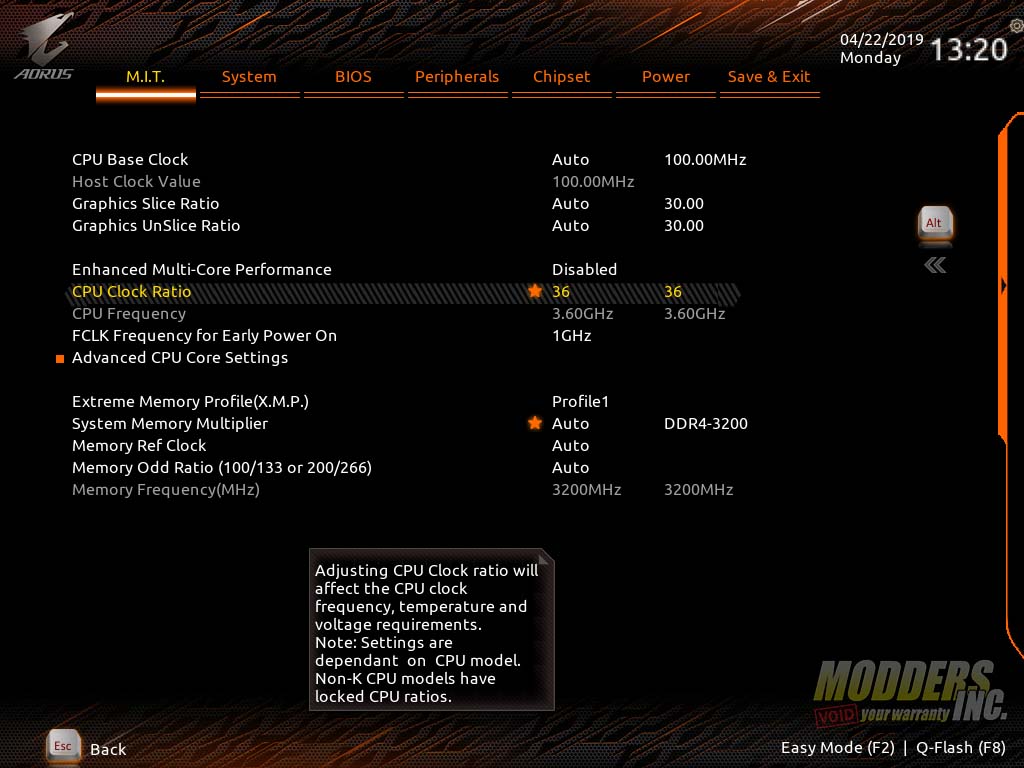
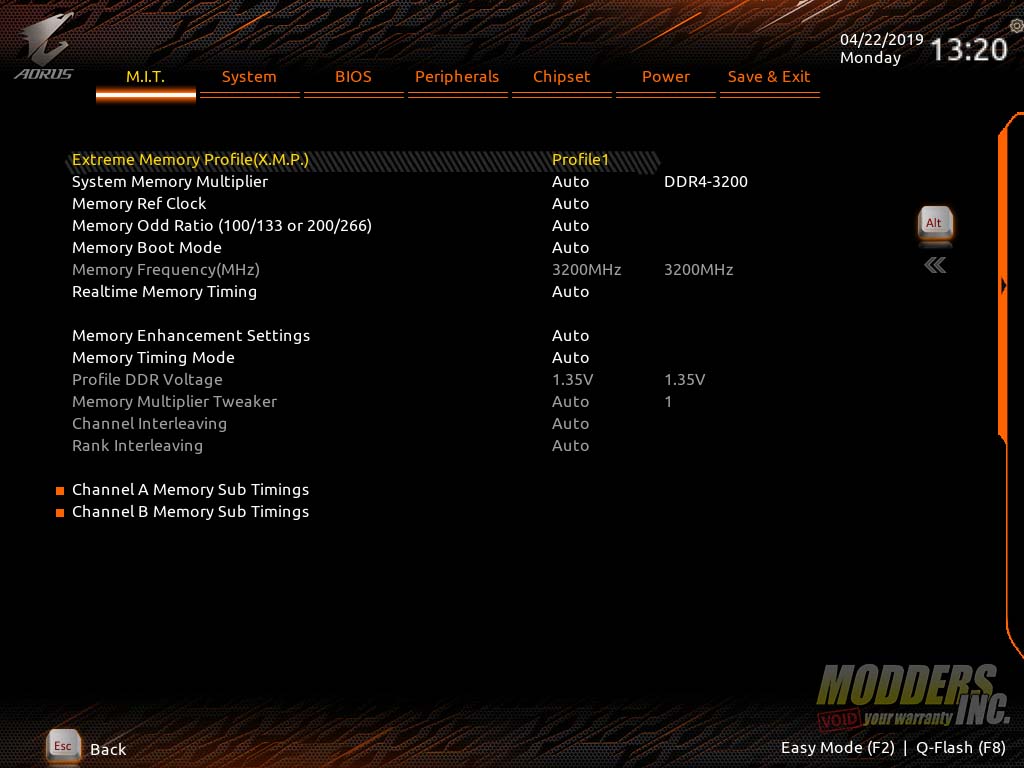
The Classic mode gives you far more options. You can dig into the deepest depths of your motherboard and change settings for just about every part of the board. The first section in Classic Mode is the M.I.T. This is where you can set frequency and BLCK settings for the CPU. Essentially, this is the section of the BIOS where you can overclock your CPU. This is also where you can enable or disable X.M.P. profiles, adjust memory timings and frequencies and adjust the voltages. You can also get to the Smart Fan 5 menu from the M.I.T. section as well.
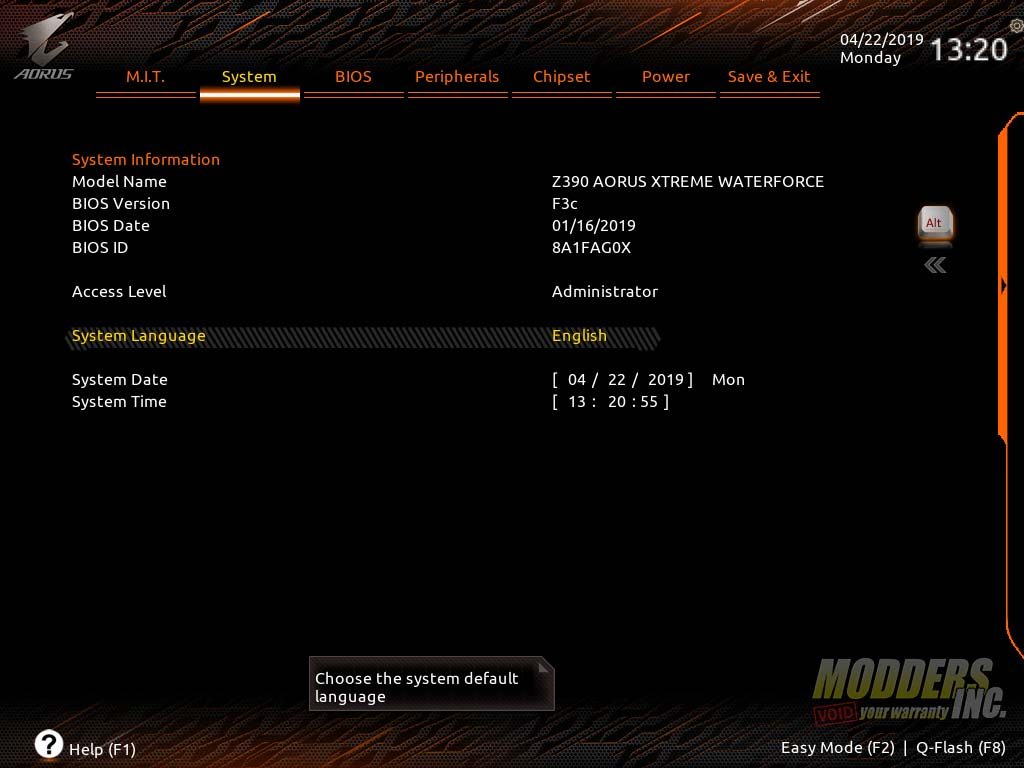
Next is the System section. The system section displays basic system information including the date and time. The system section also displays the model number of the board, the BIOS version, BIOS date, and BIOS ID.
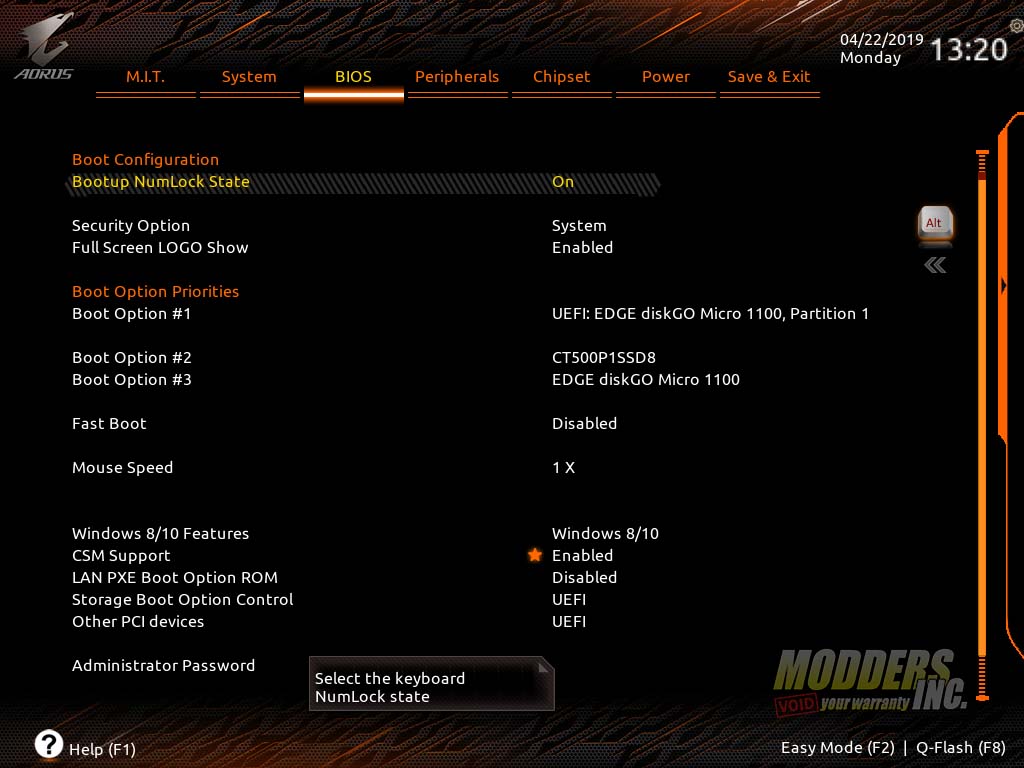
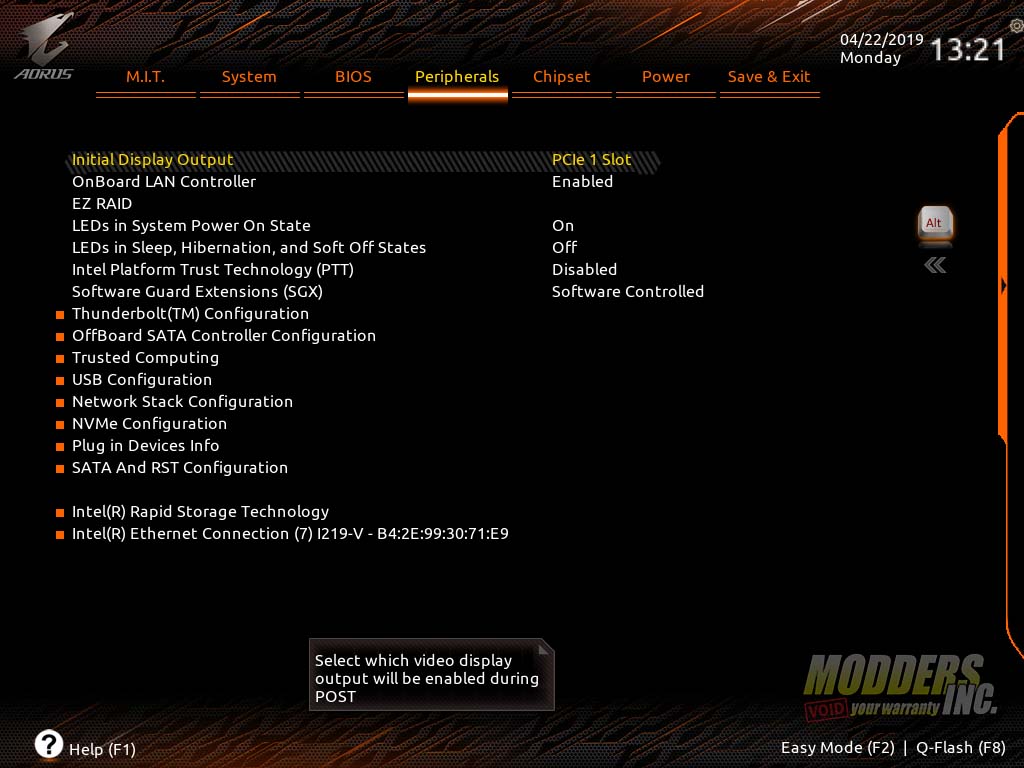
The BIOS section allows you to set boot priorities for the different drives detected by the motherboard. You can also enable or disable fast boot as well as set the mouse speed for the BIOS. The next section is the peripheral section. This is where you can configure basically anything connected to your motherboard. For example, SATA, USB and NVME configuration just to name a few.
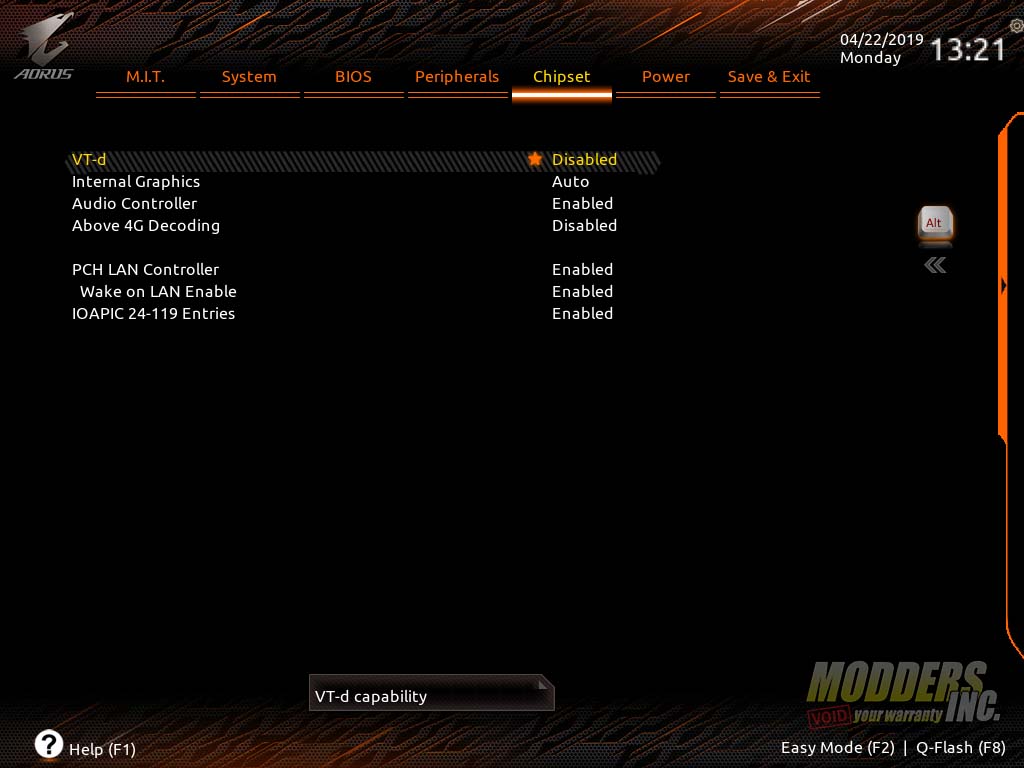
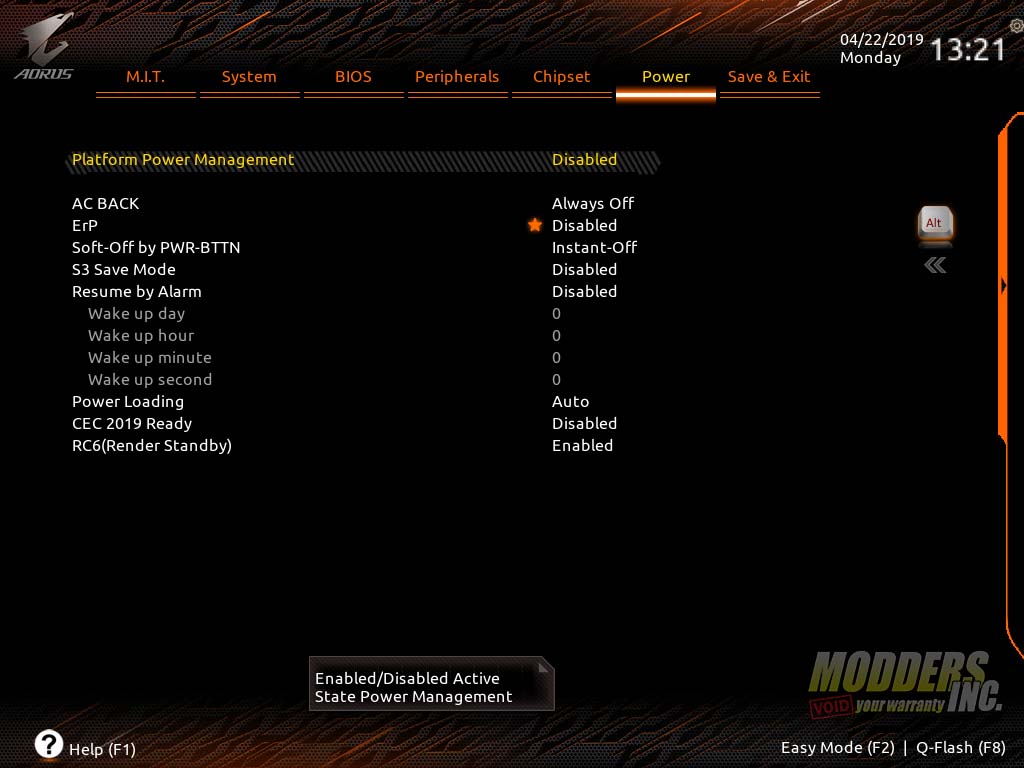
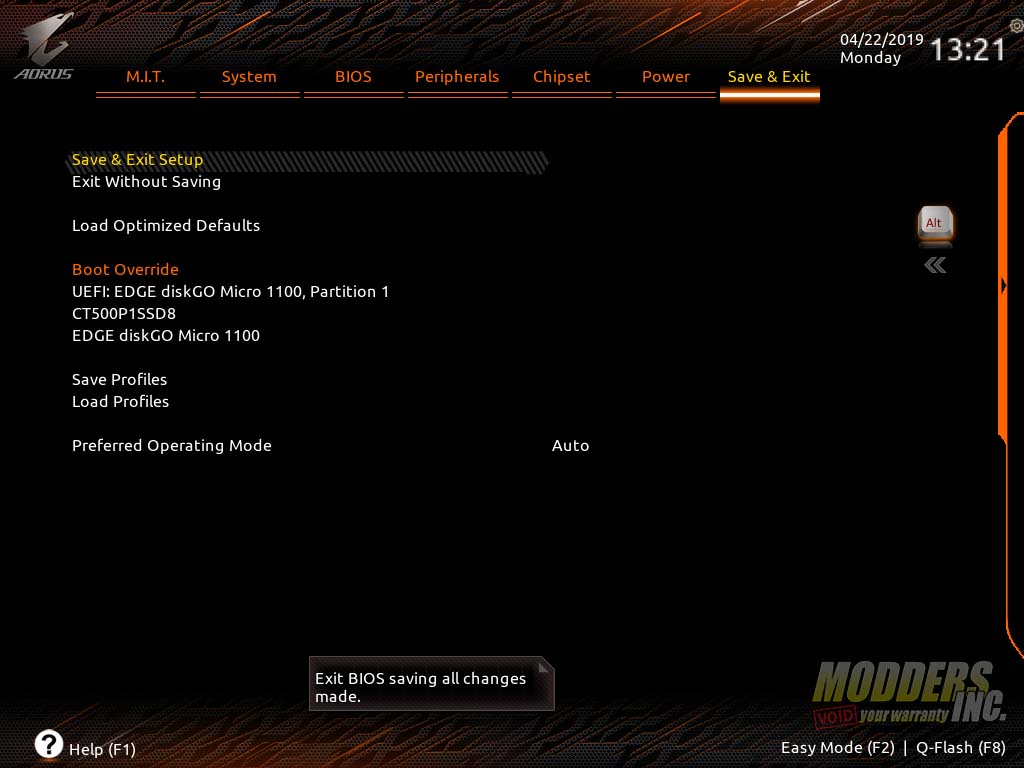
In the Chipset section, you can enable or disable things such as the onboard audio, the internal graphics, and the different LAN controllers. The Power section has exactly what is say, several different power settings. The Save & Exit section is how you exit the BIOS. However, they give you several options before you do. This is also where you can override the boot priority, but just this one time. The next time you boot, it’ll go right back to your first in the boot order. The final section allows you to save your current configuration, set up profiles and load optimized defaults.
Gigabyte App Center
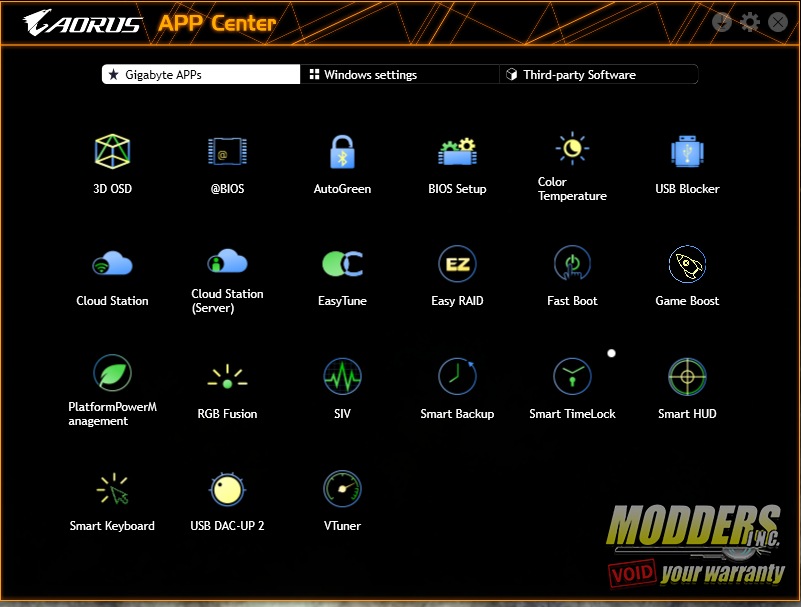
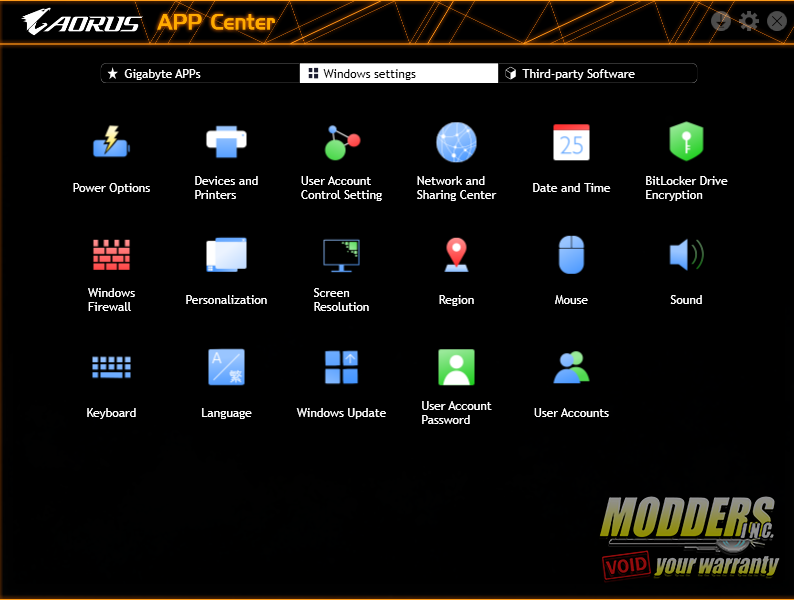
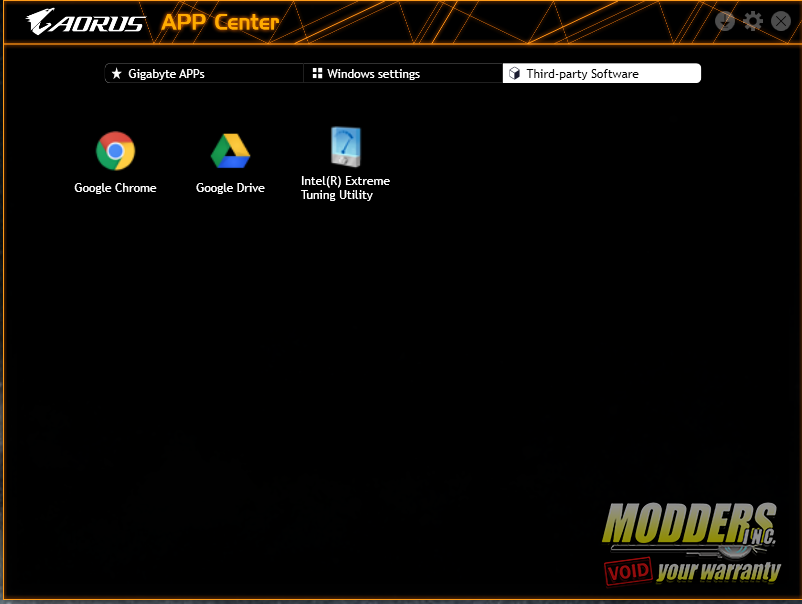
Gigabytes App Center is an application that stores all of your Gigabyte applications in one place. There are a ton of useful applications that come bundled with Gigabyte motherboards in the App Center. For example, this is where you can find the RGB Fusion software. Gigabyte Easy Raid and EasyTune are a couple more of the numerous applications found in the App Center. There is also a section for Windows applications such as sound settings, Windows Firewall, Devices and Printers and several others. It can be easier for the more casual user to find some of the Windows applications within the App Center. Rather than digging through the control panel to find devices and printers. Last, there is a third party section for applications such as Intel’s XTU, or extreme tuning utility.
RGB Fusion
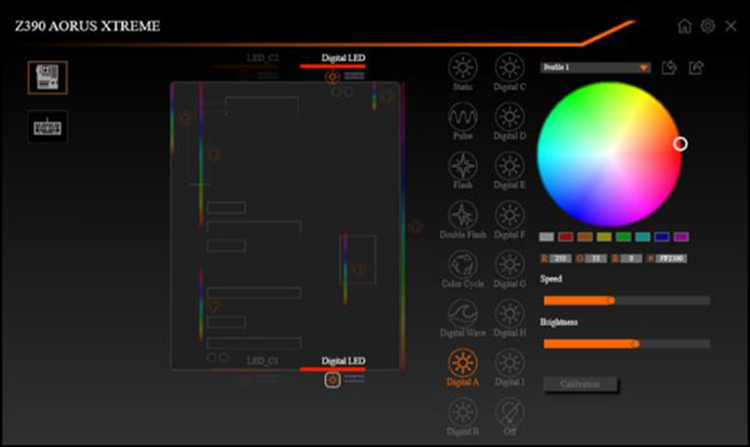
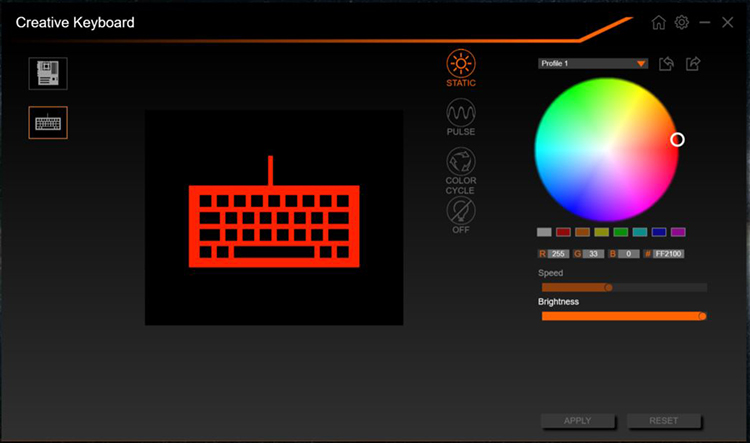
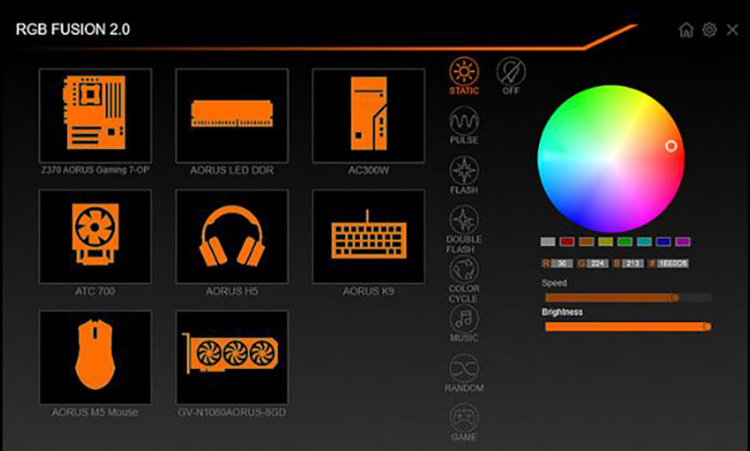
Gigabyte has completely redesigned their RGB Fusion software to give us RGB Fusion 2.0. RGB Fusion 2.0 provides you a better solution for customizing the lighting effects across all supported devices. For example, with the original RGB Fusion, my Creative Labs Sound Blaster Vanguard K08 keyboard was not supported. Now, it is fully supported by RGB Fusion 2.o. RGB Fusion 2.0 controls the lighting on the motherboard, monoblock, memory and a vast array of peripherals. You can even sync all compatible devices with one click in the software. RGB Fusion 2.0 has a far better layout and user interface when compared to the original software. There are nine different preset effects to chose from. These effects are Static, Pulse, Flash, Double Flash, Color Cycle, Music, Random and Game. RGB Fusion 2.0 allows you to really customize the aesthetics of your system.
