ADATA XPG Invader Mid-Tower PC Case
Closer Look at XPG Invader
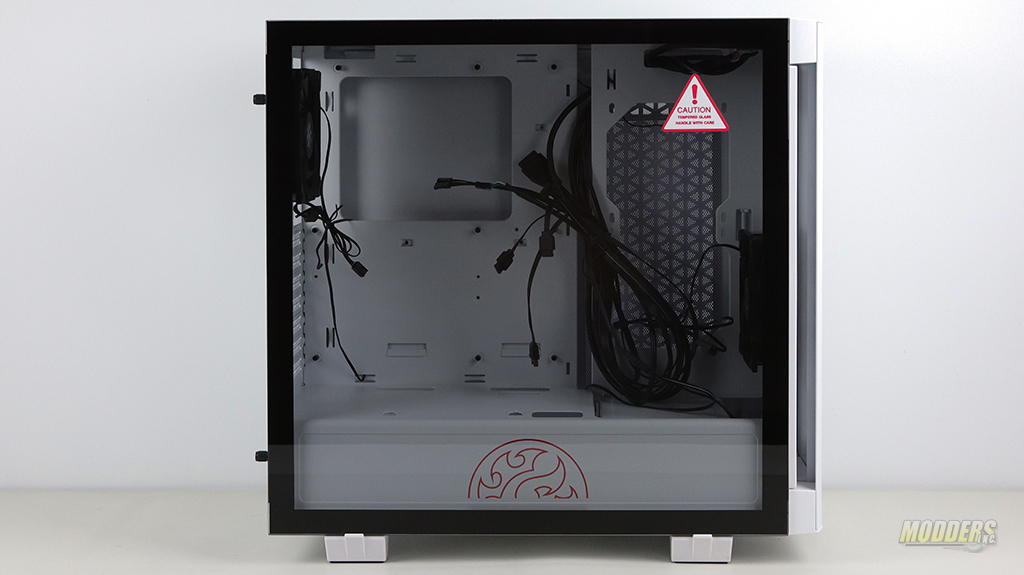
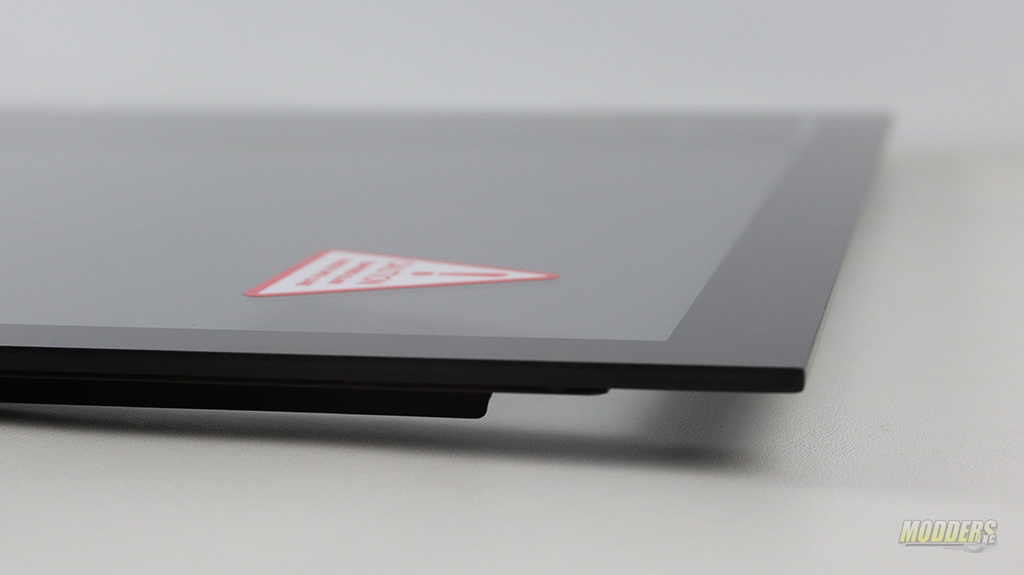
The ADATA XPG Invader is available in two colors, White and Black. Let’s jump right into the details to learn more about the XPG Invader PC case. The dimensions of this case are 470x206x482mm (HxDxW). The left side of the case features a 4mm tempered glass that could be easily removed by unscrewing two thumbscrews on the back and pulling the windows to the left. Note that the window is supported by the feet of the case. If you look closely you can see small indentations in the feet of the case that help keep the tempered glass in place. The right side of the case features a steel door with a small opening for ventilation on the left.
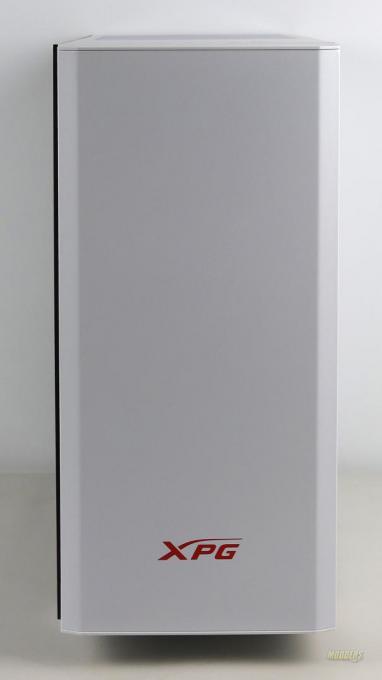
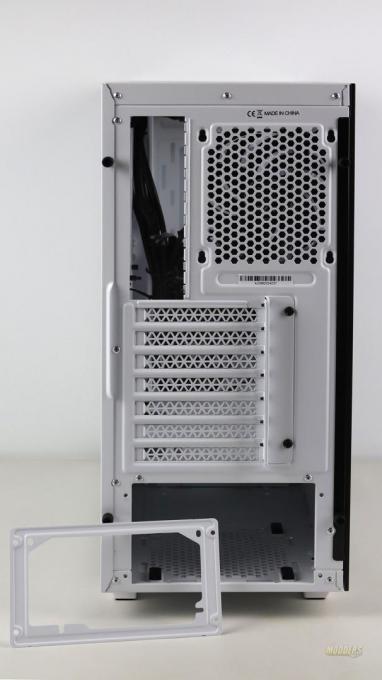
Most of the case is made from rolled steel. The front bezel is made from rolled steel while the top and bottom pieces are made from the ABS plastic. The color matching between the ABS plastic and painted steel is spot on and it makes it feel like they are both parts of the same structure. Also on the front of the case is ADATA’s red XPG logo. The back of the case has an all-to-familiar configuration. The motherboard is installed upright in this case and the power supply is on the bottom of the case. The power supply tray does have a removable plate for easy installation of the power supply. There are a total of 7 PCI slots available on the back of the case.
The entire case is being supported by four ABS plastic feet with rubber inserts in the bottom of the feet. To keep the case dust-free, the XPG Invader has two removable plastic filters on the bottom. On the bottom of the bezel, there is four small openings trough which RGB LEDs shine through. That is pretty much all of the RGBs in this case. On top of the case, there is an additional filter that covers the air vent. This filter has a magnetic strip that helps it to stay in place.
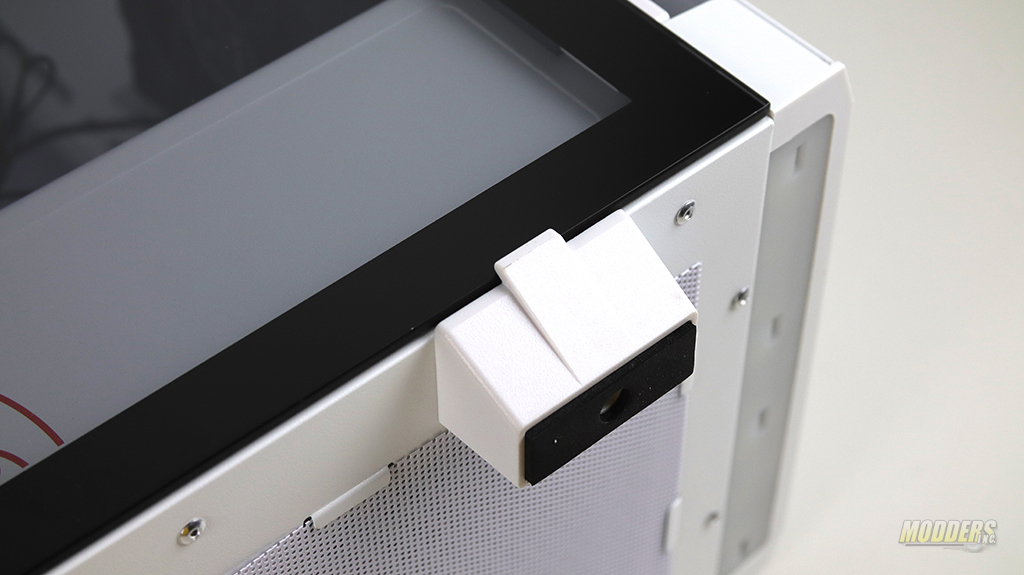
Earlier I have mentioned that the tempered glass is supported by the feet. Here is a close up of one of the supporting feet of the case.
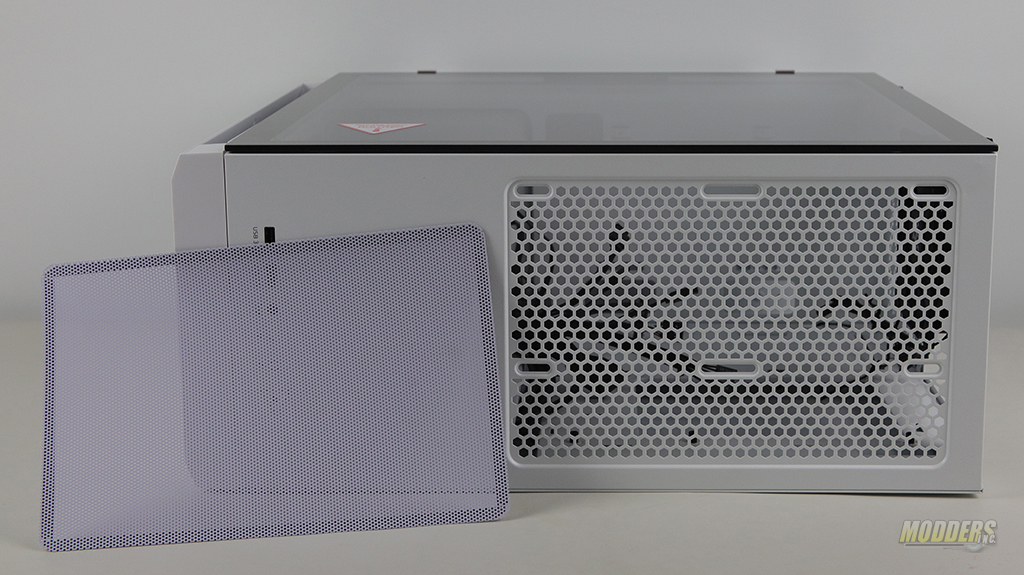
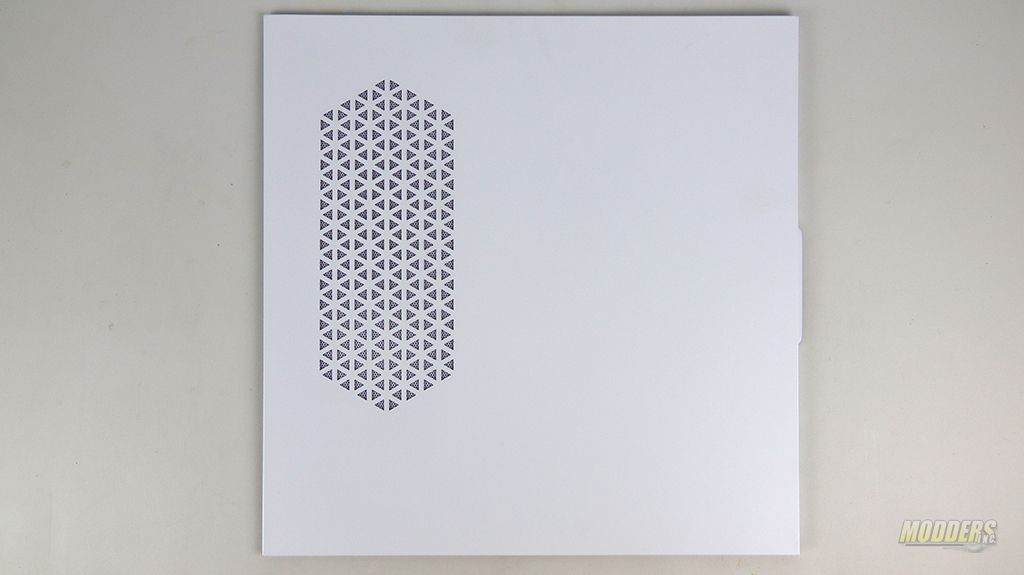
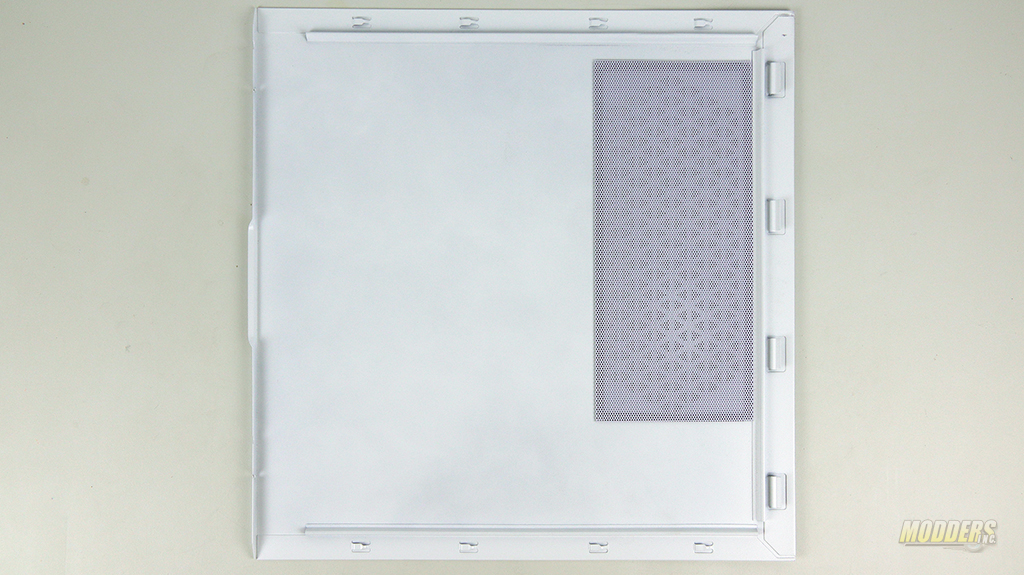
The color of the Right panel is white as well but after looking closely at it I found a little bit of color bleed trough it. I am assuming the panel was primed at one point and the number of white coats was not enough in some areas. You can see deeper discoloration on the inside of the panel at random spots. The exhaust mesh is covered with a magnetic plastic filter. This filter could be removed and used inside of the case.
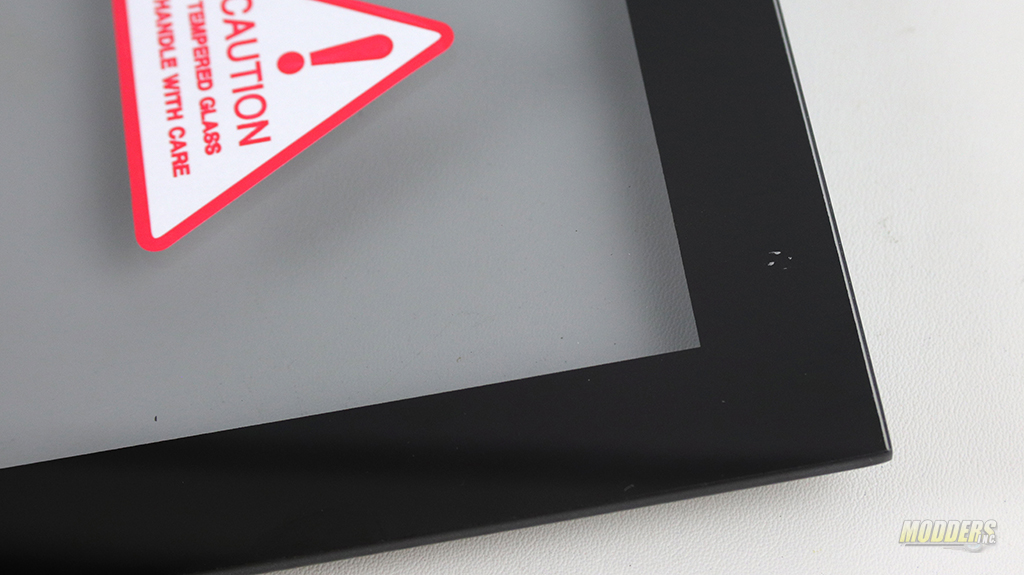
Upon closer examination, I found another imperfection. This time it was on the inside of the tempered glass. It appears that the black paint that was painted on the inside of the window has been scratched. When I attempted to scratch it with my nail a little bit of paint came off. The tempered glass for the ADATA XPG Invader is 4mm thick and has glued mounting brackets on the inside edges.
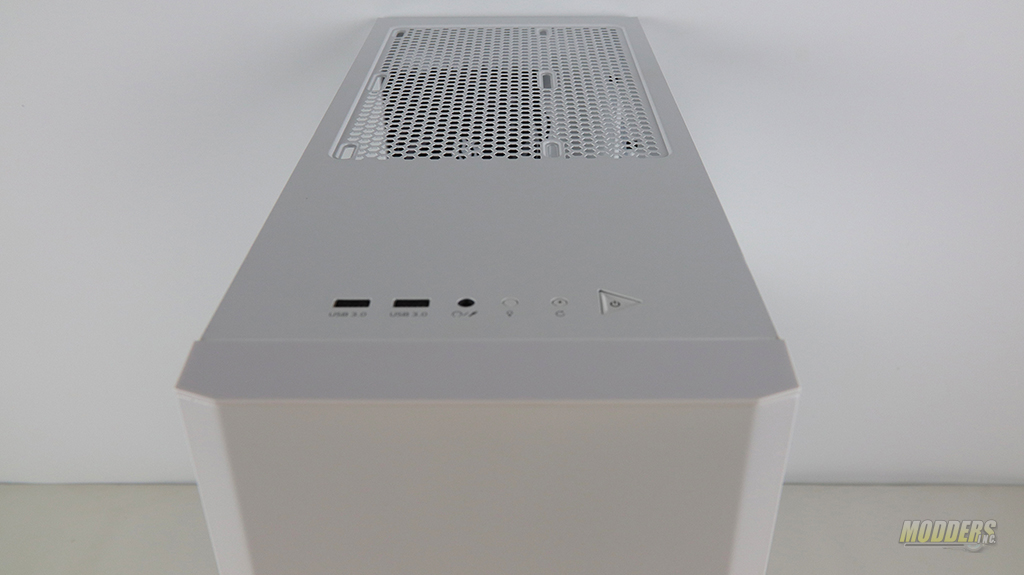
The top of the case is also made from cold-rolled steel and painted with the same paint as the rest of the body. The IO panel is located on top of the case towards the front of the front bezel. Here we have two USB 3.0 connectors, a combination of microphone and headphone jack, lightning of the RGB in the front of the case, reset button, and power button.
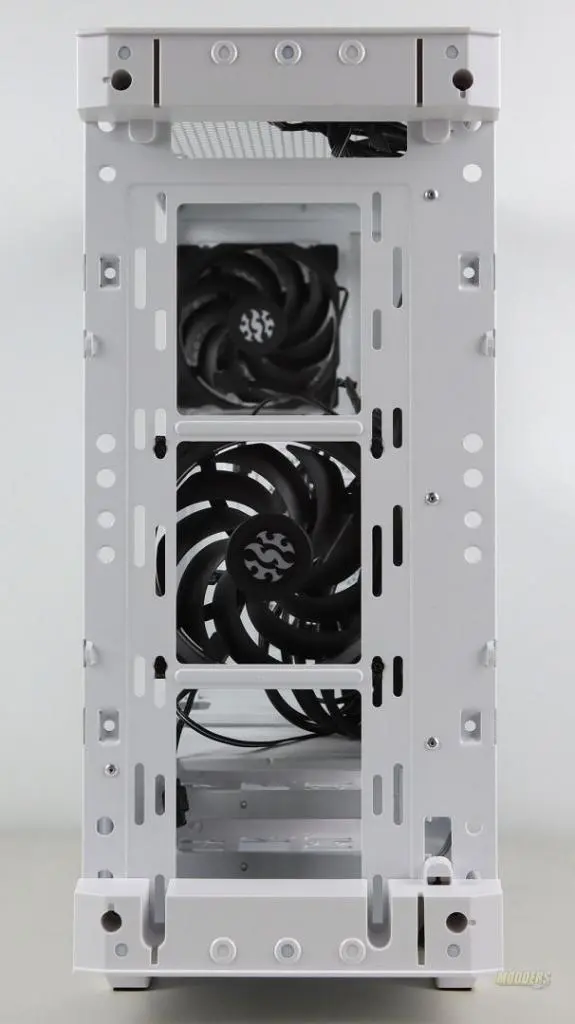
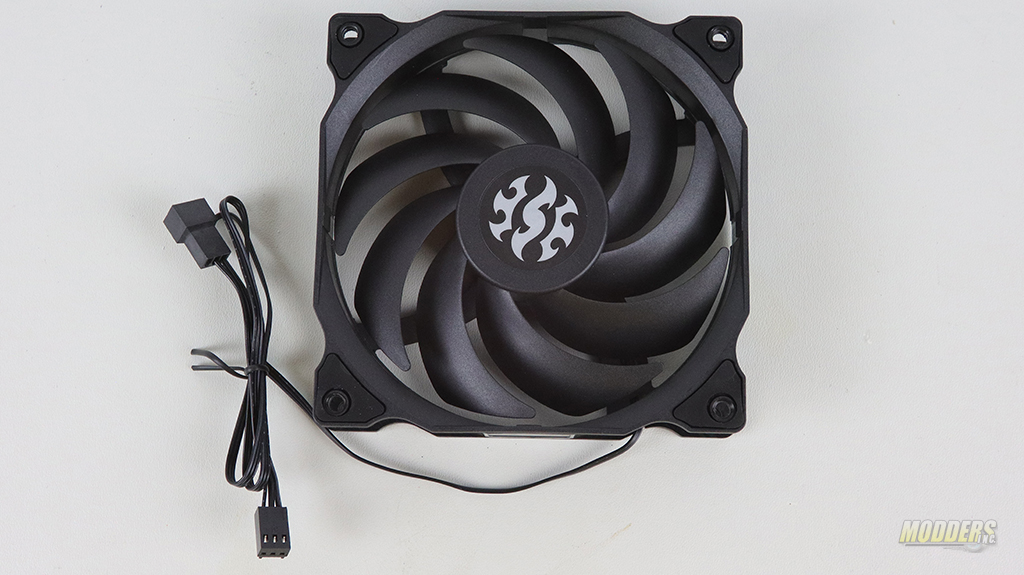
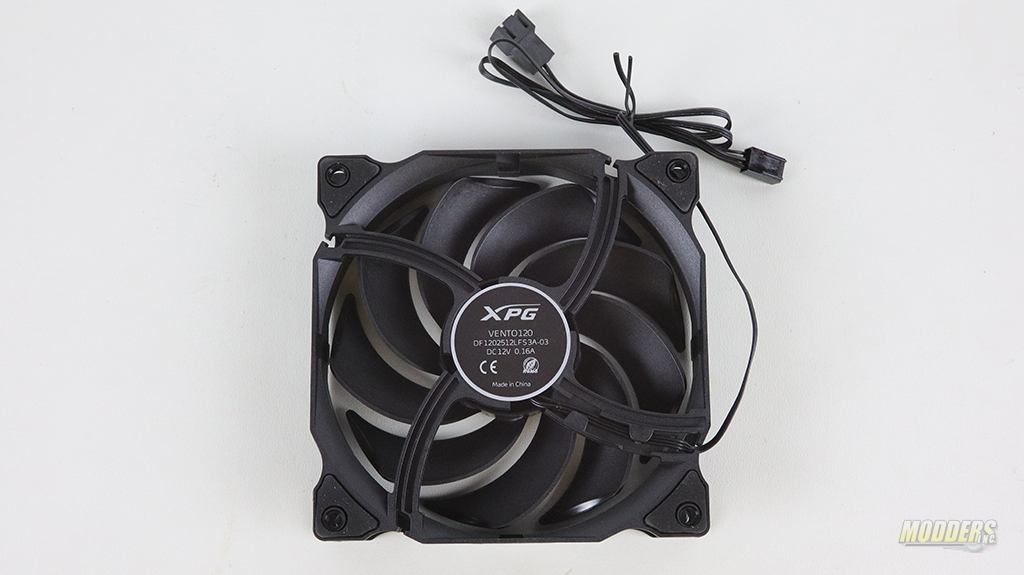
The front bezel can be easily removed to perform any cleaning maintenance to the case. Behind the magnetic bezel is the dust filter. The dust filter has a thinner mesh than the other filters in this case. Invader comes with two pre-installed VENTO 120mm fans. One fan is installed in the front of the case and one in the back. The front of the case can accommodate a variety of radiators along with 120 and 140mm fans.
When looking closely at the bezel, I found a few spots where the primer was coming trough due to the lack of an additional coat of paint. It is not possible to see without removing the bezel.
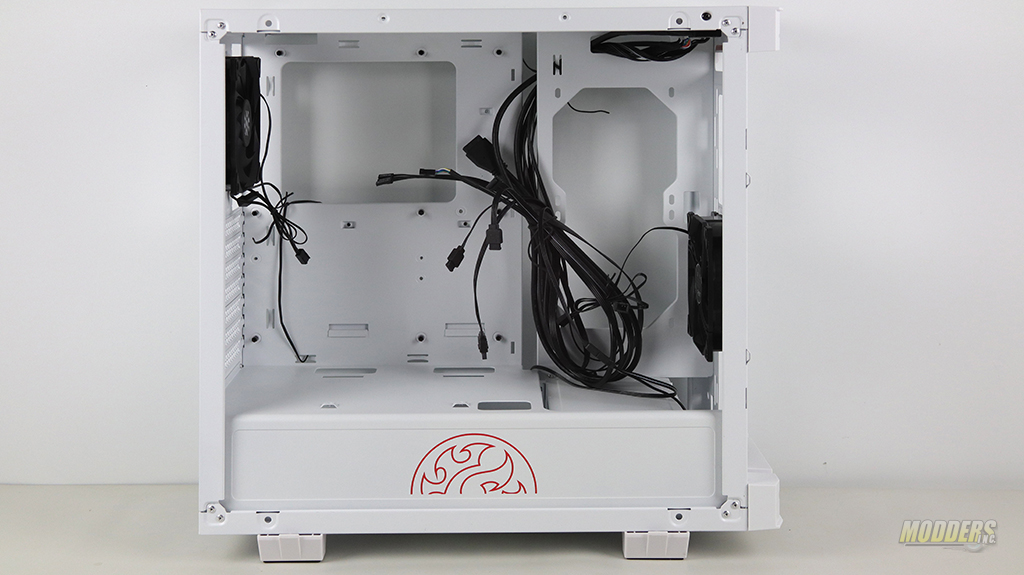
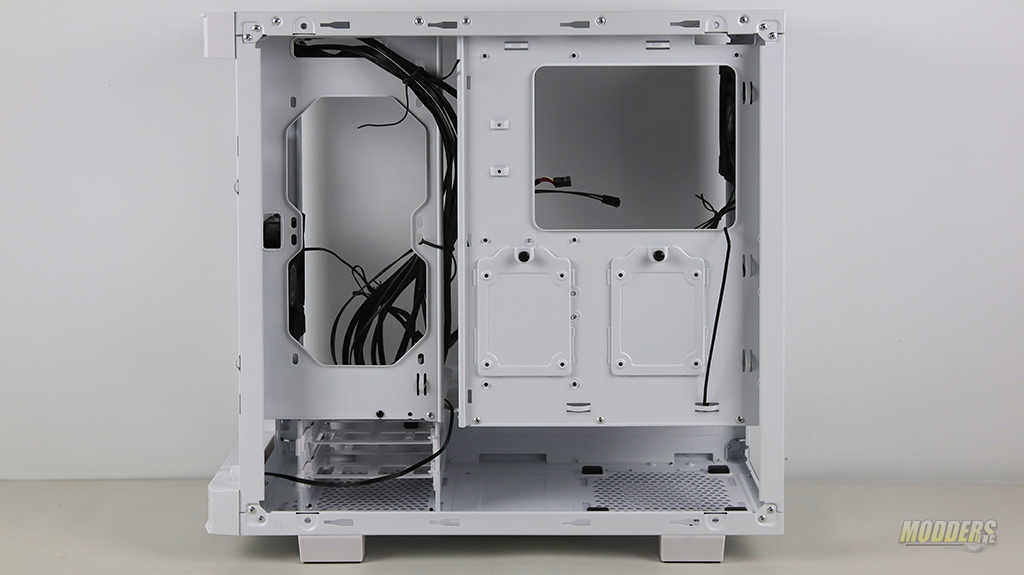
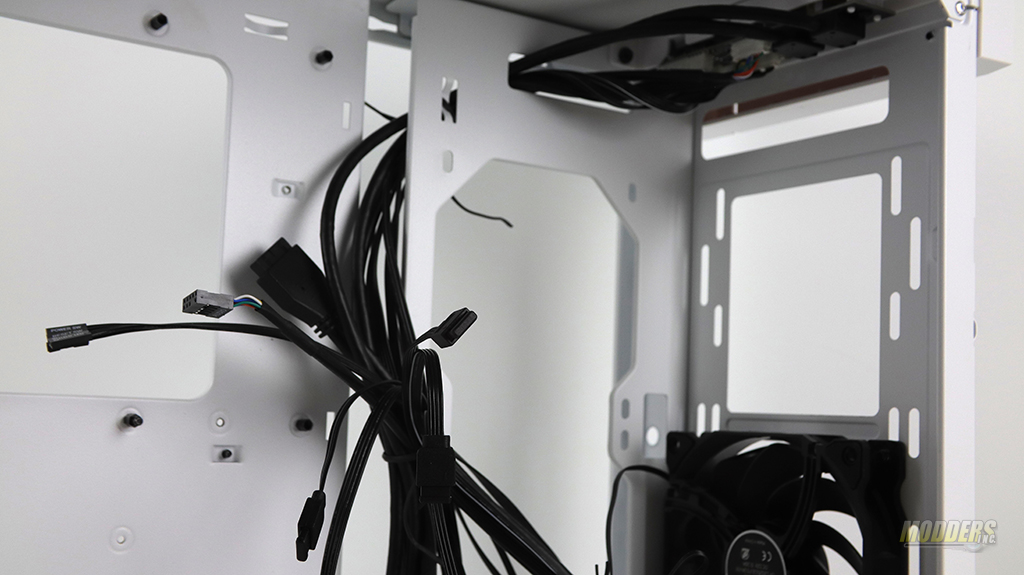
The internal frame of the Invader is pretty solid. Each corner of the case has two rivets to provide maximum structural support. The bottom of the case has been sectioned off to hide the power supply and its cables. There is a red XPG logo on the power supply separator that is visible even with the tempered glass window installed. Cable management in this case consists of zip ties and proper cut-outs on the motherboard to connect them. There are no cable shrouds but you could still try to hide most of the cables on the back of the motherboard tray.
The motherboard tray is non-removable in Invader but it has a large cutout section for easy cooler installation. The Invader has multiple places to mount radiators. With that said there is a large opening on the right of the motherboard where a radiator could be installed. This opening is not covered by anything so if you’re not going to use a water-cooling loop and install a radiator there, you could mount fans in this location to help increase airflow internally.
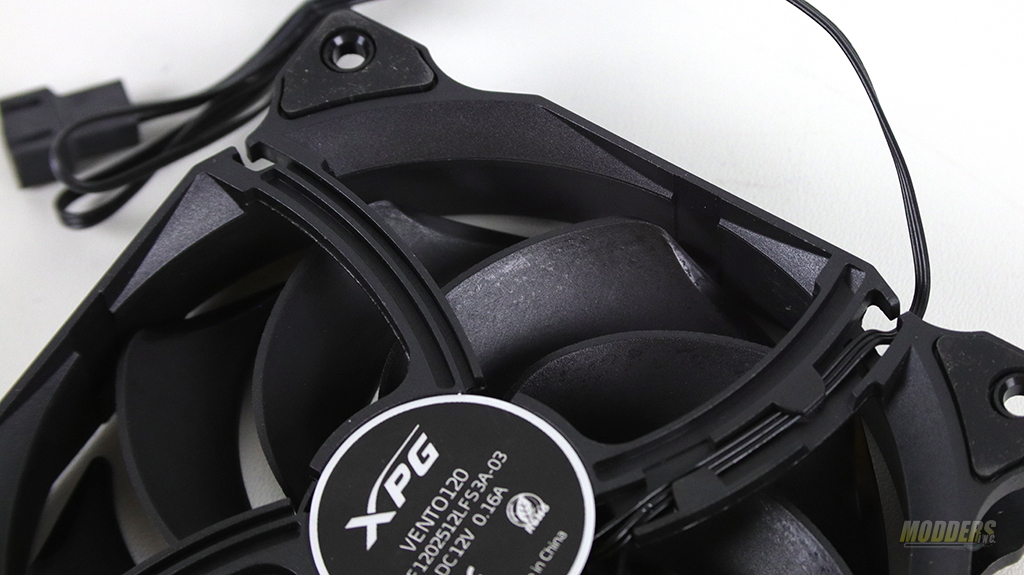
Two fans that are included with the case are VENTO 120mm in size. They are not PWM enabled but do have vortex type fins with cut edges. To keep vibration noise to minimum VENTO fans have small rubber inserts on the mounting corners.
