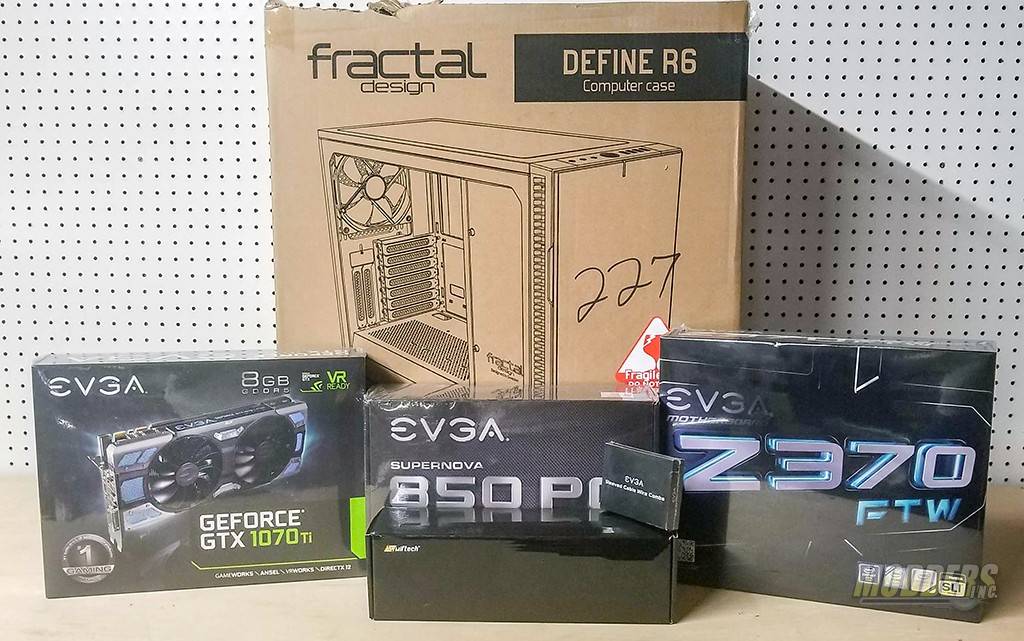
For me, it has been a long long time (pre-Y2K) since I did any type of modding to any of the cases I have. I decided that I would focus more on the paint and making a clean build for the contest. A Define Fractal R6 would be the canvas for my masterpiece.
A huge THANK YOU goes to EVGA, Fractal, Swiftech, TitanRig, EKWB, and Kingston for sponsoring all the hardware for this year’s Staff vs. Staff modding contest.
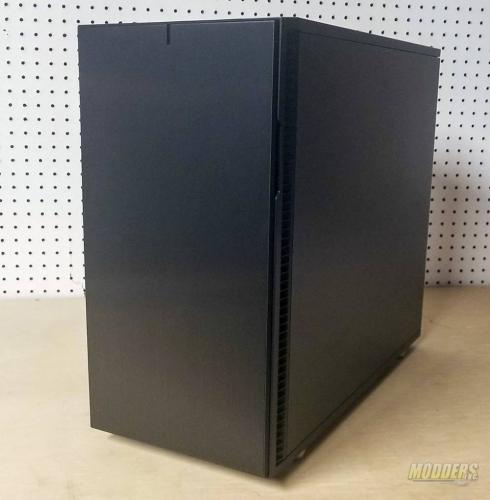
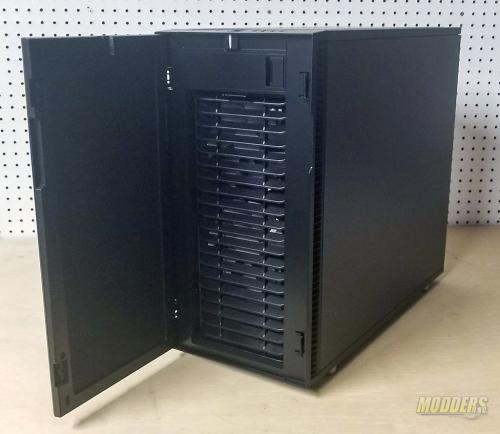
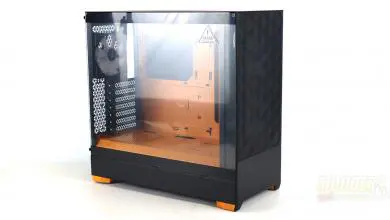
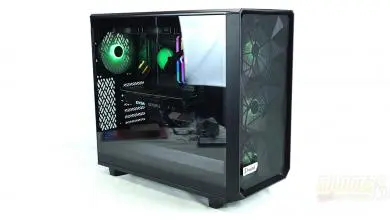
The Fractal Define R6 is a mid-tower case that features a door on the front as well as a panel on the top that can be removed. The door hinges can be changed around so that it will open to the left or to the right. The top panel can be disassembled and used as a vent for a radiator at the top of the case. All of the cases in this competition came in black.
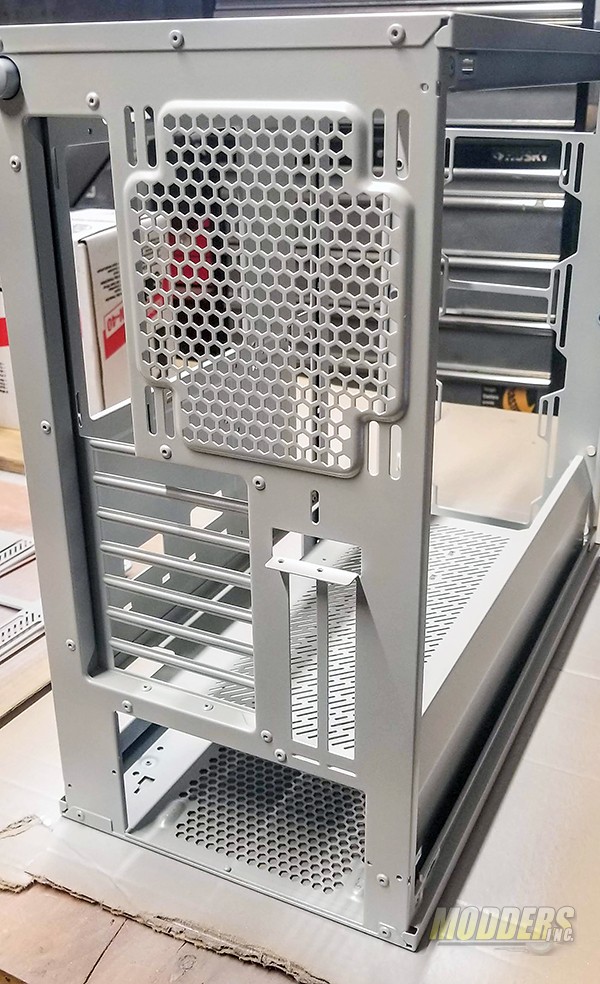
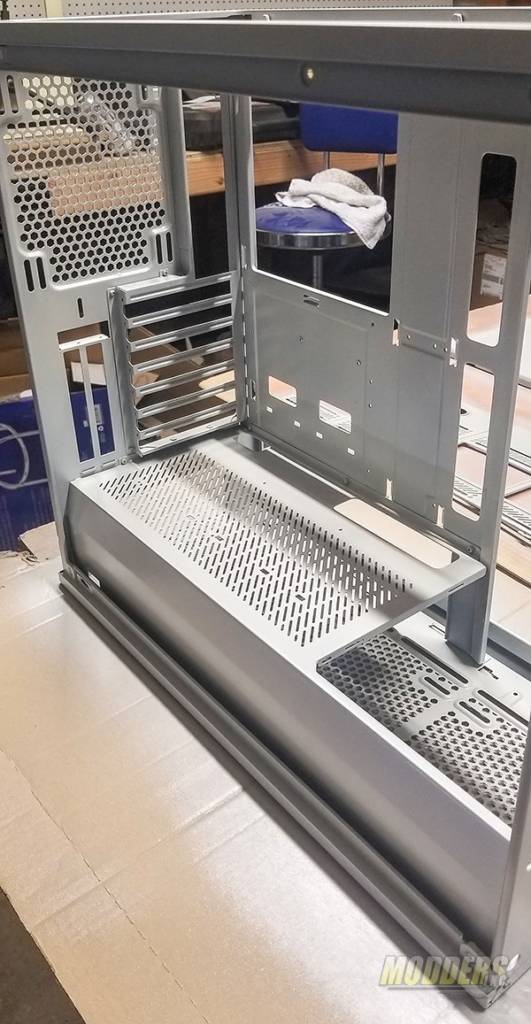
The first thing I wanted to do was strip off as much of Fractal’s powder coating as I could. Surprisingly this was tougher than it sounded and required a lot of sanding. I started on the back side panel and once it was down to bare metal, I used a bit of body filler to smooth out the material a bit.
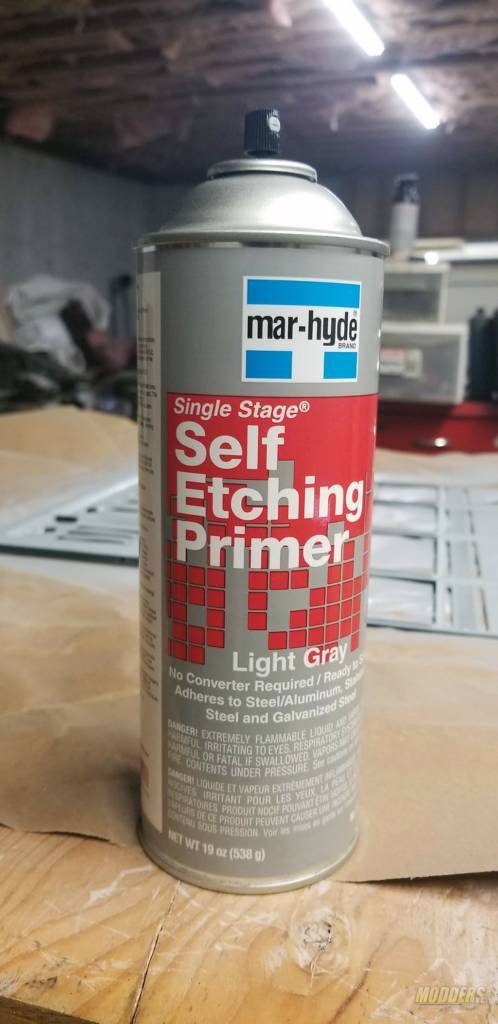
If you choose to go to bare metal, you’ll need to use self-etching primer to ensure adhesion and give your paint a nice surface to stick to.
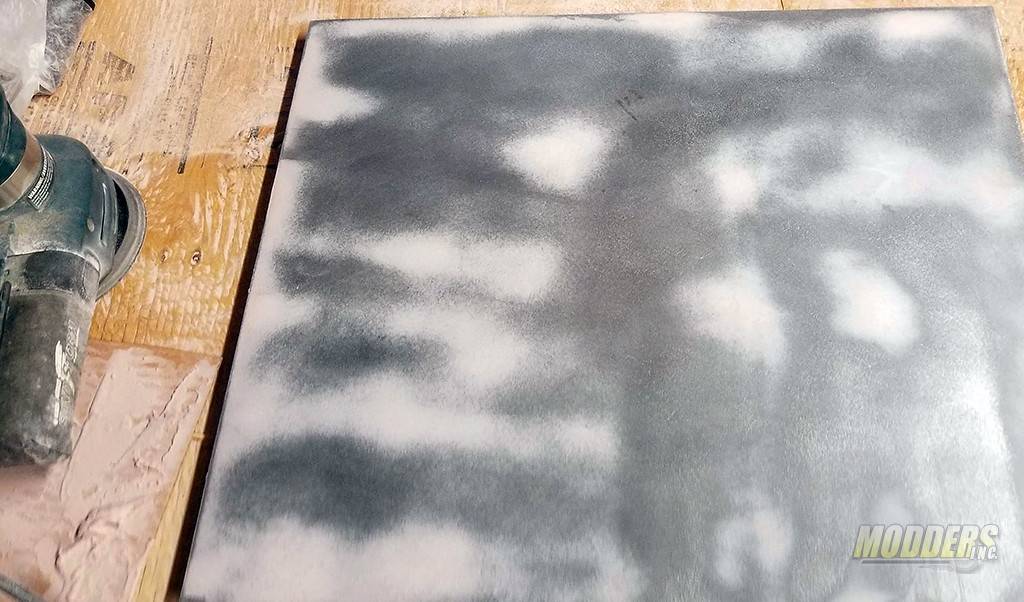
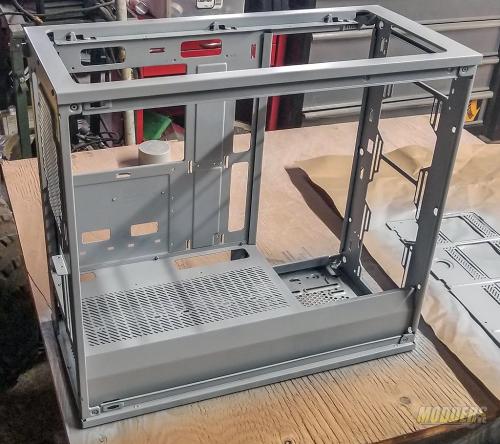
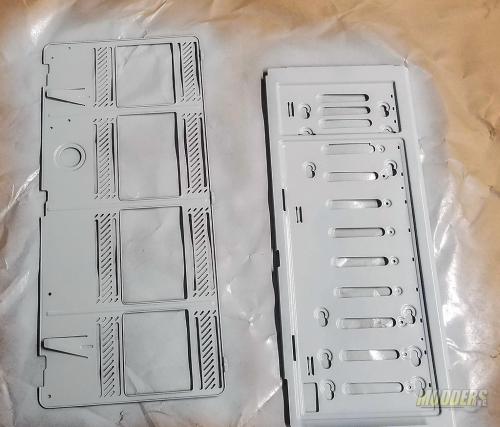
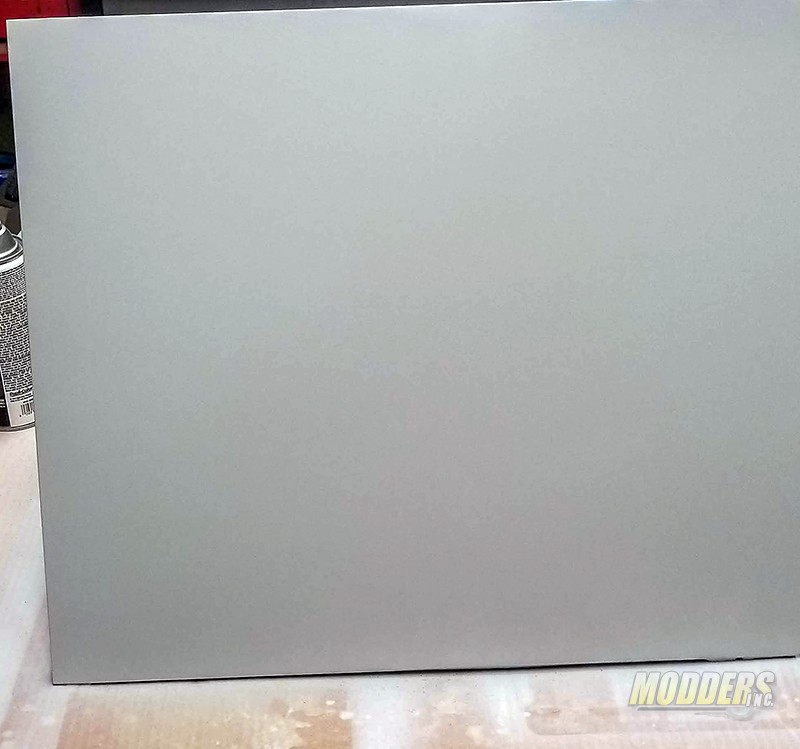
To begin laying primer/paint down, I sanded every surface that would be painted (which was everything) with 320 grit sandpaper. After sanding, I used a tack cloth to clean up any debris left over by the sanding process and then sprayed the 1st coat of primer. Primer and paint need to go down in light coats. If you’ve never painted before, the first few coats will look like badly painted stripes across your material. This is ok. More thin coats will even everything out.
Between each coat of primer, I hit each part with 400 grit sandpaper. I had 4 coats of primer on the case when all was said and done.
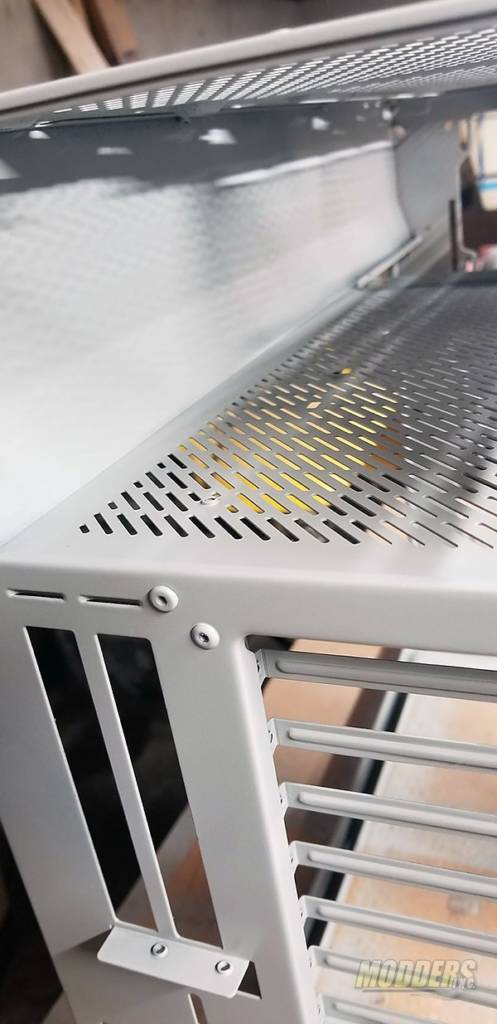
To get into those hard to reach spots like the power supply bay, I still held the can about 8 inches away from the surface I was painting. This helped ensure even coverage without getting any runs. Since I was sanding between coats, overspray wasn’t an issue.
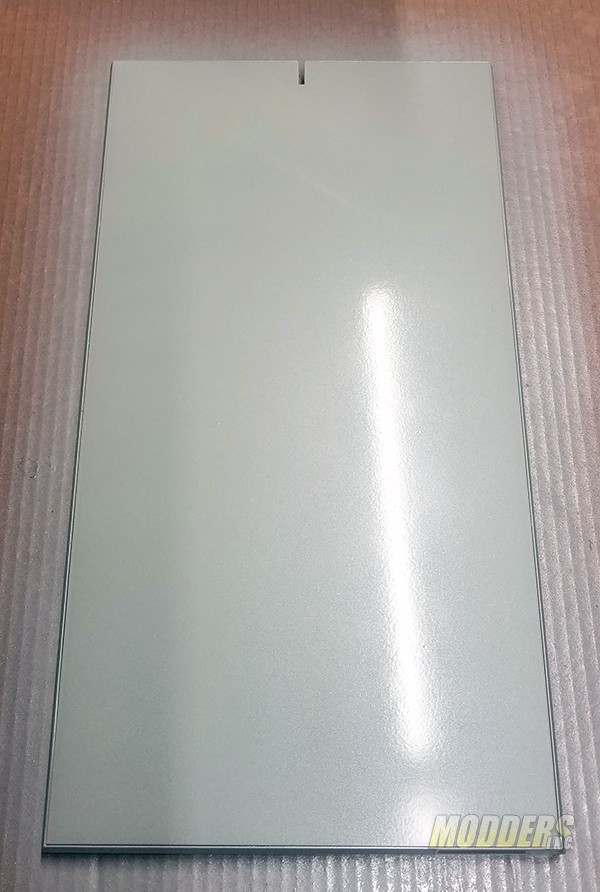
Once everything had a final coat of primer and was sanded, it was time to lay down the first layers of paint. My spray paint of choice is Duplicolor. Duplicor is made to match automotive paints by manufacturer and color. I feel it lays down and sands a little better than Krylon but, that’s just my opinion. The base color of the case I chose was Toyota’s Pearl White. The pearl in the paint gives the color in the paint a sheen when light hits it from different directions. Again, light coats were used and sanded between coats. For the final two coats, I wet sanded with 800 grit sandpaper. Adding a little bit of liquid dish soap will help the sandpaper cut a bit better and give you an overall better result.
BONUS – Bonehead move #1
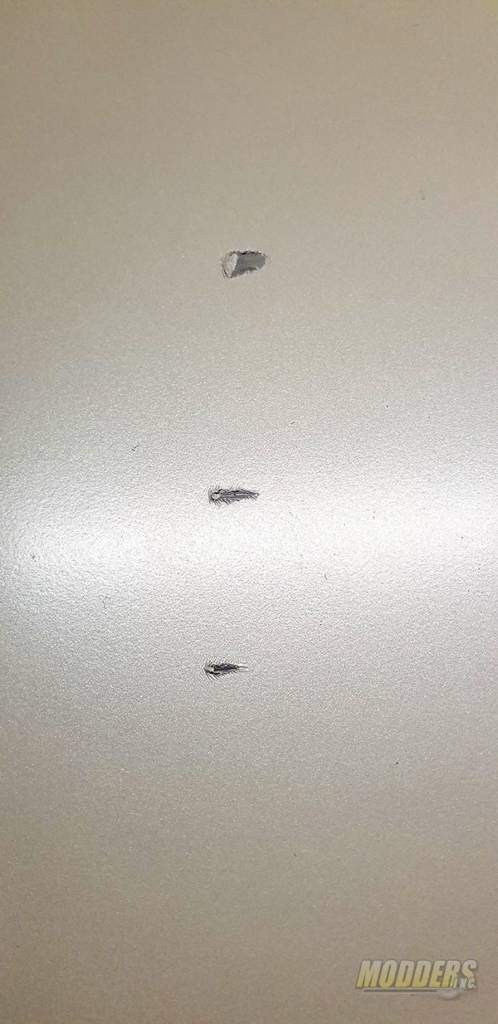
Now I know better than to mess with the paint until it’s fully cured. I also know better than to carry stuff around any of the parts that I’m painting. With that said, I broke those unspoken rules and was carrying boxes by my freshly painted side panels and yep, you guessed it. I dropped a box right on top of the panel.
So, to fix the panel, I sanded the whole panel down with 320 grit on my sander. I went down far enough until a fingernail would barely drag on the edge of the damage. I filled what was left with a little dab of spot putty, sanded with 400 grit and re-primed the whole panel. This time, I used a high fill primer.
After the primer was dry, I repainted this panel. Again.
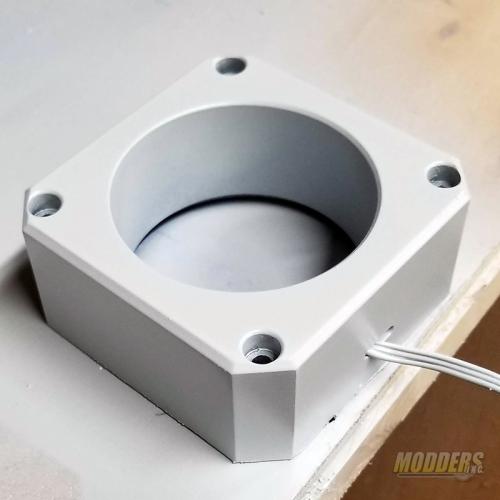
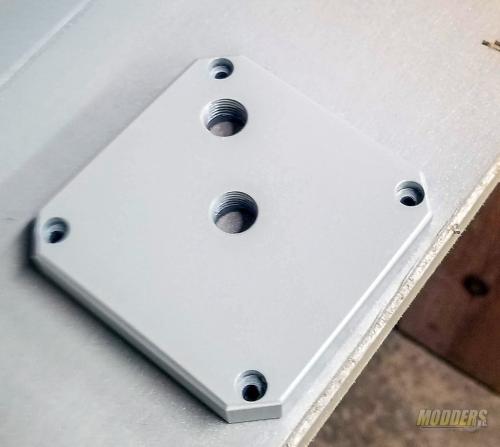
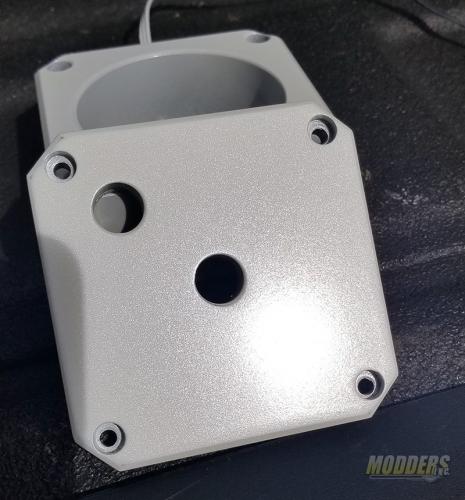
While I was waiting for the panel and other parts to dry, it was time to start painting other parts of the mod. Swiftech sent me over one of their new Maelstrom D5 reservoirs. It had to be disassembled for painting. The pump cover, top plate, and brackets were all prepped for painting. All were sanded with 320 grit sandpaper, primered with high fill primer and two coats of paint were laid down.
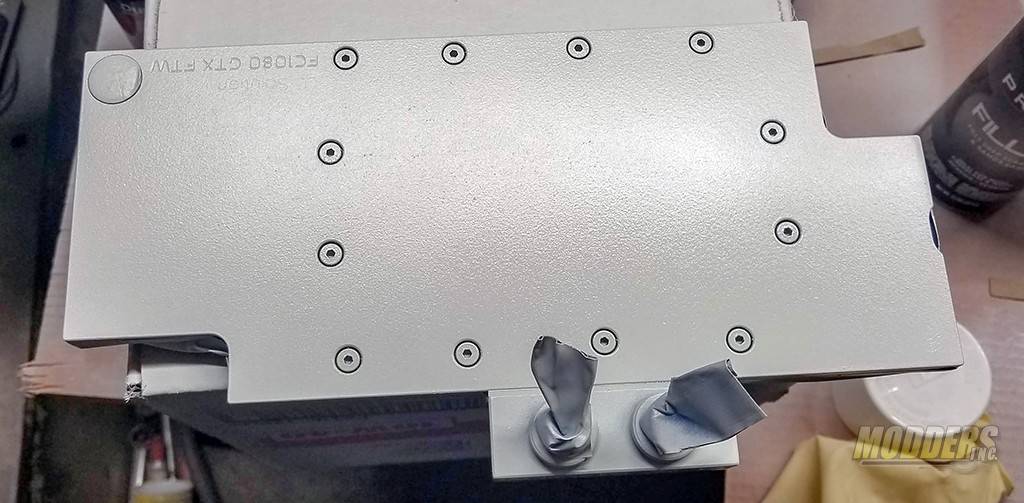
EKWB sent over an EK-FC1080 GTX FTW2 for the EVGA GTX 1070 TI FTW. The same treatment was applied. I taped off all the areas I did not want to be painted, sanded, primed and painted the top of the block. I also used two old fittings to block the ports on the block to keep paint from getting on the inside of the block.
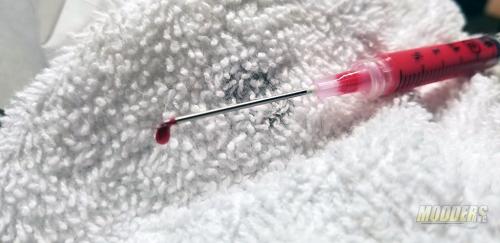
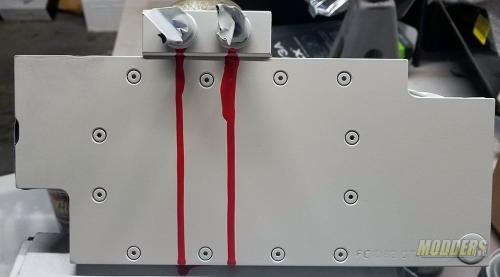
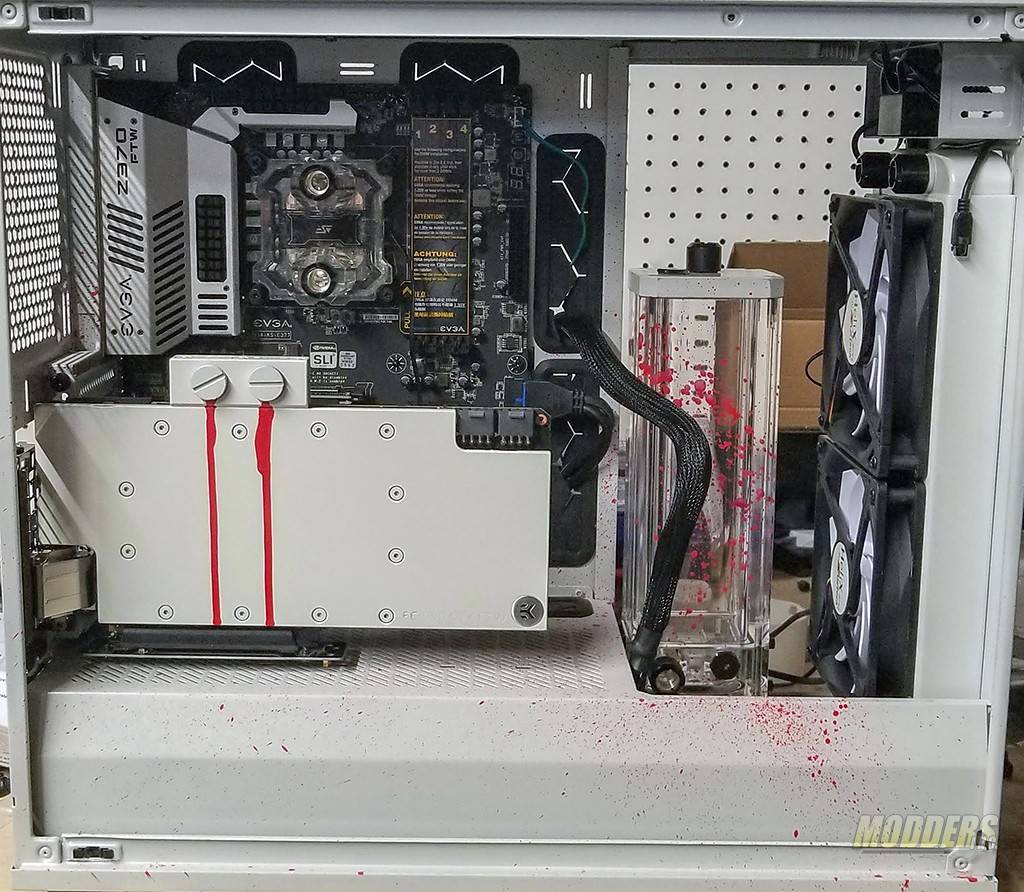
To get the look of blood leaking down the front of the graphics card, I intentionally created a run in my red paint using a hypodermic needle and red paint. I loosened the two fittings at the top of the card and squirted the red paint just under the edge and let it run down the card.
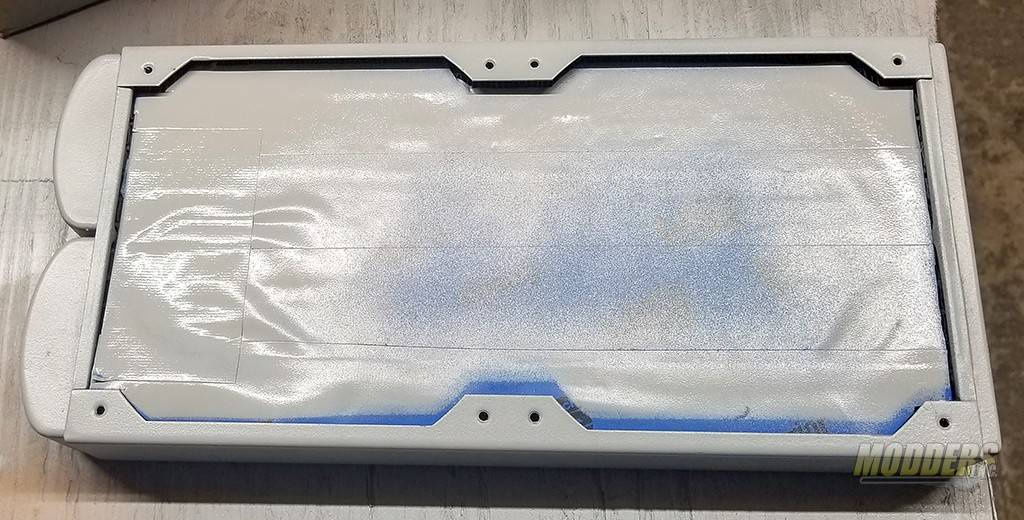
The Swiftech 240mm got the paint treatment as well. To prevent any cooling issues, I masked off the fins of the radiator when I sprayed it.
BONUS – Bonehead move #2
I know when you’re spraying pearl out of a paint gun that you need to lay down a base coat first. Most of the time that I’ve painted in the past, I’ve mixed the pearl in with the clear. But here, I’m using spray cans. I figured the base coat is mixed in. It was but, only in a very small amount. This resulted in the case having more layers of paint that I had originally planned for and a few extra trips to the parts store for more paint. With the reservoir and water block paint, I laid down a white base coat before I hit it with the pearl white. In the overall looks department, the reservoir and block don’t look much different than the paint on the case.
Finally, the base color of the case was complete and it was time for a bit of assembly. Once I took the individual parts and put them together, the pearl paint didn’t quite match. I was expecting this and had planned on a couple of extra coats once the case was assembled. It took four coats to get it all matched up the way I wanted. (see bonehead move #2).
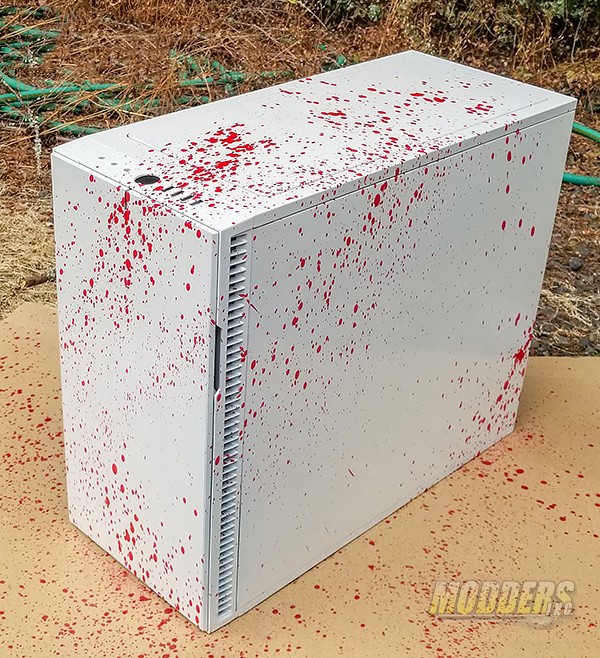
At this point in the mod, it was time to get away from the white paint and start using some red. I wanted blood spatter inside and out of the case. When I started playing The Evil Within, my first instinct was to try and take out The Keeper. The first time I tried this, I ended up being decapitated. Later on in the game, I was caught yet again by the keeper, but this time I took a chainsaw to the spine.
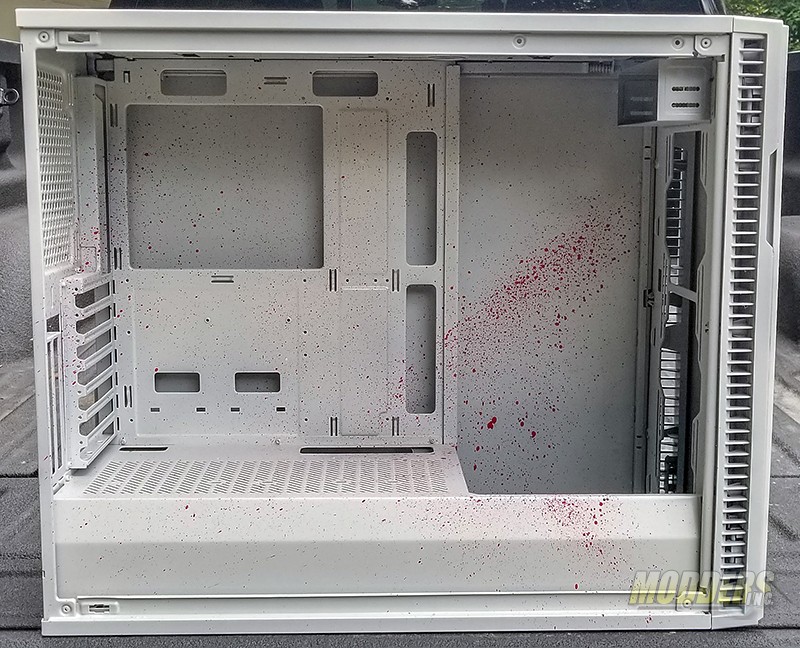
I did the spatter in two different sections. The first was the inside of the case and then I moved to the outside.
For the inside of the case, I sprayed Duplicolor GMC red into a container and dipped a 1-inch brush and bent the bristles of the brush backward with my finger and let them spring forward on their own. This resulted in a non-uniform pattern all over the inside of the case. I did this a couple times inside the case to make sure I had enough spatter to get my point across.
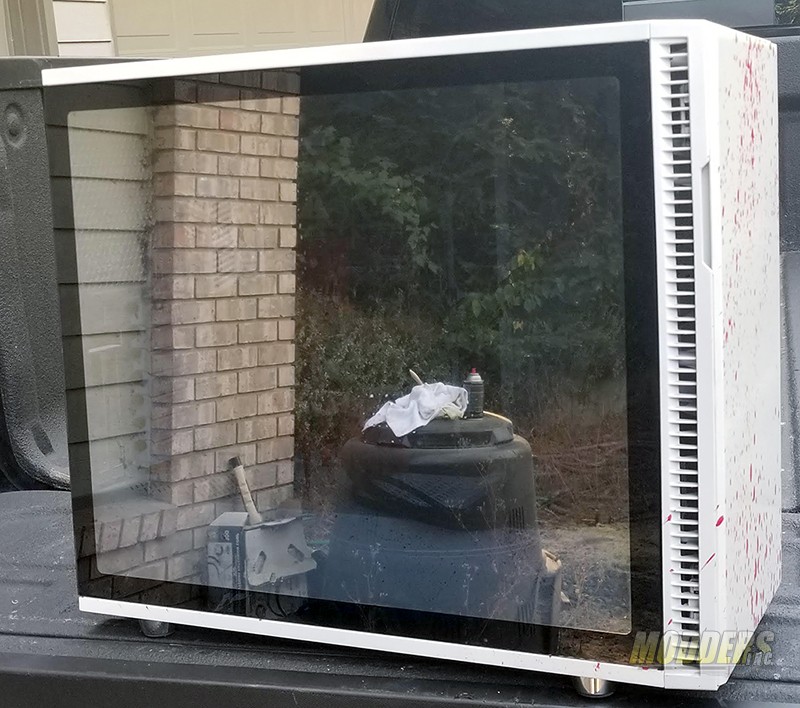
I first sprayed 3 coats of clear coat on the case and between each coat, I wet sanded with 1000 grit sandpaper. After the final coat was dry, I sprayed Duplicolor GMC red into a container. I took a 2 in. paintbrush and ran the end of the bristles against my bench grinder to flay the ends and have them hold more paint but I didn’t want the bristles to lay in a uniform pattern. I then dipped the brush into the paint and whipped the brush at the case. I did this about two or three times. Personally, I think the spatter went down well.
After the spatter was completely dry, I laid down a few more coats of clear. I wet sanded between each coat started and 1000 grit and finishing up with the last coat at 3000 grit. Finally, I used a medium cut polish to give the case the finish that I wanted.
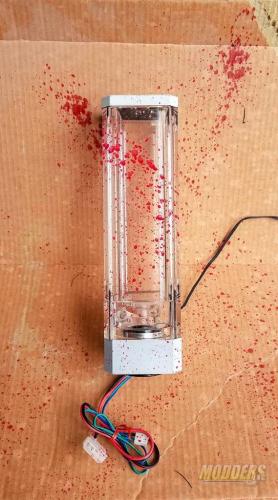
I followed the same process on the reservoir after it was fully cured and assembled.
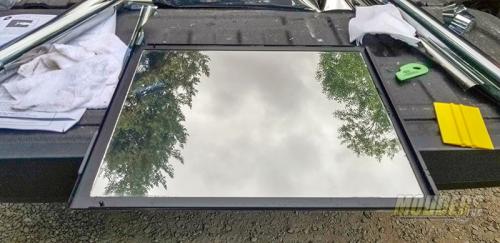
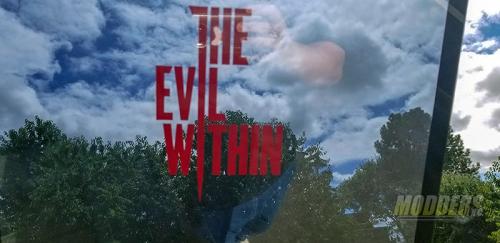
Before final assembly of the case, there was one more part that needed to be completed. I wanted to do a one-way mirror effect on the side panel with the game logo hidden from view when the interior lights were off. Home Depot had a kit that gave me 90% of the effect I was looking for. To install it, I needed to make sure my glass was clean. In the kit came some glass cleaner/adhesion promotor, trimming knife, and the squeegee. I started by cutting the large film into a more manageable size. Then cleaned the glass and sprayed ample amounts just before I laid the film down. To get it to lay down without any bubbles, you’ll need to pick a side to work from. Take the squeegee and work the film towards the other three sides until there are no air bubbles.
While the reflected image isn’t the best, I’d say the effect is pretty good.
After all that, it was time for final assembly and get it packed up for shipping to Dallas. The last thing to do was run the hardline. Damon Bailey did the hardline for me at the show.
