Water Cooling Your PC: Making of an Eye Candy Part 4: Tube Bending and Fitting Installation
Getting cooler with more Alphacool
A word of wisdom here, think before starting the project. If you are just starting out and it will be your first project, like me, experiment with the tools and materials. The more you play around with the tubing and fittings, the more you will understand on what to use for your next project. Or you can just go and use soft tubing and forget about most of the issues hard tubes have.
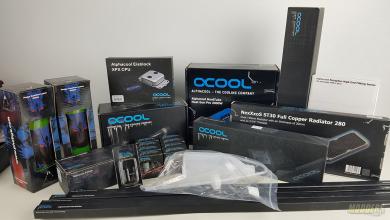
Acrylic tubing was provided by Alphacool along with the Heat-Gun and hard tube compression fittings. Alphacool carries a wide assortment of fittings so check them out as I am sure you will find some great fittings that has proven to work!
Review Sample Provided by: Alphacool
Product Name: Water-cooling Equipment
Product was given in exchange for work done to produce this review.
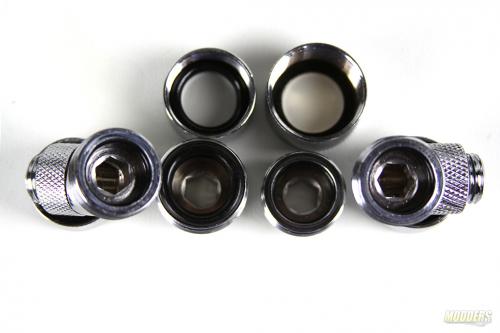
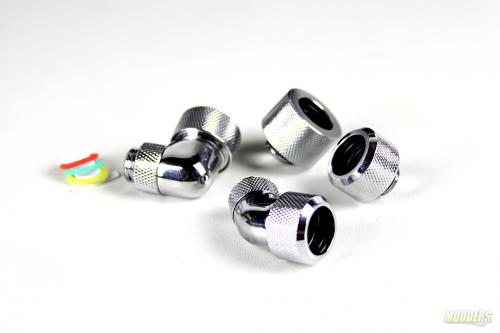
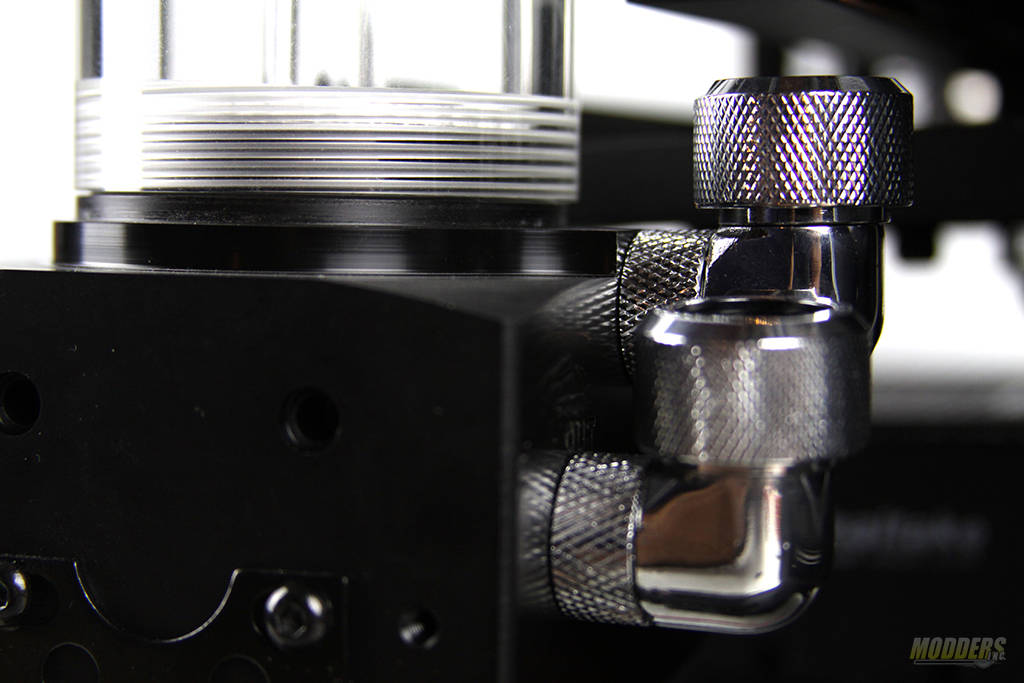
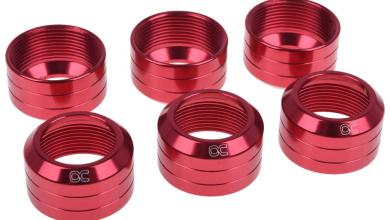
The tubing that we will be using is 16/10mm in diameter. The 16/10 description tells you that the outside of the tubing is 16mm while the inside of the tube is 10mm. The hard tube fittings are also 16mm so everything should fit nicely. I got a few 45 and 90 degree angled compression fittings as well so I had enough fittings to customize my build with ease. The Alphacool team was kind enough to send me their new Alphacool HT fittings as well.
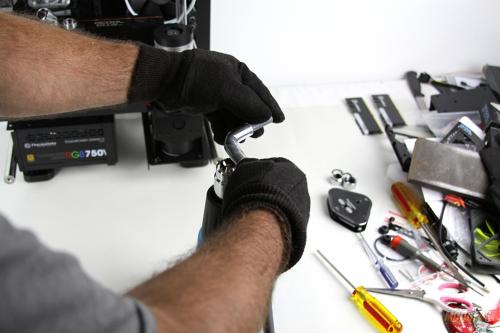
First thing I did was to draw up a water loop on paper just to see what the final outcome would look like. Next I laid out all the fittings in the way I drew it. Once I had everything just the way I wanted I began to install and to securely tighten the fittings into the designated places.
I really didn’t have any issues with the fittings. The 45 and 90 degree fittings have a full range of motion so I could adjust the tubing if needed to be. These are great fitting options to have for your first build and for smaller spaced cases.
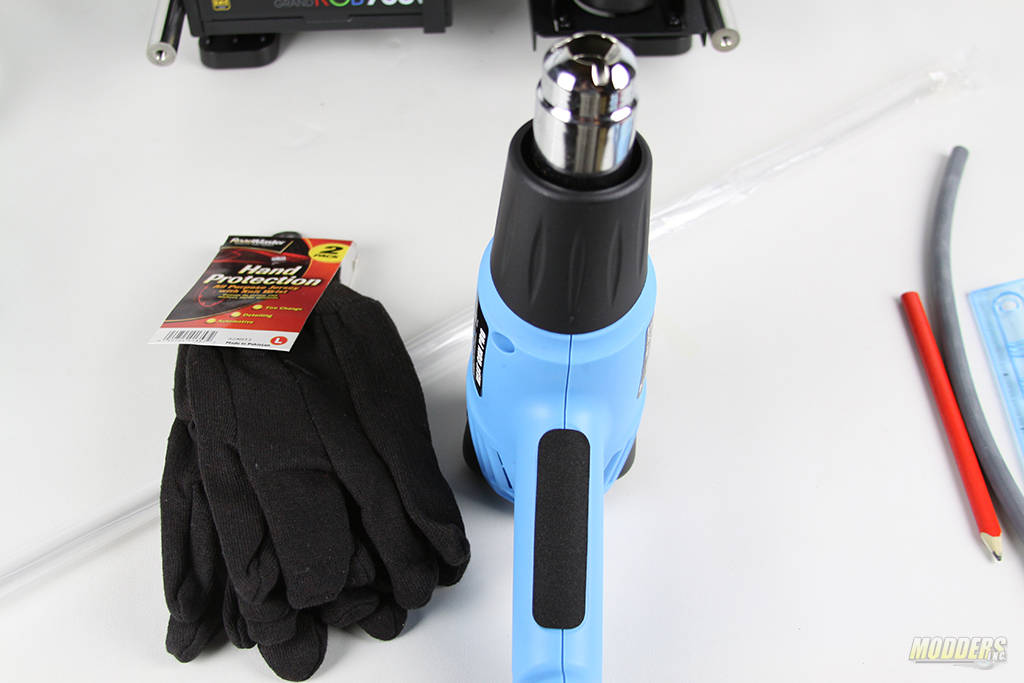
Before using ANY power tools think about SAFETY! Sure the glasses make you look like a dork and the gloves make you feel like a mechanic but take my word for it, it’s worth it to be safe than sorry. Some accessories I used to bend the tubes are by Thermaltake.(Thermaltake PACIFIC). There are other kits available to use so pick a good one that will last you a while. What’s important to use while bending the tubes is the silicon piece that you should be using inside of the tube while bending. Ever tried to bend an empty hose without something supporting it? A silicon insert is used to keep the collapsing of the walls. Smooth even bends will result when using the right tools for the right job.
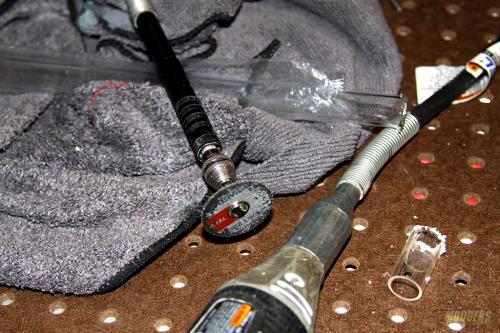
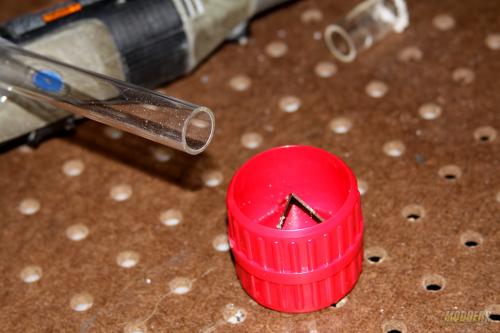
Measure twice cut once rule does not apply here. What I have done is always cut LONGER, MEASURE and cut again. This method works and I am sticking to it. To cut my tubes I prefer the Dremel. High speed rotational disk provides exact cuts when you need it. I haven’t seen any tube cracks what so ever while using my Dremel. You can use cut off disks for plastic as well as metal with Acrylic tubing. A deburring tool should be used to clean the debris from the ends of the cut tubing. I recommend using something like that or a least some fine sand paper.
Bending tubes takes time. Make sure you heat up all of the sides of the tube well before attempting to bend it. The best advice I can give here is “Practice makes perfect”. So take your time and you will be rewarded.
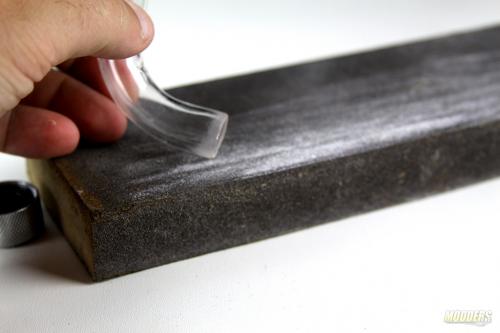
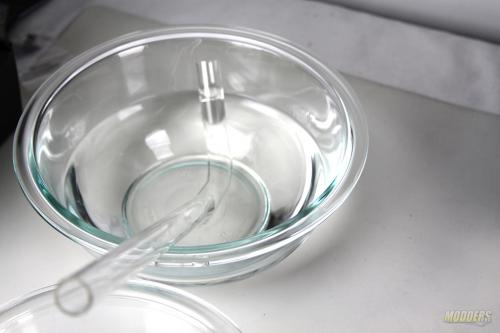
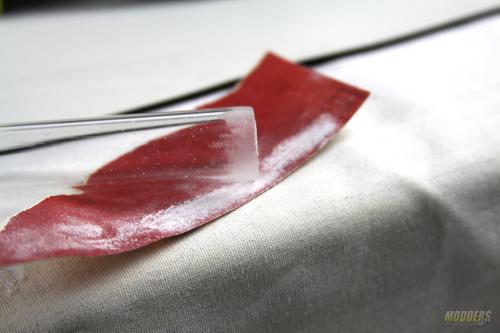
A little trick I have learned when bending tubes is to have two bows of water. One with the cold water and one with soapy water. Use the soapy water to soak your silicon insert in before inserting in to the tube. It makes a heck of a difference when trying to remove it from a bent tube. The cold water bowl is used to quickly cool down and set the angles. Sometimes you need to sand down the tubes for that perfect fit in to the fitting and what I ended up using is 2000 grit sandpaper and a sanding brick to do so.
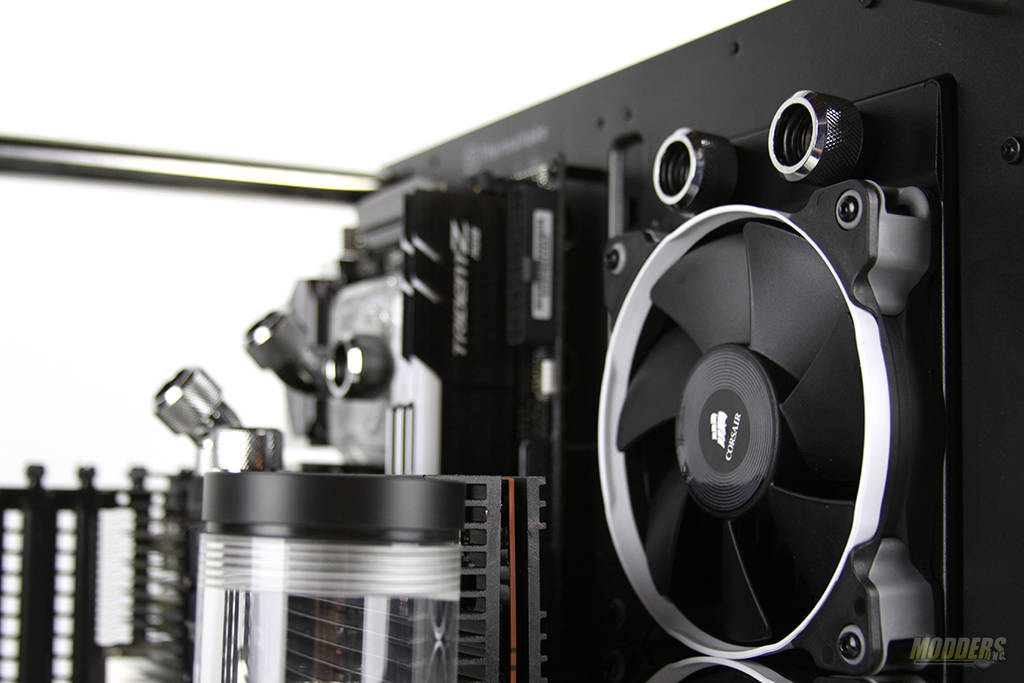
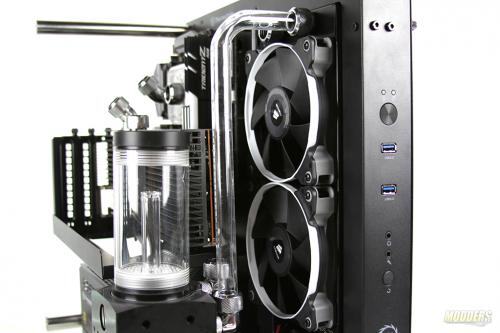
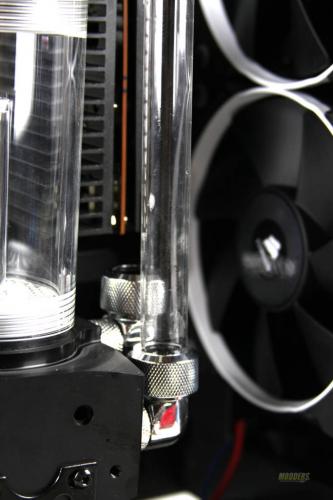
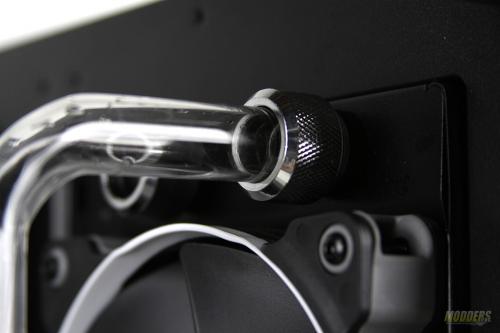
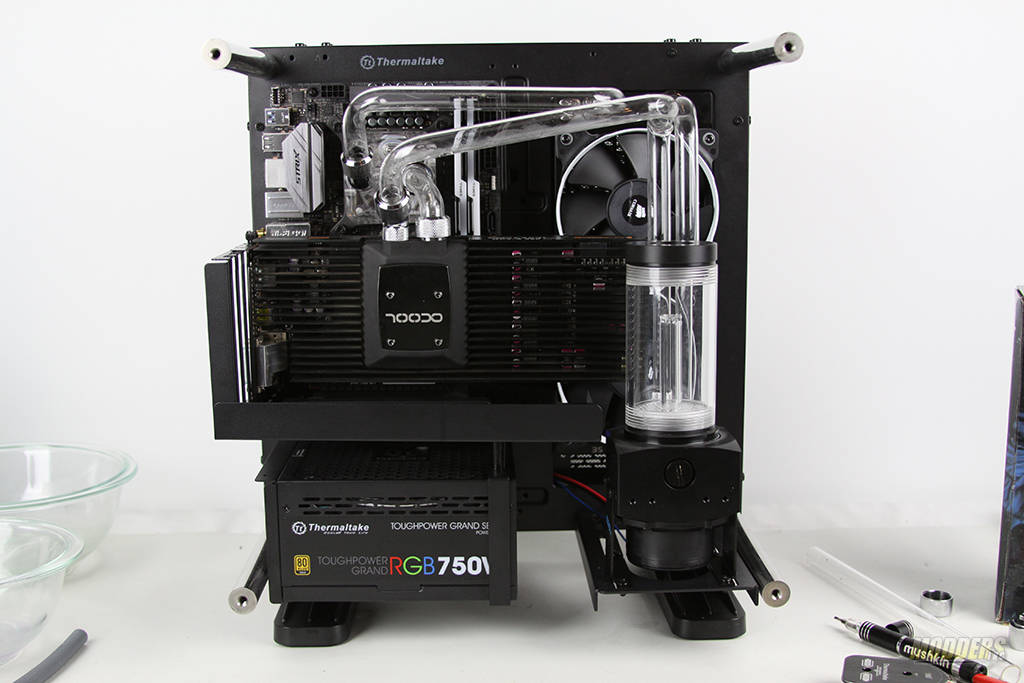
Once I had that perfect bent, it was pretty easy to install the tube in to the fittings. What I was looking for is that nice and tight fit. As you can see from the pictures it looks great!
After a few hours of work it is finally starting to come together. The tubing looks awesome and I think I am ready for leak test and cabling.
Please make sure that you go back and read Making of Eye Candy Part 2 and Water Cooling your PC Part 3 if this is the first time you visited this article series.
You can purchase all the latest Alphacool products in the US through http://www.modmymods.com
If you are in the UK, You can purchase Alphacool products at http://www.alphacool.com
European users can also purchase Alphacool products at http://www.aquatuning.de
Get Alphacool Products at
