Water Cooling Your PC: Making of an Eye Candy Part 3: Radiator, Pump and Fans Installation
Getting cool with Alphacool
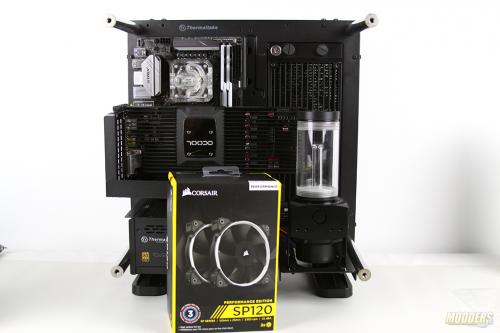
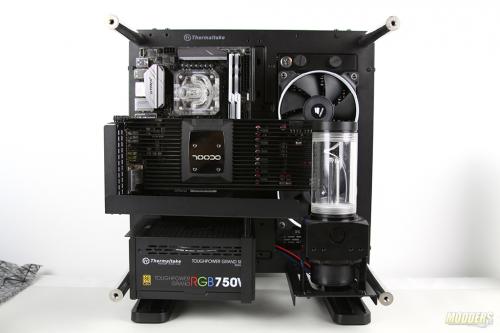
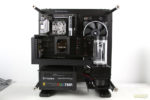 It’s time to continue my Water Cooling Eye Candy build. So far I have installed the GPU water block and the CPU water block along with the motherboard SSD, RAM and Power Supply. So this time around I will be concentrating on installing the radiator, fans, pump and reservoir in to our system. Up to this point everything is going smooth and without any issues. I really haven’t faced any difficulties with the GPU or the case itself but now that I have said it something is bound to go wrong. The only concern for part 3 is the implementation of the size of the GPU card and the Thermaltake Core P1. The Core P1 is mini ITX based case and well there isn’t much room to work with when it comes to placement of full size of components.
Review Sample Provided by: Alphacool
Product Name: Water-cooling Equipment
Price at time of review: $ USD
Product was given in exchange for work done to produce this review.
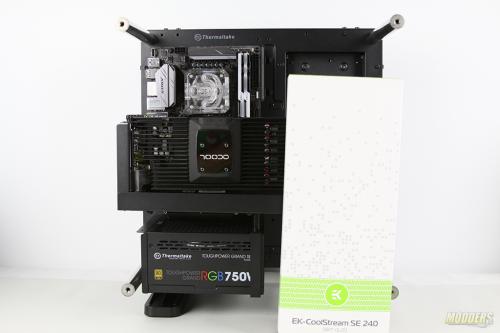
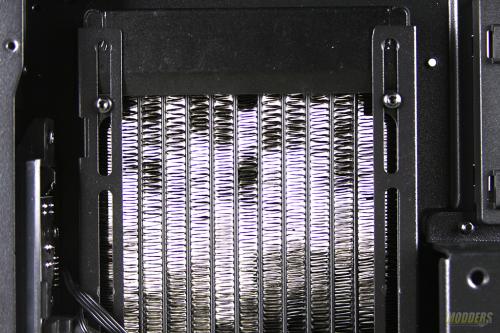
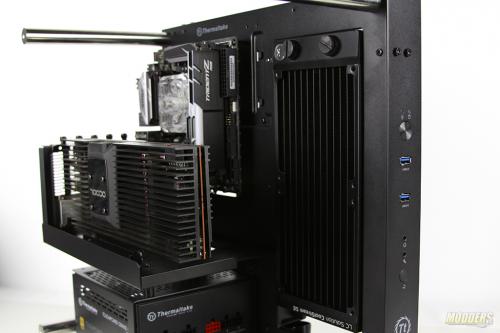
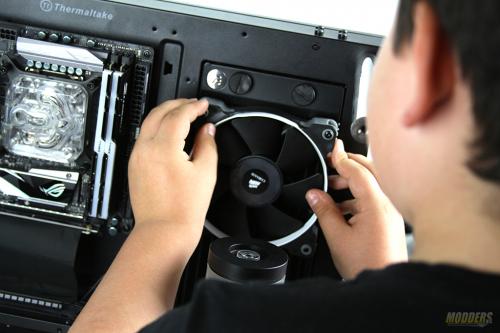
For a radiator I was looking for something slim that would fit perfectly in the radiator slot in the Thermaltake Core P1 (Amazon). I have tried multiple radiators and found the EK CoolStream SE240 to be a perfect fit. The radiator mounts from the back of the case and I strongly recommend using the provided screw in the installation. Using different length of screws could potentially damage radiator and no one wants a leaking radiator.
With the radiator in this position the 1/4G holes would be on the top. This way I will have a much easier time running pipes.
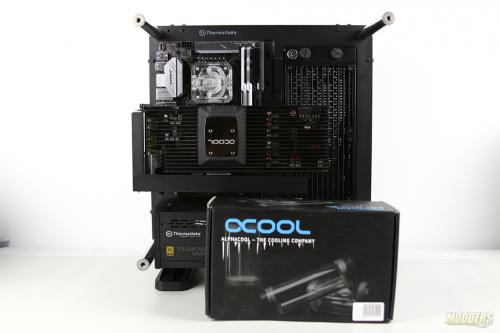
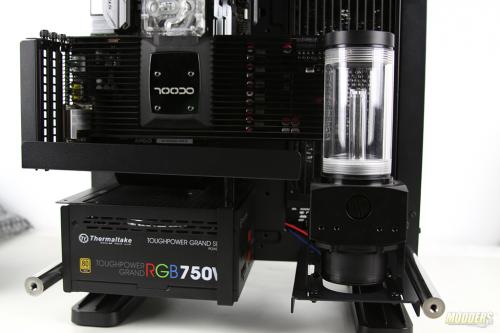
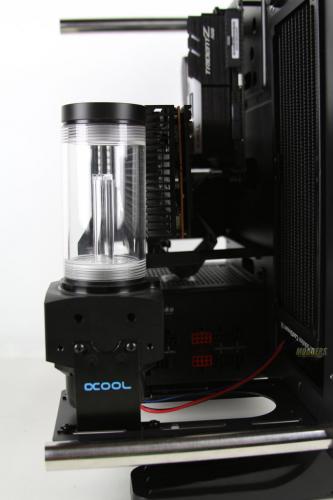
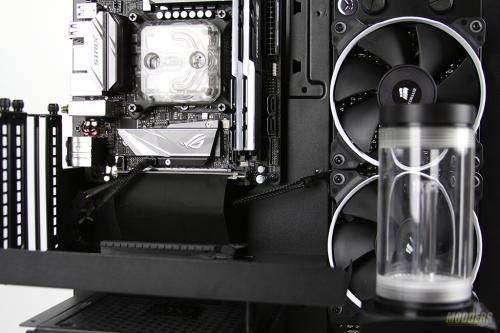
Next up was the water pump and reservoir installation. This was provided by Alpha Cool Eisbecher D5 150mm Acetal. Eisbecher D5 is a one piece water pump and reservoir combo. The pump has 5 speeds. The reservoir is 150mm tall and made from ABS plastic. There are other sizes available from AquaTunning website.
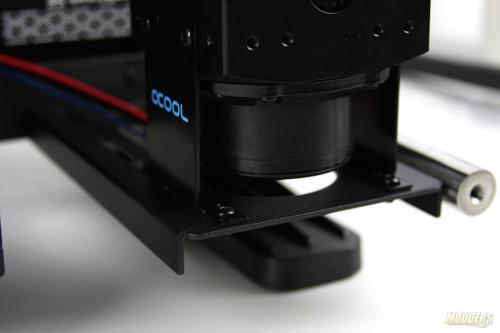
Eisbecher D5 comes with standard mount brackets however I had to spend a little time to create additional mount holes to properly mount the Eisbecher D5 to Core P1. As for the cabling; I will address later. As you can see there isn’t much room between the video card and Eisbecher D5.
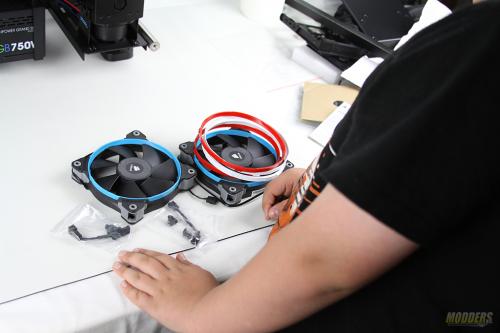
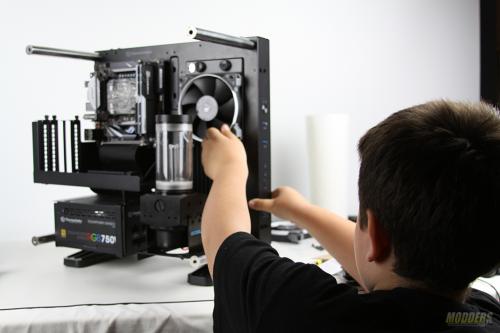
To keep the radiator cool I am going to use Corsair SP120 fans (Amazon). What you want to use for your radiators is High Static Pressure fans. There are multiple vendors which produce high static pressure fans so the choices are out there. The hardest choice for my son was which color to use with our built, Red White or Blue?
We settled on White rings for the fans. Installation was as easy as screwing provided screws in to the radiator.
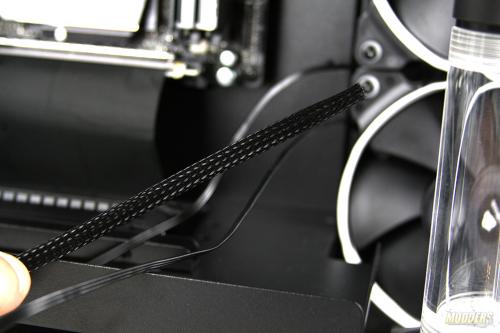
The Corsair SP120 has 3 pin configuration per fan and well the cables look pretty standard. I had some simple braided cable sleeve around with some heat shrink so we combined both of the fan cables in to single sleeve. Remember, details is what makes a good build great.
Now that I have all the hardware in the correct place this means that Part 4 of Water Cooling Your PC: Making of Eye Candy will be coming up shortly. At this time I am going to be bending and cutting some acrylic pipes and working with fittings to put everything in perspective. Keep a look out for the next step in my journey of water cooling a PC.
Please make sue that you go back and read Making of Eye Candy Part 1 and Water Cooling your PC Part 2 if this is the first time you to this article series
You can purchase all the latest Alphacool products in the US through http://www.modmymods.com
If you are in the UK, You can purchase Alphacool products at http://www.alphacool.com
European users can also purchase Alphacool products at http://www.aquatuning.de
