Gigabyte AB350N-Gaming WIFI AM4 Motherboard Review
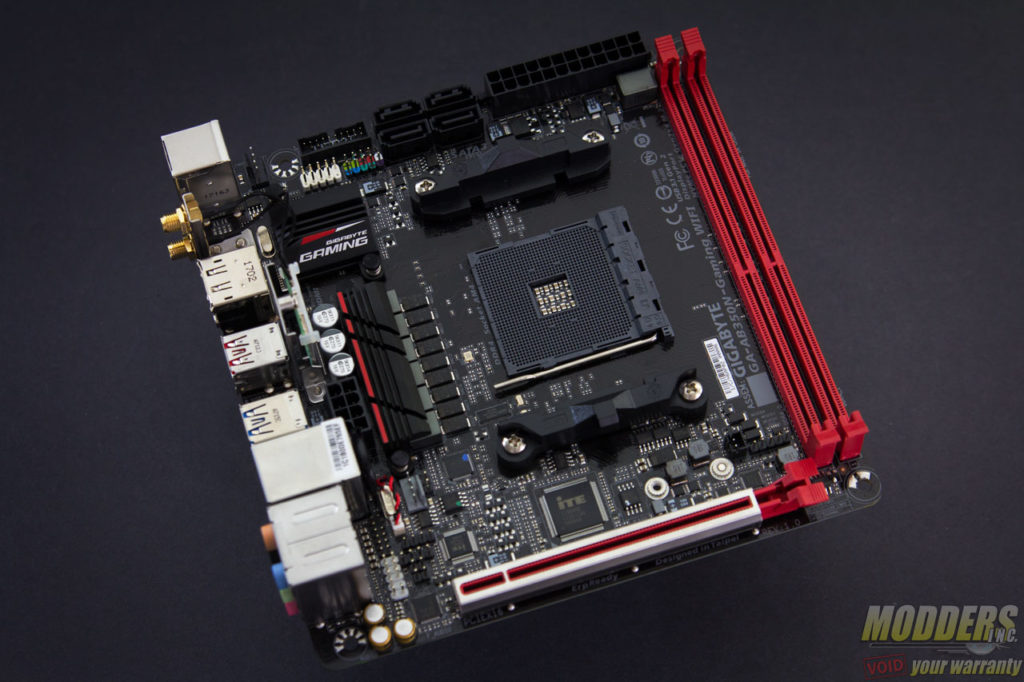
For their part, Gigabyte now has the AB350N-Gaming WIFI ITX motherboard for Ryzen. It uses a B350 chipset instead of the ITX-specific A320 chipset to give builders better headroom when it comes to performance through overclockability. The B350 chipset also provides all the necessary modern storage connectivity including PCIe x4 NVMe M.2 and USB 3.1 Gen 2 support. Coupled with Gigabyte’s custom audio implementation and RGB LED features, the AB350N-Gaming WIFI packs a lot on a tiny package and a sensible $115 price tag.
[sc:sponsor sponsor=”Gigabyte” product_link=”https://www.gigabyte.com/Motherboard/GA-AB350N-Gaming-WIFI-rev-10″ product_name=”GA-AB350-Gaming 3″ product_price=”$114.99″ ]Packaging
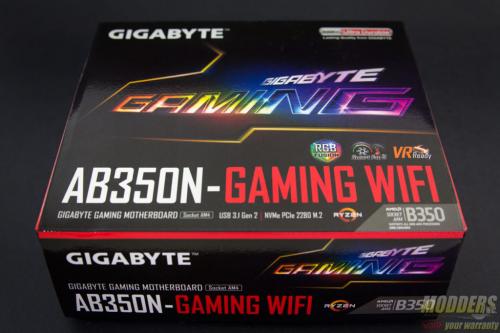
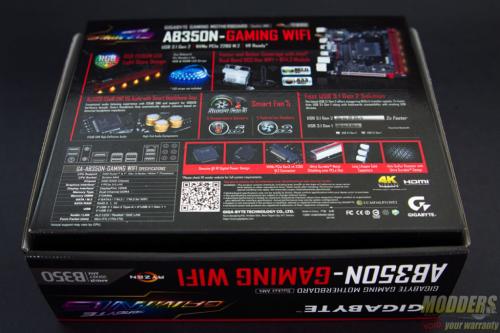
The AB350N-Gaming WIFI is a compact motherboard, so it only makes sense that its packaging is equally compact. Its packaging style is similar to its full-ATX sized siblings however, having full glossy graphics on the front and back. Most of the back is entirely dedicated to showing off the AB350N-Gaming WIFI’s features.
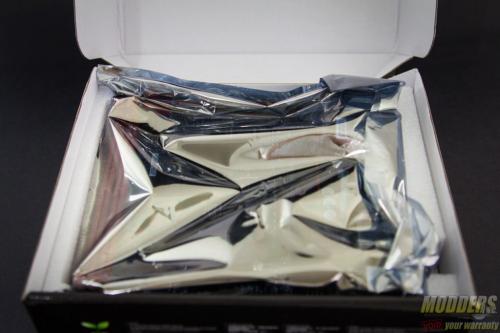
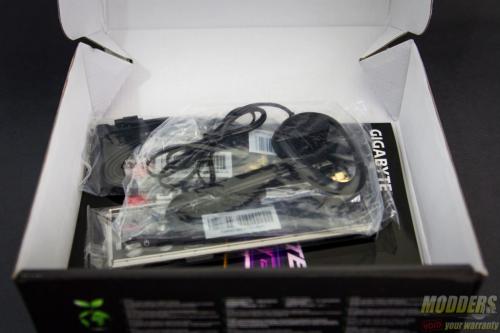
The contents inside the box are stored in two compartments. The top area contains the motherboard housed inside an anti-static bag and has foam padding surrounding it while underneath all the accessories are individually packed and stored.
Bundled Accessories
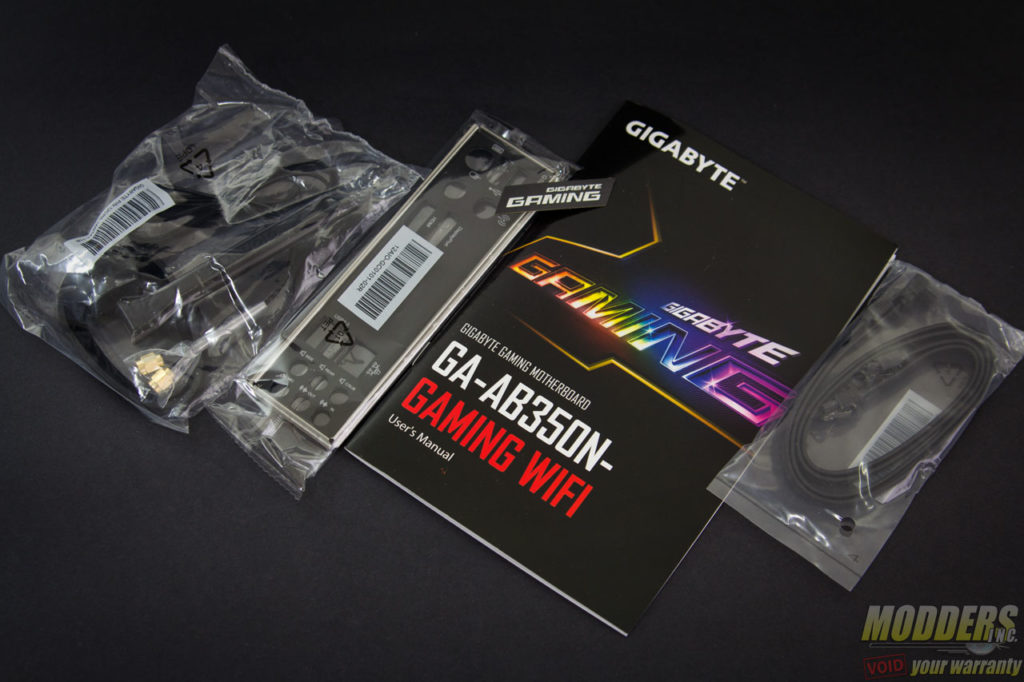
Aside from two essential drive disc (one for the WiFi drivers, and one for regular drivers/software), the accessories include two SATA cables, a Gigabyte sticker, an IO shield, and an antenna for the WiFi card. For the documentation, a manual and an installation guide is also included.
Form Factor and Chipset
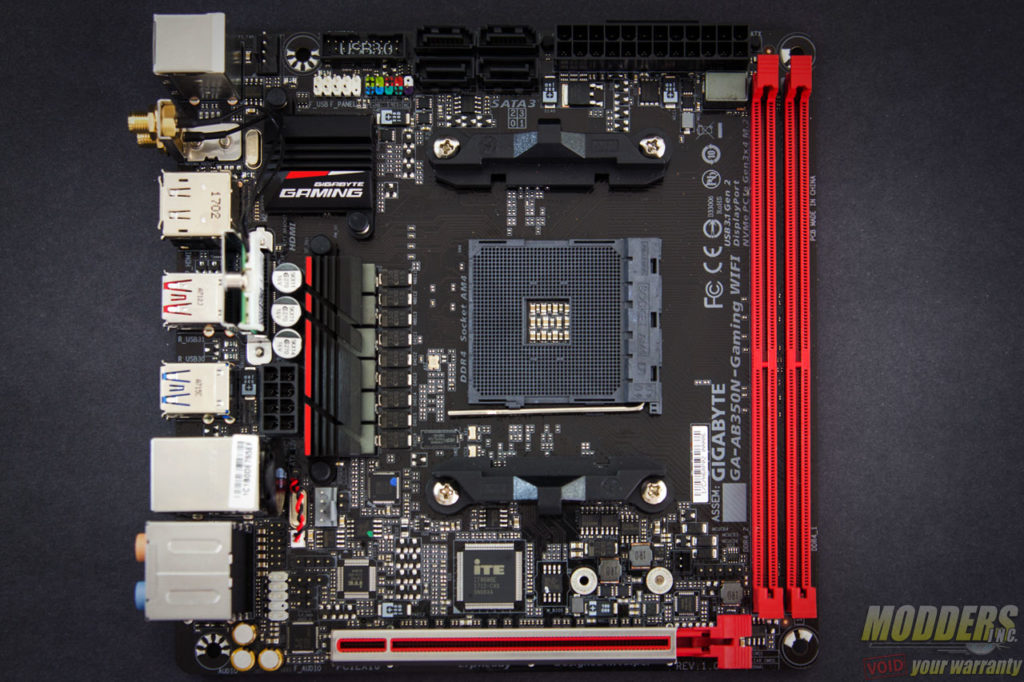
The Gigabyte GA-AB350N-Gaming WIFI motherboard measures 170 x 170mm and uses a mini-ITX form factor on a 6-layer PCB. There really isn’t any strict layout rules for mini-ITX mainboards so it is up to the manufacturer where to place certain connectors. The only clearance issue they really have to abide by is the CPU socket keep-out zone in order to get the AMD sticker printed on the packaging.
The GA-AB350N’s layout changes the position of the chipset and the power supply. Since the pair of DIMM slots occupy the entire right side edge, the 24-pin power connector is located at the top, while the 8-pin CPU power is located in the middle, directly beside the CPU VRM and CPU socket. The chipset is located on the top left corner where the 8-pin CPU power header usually is.
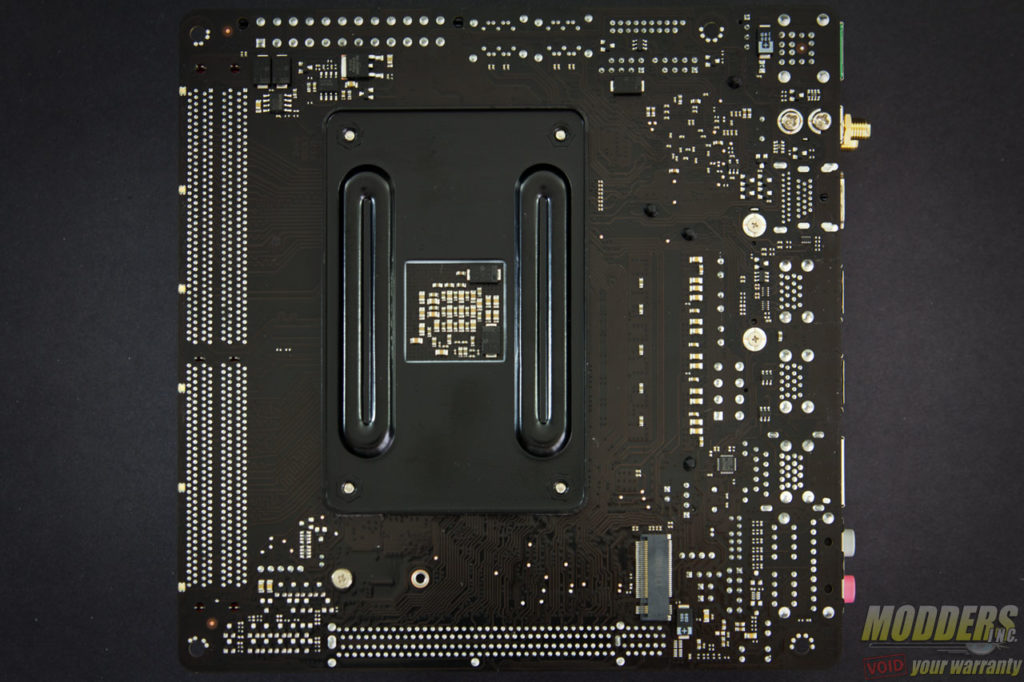
The SATA ports, USB 3.0 header and front panel headers are all on the top edge as well. The rest of the other headers are closer to the bottom edge. To make room for the WiFi card, it is installed on a vertical slot beside the 8-pin CPU power connector. The battery for the BIOS is also mounted vertically. The m.2 slot is located at the back, which is a typical layout solution for ITX motherboards.


Any idea how thick the thermal pads are on the VRM / Chipset cooler? They’re generally .5mm or 1mm. Since the major complaint I’ve seen on reviews is the temperature of the VRMs I’d like to replace that with some high grade Fujipoly pads and see if that helps things out, but ideally i’d replace it with the same thickness that comes stock. Was hoping to order it all at once vs taking the cooler of and measuring myself :-)
BTW great images, helped me decide if I could use this in my ITX build.
The VRM is 1mm: http://i.imgur.com/KKuDhv8.jpg The chipset is really thin, I’d say less than 0.25mm. I just scrapped the chipset and replaced it with thermal paste.
Ron,
Fantastic write up. I do have one question though. Do you remember what the VRM temp difference between the stock pad and your application of thermal paste? I would like to know your findings, because I am sure eventually I will either do what you did or maybe what Danny brought up in his comment.
Thanks again for your time.
Jake
Jake,
Any guide for that VRM thermal paste application?
-Thanks