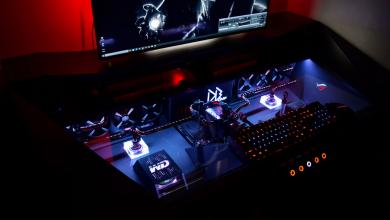
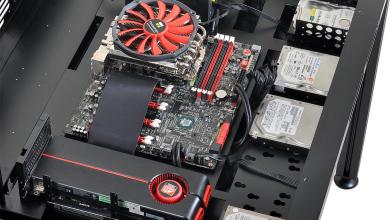
λutonomous-λ SmartDesk 2 Review

Product Name: λ SmartDesk 2- 70” x 30”-Walnut surface-Business edition
Price at time of review: As configured $599
Product was given in exchange for work done to produce this review.
For those of us that work in a corporate office, the adjustable desk has almost made the standard desk an endangered species, and for good reason. These adjustable desks, operated by either a motorized or hand-cranked system allow users to adjust their sitting/standing posture as well as the position their hands rest in which is extremely beneficial to ergonomics. For those of you that don’t know, “ergonomics” is the study and practice of how best to put the human body into a relaxed position during an activity that focuses on safety and efficiency. What does this mean? Surprisingly enough, sitting behind a computer can lead to some serious health issues, the most know being carpal tunnel syndrome. This condition causes numbness, tingling, and overall discomfort, caused in large part by the same movement being repeated over time.
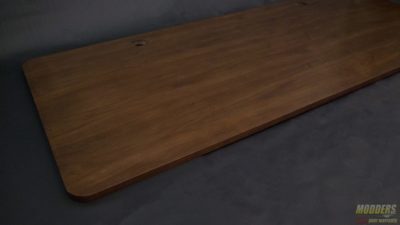
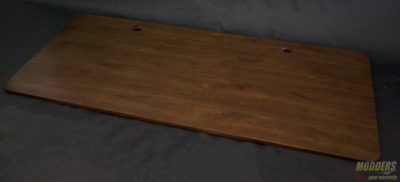
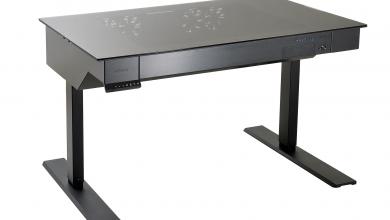
These desks designed to help your posture and overall experience come at a very steep price of around $2500-3000 for a motorized model. That’s more than most high-end rigs! However, their traditional large minimalistic platforms and overall wide legroom make them ideal for streamers or those that just want the ultimate battle station without having to fight existing structures that come with your standard Ikea desk. This is where λutonomous comes in with their catalog of ergonomic-friendly products that won’t break the bank. λutonomous was kind enough to supply us with one of their larger SmartDesk (70” x 30” XL Classic) with a Walnut surface finish, and even upgraded the motor system to the Business Edition variant which is rated for 300lbs, for those larger than life builds.
λutonomous ships the desk in two separate packages, the tabletop in one and all the mechanical pieces in the other. Please use caution when lifting the boxes as the tabletop came close to forty pounds while the mechanical box was right around seventy pounds. Despite the weight of the desk components, the packaging came in without any major damage, maybe some slight bumps and scratches from shipping but nothing that would compromise the contents themselves. First thing is first, I highly recommend getting a large trash bag ready as well as a sharp box cutter and a pair of snips. As stated before λutonomous did a great job of packing the contents and uses straps to prevent the packaging from deforming during transit. Below is a brief explanation of the unpacking process.
Assembly
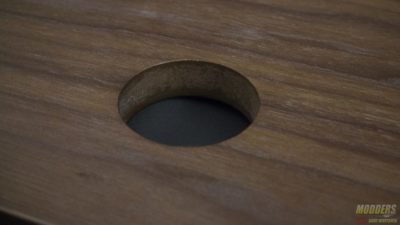
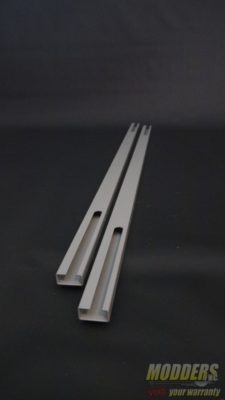
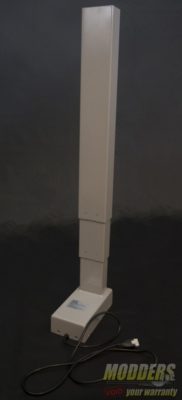
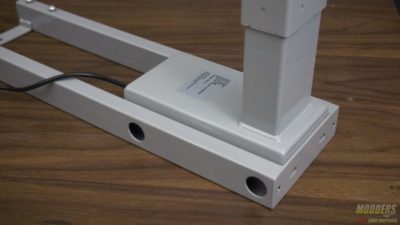
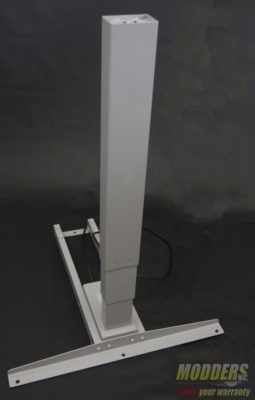
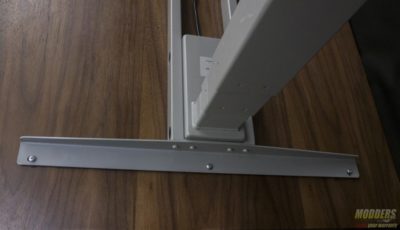
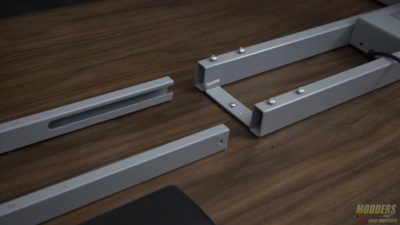
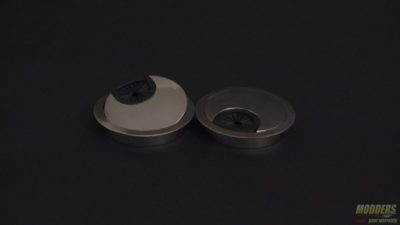
Begin by laying the tabletop box face down and cut the straps holding the bracers in place. Once the bracers have been removed position the table where the seams are visible as there is tape lining the perimeter of the box. From removing the bracers and the straps, a lot of clutter will start forming, best to put it in a bag now to keep your work area clear. Once the tape has been cut around the perimeter of the box, lift the smaller inset cardboard piece out and away. This will reveal the tablet top packed securely with Styrofoam on all sides as well protected by a large plastic sleeve. To be honest this was the most difficult and tedious part of the build, mostly due to the size of the tabletop as well as the amount of packing. With that said though, λutonomous goes the extra mile to protect their product, my tabletop did not have a single scratch or dent on it. If you ordered a model with the pass-through metal grommets, take them out now, as the tolerances on them are a bit off and they will fall out when the desk is flipped over for the next part. If you have hard flooring I highly recommend laying down some towels for this part of the build to protect from scratches. If you have carpeting, just do a quick check to make sure there is not any debris hiding. Go ahead and flip the tabletop face down at this time and open the second box containing the mechanical assembly. Just like the tabletop packaging, the mechanic assembly packaging is reinforced with straps. Upon opening the mechanical box, I was very happy to see that λutonomous does not simply throw the contents in the box like I have seen with countless build-it-yourself furniture assemblies. The contents were all nicely packaged in foam inserts and as an added measure each piece came in its own plastic sleeve. The only other time I have seen this level of care for packaging is with Caselabs flat-packed shipped cases. λutonomous uses foam over Styrofoam, which helps minimize any shock the contents may encounter during transit. Begin by taking out the adjustable cross-frame and loosen the M6 hex screws, leave these loose as you will have to adjust them later. This next step may be different depending on if you select the single motor or like this desk, the dual-motor setup. With the dual motor set up, each leg contains a motor and is fitted in place at the far side of the center bracket. Using four M6 x 14 screws on each side, secure the legs to the cross frame.
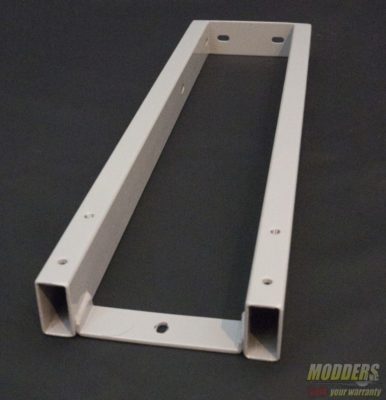
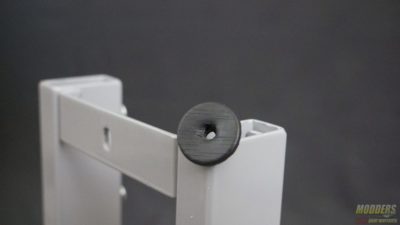
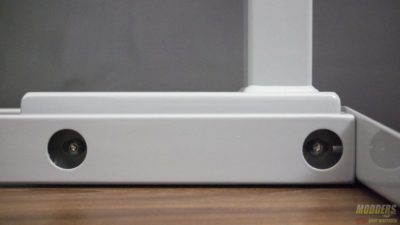
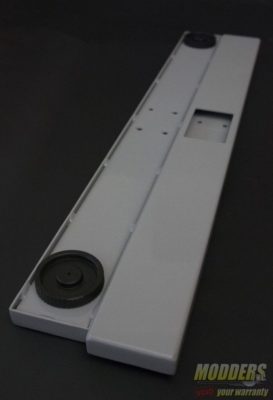
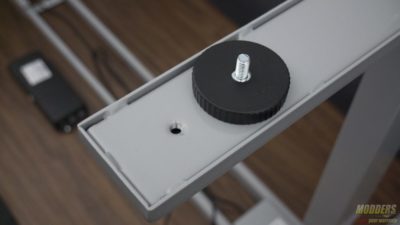
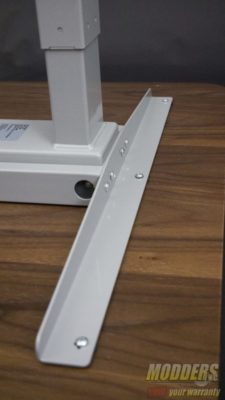
Using eight M6 x 14 screws, attach the side brackets to the end of the cross frame, this will help stabilize the frame while you install the feet to the legs. Once secure, flip the frame over on its side and install the eight rubber grommets to the frame.
Carefully, turn the frame back on the table top and located the mounting holes. The new models of the desk have the holes predrilled but some of the older ones will require the holes to be drilled.
I would advise caution during this next step as the motor mounts are very heavy and can blemish the surface of the tabletop if not careful. Fasten the support bracket to the motor mount using four machine screws, two on each side. This will need to be repeated for the opposite side.
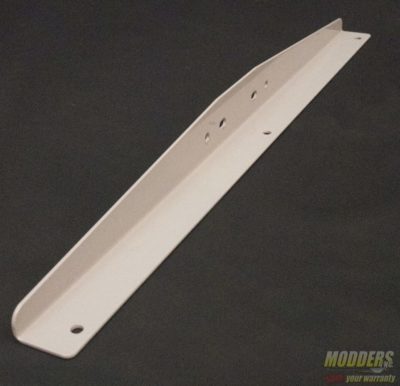
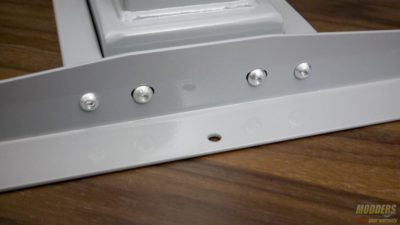
Before fastening the four machine screws, take the end bracket and fasten it using two machine screws on the two most outer holes.
Once secure, slide the motor mount back and secure the mount to the frame using two machine screws. Once the screws have been set, you can fasten the four bolts from the support bracket and motor mount.
At this time you can either secure the feet the to legs or make life a little easier by installing the electronics first. Doing it in this order will make cable management much easier and keep the risk of falling dust from the underside of the desk out or your eyes.
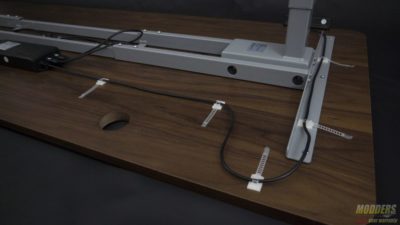
For the electronics and frame use the provided wood screws to fasten them to the table top.
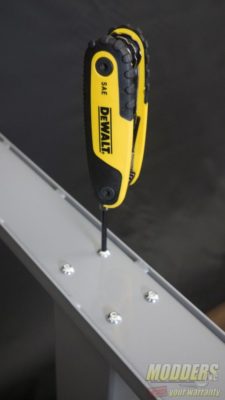
At this time shift the cross frame to line up with the holes in the desk. Once lined up, secure the to the desk with the provided wood screws. Slide the rails into the other bracket and secure the rails by tightening the eight machine screws to the rails.
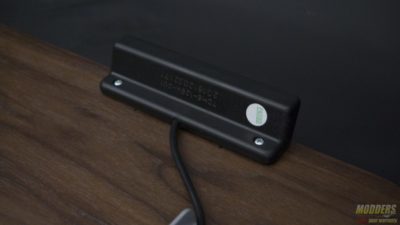
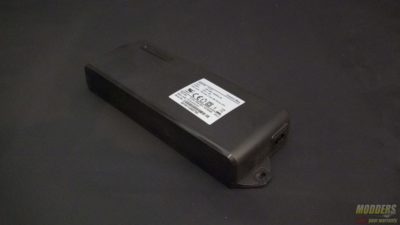
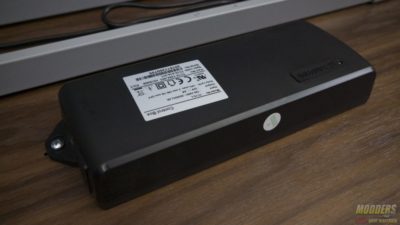
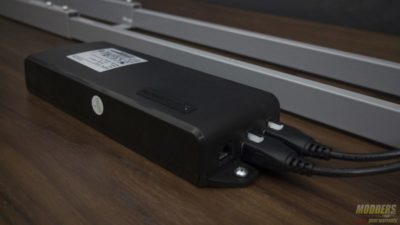
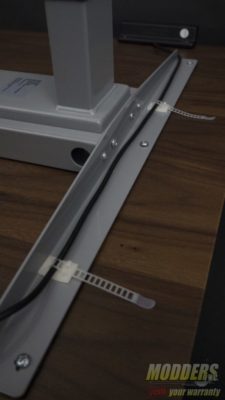
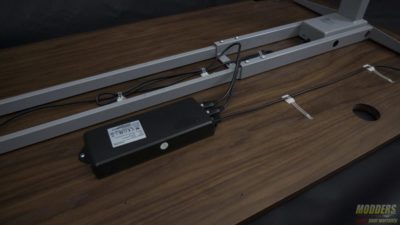
After the rails have been set, take the cables from the motor mounts and control board, and lay them out where desired for your cable management. Connect the ends from the motor mounts to the control box, before installing the cable straps. The cables are keyed so no need to worry about connecting them to wrong spot on the control box.
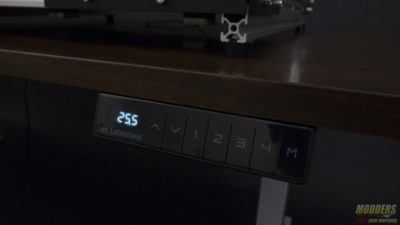
Once complete, flip over the desk (carefully, watch your toes.) If you desk does not go up and down when you press the buttons after plugging it in, this is common. It does not mean your desk is DOA, just means the desk needs to be reset. This is done by disconnecting the power, unplugging the cables to the control box, plugging them all back in as well as power to the desk, then hold the up and down buttons at the same time. You will hear a beep and the desk will go to its lowest level, your desk is now ready to use. It is at this time I suggest putting in the metal cable routing grommets, as they have a tendency to fall out of place when moving the desk.
