How to Make a Power Supply Jumper
This trick is nothing new, but it is a much elegant approach than the classic, “Jam a paper clip into the green line and ground line to jolt the PSU!” What exactly am I talking about? Well that’s simple my friends! Today, in a few short steps I will be showing you how to make your very own power supply jumper connector.
Why would you need one of these? Well, as water cooling has become more and more intricate, evolving from simple CPU loops to multi loop systems, the need to reduce risks has risen. One of the steps necessary in filling a water cooling loop is to leak test and bleed your loop of bubbles. The last thing you would want is to fire up your system before hand and come back to discover your parts have drowned. Those who said never cry over spilled milk, never lost a $700 dollar video card due to a leak. Now for the reason of utilizing the jumper. Rather than risk your parts to a leak, you can simply unplug all of your components from the PSU, with the exception of the 24 pin and the connector required for powering your pump (Molex 4-pin is the standard) and connect the adapter to jump start the PSU. If you spot a leak, simply detach the adapter and the PSU will shut down.
Breaking the bank should not be of any concern on this project as the total cost of materials is going to be two to three US dollars possibly cheaper if you already have the materials. The tools will run around 100-120 dollars but if you are already sleeving or making your own cables, there is a good chance you already own all the tools required.
Tools:
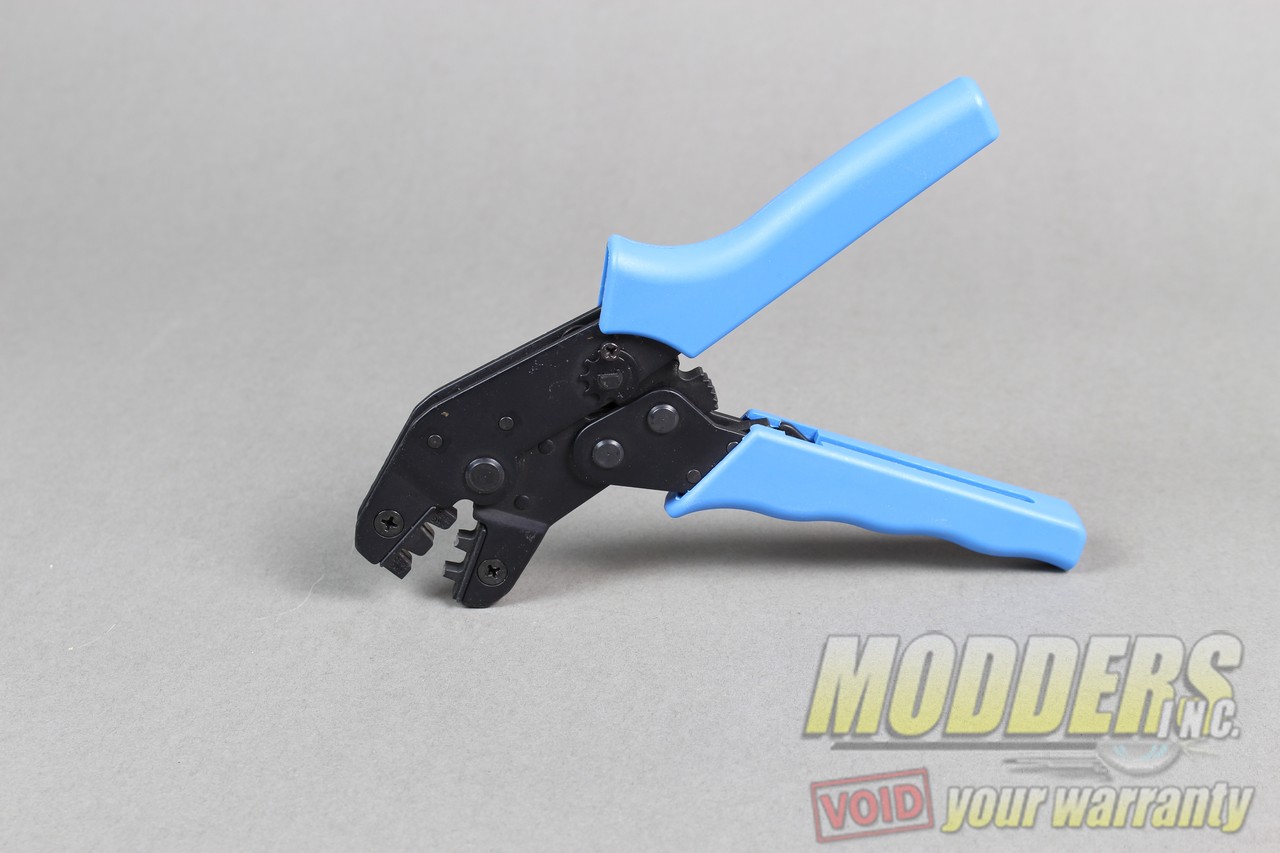
1.) Crimper
2.) Wire Stripper
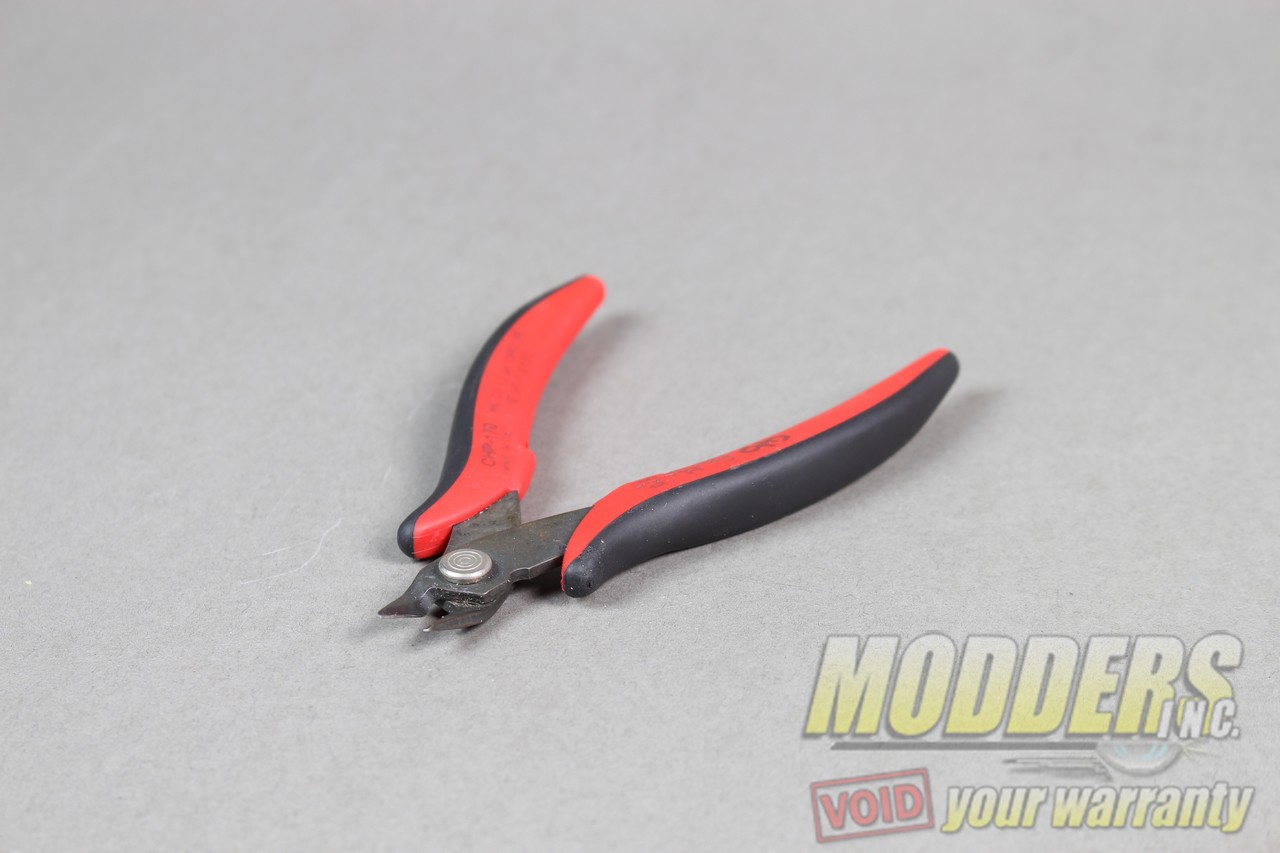
3.) Flush Cutter
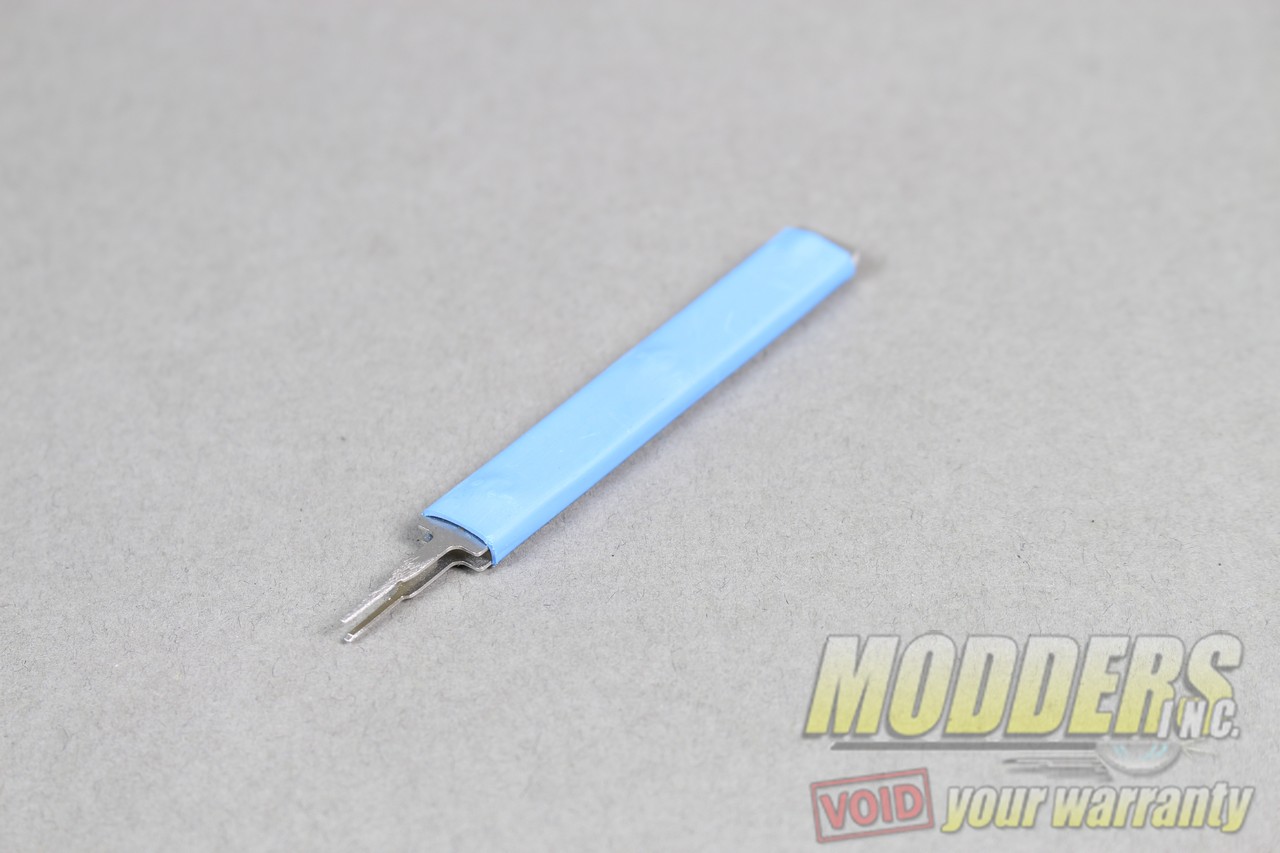
4.) ATX Removal Tool
Materials:
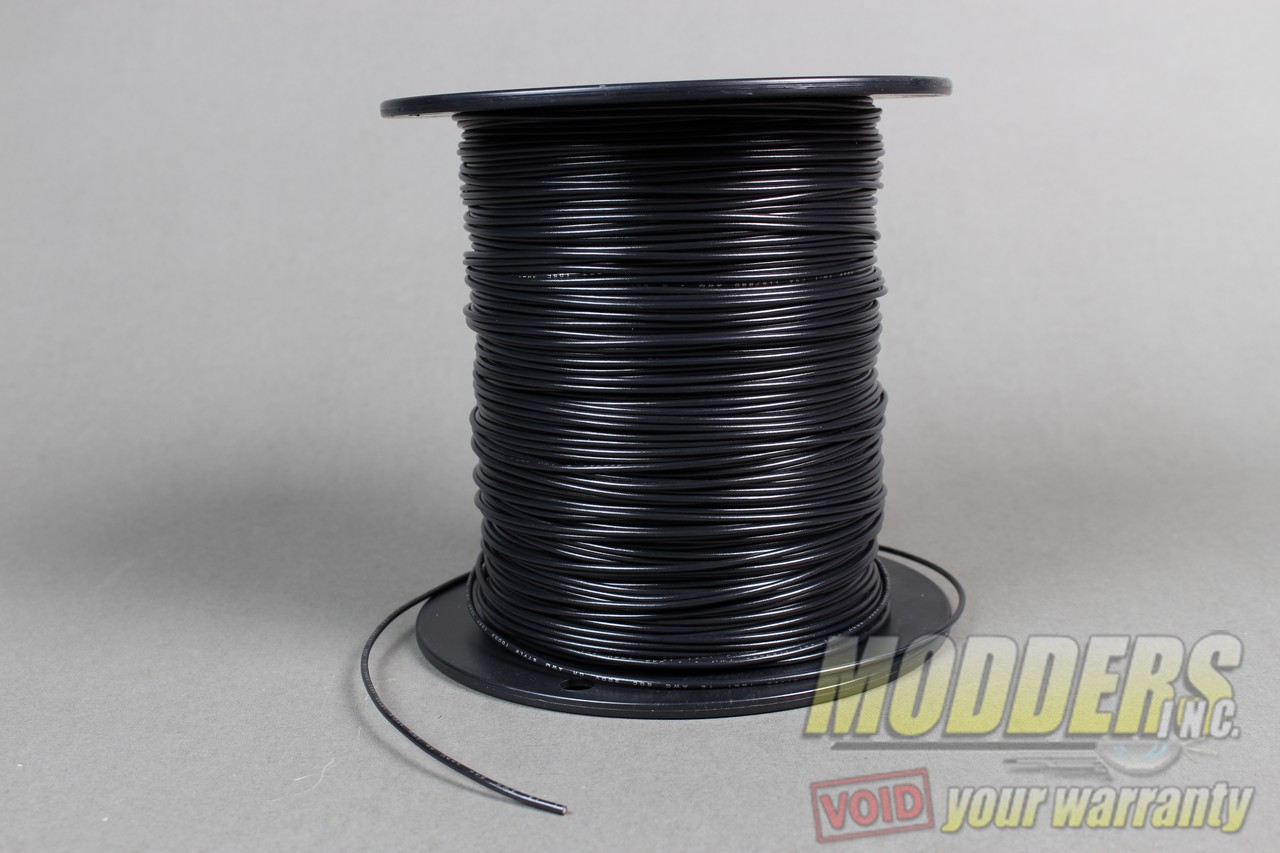
1.) Sixteen or eighteen gauge wire (also seen as 16 AWG or 18 AWG)
